VIP Badge Systems for Events: Simple Visual Cues for Speakers and Staff
Why a VIP Badge System Reduces Confusion at Check-In and On the Floor
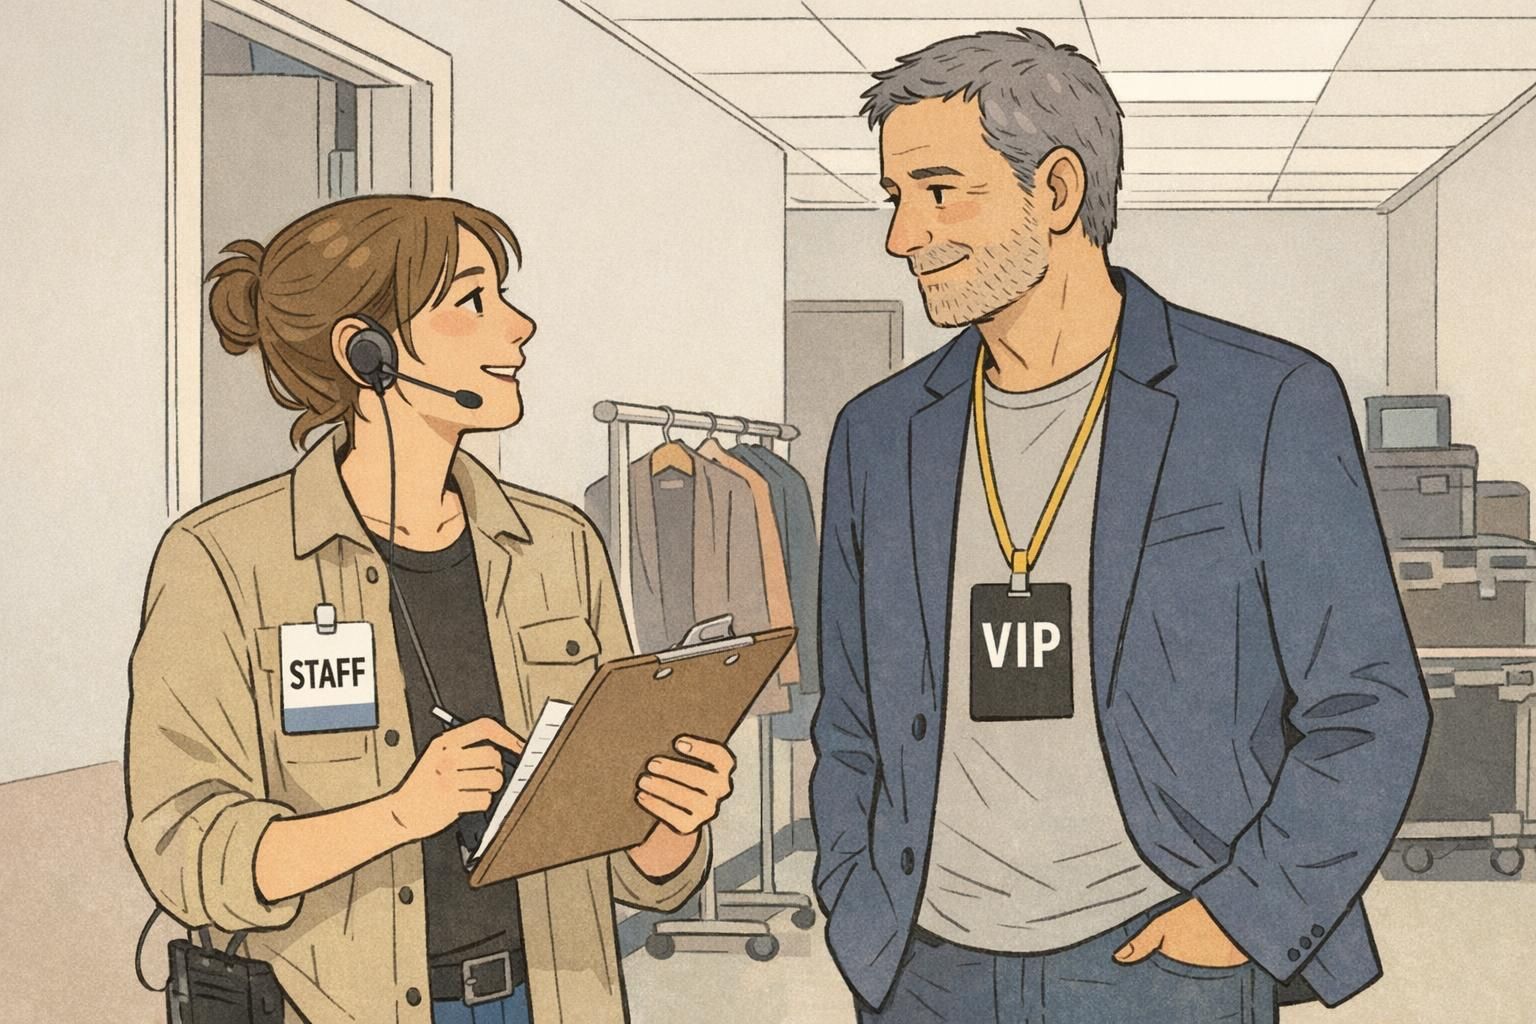
A well-designed VIP badge system is one of the simplest ways to make an event feel organized—without adding more steps for attendees or staff. When roles are obvious at a glance, your team can route people correctly, answer questions faster, and reduce the awkward “Are you staff?” moments that slow lines down.
The goal is speed and confidence. At check-in, a visible role marker helps the team immediately identify who needs special handling (like expedited pickup, a green room route, or a certain entrance). On the floor, it helps everyone—from security to stage managers to volunteers—spot the right person in motion, in a crowd, or from several feet away.
- Faster check-in: roles are recognized without extra questions, so lines keep moving.
- Fewer handoff mistakes: VIPs, speakers, and staff get routed to the right place the first time.
- Clearer access control: teams can quickly verify who belongs in restricted areas.
- Better attendee experience: people feel confidently directed instead of confused or bounced around.
A practical system also assumes real-world wear: badges flip, lanyards twist, lighting changes, and people cover parts of the badge with hands or bags. That’s why the best systems use repeated cues so the role stays obvious even when the badge isn’t perfectly visible.
The 3 Rules of Badge-Type Visibility: Redundancy, Consistency, and Contrast
If your event depends on fast role recognition, your design has to work in seconds—not after someone walks up and reads small print. Three principles make role identification quick and reliable: redundancy, consistency, and contrast.
- Redundancy: encode the role in more than one way (for example: color + big text + icon, or color + shape + position). This prevents confusion when one cue fails—like low light, color-blindness, or a partially covered badge.
- Consistency: keep the mapping stable everywhere. If “VIP” is gold on the badge, it should also be gold on check-in signage, staff quick-reference cards, and any printed schedules that reference roles. People learn it once and apply it all day.
- Contrast: make the role readable from several feet away. High contrast between text and background (and sufficient font weight) matters more than decorative styling.
This approach aligns with research and guidance on using multiple visual channels and clear mappings to improve quick recognition and legibility in practical settings (source). In event terms, it means your VIP, speaker, and staff identifiers should be obvious without effort—especially when the venue is busy.
A strong role system doesn’t ask people to “decode” badges. It makes the role feel unavoidable: you notice it before you decide to read it.
System A: Color Bar + Bold Role Text (Fastest to Implement)
The fastest system to roll out is a consistent color bar paired with large, bold role text at the top (or along a side). It’s simple, printable, and scalable—especially when you’re preparing hundreds or thousands of credentials.
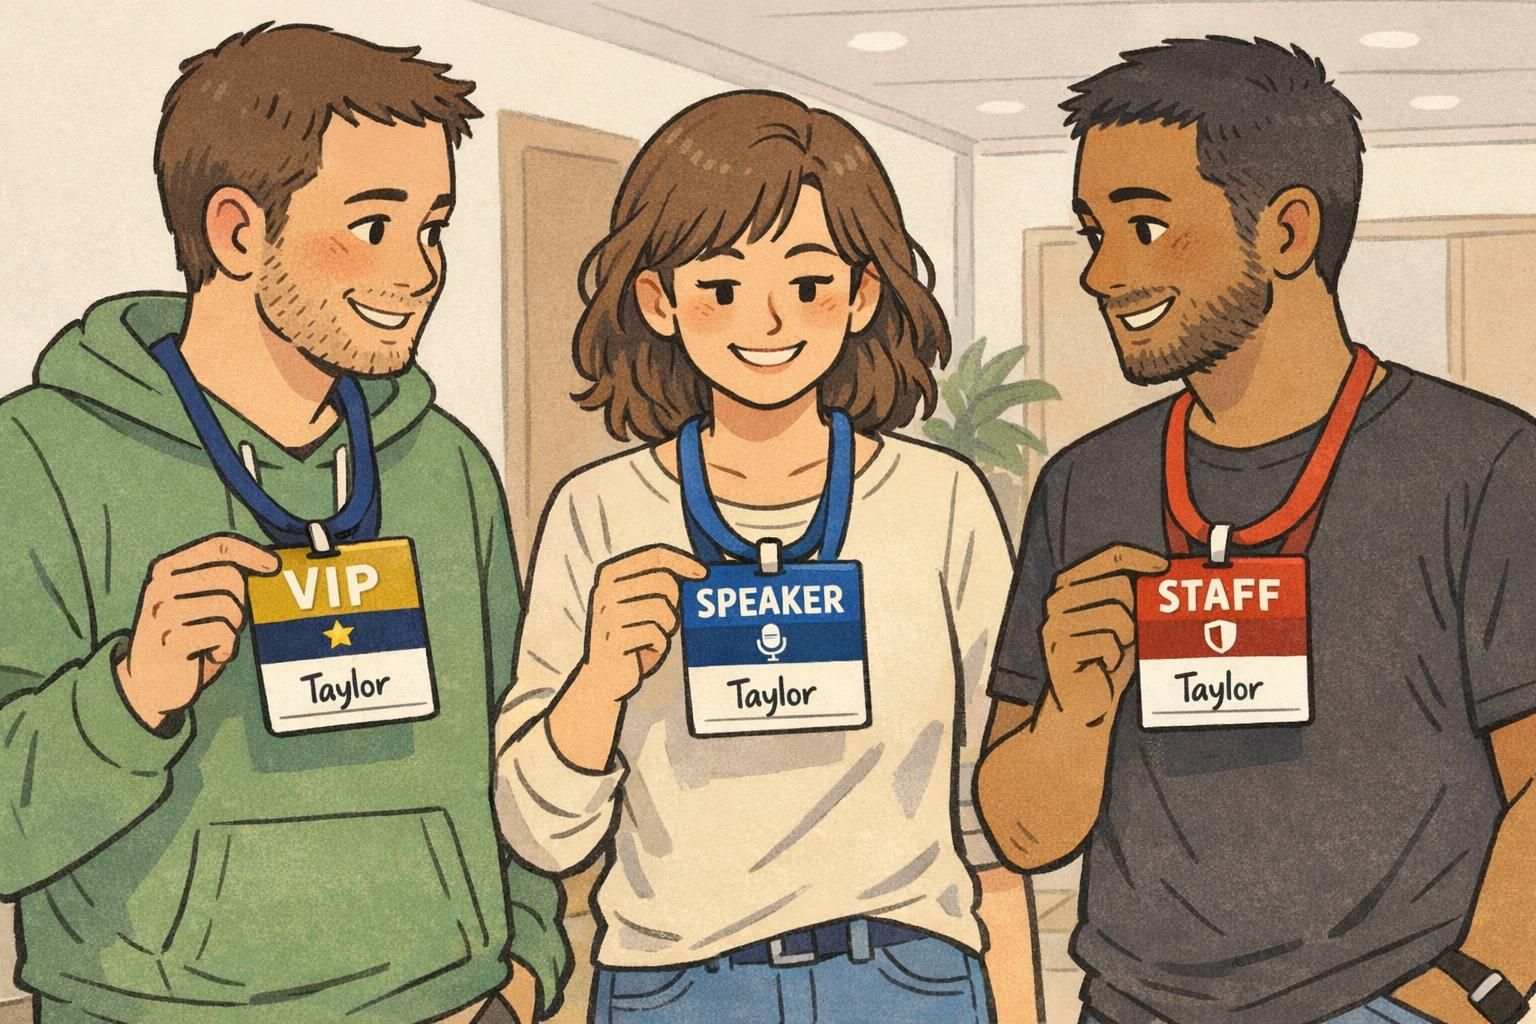
A common mapping looks like this: VIP = gold (or deep purple) with “VIP,” Speaker = blue with “SPEAKER,” Staff = red with “STAFF.” The exact colors matter less than keeping them clearly different and using enough contrast that the role label stays readable at distance.
- Keep the role band in the same location on every badge (top is easiest for quick scanning).
- Use large role text that can be read from several feet away.
- Add a small icon (star/microphone/shield) as a backup cue—helpful in crowds and for quick glances.
- Avoid putting critical role info only in small text or only in color.
“When the role is always at the top in big type, our check-in team stops asking clarifying questions—and the line just moves.” – Event Operations Lead
System B: Corner Shape + Color (Built for Crowds and Quick Glances)
If your event floor is crowded, consider adding a corner marker that stays recognizable even when the badge is partly covered. The idea is to combine a distinct shape with color—so you’re not relying on one cue alone.
One workable pattern is: VIP = rounded corner + star icon, Speaker = diagonal-cut corner + microphone icon, Staff = square corner + shield icon. The corner marker becomes a “stamp” that’s hard to miss, while the rest of the badge layout (name, company, QR) stays standardized.
- Corner markers remain visible even if a hand covers the center of the badge.
- Shape improves recognition when lighting is uneven or color distinctions are harder to see.
- A consistent corner position (for example, always top-right) reduces scanning time.

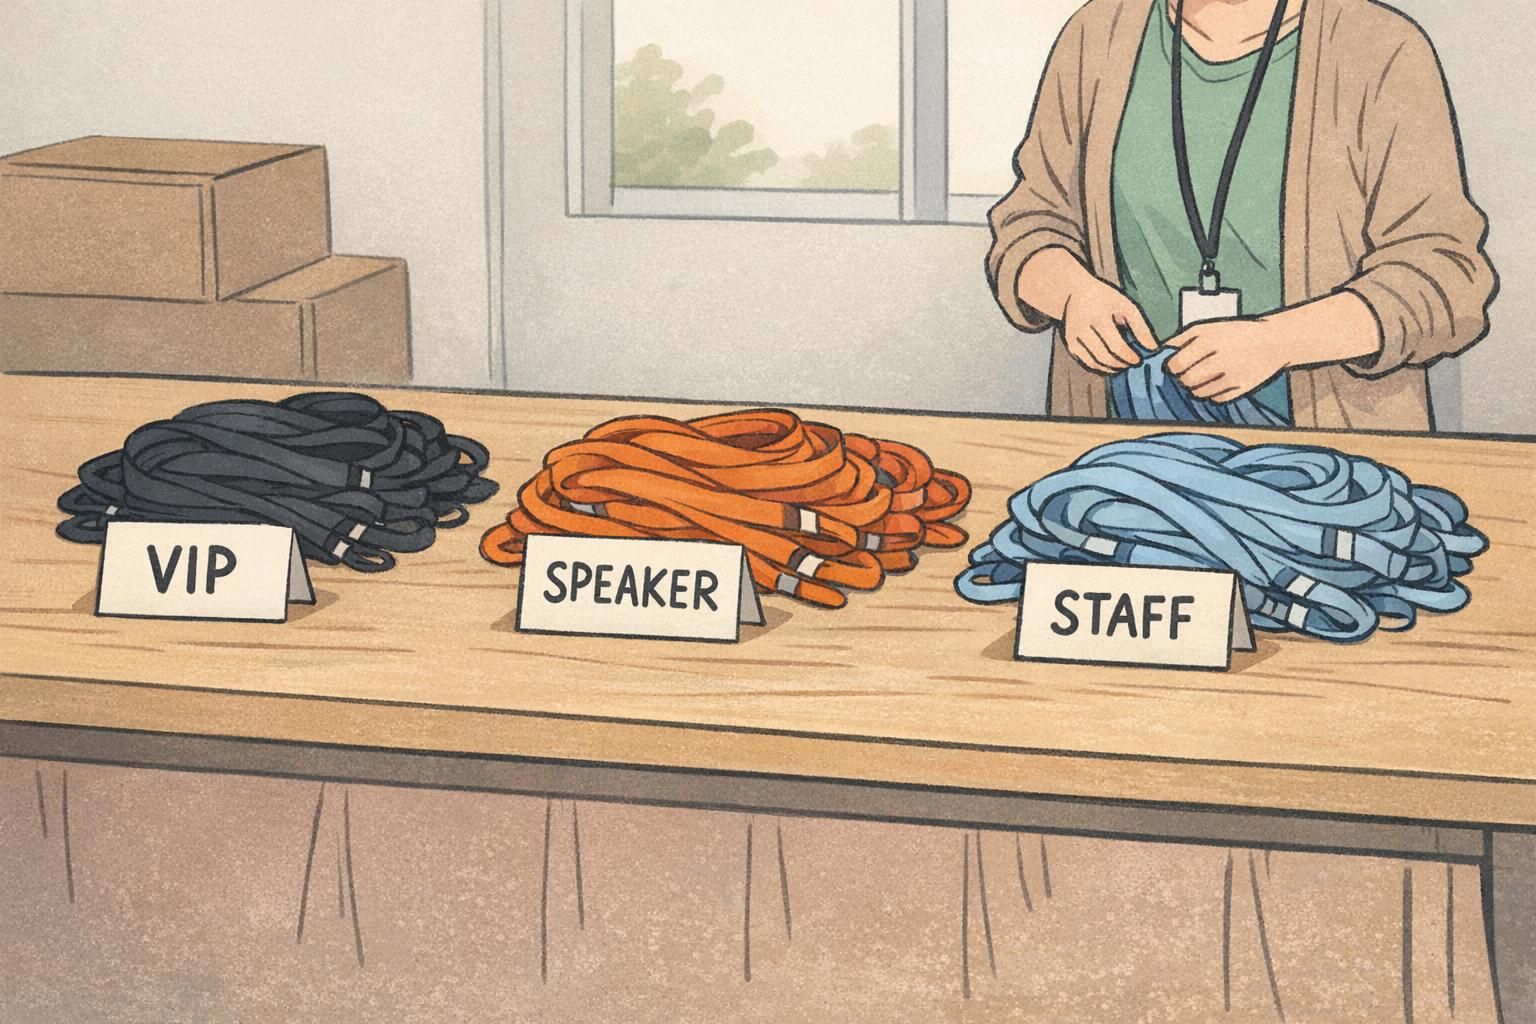
System C: Lanyards + Badge Markers (Redundant Cues for Real-World Wear)
Badges don’t always face forward. They flip, tuck into jackets, or get partially hidden by bags—especially during rush periods. Adding lanyard color coding gives you a second, always-visible layer of identification.
A simple, easy-to-teach scheme is: VIP lanyards in gold, speaker lanyards in blue, and staff lanyards in red. Pair that with either a color-bar badge (System A) or a corner-marker badge (System B). With both cues present, teams can recognize roles even before the badge fully comes into view.
- Reduced interruptions: fewer “Are you staff?” checks when people are moving quickly.
- Better wayfinding: room monitors can spot speakers approaching and wave them through.
- More reliable visibility: lanyards help when badges flip or sit behind a jacket lapel.
Role Cards, Ribbons, and Badge Add-Ons: When to Use Them (and How to Keep Them Clean)
Sometimes you need extra visibility without redesigning your whole credential. That’s where add-ons—like ribbons, role cards, and badge buddies—can help. Used well, they make routing faster and reduce mistakes at the busiest touchpoints.
Ribbons are great when you need larger text (“VIP,” “SPEAKER,” “STAFF”) that hangs below the badge and stays visible in motion. Role cards and badge buddies are helpful when you want a bigger, rigid role identifier behind the main badge while keeping the core ID card consistent for scanning or credential checks.
- Use add-ons for roles that need the fastest routing (VIP hospitality, speakers, staff leads).
- Standardize size and placement so add-ons don’t cover names or create visual clutter.
- Limit the number of add-ons per person so credentials stay readable and professional.
- Keep the role vocabulary consistent (don’t alternate between “CREW,” “STAFF,” and “TEAM” unless they truly mean different things).
Add-ons work best when they amplify an existing system (color + text), not when they introduce a new set of codes that people have to learn mid-event.
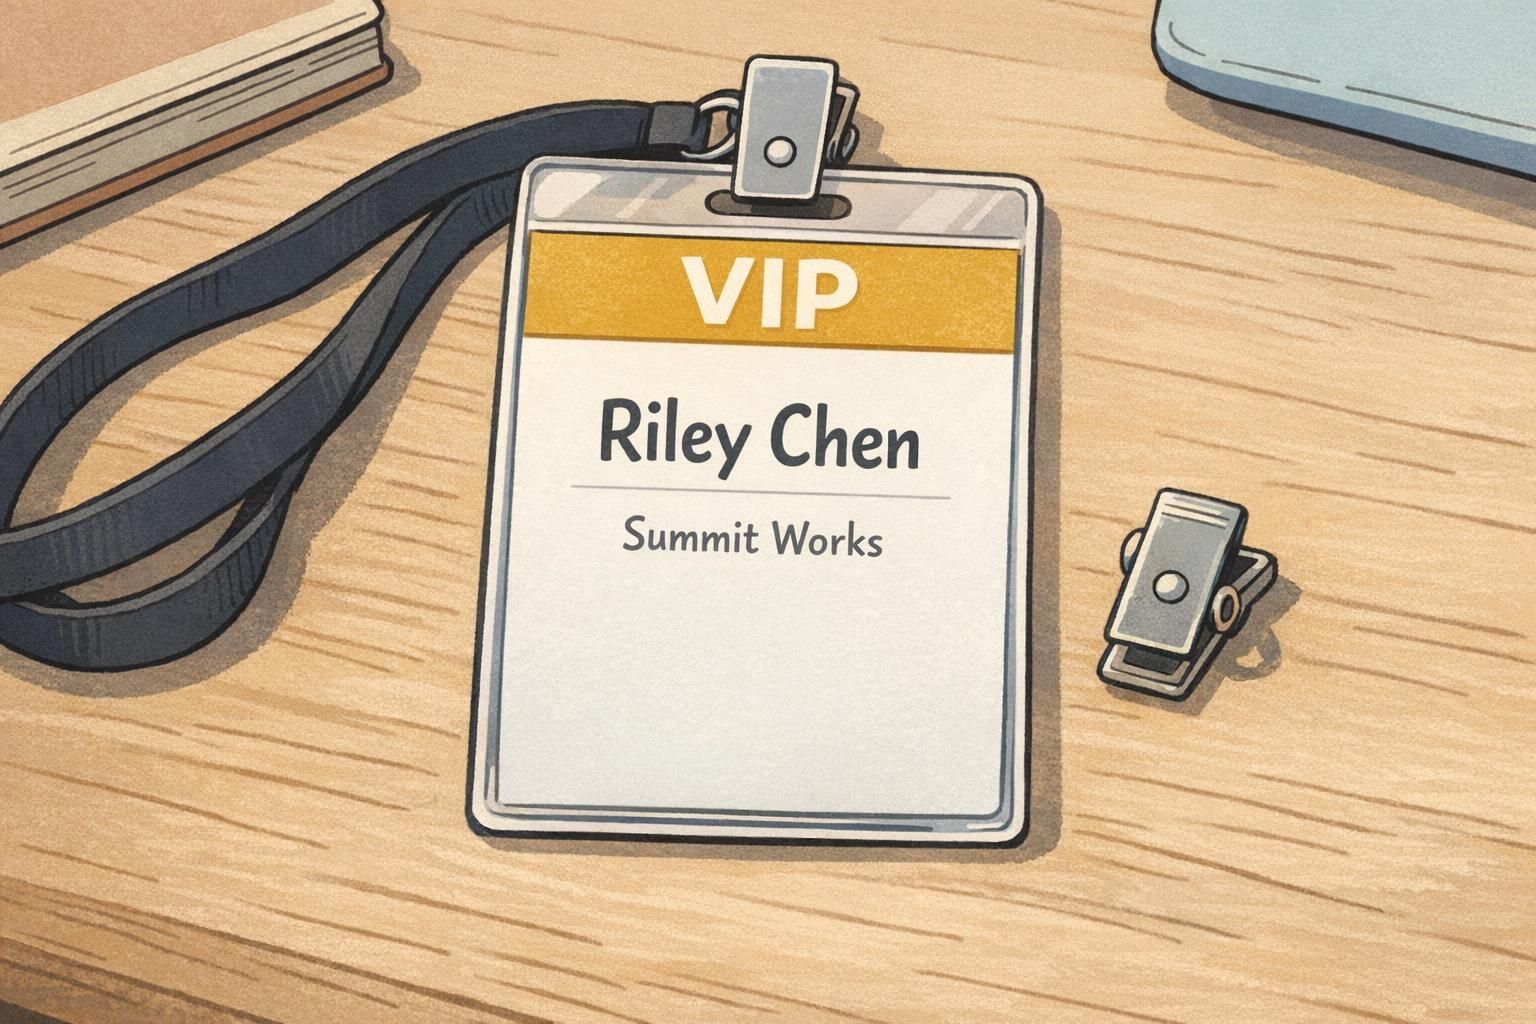
Layout Template: What Goes Where for Readability (Role, Name, Company, QR)
A clear layout makes both operations and networking easier. If your event depends on fast role recognition, treat the role as primary information—not a small label tucked in a corner.
- Top: Role label (largest and boldest). Pair with a color band and/or icon.
- Middle: First name large, last name smaller (helps quick, friendly conversation).
- Below name: Company/organization (useful context without crowding).
- Bottom or back: QR code, agenda notes, or secondary details that don’t need to be read at distance.
Keep typography simple: one to two typefaces, strong weight for the role, and enough spacing that nothing feels cramped. Also aim for high contrast between text and background so labels remain legible at arm’s length and from several feet away.
If your staff regularly routes people based on role (VIP access, speaker check-in, staff-only areas), yes. Put role first so operations are fast, then make the first name the next most readable element for networking.
If scanning is occasional, put it on the back to keep the front clean. If scanning is frequent (session entry, lead capture), keep it on the front but avoid competing with the role and name for visual priority.
Extending Beyond Three Types: Sponsor, Exhibitor, Media, Volunteer Without Overcomplicating
Once you have VIP, speaker, and staff working smoothly, it’s tempting to add more categories. You can—just keep the same visual logic so people don’t burn mental energy trying to interpret badges.
A clean extension keeps one consistent placement for the role marker (top band or corner marker) and one stable mapping per role. For example: Sponsor = green band, Exhibitor = orange band, Press = black band, Volunteer = teal band—each with clear text and a simple icon for redundancy.
- Avoid too many similar shades (teal vs. blue vs. navy) that blur together in hallway lighting.
- Use text as the non-negotiable cue; color and icon support it.
- Keep role names short and consistent across signage and staff instructions.
- If you add categories, update any quick-reference materials so staff isn’t guessing.
“The best badge system is the one people don’t have to think about. If staff can identify roles while walking, you’ve done it right.” – Venue Security Supervisor
BadgeZoo Products That Support Clear Role Identification (Event Badges, Ribbons, Badge Buddies)
Once you’ve chosen a system (color bar, corner marker, or a layered lanyard approach), the next step is making it easy to execute consistently for your whole team. Event badges that support bold role headers, plus optional ribbons or badge buddies for high-visibility roles, can help keep identifiers readable and standardized across rooms and days.
If you want to explore formats that fit these role-clarity principles, BadgeZoo offers event badges and name tags that can be designed with clear role placement and large, readable text. For events with unusual role needs or special layouts, it can also help to ask questions or request a custom order via http://badgezoo.com/contact.
Operational clarity comes from standardization: one role system, one placement, and enough redundancy (text + color + icon/shape) that your badges still work in the real world.