School ID Cards: Practical Tips for Student Safety Programs
Why School ID Cards Work Best as Part of a Simple Safety Routine
School ID cards are most helpful when they support predictable, low-friction routines—what staff can see at a glance in hallways, how attendance gets confirmed, and how dismissal stays orderly. On their own, ID cards won’t solve every safety concern, but they can reduce everyday confusion and make it easier for adults on campus to notice when something looks “off.”
The most successful programs keep expectations simple: students know when IDs should be visible, staff know how to do quick checks without interrupting learning, and families understand what happens when a card is forgotten. That calm consistency is what turns identification into a practical part of campus safety instead of another task that slows the day down.
Aim for routines people can follow on the busiest day of the year. If the process only works when everything is quiet, it won’t hold up when it matters.
Define Your Program Goals: Visual ID, Access Control, Attendance, and Dismissal
Before you pick a card design or a scanning system, write down the two or three outcomes you want your ID program to deliver. Clear goals prevent “tool overload” (extra tech, extra steps, extra exceptions) and help everyone understand what the program is for.
Common, realistic goals include: quick visual recognition in hallways, limited-entry access for certain doors, faster attendance confirmation, and more controlled pickup procedures. Each goal can be supported by student badges and staff routines—but each also comes with decisions about who checks what, when, and how exceptions are handled.
- Visual ID: Staff can quickly confirm a student belongs on campus (photo + clear name + grade indicator).
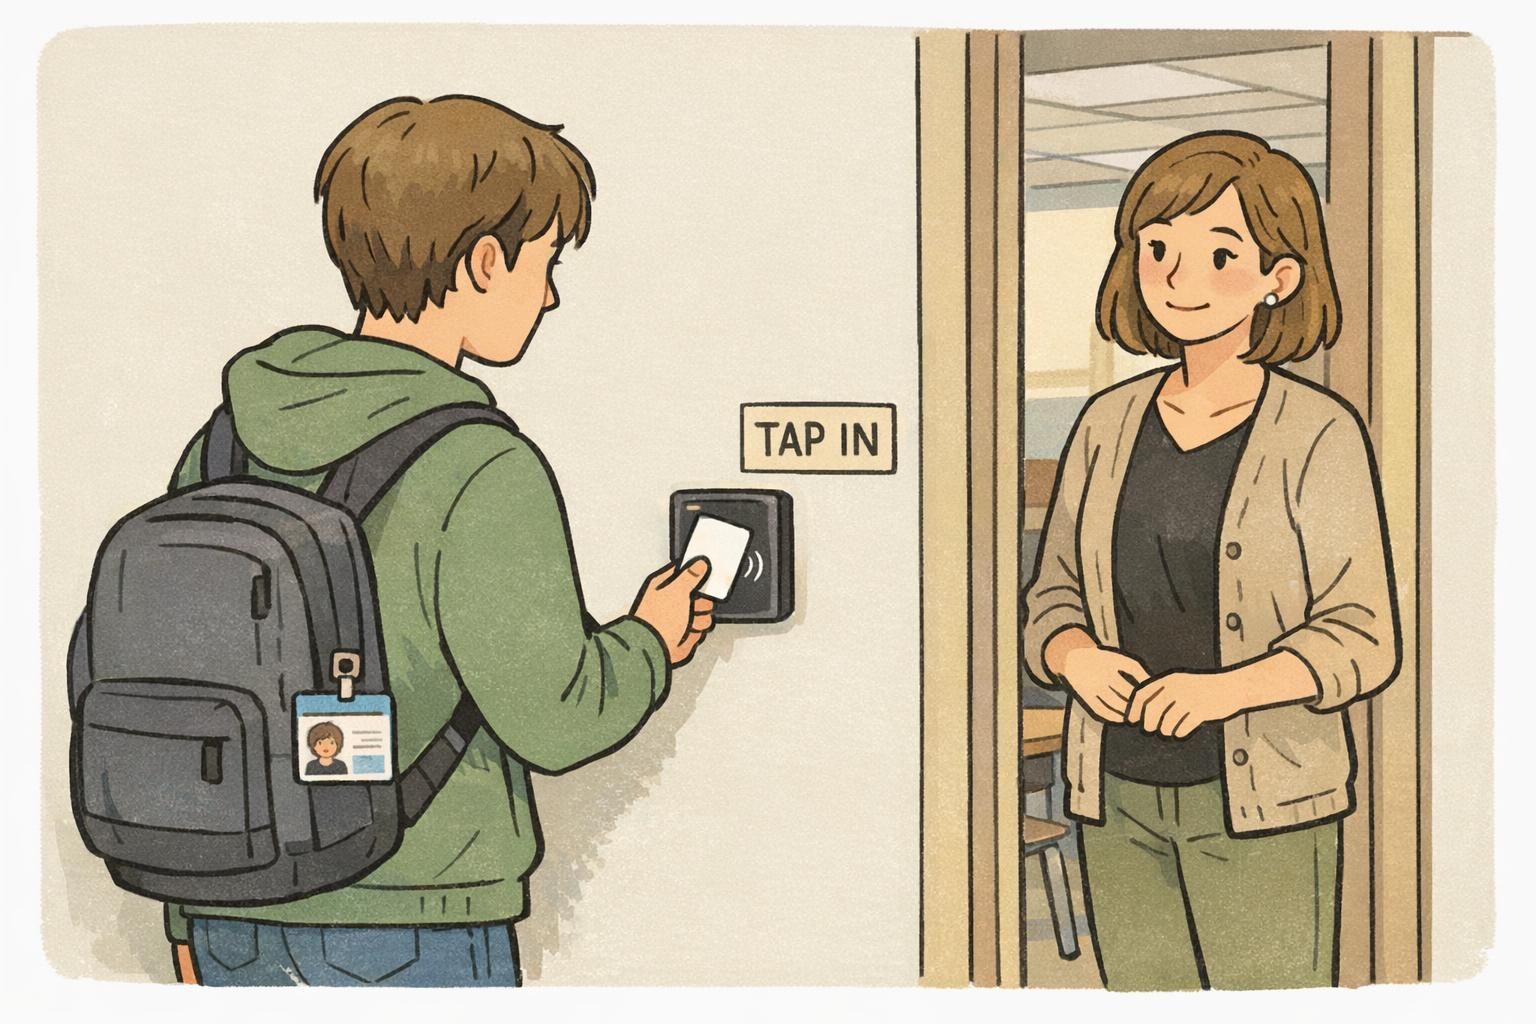
- Access control: Certain doors or areas require a card tap/scan (often staff only, sometimes older students depending on policy).
- Attendance support: Homeroom and/or period changes can be logged more consistently when aligned with a daily process.
- Dismissal: Pickup becomes more orderly when parents/guardians and staff use a consistent verification routine.
Also define how the program works for substitutes, coaches, club advisors, and volunteers. If identification rules change depending on who is supervising, people will default to the easiest version—which usually means inconsistent enforcement.
No. Keep the ID program focused on daily identification and documentation. Strong campus safety comes from layered routines—supervision, clear entry procedures, and practiced communication—supported by identification tools.
Two or three is usually manageable. You can expand later once routines are stable and staff feel confident.
Age-Appropriate Design for Student Badges (What to Include and What to Avoid)
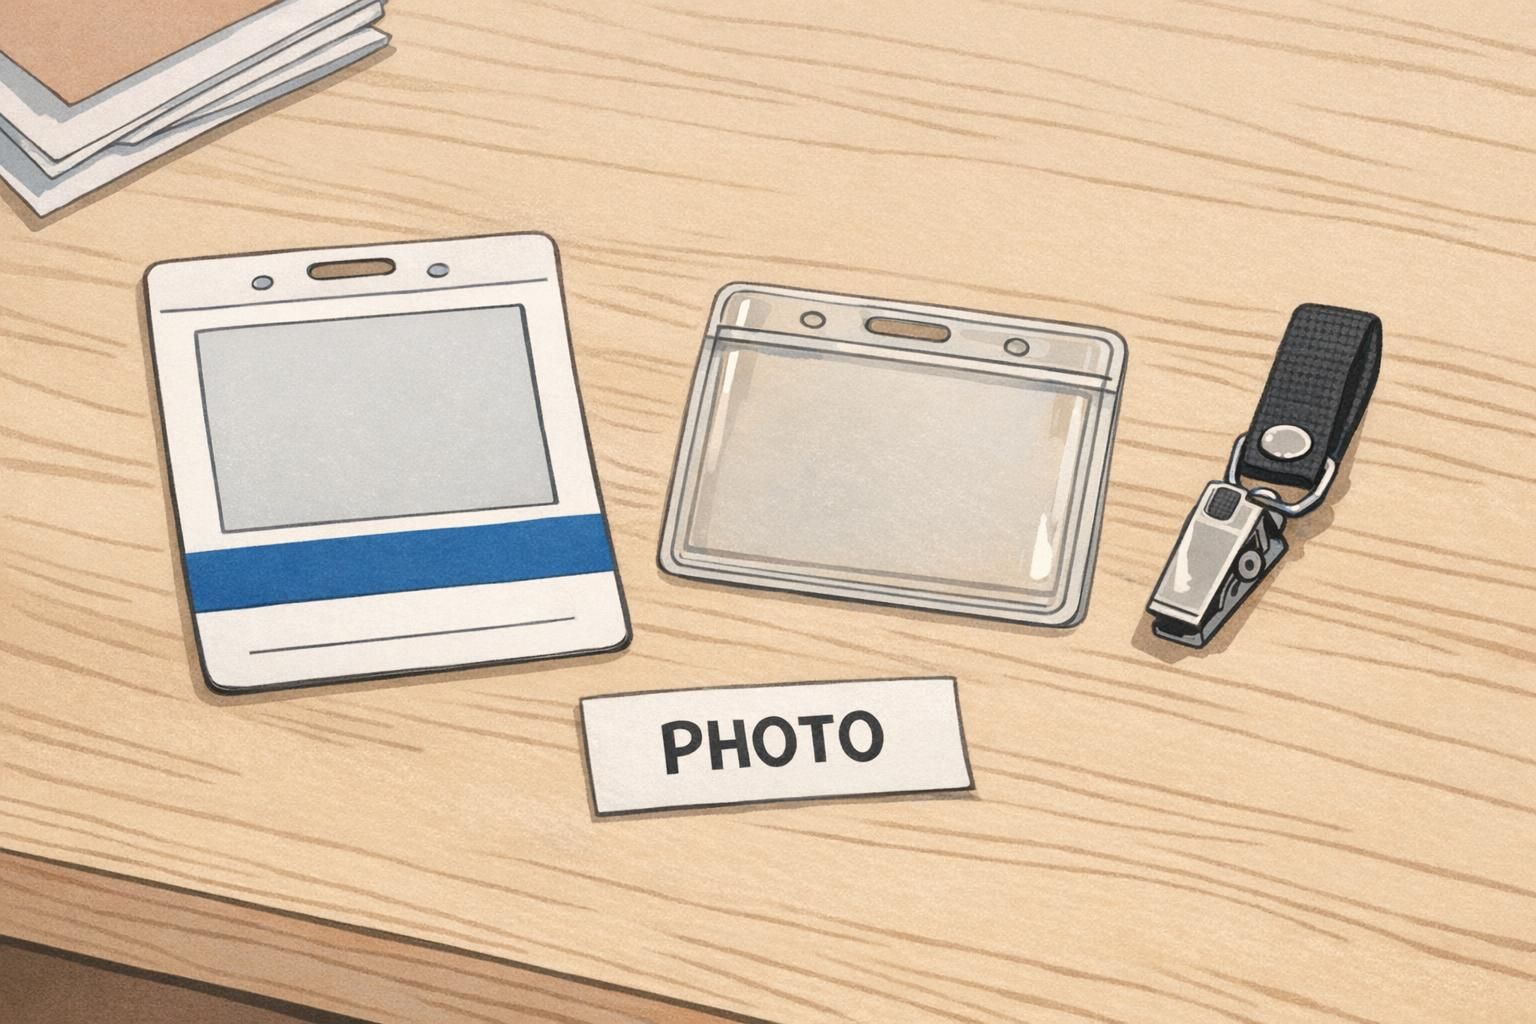
Great student badges help staff identify students quickly while avoiding unnecessary personal details. In practice, the best designs are easy to read from a comfortable distance, consistent across grades, and simple enough that students actually carry them.
Start with the information adults need most during normal movement: a clear photo, a readable preferred name, and a simple grade or role indicator. If your school uses color cues, use them to help supervision (for example, grade-level colors) without singling students out for special status on the front of the card.
- Photo: Use a large, high-contrast photo area so staff can recognize students quickly.
- Name formatting: Prioritize a bold first/preferred name and a clear last name line; avoid overly decorative fonts.
- Grade or school level: A simple indicator (e.g., “6th” or “MS”) supports quick hallway context.
- Optional role cues: If needed, add small icons or subtle color bars for groups like staff, visitors, or after-school program participants.
For younger grades, keep the front of the card simple. The goal is quick recognition—not packing the card with data.
What to avoid on the front: sensitive personal details that don’t help with day-to-day supervision. If your program needs student numbers or other internal identifiers, many schools keep those on the back or within the system used for scanning—so the card remains useful without broadcasting extra information.
Daily Routines That Make Campus Safety Stronger (Without Disrupting Learning)
Daily routines are where identification programs succeed or fail. The goal is not constant “policing,” but a steady rhythm: IDs are visible when they need to be, checks happen at natural transition points, and everyone knows what to do when something goes wrong—without turning the front office into a bottleneck.
A practical routine usually focuses on three moments: arrival, hallway transitions, and dismissal. When staff can rely on student badges being worn consistently, they spend less time resolving basic questions and more time supervising.
- Arrival: Reinforce “ID on before first bell” with a quick visual check at the main entry or grade-level entrance.
- Hallways: During passing periods, staff do light-touch visibility checks (IDs out, not tucked in backpacks).
- Classroom attendance: Use a consistent method—teacher confirmation, quick scan, or a hybrid—so exceptions are easy to spot.
- Lunch and library: If these are high-traffic areas, add simple checks that don’t slow lines.
- Dismissal: Match students to authorized pickup routines (especially for elementary), using calm verification steps.
Plan for forgotten cards in a way that keeps movement smooth and avoids turning a mistake into a confrontation. A supportive temporary pass process can protect learning time and reduce repeat issues—especially if it’s paired with a clear reissue workflow.
“Our biggest improvement wasn’t the card itself—it was agreeing on one calm routine for forgotten IDs so teachers weren’t improvising different rules every period.” – School operations coordinator
Choosing Card Technology: Barcode vs RFID vs Higher-Verification Options
Choosing technology works best when you start with workflow: how many students move through a point at once, how many staff can supervise that point, and how often the system must handle exceptions (late arrivals, early dismissals, after-school programs). The “best” option is the one your campus can operate reliably every day.
In many schools, ID cards can also support more consistent logging for access-control records or attendance-related events when paired with clear administrative rules and monitoring. That combination—technology plus routine—helps reduce gaps created by manual workarounds and inconsistent documentation (source).
- Barcode or magstripe (basic scanning): Often used for libraries, cafeteria lines, or simple check-ins. It’s typically straightforward, but requires line-of-sight scanning and can slow down if students don’t present cards quickly.
- RFID/contactless: Faster for door access and tap-in points because it doesn’t require precise alignment. It can work well in high-traffic transitions, provided policies address lost cards and prevent casual card sharing.
- Higher-verification options for limited areas: Some campuses add extra steps for a small number of higher-risk spaces (for example, staff-only rooms). This works best when it’s limited to the places that truly need it, so daily movement stays simple.
Technology can speed up a process, but it can’t replace clarity. Decide who is allowed to use which doors, what happens when a card is missing, and who reviews logs—then pick the tool that fits.
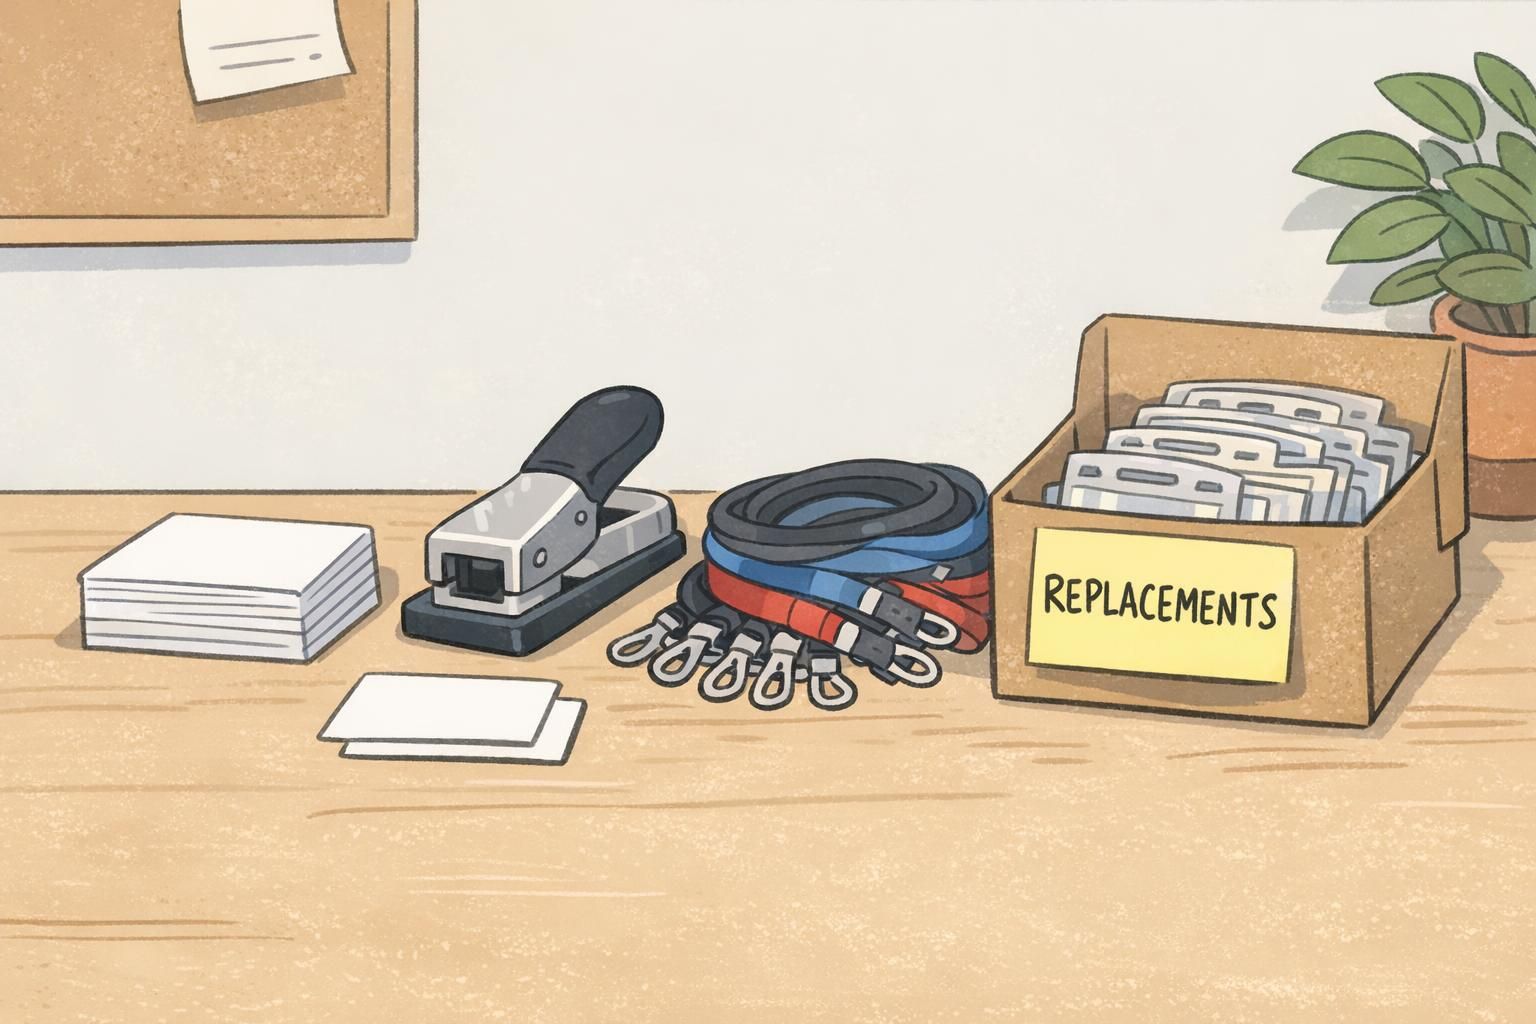
Durable Accessories and Wear Options: Lanyards, Clips, and Holders for Real School Days
If IDs aren’t comfortable to wear and durable enough for recess, backpacks, sports, and rainy arrival lines, they won’t stay visible—and the system will break down. Accessories are often the difference between a program that looks good on paper and one that works in real hallways.
For most schools, a small set of standardized options keeps things simple: a breakaway lanyard for safety, a clear holder that keeps the card readable, and a clip option for students who can’t wear lanyards during certain activities. Elementary grades often do best with the most rugged, no-fuss setup possible.
- Breakaway lanyards: A common choice for everyday wear because they’re easy to see and designed to release under tension.
- Strap clips: Helpful for students who prefer a clip-on option or for activities where lanyards aren’t practical.
- Rigid or semi-rigid badge holders: Protect cards from bending and keep photos and names readable.
- Weather-resistant options: Useful if students queue outdoors during arrival or dismissal.
If you’re standardizing supplies across grades, consider issuing one “default” set and a small set of approved alternatives for special cases (for example, sensory needs or certain athletics). Keeping options limited helps staff recognize what a valid badge setup looks like.
Some schools also prefer sourcing cards and accessories together to keep sizing consistent (card thickness, slot placement, holder fit). If helpful, BadgeZoo offers durable ID badge holders and school ID cards so campuses can choose a setup that matches how students actually wear IDs day to day.
Pickup, Visitor, and Event Identification: Extending the System Beyond Students
Student identification works best when adults on campus also have clear identification—especially during high-traffic moments like dismissal and events. Extending the same “easy to spot, easy to understand” approach to visitors and pickup helps reduce confusion without adding tension.
For dismissal, a simple structure often outperforms a complicated one. Schools can use pickup cards, rosters, and staff confirmation in a consistent sequence so lines keep moving and exceptions are handled calmly.
- Pickup routine: Parent/guardian shows pickup authorization, staff confirms against a roster, then student is released through a consistent handoff point.
- Time-window approach (when appropriate): For example, early pickup vs normal dismissal can have separate procedures so the office isn’t interrupted repeatedly.
- Visitor check-in: Use clearly differentiated visitor badges that are easy for staff to spot at a glance.
- Event badges: For volunteers, vendors, or chaperones, role-based badges reduce repeated questions and help staff direct people quickly.
When visitors and adults are clearly identified, staff can spend less time asking “Who are you here to see?” and more time supporting students and supervision.
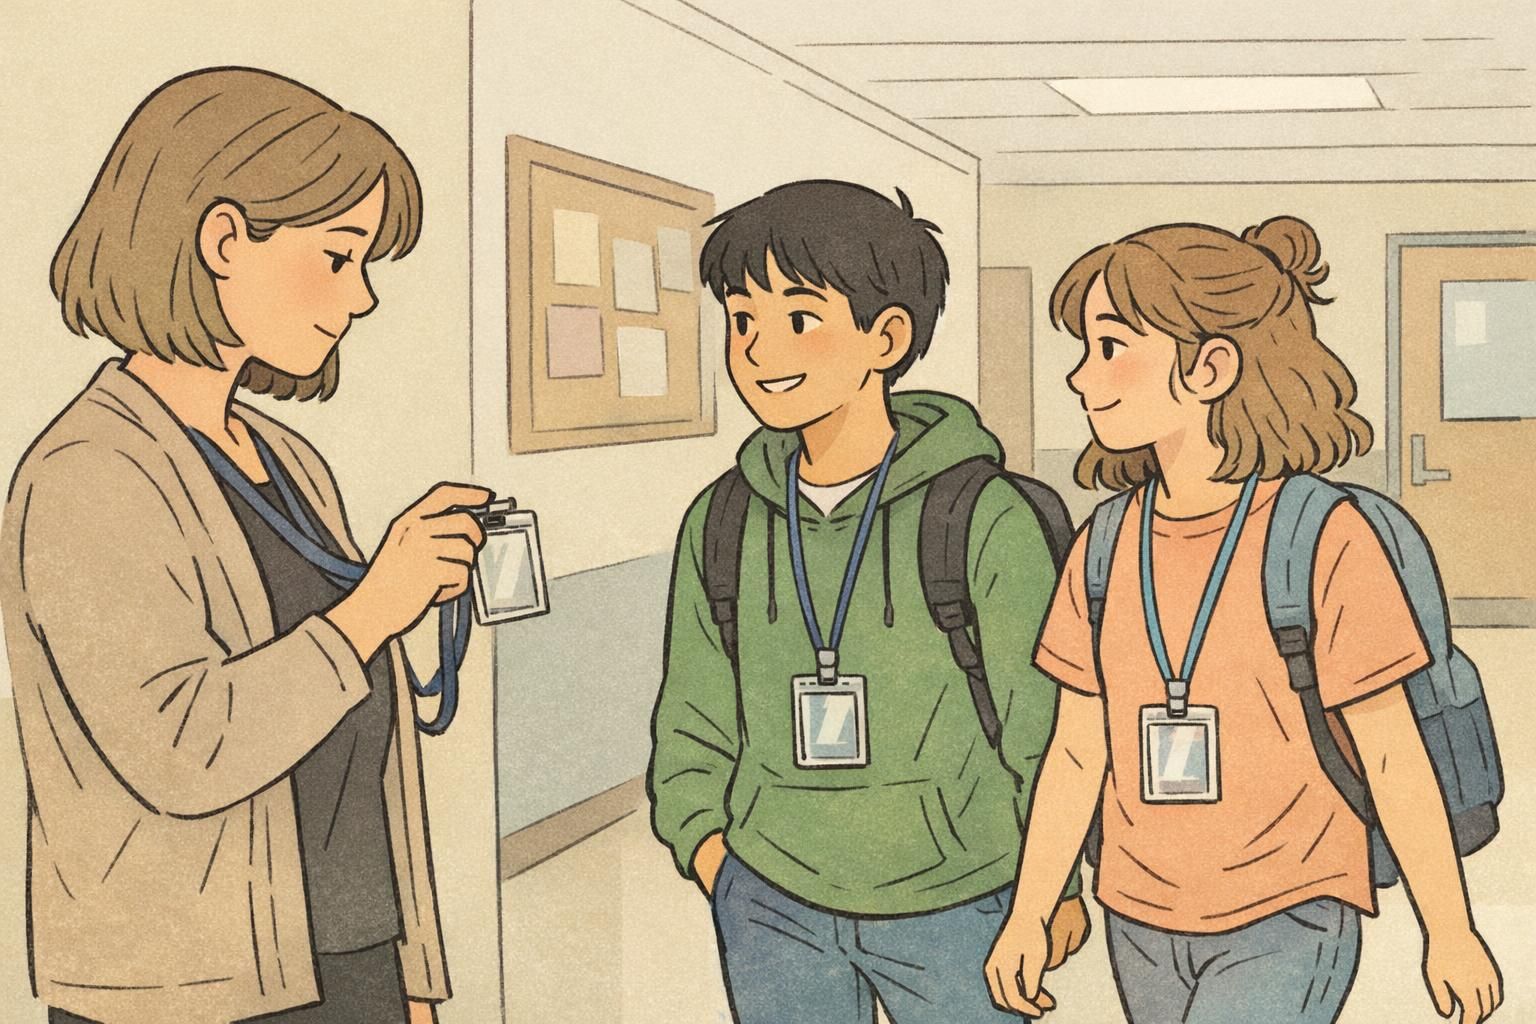
Training, Communication, and Privacy: Keeping the Program Consistent and Respectful
Even a well-designed ID system will feel inconsistent if expectations aren’t taught and repeated. Training is less about long meetings and more about clear “what this looks like” guidance for staff, students, and families.
For staff, focus on a shared script and shared exceptions: what to do when a student forgets a badge, where temporary passes come from, and when to refer a situation to the office. For students, keep expectations age-appropriate and practice routines in low-stress moments (first week, after breaks, before major events). For families, communicate the purpose in plain language: smoother supervision, clearer identification, and more predictable dismissal.
- Staff training: Short walkthrough of daily checkpoints (arrival, hallways, key rooms, dismissal) and the forgotten-card process.
- Student expectations: Teach when IDs must be visible and how to keep them secure without turning it into a discipline-first issue.
- Family communication: Explain how replacement cards work and what families should do if a card is lost.
- Supportive enforcement: Focus on helping students comply consistently rather than relying on escalating consequences.
Privacy basics can stay practical and grounded: store only what your routines require, limit who can view logs or change permissions, define how long logs are kept, and document who has authority to make updates. Clear boundaries help maintain trust while still supporting campus operations.
Use predictable checkpoints and a calm script. When the response to a forgotten card is consistent (temporary pass + reissue steps), students experience it as routine, not confrontation.
Keep that authority limited and documented. Fewer permission editors generally means fewer mistakes and clearer accountability.
Quick Implementation Checklist and 30-Day Rollout Plan
A smooth rollout is usually more about sequencing than speed. If you establish the routine first—what happens at arrival, during passing, and at dismissal—then the cards and accessories simply support what staff already know to do.
- Week 1: Draft a one-page policy (when IDs are worn, what happens when forgotten, replacement steps, visitor badge rules).
- Week 1: Finalize the card layout (photo, name, grade/role cues) and choose accessories that match each grade level.
- Week 2: Run a small pilot with one grade level or one building wing; note bottlenecks and confusion points.
- Week 2: Train staff using the pilot routine (arrival check, hallway visibility, classroom attendance approach, dismissal verification).
- Week 3: Print/distribute IDs and accessories; practice routines with students in a low-stress setting.
- Week 3: Set up a temporary pass process and a clear replacement workflow so the office can handle exceptions quickly.
- Week 4: Review friction points (forgotten cards, long lines, inconsistent checks) and adjust one routine at a time.
Measure what creates delays: Where do lines form? When do students forget IDs? Which adults need clearer roles? Small adjustments to routine often matter more than changing the card.
Build a simple review cadence—such as a short check-in after the first two weeks, then again after the first month. Over time, a stable ID routine supports student safety without pulling attention away from learning.