High traffic visitor badges: Scaling the Process in Busy Facilities
Why high traffic visitor badges break down (and how to prevent it)
In a busy lobby, high traffic visitor badges aren’t just about confirming a name—they’re about keeping the front door calm, consistent, and predictable. When daily volume climbs, tiny slowdowns stack up: one extra minute to type details, one printer pause, one unclear policy question. The result is usually the same: long lines, rushed decisions, and a check-in experience that varies depending on who’s behind the desk.
The goal isn’t to “speed through” security. It’s to increase throughput without losing clarity, authorization, or auditability. A scalable process makes it easy for staff to do the right thing every time, and easy for visitors to understand what to do next—especially during peak arrivals.
If your check-in process relies on staff “remembering the exceptions,” it will break under pressure. Scaling comes from standard steps, clear badge types, and a workflow that keeps routine visits moving while isolating exceptions for staff attention.
Map the visit journey and define throughput targets before you buy tools
Before adding kiosks, new printers, or more badge formats, document the visit journey from the visitor’s point of view. In practice, many bottlenecks aren’t “technology problems”—they’re handoff problems: unclear entrances, duplicated data entry, or a single choke point where everyone needs the same staff member.
Also, unmanaged queues can create crowding and safety issues in high-traffic venues, and can noticeably reduce visitor satisfaction—one more reason to treat flow design as a core part of facility visitor management, not an afterthought (source).
- Arrival: Which entrance do visitors use, and how do they know?
- Queue: Do you separate pre-registered visitors from walk-ins?
- Verification: Who checks ID (if required), and what counts as acceptable?
- Data capture: What fields are truly necessary for the visit?
- Agreements: NDA, safety briefing, photo consent—what must be signed and when?
- Badge creation: Where is the printer/kiosk, and how long does it take to produce a readable badge?
- Access and escorting: Where can the visitor go, and how is that communicated?
- Exit: Is the badge collected, deactivated, or expired automatically?
- Average check-in time (for pre-registered visitors vs. walk-ins)
- Maximum acceptable queue length (or maximum wait time during peaks)
- Peak arrival windows (shift changes, appointment blocks, event start times)
- Exception rate (percent needing staff intervention due to ID issues, mismatches, restricted access, etc.)
A simple capacity plan—peak arrivals per 15 minutes and a target check-in time—quickly reveals how many staff, kiosks, and printers you need to keep guest check in stable during rushes.
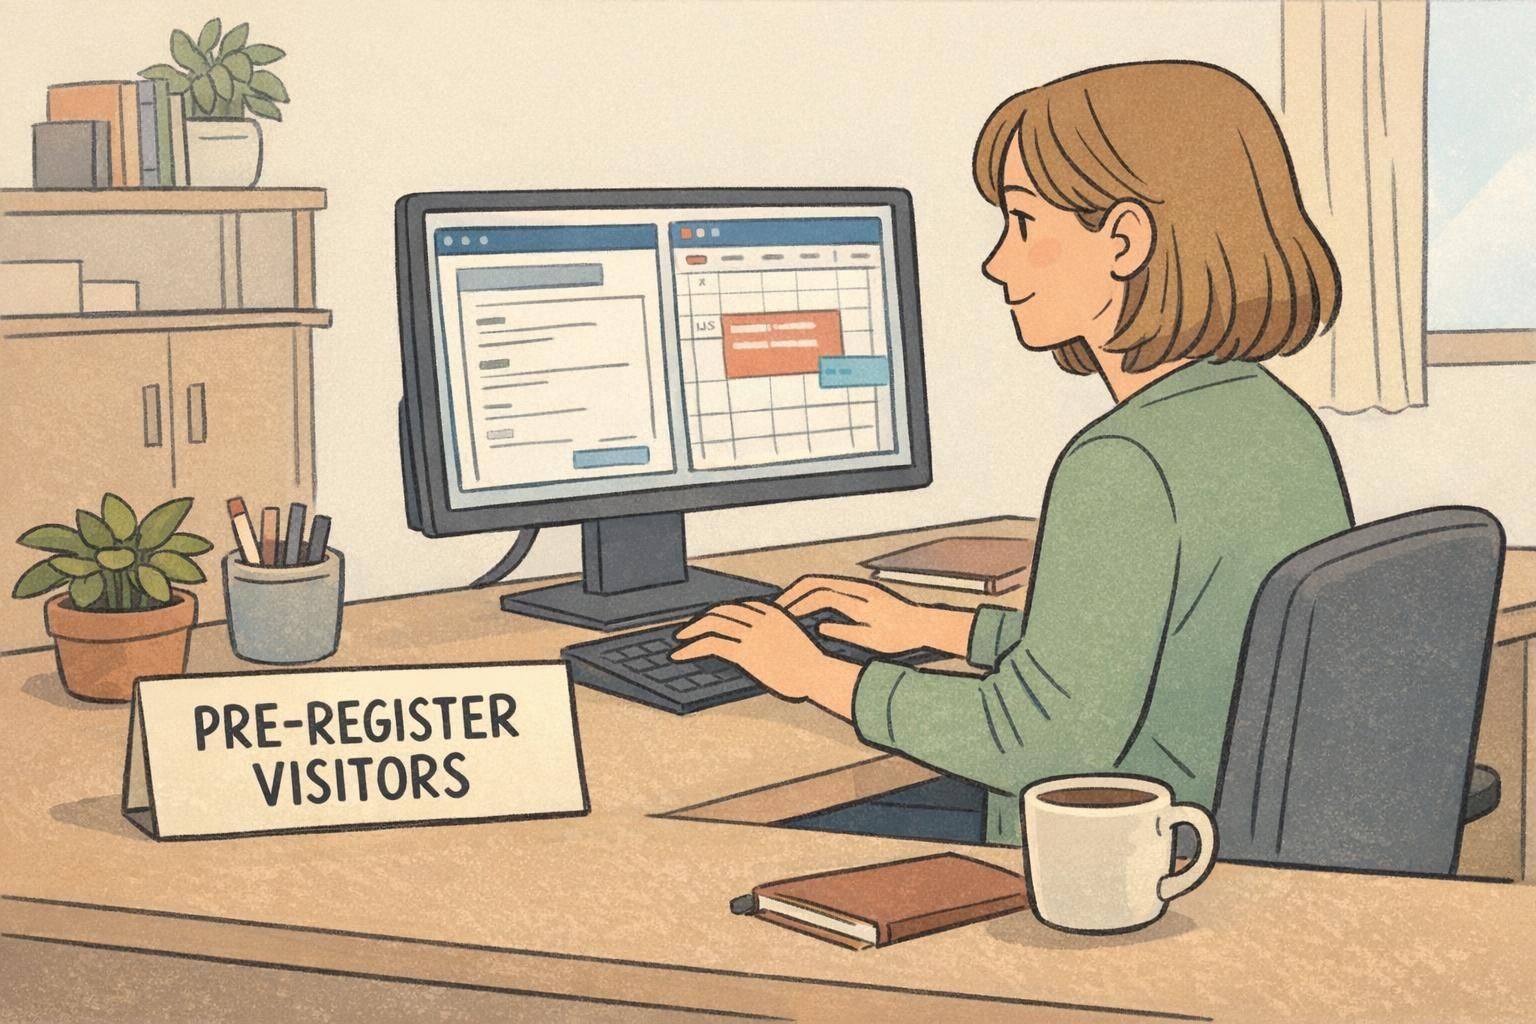
Pre-registration that actually reduces lobby workload
Pre-registration only helps if it removes work from the front desk. The most effective approach is host-driven pre-registration: the host enters key details ahead of time, so the visitor isn’t spelling names at a counter while a line forms behind them.
Capture the essentials: name, organization, host, date/time, location, and any required agreements. Then send a QR code or confirmation code so the check-in step becomes “pull up the record and confirm,” not “start from scratch.” This reduces typos, avoids duplicate entries, and helps facility visitor management teams forecast demand by time and location.
- Use a consistent set of required fields so staff aren’t improvising
- Keep pre-registration short enough that hosts will actually complete it
- Send a scannable QR code or confirmation code in the invite
- Define what happens if someone arrives without pre-registration (a separate walk-in process)
- Decide which visits require extra steps (photo, safety briefing, restricted-zone approval) so they don’t surprise the desk during peak periods
Not always. Pre-registration is most valuable for predictable visits—scheduled meetings, recurring vendors, contractor shifts, interviews, and clinic-style appointment blocks. Walk-ins still need a clear, fast pathway that doesn’t slow down pre-registered arrivals.
Collecting lots of information that staff still retype at check-in. If it isn’t reused to confirm identity, authorization, or auditability, it probably shouldn’t be mandatory.
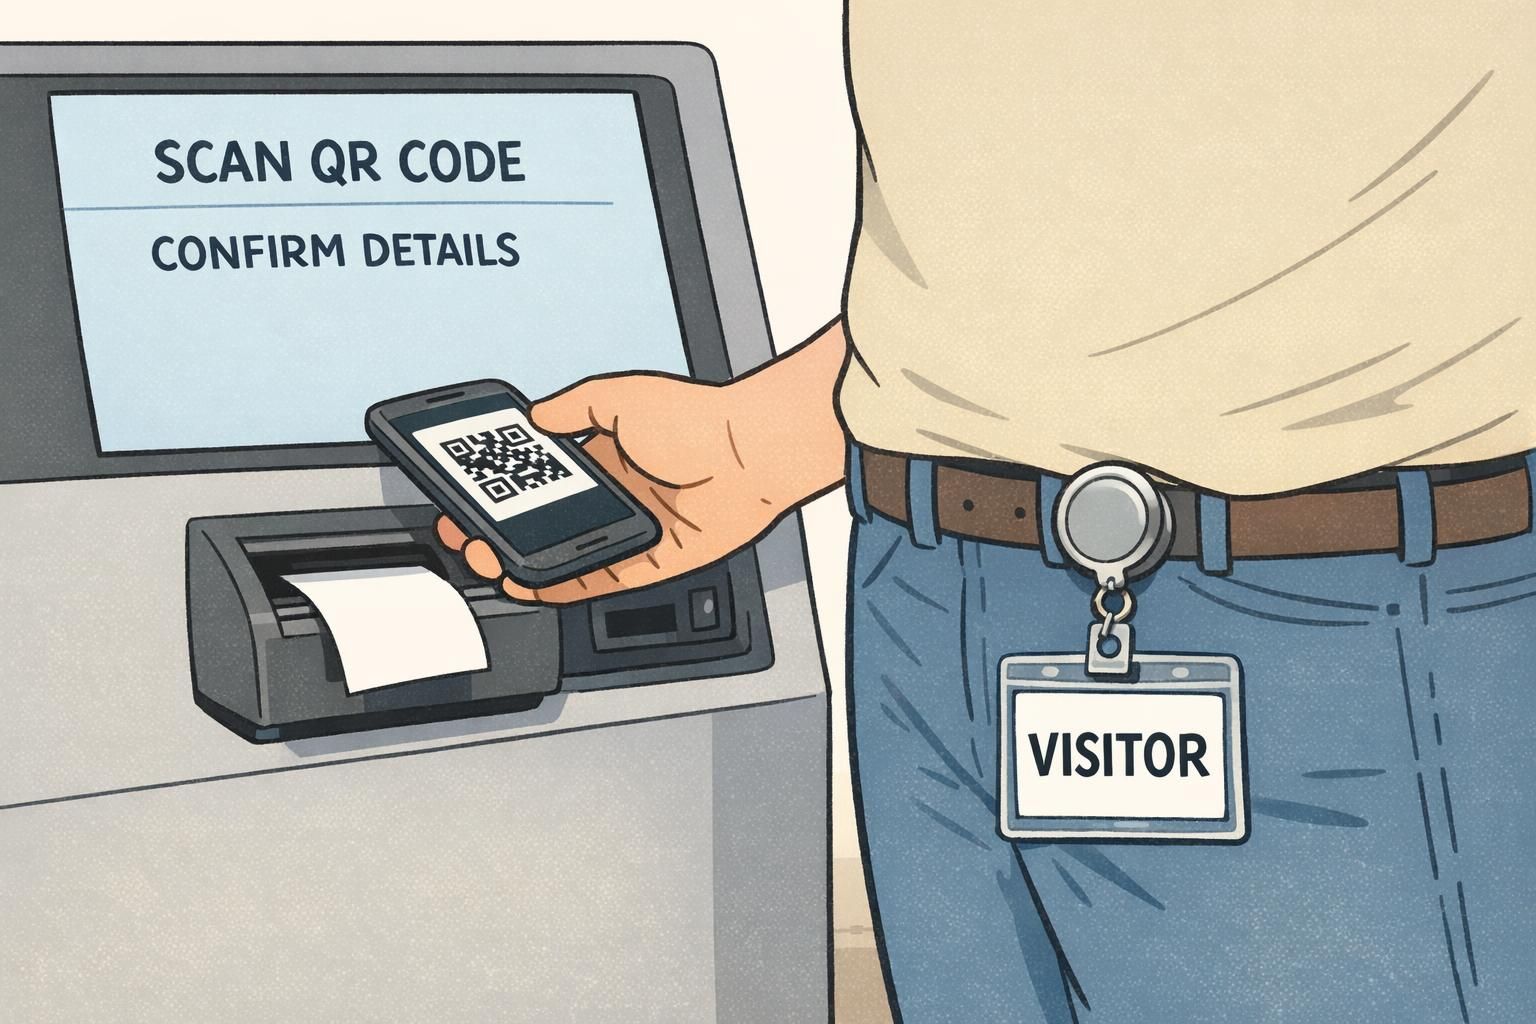
Self-service kiosks: the fastest way to scale guest check in
If your lobby volume regularly spikes, self-service kiosks are often the most direct way to scale guest check in without adding the same number of staff. A well-designed kiosk flow allows a pre-registered visitor to scan a QR code, confirm details, sign required forms, and print a badge in seconds.
The operational win comes from separation of work: kiosks handle routine visits; staff handle exceptions. That division keeps lines moving because the “hard cases” no longer stall everyone behind them.
- Create a clearly marked kiosk line (separate from walk-in help)
- Keep on-screen steps minimal: scan, confirm, sign (if needed), print
- Designate a nearby staff member to assist only when the kiosk flags an issue
- Define exception rules: no ID, name mismatch, incorrect date/time, restricted-area requests
- Place printers and badge supplies so a kiosk can print continuously during peaks
“The kiosk didn’t replace our front desk—it protected it. Our staff now spends time on exceptions and policy decisions instead of typing names all morning.” – Facilities Coordinator
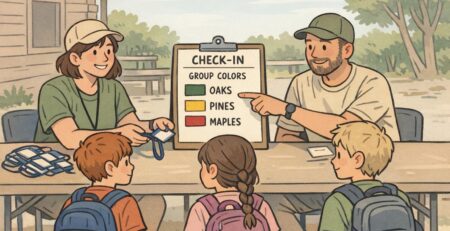
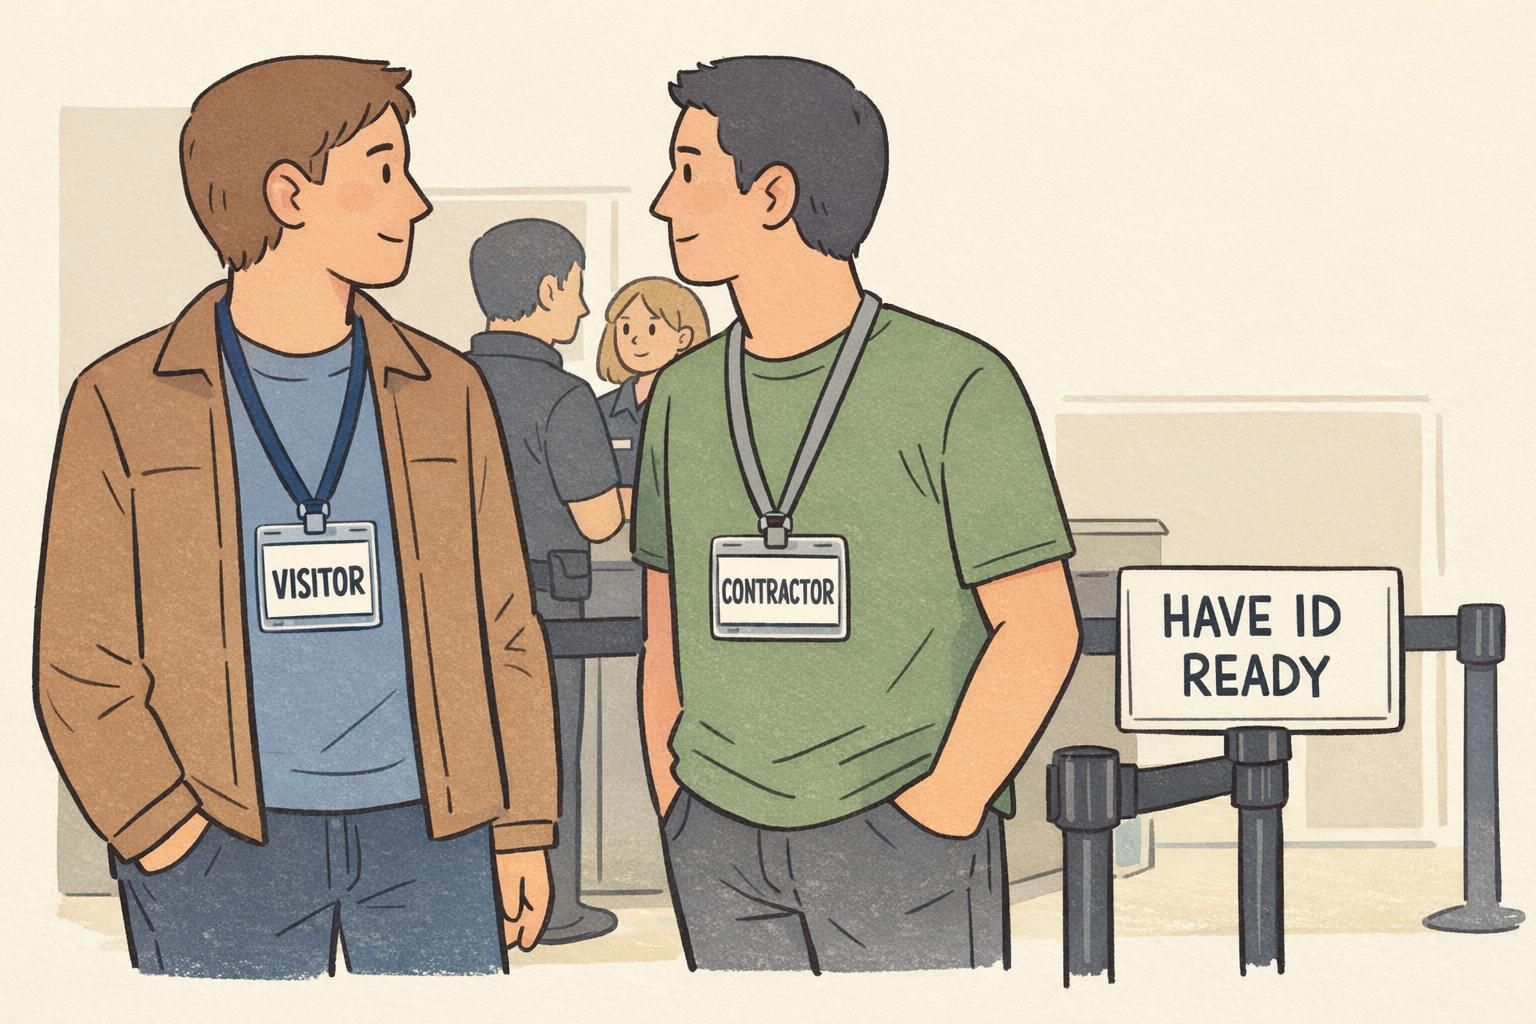
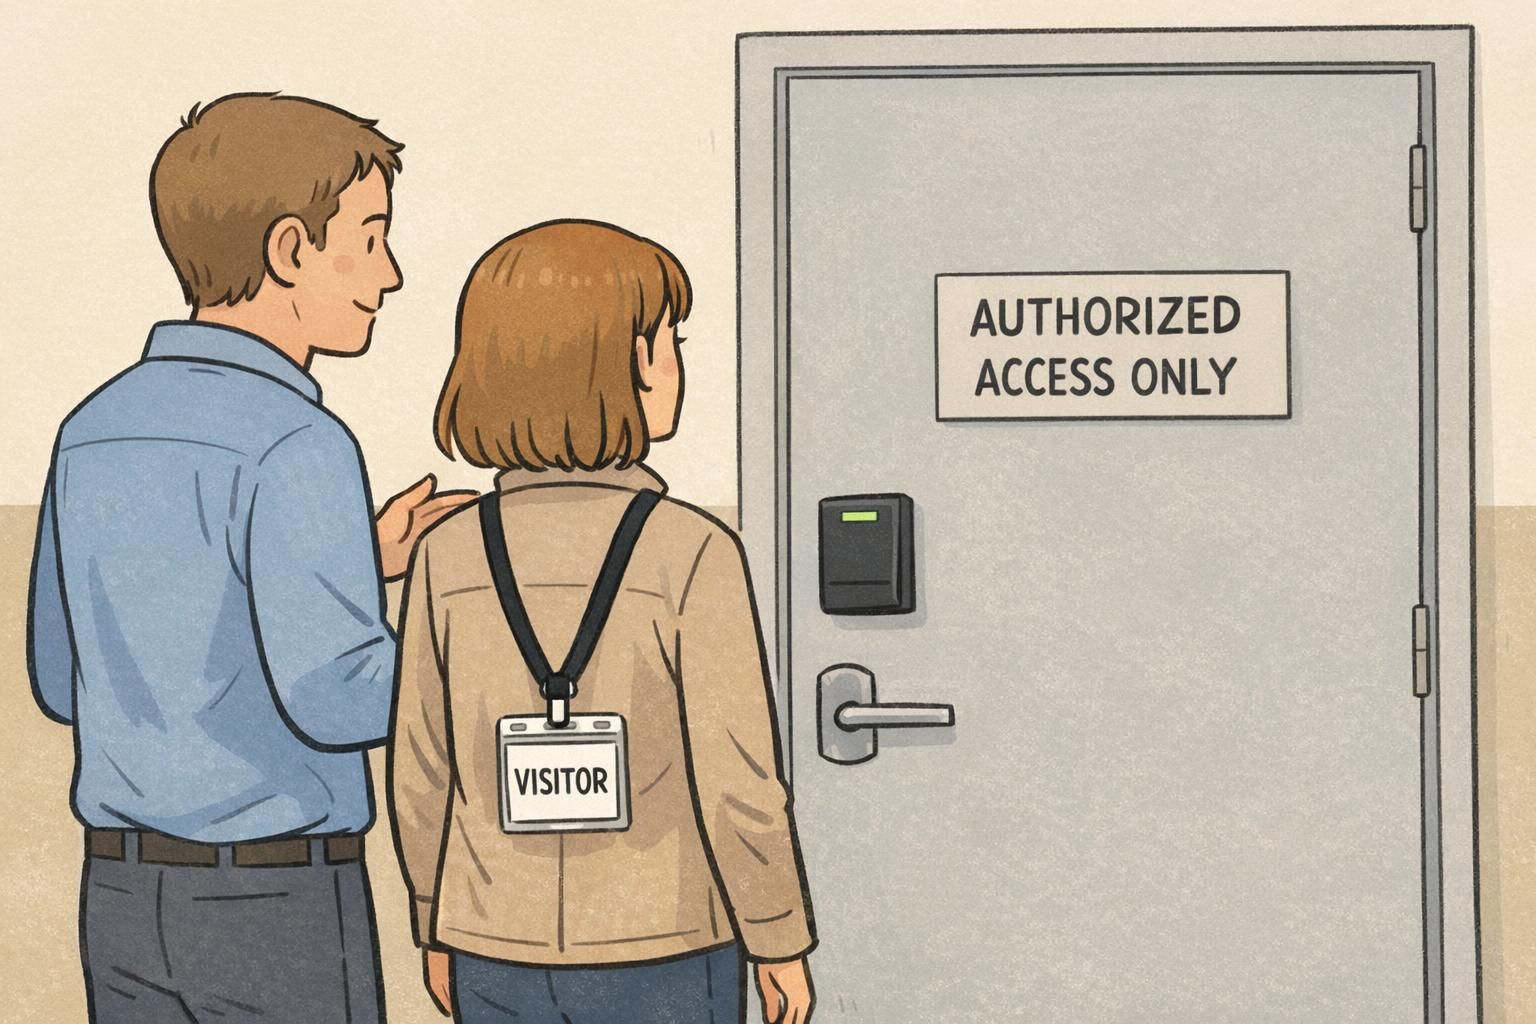
Badge types that scale: visual clarity first, access rules second
In high-volume environments, a badge has to communicate status instantly. If staff can’t tell who is authorized at a glance, you’ll get constant interruptions (“Is this person okay to be here?”) and inconsistent enforcement.
Start by standardizing a small set of badge types that match your real traffic patterns—common examples are VISITOR, CONTRACTOR, VENDOR, and EVENT. Prioritize strong visual cues: large role text, a clear layout, and color bands (often by day) so yesterday’s badge is easy to spot. For longer or higher-security visits, an optional photo can reduce confusion when people move between departments.
Once the visual system is consistent, then layer in scannable elements (barcode, QR, or RFID where applicable) so the badge ties back to the visitor record and access rules. This supports auditing and reduces reliance on memory or manual logs.
- Keep the number of badge types small enough that everyone recognizes them
- Use large role text (not tiny labels) for quick recognition
- Add time cues (date/day color) to discourage reuse
- Reserve photos for visits where they genuinely improve verification
- Make sure the printed badge layout is identical across entrances
Zoning and time windows to control where and when people move
At very busy sites, the biggest risks often come from unclear movement: visitors drifting into the wrong corridor, arriving early and waiting in sensitive areas, or lingering after a meeting ends. Zoning and time windows reduce those problems without creating a complicated experience at the desk.
Zoning means the badge (and the visitor record behind it) reflects where the person is allowed to go—lobby-only, meeting floors, lab corridors, or secure areas. Time windows limit when the badge is valid: same-day expiration, timed entry blocks, or an automatic end-of-visit. Together, these controls reduce badge reuse and cut down on manual follow-up.
- Define a default zone for most visitors (often lobby + meeting area)
- Require extra approval steps only for restricted zones
- Use same-day expiration for typical visitors
- Set clear “early arrival” handling (waiting area vs. check-in window)
- Use end-of-visit rules (badge collection, automatic expiration, or both) to keep records clean
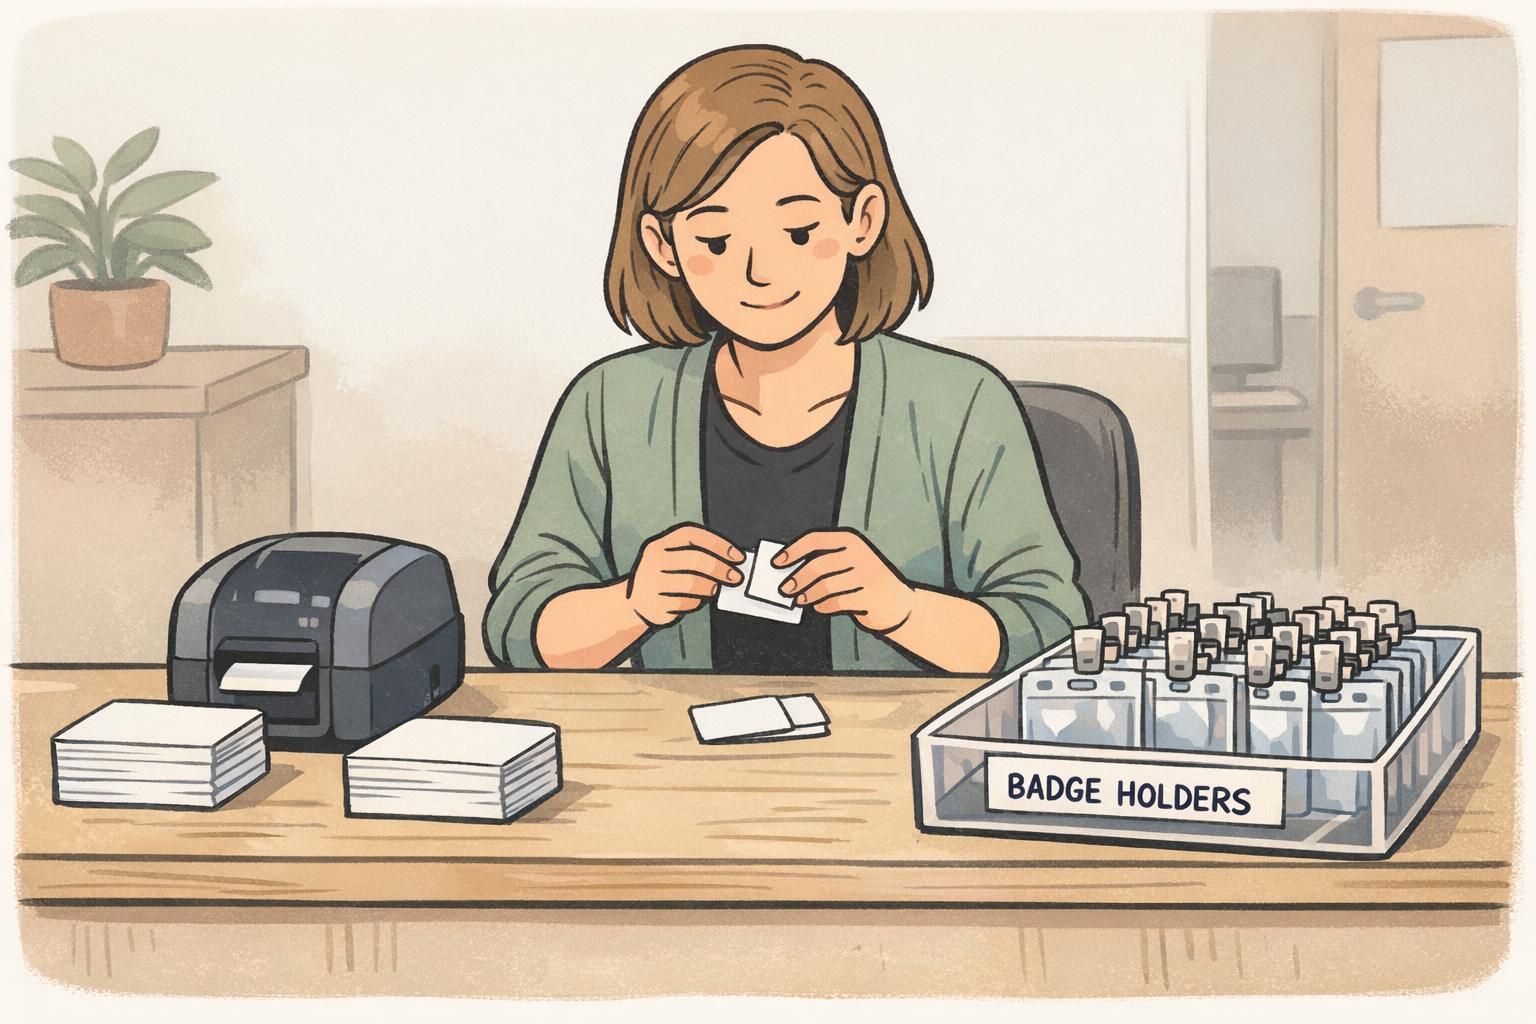
Print workflows and materials: disposable vs. reusable at high volume
At high volume, printing isn’t just a hardware decision—it’s a workflow decision. The more predictable your supplies and layouts are, the less time staff spend reloading, troubleshooting, and answering “Which badge do I use?” during a rush.
Disposable adhesive visitor badges can be very fast for short, low-risk visits, especially when you need a badge that’s clearly single-day and hard to reuse. Thicker cards in holders can work better for multi-day visitors, contractor programs, or situations where you want a cleaner, more durable presentation.
- Match materials to visit length: short visits vs. multi-day programs
- Keep a standardized badge layout so it’s instantly recognizable
- Use the same printer settings at every entrance to avoid inconsistent output
- Pre-stage supplies before peak windows (stock, holders, clips, reels)
- Decide where you want the badge worn (lanyard, clip, or reel) and keep that consistent
Implementation checklist: staffing, signage, training, and exception handling
The best systems still fail if expectations aren’t clear. Scaling is largely about consistency: the same rules, the same decisions, the same look and feel—regardless of which entrance someone uses or which staff member is on shift.
- Acceptable ID policy: define what’s valid and when ID is required
- Host responsibilities: clarify when a host must verify in person or escort
- Exception handling: document what happens when a visitor can’t be verified quickly
- Signage: direct visitors to the correct entrance and correct queue (pre-registered vs. walk-in vs. kiosk)
- Kiosk guidance: simple step-by-step signs that match the on-screen flow
- Training: focus on applying the rules the same way every time—especially during peak pressure
- Auditing: ensure each issued badge ties back to a visitor record and a visit time window
Separate routine from exceptions. Let pre-registration and kiosks handle the standard path, and train staff to quickly route edge cases into a defined exception process rather than debating policy in the main line.
Unclear decisions at the desk—especially when staff must interpret who is authorized, which area they can access, or which badge type to print. Clear badge types and written exception rules reduce that uncertainty.
Fast check-in is mostly a design problem: clear lines, clear steps, clear badges, and clear exception rules. When those are in place, staffing and tools go much further.
Visitor badge products that support high-volume check-in
Once your workflow is mapped and your badge types are standardized, the physical badge should reinforce that simplicity: easy to read, quick to print, and comfortable to wear. Many high-traffic teams use disposable visitor badge inserts for speed, then pair them with holders or clips when they want a cleaner look and easier handling at the desk.
If you’re building or refreshing a high-volume program, you can start with a consistent template approach and adjust materials as you learn your true peak demand. For example, choosing a design intended for quick on-site printing can help keep entrances aligned on one recognizable format. For teams evaluating options, BadgeZoo offers custom visitor badges for high-volume check-in designed to be clear and practical in busy facilities.
A scalable visitor badge program isn’t defined by one tool—it’s defined by repeatable steps: pre-register what you can, let kiosks handle routine arrivals, and use badge types that communicate status instantly.