On site badge printing vs Pre-Printed Badges: Which Check-In Model Wins?
Why your check-in model matters for speed, accuracy, and attendee experience
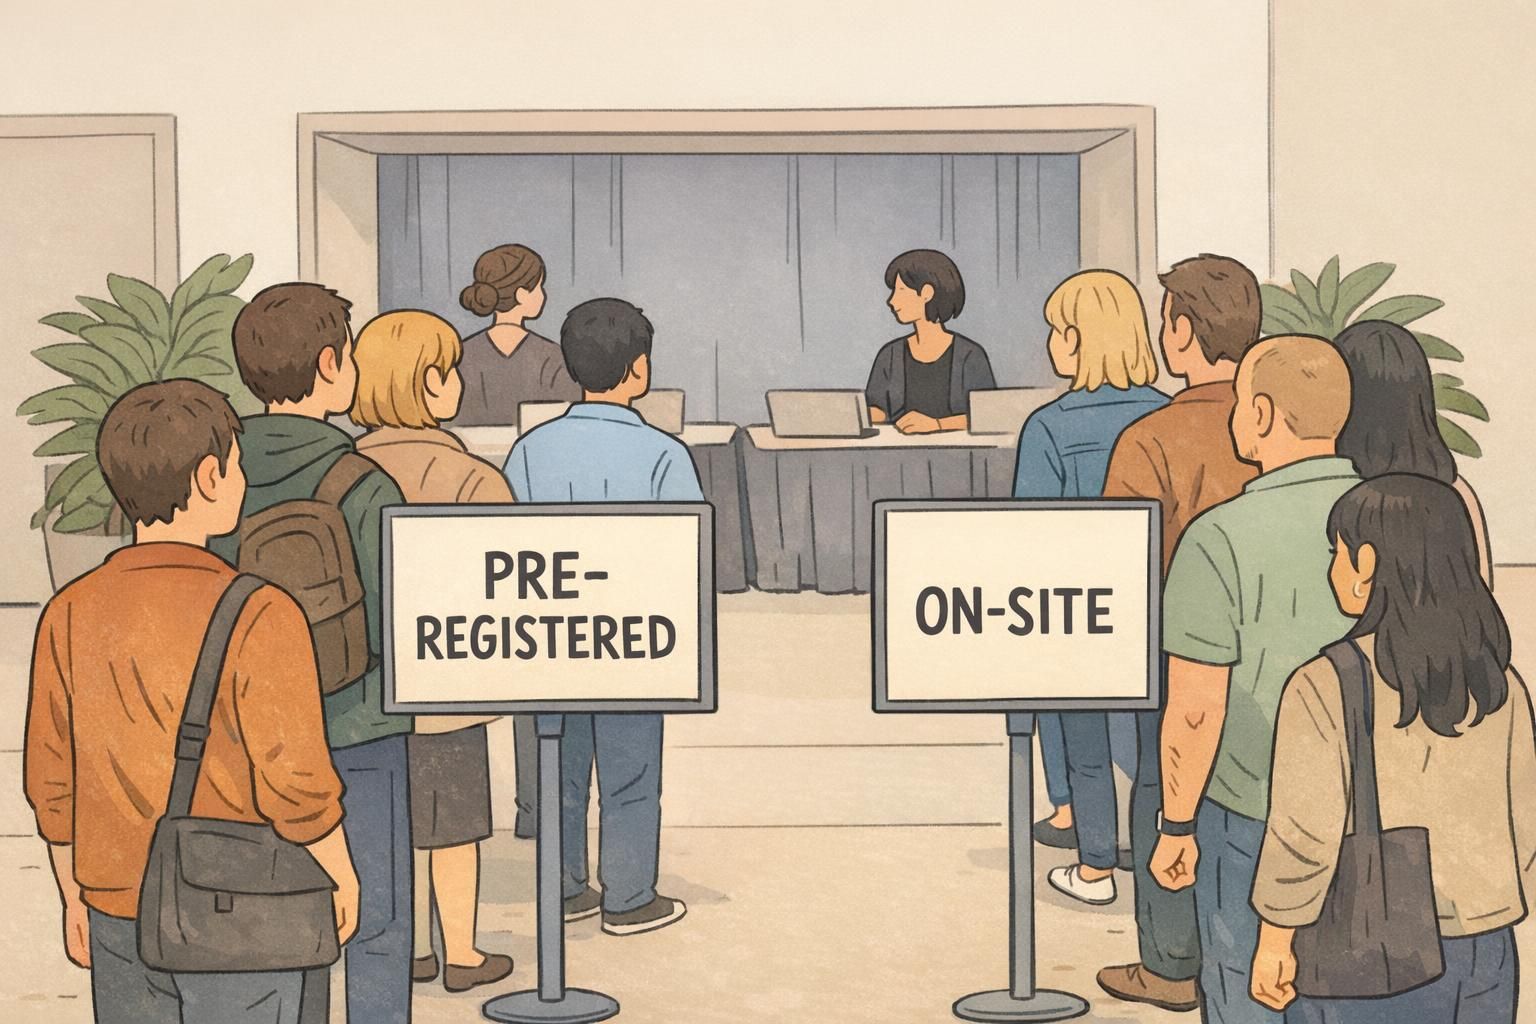
Your event’s first impression happens at the door. The way you handle event check in affects how long people wait, how confident staff feel, and how “together” the whole operation looks—before attendees even see the agenda. The biggest decision is often whether to rely on on site badge printing or to hand out pre printed badges. Both can be excellent. Both can also create bottlenecks if the workflow doesn’t match the reality of your attendee list (late registrations, substitutions, name corrections, role-based access, and last-minute changes). This guide compares the two models in practical terms: where each one shines, where it tends to break down, and how a hybrid approach can reduce risk while keeping credentials accurate and easy to manage.
If you expect change (walk-ins, corrections, role swaps), you’ll usually benefit from printing closer to arrival. If you expect stability (tight list, minimal edits), you can trade flexibility for simplicity.
Quick definitions: pre-printed vs on-site printing (and what “done” looks like)
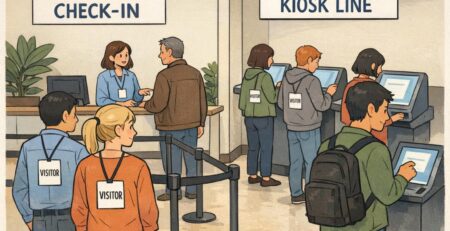
It’s easy to talk past each other when teams say “we’re doing printed badges.” The real difference is when the badge is created—and what that implies for staffing, equipment, and error handling. Pre printed badges are produced ahead of time in bulk. Event-day work is primarily sorting, finding the right credential, and handing it off. On-site printing generates the badge at arrival using live registration data. This can happen at staffed check-in stations or self-service kiosks, and it’s often paired with scanning a QR code to pull up the attendee record quickly. What “done” looks like in either model is the same: the attendee gets a legible badge (plus lanyard/clip/holder if you use them), their name and role are correct, and staff can visually verify access levels without a long conversation.
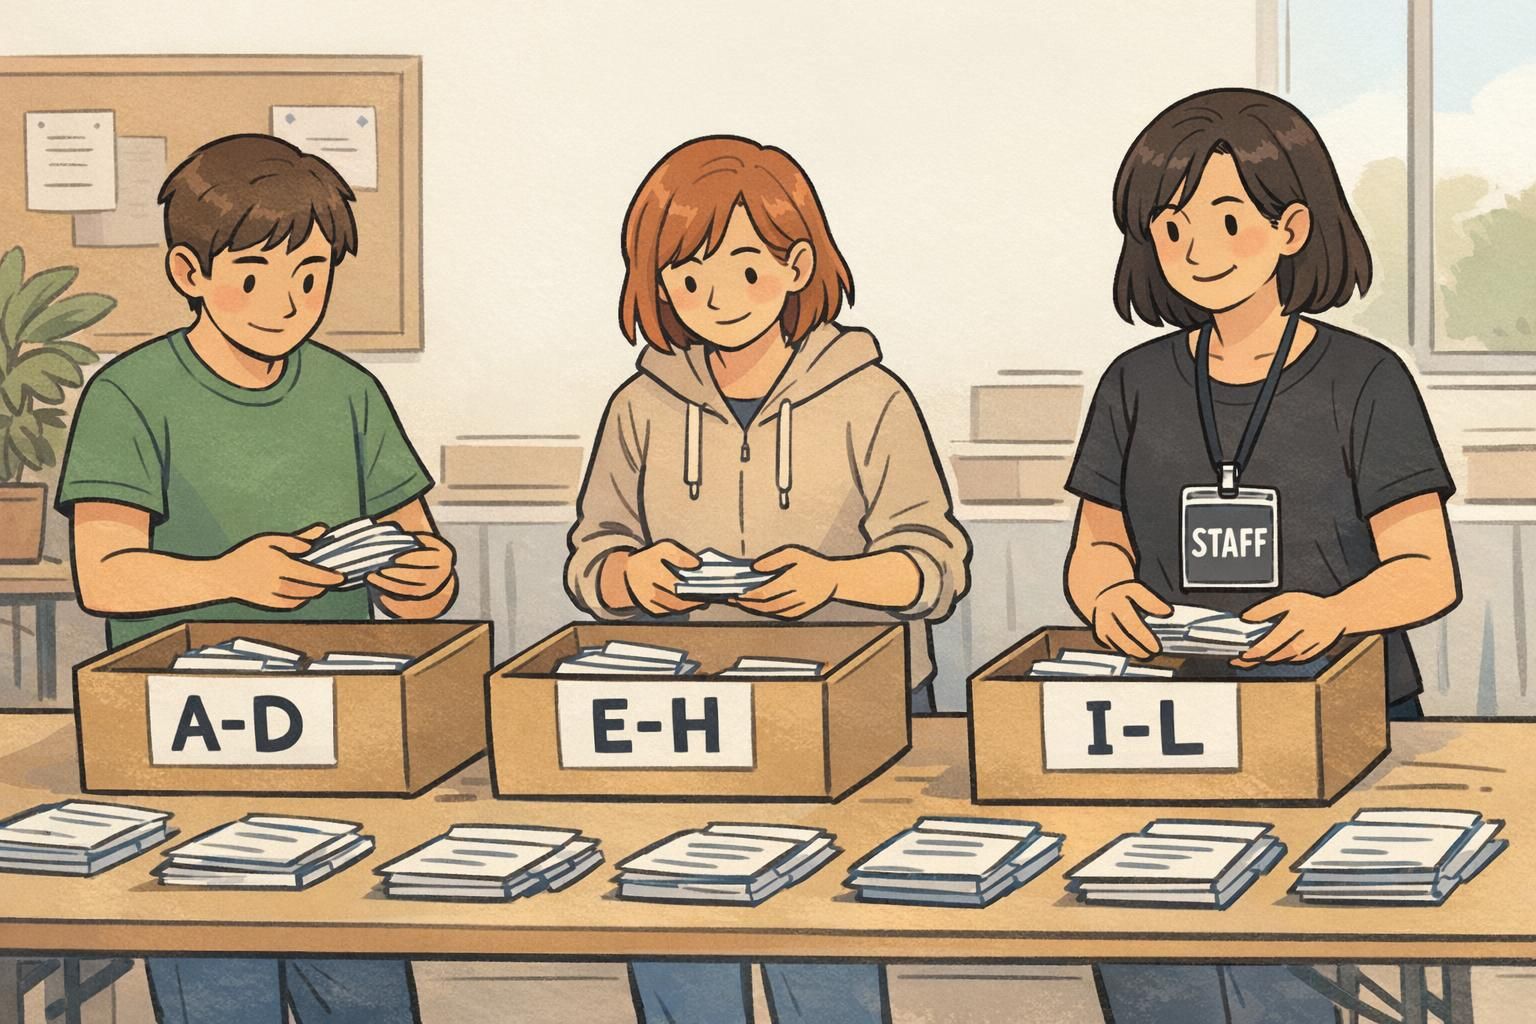
- Pre-printed “done”: badges are accurately printed, alphabetized, staged, transported, and distributed with minimal corrections.
- On-site “done”: stations are configured, connected to the registration list, and able to print quickly with a clear lane for exceptions.
Pre printed badges: best-fit scenarios, advantages, and common bottlenecks
Pre printed badges tend to work best when the attendee list is stable and credential rules are simple. If you’re hosting a smaller gathering with predictable attendance and minimal role changes, pre-printing can make check-in feel almost instant—handshake, badge, go. Where pre-printing excels is straightforward distribution. When badges are perfectly staged (often alphabetized) and you don’t need to modify data at the door, a small team can move people quickly. Where it gets tricky is when reality deviates from the list. A single misspelling can trigger a hunt for the badge and then a correction process. Substitutions and late registrations can create “exceptions” that slow down everyone behind them if you don’t have a dedicated place to handle them.
- Best-fit scenarios: smaller events, stable guest lists, minimal walk-ins, simple access rules.
- Advantages: lower on-site tech requirements, fast handoff when staged well, less event-day printing work.
- Common bottlenecks: sorting and transport logistics, no-shows (waste from overprinting), last-minute changes, misspellings, and reprint handling.
“Pre-printed badges feel lightning-fast—until you hit the first batch of name changes. The key is keeping exceptions out of the main line.” – Event Operations Lead
On site badge printing: where it wins (and what can trip you up)
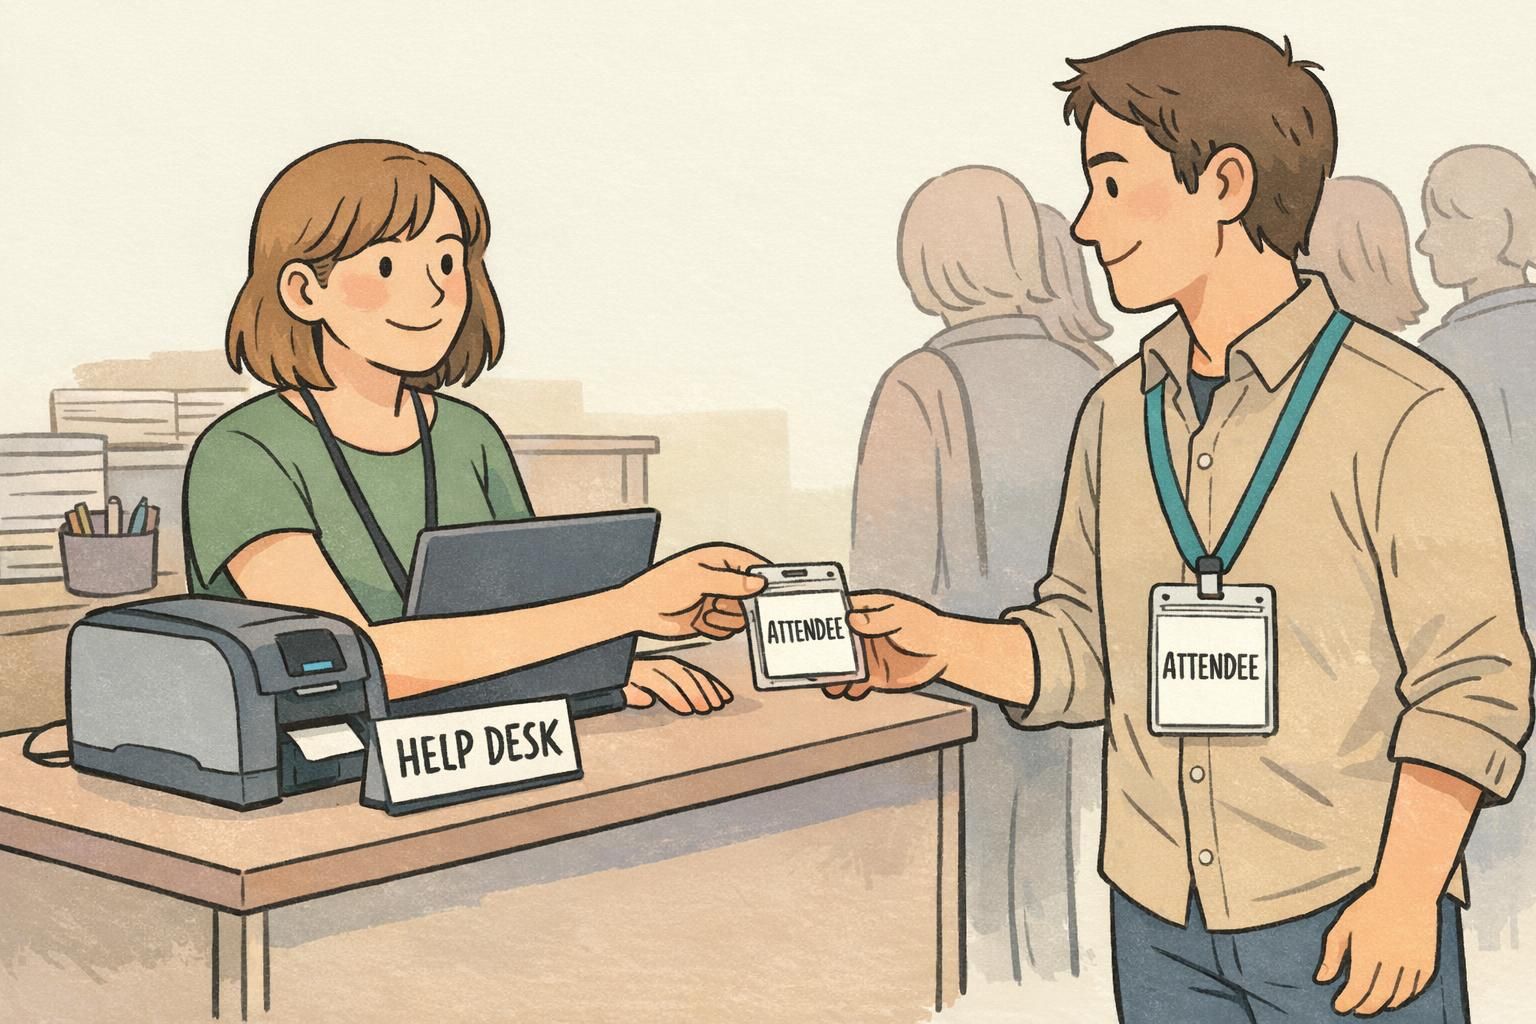
On site badge printing is built for change. If you expect late registrations, walk-ins, substitutions, or multiple credential types (VIP, exhibitor, staff, speaker), printing on demand keeps your badges aligned with the most current data. Accuracy is a major advantage because corrections happen right before the badge prints. Instead of crossing out a name or sending someone away to wait, you can fix the record and reprint cleanly. Operationally, it also scales: if lines are building, you can often add another staffed station, open more kiosks, or shift staff between lanes. The tradeoff is that you’re now depending on event-day systems. Printers jam. Label rolls run out. A laptop needs a restart. Network or power can become a single point of failure unless you plan for it. The most effective on-demand setups treat tech support as part of check-in—not an afterthought.
- Where it wins: medium-to-large events, frequent updates, walk-ins, multiple access levels, high reprint likelihood.
- What can trip you up: power/network issues, device failures, supply shortages, and unclear exception handling.
- Best mitigation: a clearly marked help desk lane plus a small set of backups (offline list, spare supplies, spare device).
Event check in comparison: speed, staffing, cost, waste, and risk
Both models can be fast, but they’re fast in different ways. Pre-printing pushes work earlier: you’ll spend time cleaning data, finalizing lists, printing, sorting, and staging. If that work is done perfectly, the check-in moment is a quick handoff. If it’s not, the line pays the price. On-demand printing pushes work to event day: you’ll spend effort on station setup, staff training for the workflow, and basic troubleshooting. The payoff is flexibility and reduced waste because you generally print only for arrivals. Many professional events use tech-enabled check-in (including self-service) specifically to improve throughput and handle late changes without derailing the line; this is a common operational pattern in modern event check in planning (source).
- Peak-time throughput: pre-printed can be extremely fast with flawless staging; on-demand is consistently fast when stations are sized to arrival volume.
- Staffing: pre-printed needs more “runners/sorters” and exception handling; on-demand needs check-in agents plus someone who can handle basic printer/device issues.
- Cost profile: pre-printed may reduce on-site equipment needs; on-demand may require more hardware but can reduce last-minute shipping and correction costs.
- Waste: pre-printed often overprints to cover no-shows and last-minute adds; on-demand prints for arrivals and reprints as needed.
- Risk: pre-printed risks are mostly data accuracy and logistics; on-demand risks are mostly power/network/equipment—manageable with backups.
If the attendee list is stable and badges are staged perfectly, pre-printed handoff can be fastest. If you expect changes, on-demand often stays faster overall because it prevents exception cases from clogging the main line.
On-demand printing typically handles reprints better because the workflow already includes printing at the door. With pre-printed badges, reprints often require separate equipment or a manual workaround.
When a hybrid setup works best (and how to structure it)
A hybrid model is often the most resilient because it combines the strengths of both approaches: the certainty of having key credentials ready, plus the flexibility to handle change. A common structure is to pre-print a small, high-priority subset—like VIPs, speakers, and staff—while using on-demand printing for general attendees. That ensures your most time-sensitive stakeholders get a smooth experience even if there’s a temporary surge at check-in. Another strong pattern is to treat on-demand as the default, but keep a minimal pre-printed emergency stock for critical roles or for a short “bridge period” if systems go down. The best hybrid plans are explicit about lanes: they protect the main flow by sending special cases to a help desk rather than letting exceptions form a second line inside the first.
- Hybrid option A: Pre-print VIP/speakers/staff; on-demand for all attendees and walk-ins.
- Hybrid option B: On-demand default; small pre-printed emergency batch for essential roles.
- Hybrid option C: Pre-print first-wave (e.g., early arrivals) if you have strong data; on-demand for everything after the list starts changing.
In hybrid setups, the biggest win is not “having both.” It’s designing lanes so exceptions don’t interrupt the fastest path for most arrivals.
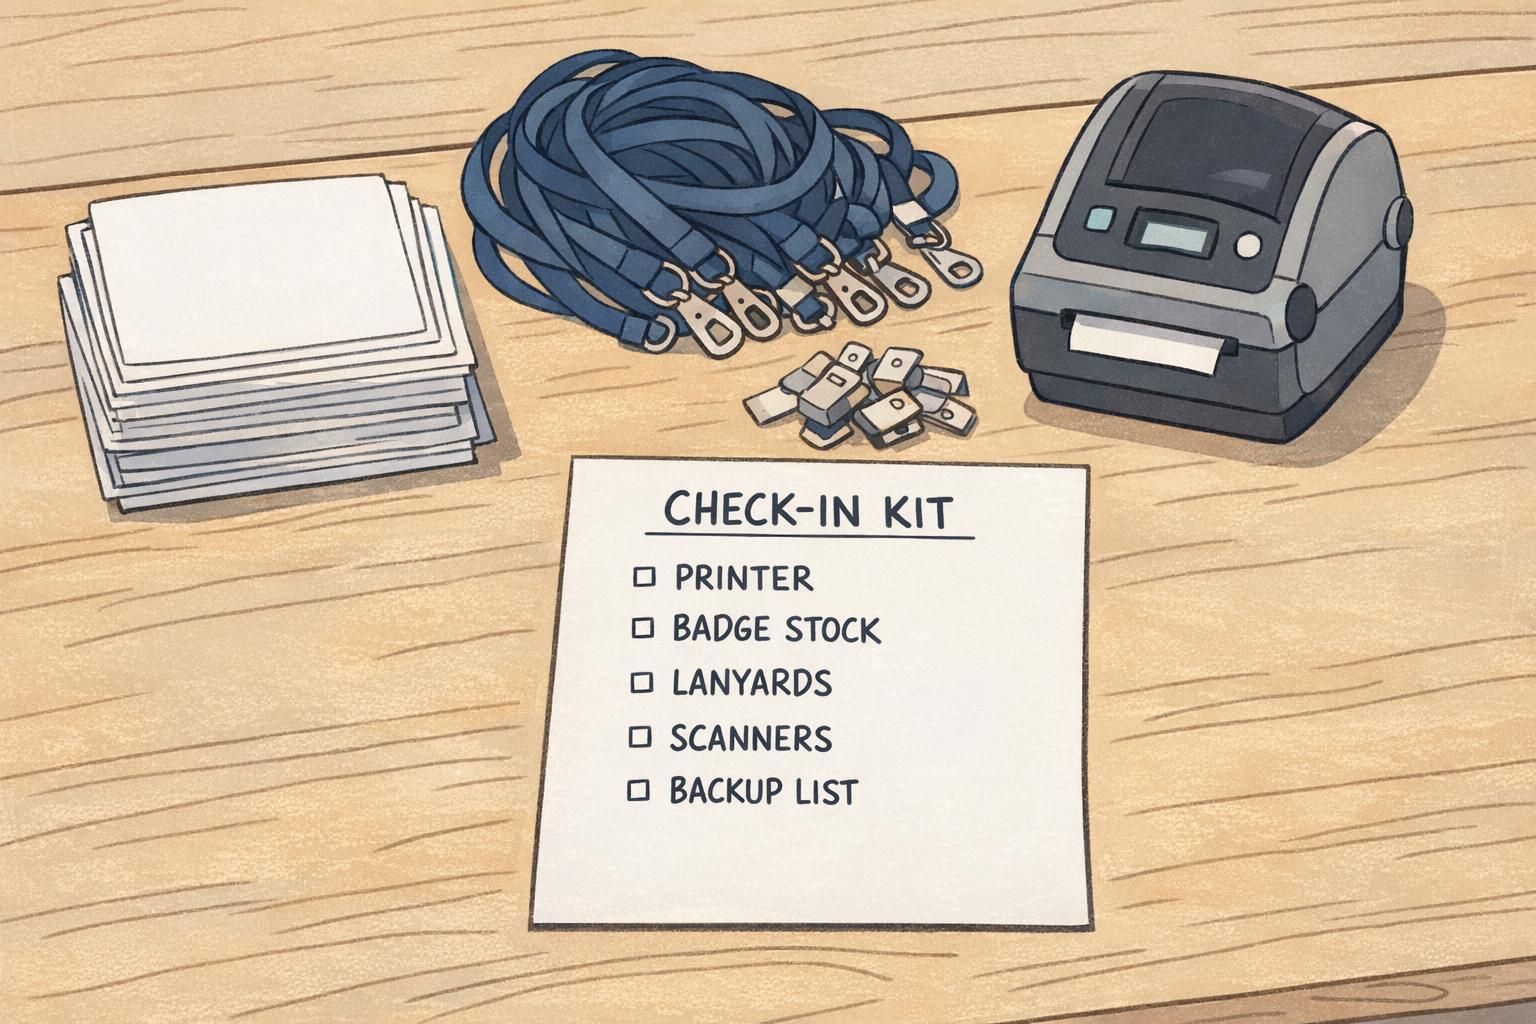
Operations checklist: equipment, supplies, staffing, and floor plan
A smooth arrival is usually the result of simple things done consistently: the right supplies, clearly defined roles, and a floor plan that keeps decisions easy. Below are practical checklists you can adapt. Even if you’re not doing on-demand printing, a small reprint capability and an exception lane can prevent small issues from becoming long waits.
- Pre-printed model — equipment & supplies: staged badges (alphabetized), table signage, lanyards/clips/holders, pens and sticky notes for quick labeling, a small reprint setup if possible, extra blank badge stock for emergencies.
- On-demand model — equipment & supplies: badge printers or kiosks, laptops/tablets, QR scanners (if used), badge stock compatible with your printer, spare label rolls/ink/toner (as applicable), lanyards/clips/holders, extension cords and power strips.
- Both models — always helpful: extra holders, extra lanyards, tape, scissors, queue stanchions/rails, and a secure place to store unused credentials.
- Staffing roles that keep lines moving: greeter (directs people to the correct lane), check-in agents (verify and hand off/print), runner (restocks supplies, manages staged badges), and a dedicated help desk agent (name changes, substitutions, special access).
- Floor plan basics: clear signage before the queue starts, separated lanes (pre-registered vs help desk), a reprint station away from the main line, and enough table space so badges/holders don’t become a clutter pile.
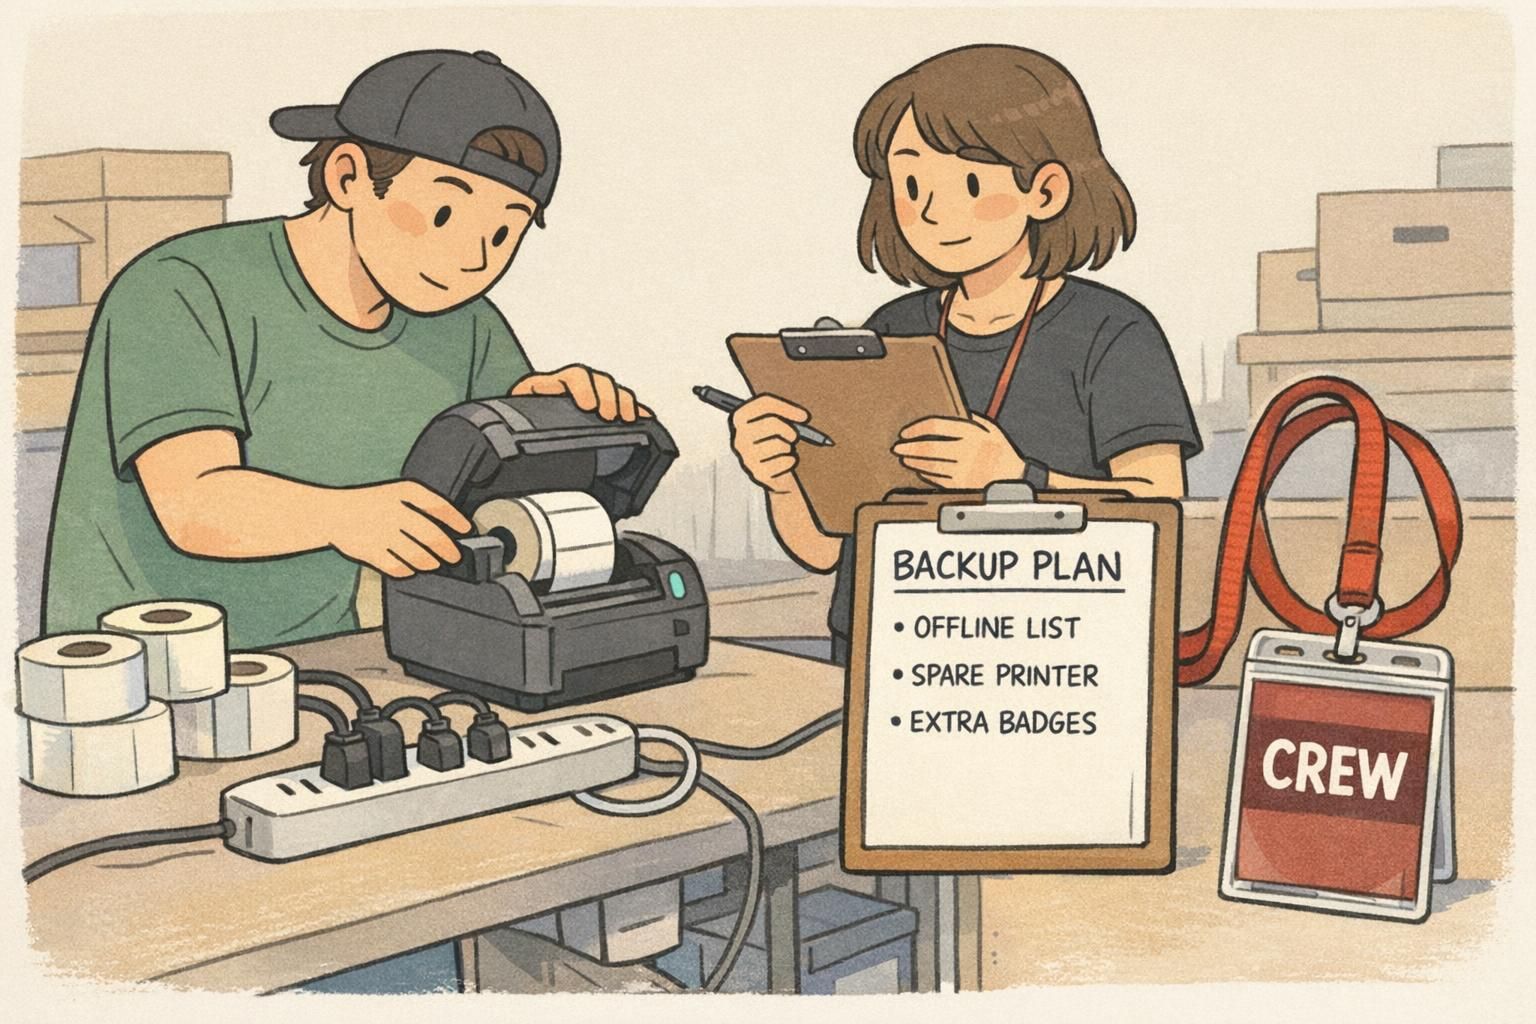
Backup plan checklist: outages, reprints, and last-minute changes
Backup planning is what turns a stressful moment into a small detour. The goal isn’t to create a second full system—it’s to keep credentialing clear and consistent while you recover. Start by identifying your likely failure points: internet drops, a printer jam, a power strip getting kicked loose, or a sudden surge that overwhelms the number of stations. Then decide what “good enough” looks like for 10–20 minutes while you fix the issue. A strong backup plan also includes a simple process for reprints and last-minute changes. If you don’t define that process ahead of time, staff will improvise in ways that can introduce errors (wrong role, wrong access, or unreadable badges).
- Offline readiness: export an attendee list for lookup; make sure key staff know where it is and how to search it.
- Power backups: spare power strips and extension cords; tape or cable covers to reduce accidental unplugging.
- Device backups: a spare laptop/tablet (even if basic), charging cables, and a plan to swap stations quickly.
- Printer backups: extra badge stock, spare rolls/consumables, and at least one “known good” printer configuration saved.
- Surge plan: a quick way to open an additional lane (even a simplified verification lane) and redirect exceptions to the help desk.
- Reprint workflow: reprints handled at a separate station; confirm the attendee record first; void or collect incorrect badges if your process requires it.
“We plan for two things: the first 15 minutes and the first problem. If both go smoothly, the rest of check-in is usually easy.” – Registration Manager
Badge materials that support faster check-in (and cleaner reprints)
The badge itself can either reduce friction—or create it. Materials that feed smoothly through printers, consistent badge sizes, and durable holders all help keep event check in moving. For pre-print workflows, consistency helps with staging and fast visual scanning. For on-demand workflows, printer-friendly stock and predictable formats reduce jams and reprints. Across both, clarity matters: readable names, high-contrast text, and role indicators that can be spotted quickly. Color-coded credentials (or clear role labels) can also reduce staff load by making access checks more visual. And for short-duration visitors or staff who need identification in active work areas, clear name tags and reliable holders reduce the chance of lost or unreadable credentials. If you’re planning your badge format and want options that support both pre-print and on-demand workflows, you can explore BadgeZoo’s event badges and name tags and choose a layout and material that match your check-in model. For planning purposes, it can be helpful to know there’s no minimum order quantity, so you can test a small batch before committing to a larger run.
- Faster handling: consistent badge size and orientation, durable holders, and comfortable lanyards/clips.
- Cleaner reprints: stock that feeds reliably, layouts that can be reprinted without redesign, and simple role markers (like color bars).
- Fewer mistakes: high-contrast text, large first names, and role labels that are easy to spot at a glance.
The “best” model isn’t universal: choose the workflow that matches how often your attendee data changes, then design lanes and materials to keep exceptions out of the main flow.