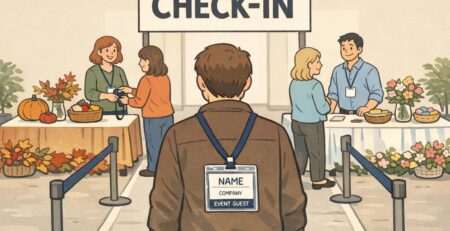
Multi day conference badge setups that stay intact, comfortable, and readable all week
Why multi-day events break badges (and how to prevent it)
A multi day conference badge has a tougher job than most people expect. It gets worn for long stretches, pulled on and off for security checks, rubbed by tote bags and backpacks, and bent during wardrobe changes. By day two or three, small weaknesses show up fast—especially if attendees are constantly moving between sessions, expo floors, meals, and offsite meetups.
Most failures happen at the attachment point: the slot or hole at the top. That’s where the badge gets tugged, twisted, and flexed with every step. Once the slot tears, the badge can slip off unnoticed, and even a “mostly fine” badge can become hard to scan or awkward to wear.
“Multi-day durable” means three things through the final session: (1) names stay legible at conversational distance, (2) QR codes/barcodes remain consistently scannable, and (3) the attachment hardware stays comfortable so attendees actually keep wearing it.
The good news is that multi-day reliability is very predictable if you plan for stress points up front. A practical approach comes down to a three-part setup: durable inserts, protective holders (so the insert isn’t doing the hard work), and comfortable attachment choices that reduce twisting, tugging, and irritation. When those pieces work together, you’ll see fewer reprints, fewer lines at registration, and smoother access control throughout the week.
Choose durable badge materials for multi-day wear
Paper-only badges are common, but they’re also the most likely to wrinkle, curl, or tear—especially near the slot. Sweat, humidity, and repeated bending can soften fibers and deform the badge just enough to cause scanning problems. If your event is more than a day, it’s worth choosing an insert material that’s designed for repeated handling.
A few practical upgrade paths cover most multi-day scenarios:
- Teslin (synthetic substrate): A popular upgrade when you want a badge that stays crisp and resists moisture and tearing. Teslin is a synthetic, waterproof/tear-resistant substrate commonly used for durable ID and badge applications (<a href=”https://en.wikipedia.org/wiki/Teslin” rel=”nofollow”>source</a>).
- Laminated heavyweight cardstock: Useful when you want a sturdy feel and clean print quality, especially if you reinforce the top area. This option performs best when paired with a holder so the laminate edges don’t take constant friction.
- PVC cards: Best when you need a perfectly flat barcode/QR surface, or when you’re integrating access technologies like RFID/NFC. PVC also holds up well to repeated badge checks and daily wear.
Match the material to the environment. An indoor expo with air conditioning can still be hard on badges due to constant motion and bag abrasion, while outdoor segments (walking between buildings, waiting in lines, rain or humidity) reward water-resistant materials even more. If you expect strong lighting and frequent scanning, prioritize a surface that stays flat and readable day after day.
Durable materials aren’t only about “lasting longer.” They support faster check-ins, smoother scanning at doors, and a more professional experience because the badge stays readable without constant replacements.
Protect the weak point: holders, slot punches, and reinforcement
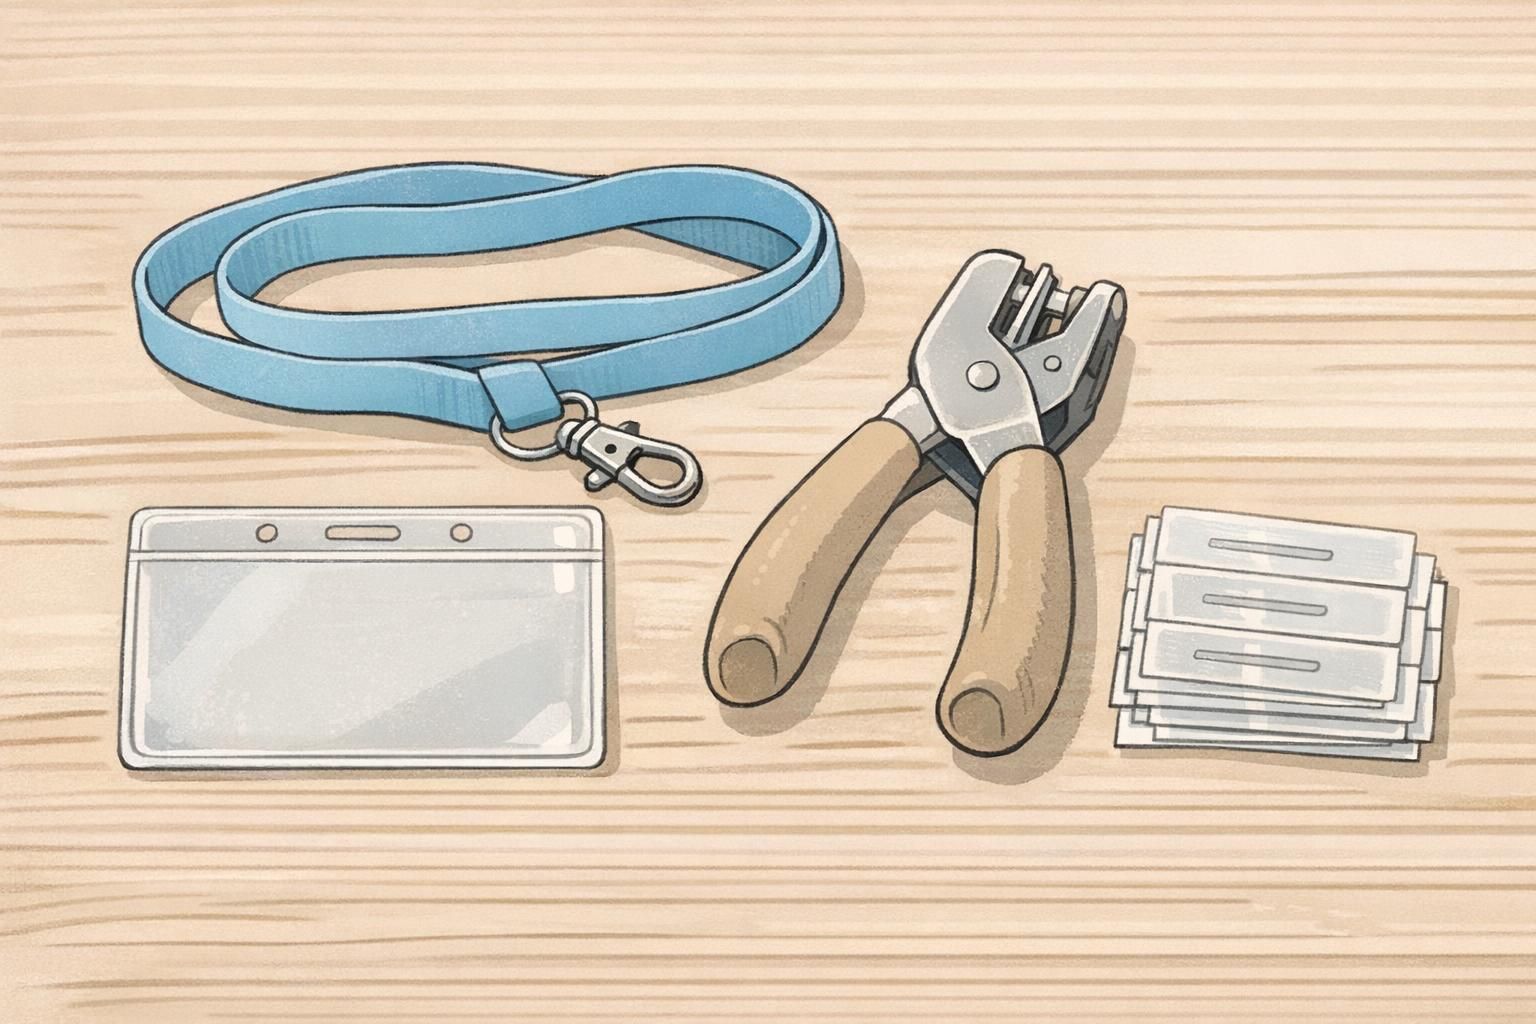
If there’s one place to focus for badge durability, it’s the top attachment area. Even a great insert can fail if the slot tears. The simplest way to prevent that is to shift stress away from the paper or synthetic insert and onto a holder built to take the pulling and twisting.
A plastic or vinyl badge holder does three helpful things at once: it keeps the insert flat, it shields edges from friction, and it places the load on a molded slot or reinforced holes. For multi-day events, holders with molded slots and dual holes are especially useful because they give you more attachment options (and more ways to keep the badge facing forward).
- Use a holder to prevent slot tears: The holder should take the stress, not the printed insert.
- Prefer molded slot + dual-hole holders: This supports both single-clip and double-clip lanyard setups.
- If slotting the insert, use a proper slot punch: Scissors and hand-cut slots create weak corners that tear quickly.
- Reinforce the top: Add Mylar reinforcement strips or extra lamination at the top edge if the insert itself will be clipped or slotted.
- Leave a clear margin near the top: Keep names and QR/barcodes away from the slot zone so wear-and-tear doesn’t reduce readability or scan performance.
Often, no. A sturdy holder typically prevents the most common tearing. Reinforcement becomes more useful when the insert is directly slotted/clipped, or when badges will be pulled on and off repeatedly without a holder.
Plan a comfortable top margin so the slot, clips, and hardware don’t overlap names or codes. The goal is to keep key information visible and scannable even if the top edge gets stressed.
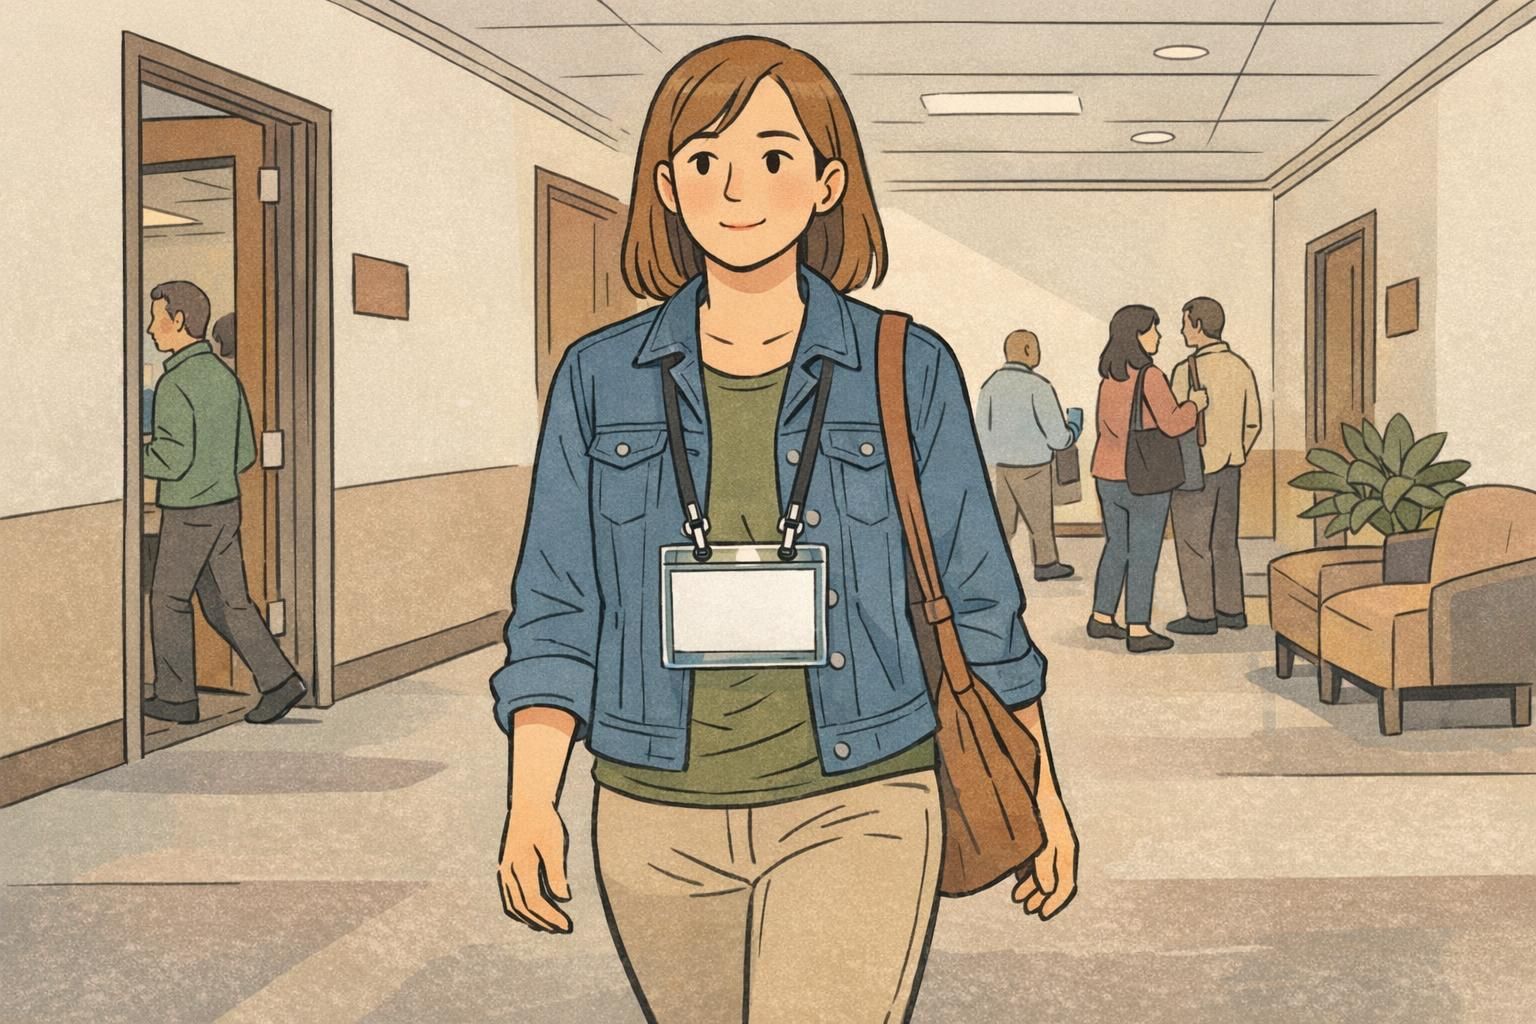
Lanyard comfort: keep badges wearable all day (and facing forward)
Lanyard comfort is not a “nice-to-have” at a multi-day event—it’s directly connected to badge retention. If the lanyard irritates skin, pulls hair, feels too thin, or twists constantly, attendees will take the badge off more often. That’s when badges get lost in pockets, left on tables, or damaged in bags.
A few lanyard choices make a big difference over several days:
- Go wider for comfort: 3/4″ to 1″ soft polyester or woven lanyards spread weight and reduce neck fatigue.
- Use swivel hooks: A swivel reduces twisting, which lowers stress on the attachment point and helps the badge sit straighter.
- Include breakaway safety: In crowded exhibit halls, breakaway features help prevent snags and improve overall safety.
- Choose double-ended lanyards for stability: Two clips attached to two top holes keep the badge facing forward and reduce flipping.
“Once we switched to wider lanyards and a two-clip setup, we saw fewer lost badges and fewer people constantly flipping them around to show staff.” – Event Operations Lead
Comfort also improves compliance. When badges are easy to wear, attendees are more likely to keep them visible—helping staff, exhibitors, and other attendees quickly recognize access levels and roles without constant interruptions.
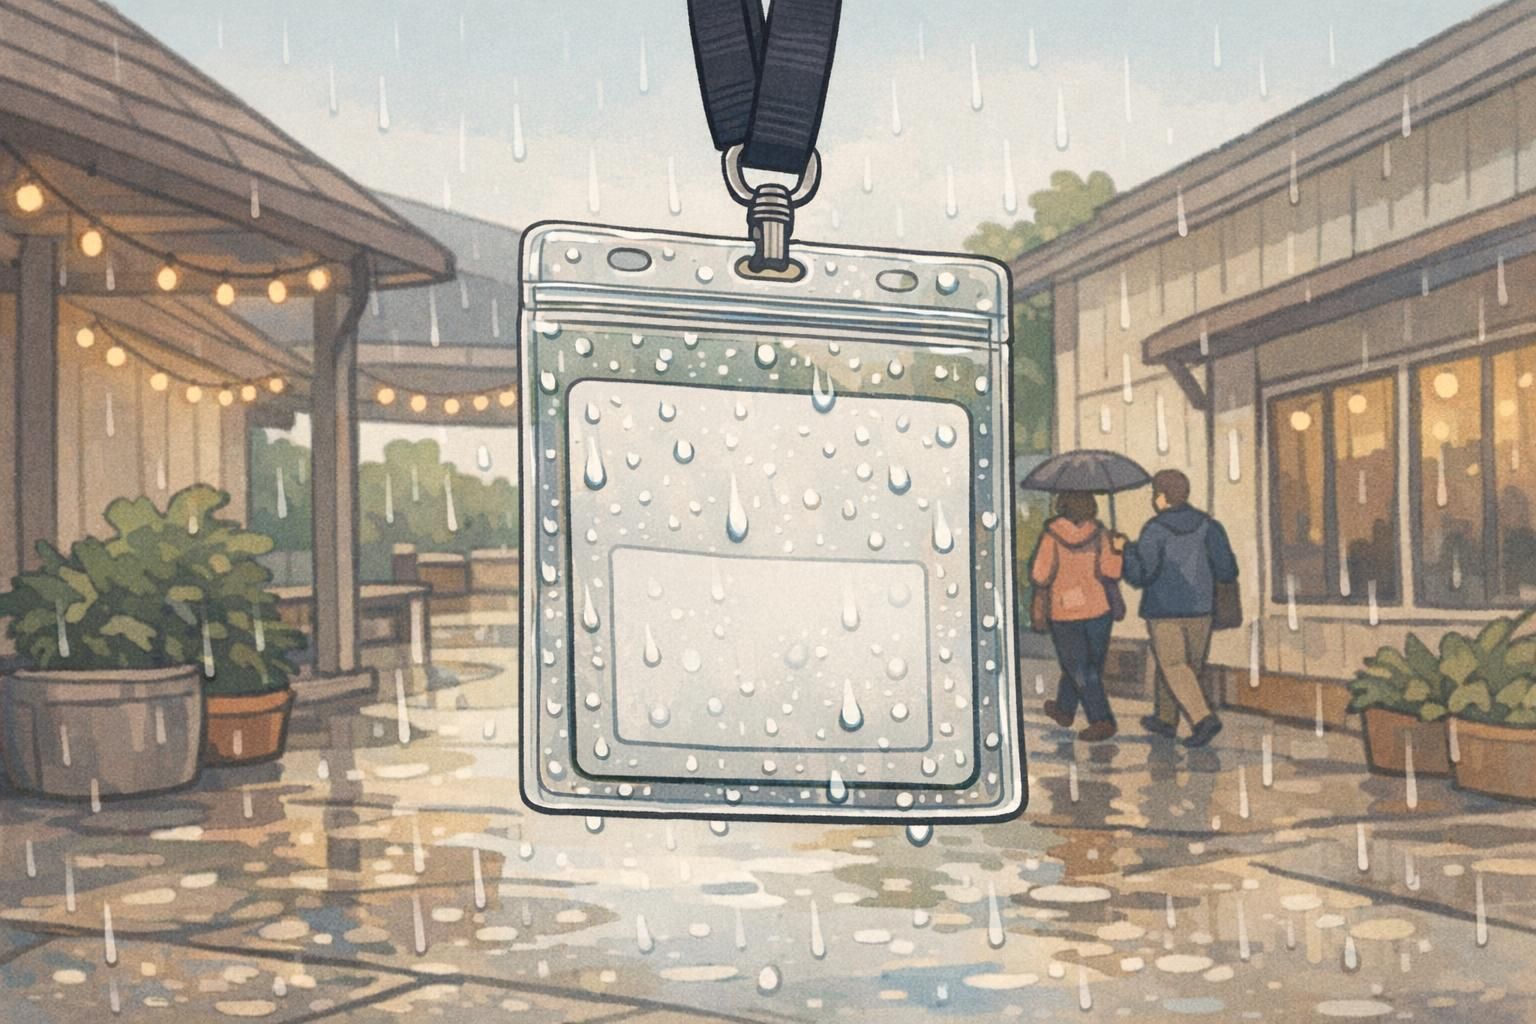
Weather, sweat, and travel: keep badges dry, flat, and scannable
Multi-day conferences add environmental challenges you don’t always notice on day one. Badges get exposed to skin oils, sunscreen, humidity, light rain, and abrasion from tote bags and backpacks. Even if the insert survives, a curled corner or cloudy surface can slow scanning at the worst times—right before a keynote, meal service, or a packed breakout session.
For events with outdoor walks or variable weather, a top-loading sealed holder (including zip-seal styles) helps keep moisture out and keeps the insert flatter. Pair that with water-resistant inserts (synthetic stocks or PVC) when you want maximum longevity.
- Use sealed or zip-seal holders for outdoor segments and rain risk.
- Avoid placing QR/barcodes near corners or the slot area where bending and wear are most common.
- Be mindful of glare: very glossy surfaces can reflect strong overhead lights and slow scanning.
- Keep the insert flat: holders that prevent curling improve scan consistency throughout the week.
If you want reliable scanning all week, protect the badge from bending first. Moisture and glare matter—but physical deformation is often the root cause of “it stopped scanning” issues.
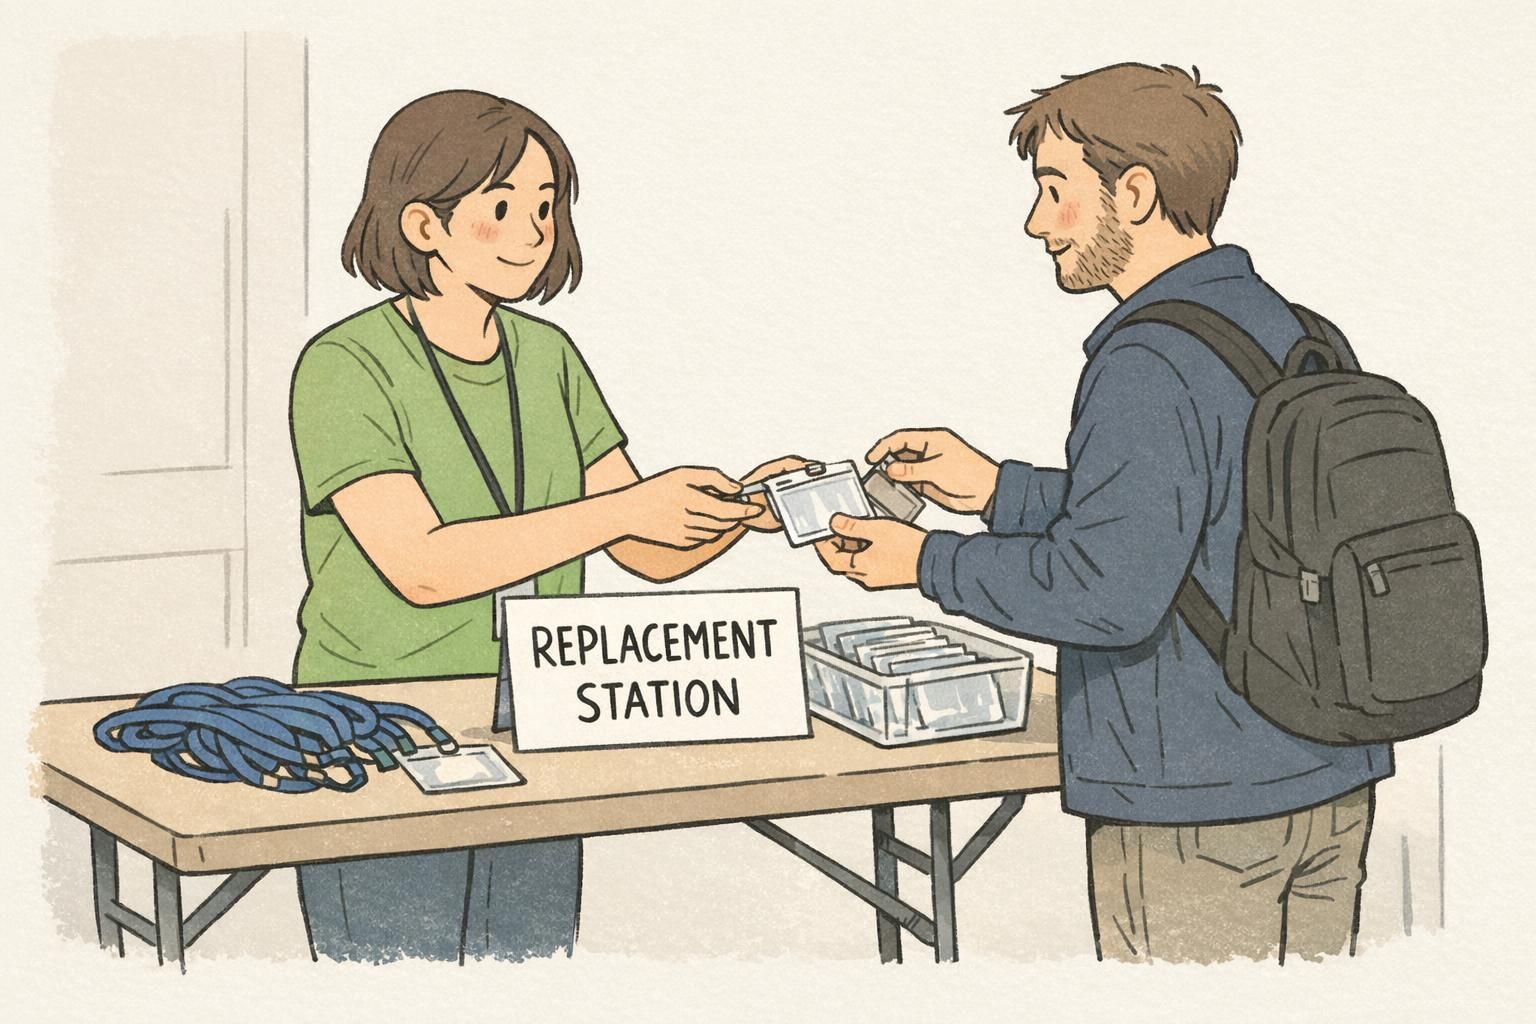
On-site replacement and repair stations that save the schedule
Even with a strong plan, a small percentage of badges will need help—usually from accidental damage, a broken clip, or a lost holder. A simple “badge help” or replacement station keeps those fixes from overwhelming your main registration line and protects the event schedule.
You don’t need a complicated setup. Think in terms of fast swaps and quick reinforcement so attendees can get back to sessions without delay.
- Stock spare holders and lanyards: Quickest fix for most issues is replacing worn hardware.
- Keep a slot punch available: Useful when you must re-slot an insert cleanly.
- Have reinforcement patches/strips on hand: A small top reinforcement can prevent a second failure.
- Pre-stuff holders when possible: For common attendee types, this speeds replacements.
- Train staff not to over-crimp clips: Crushing a clip can weaken it or damage the holder’s slot area.
- Use clear signage: Direct attendees to the right place without interrupting main check-in flow.
A simple replacement policy can also reduce repeat losses while staying attendee-friendly. Many events use a “first replacement is free, additional replacements have a small fee” approach. The goal isn’t to be strict—it’s to discourage repeated losses while keeping lines moving and information visible all week.
Recommended BadgeZoo setup for multi-day conferences (durable + comfortable)
If you want a proven baseline that balances durability, comfort, and readability, a simple “default” configuration works well for many multi-day events. Organizers can start with this setup and customize branding, roles, and access needs from there.
- Insert size: 4″×6″ badge insert (ample room for large names and scannable codes).
- Holder: Heavy-duty horizontal holder with a slot plus two holes (supports stable attachment options and protects the insert).
- Attachment: Wide, soft lanyard (3/4″–1″) with breakaway safety and double-ended clips (reduces flipping and improves comfort over long days).
This configuration improves badge durability by shifting stress to the holder and stabilizing the badge with two attachment points. It also supports faster entry and session scanning because the badge stays flatter and faces forward more often—meaning staff spend less time asking attendees to rotate or re-position their badge.
For organizers sourcing holders, you can reference these heavy-duty horizontal badge holders for multi-day conferences as a solid baseline style to build around.
A stable, comfortable setup reduces “badge fiddling.” Less twisting and less removal usually means fewer losses, fewer reprints, and more consistent visibility across the week.
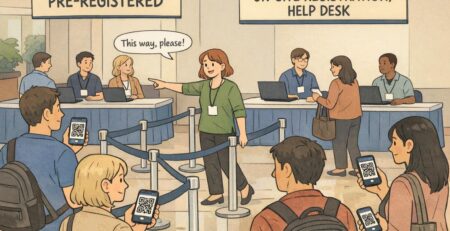
Prevent loss and keep info visible all week (simple design and policy tips)
A strong physical setup is only half the story. Clear design choices and small policy decisions can dramatically reduce confusion, improve compliance, and keep badges readable from day one through the final session.
- Print key details on both sides: Names, roles, and a QR/barcode on both sides reduce the “flip to scan” problem—especially helpful in tight lines.
- Use high-contrast, large text: Bigger names help networking, and clear roles help staff and exhibitors quickly direct people.
- Color-code roles thoughtfully: Consider different lanyard colors or insert accents for attendee, speaker, staff, vendor, or VIP roles to reduce constant questions.
- Reserve a sticker zone: If you use meal tickets, workshop stickers, or re-entry markers, plan a dedicated area that won’t cover barcodes or RFID/NFC zones.
- Tell attendees where to store badges overnight: A simple reminder (keep it with your phone/wallet, hang it with tomorrow’s outfit, or store it flat) prevents morning scramble and damage.
Use a double-ended lanyard clipped to two top holes and place the QR/barcode away from corners. The badge stays facing forward more consistently, which speeds scanning.
Prioritize a sturdy holder and comfortable lanyard first. That combination prevents the most common failures (slot tears, bending, loss) without requiring an overly thick insert.
Organizer checklist: Durable insert + protective holder + comfortable, stable attachment + scanning-friendly layout + a small repair station. When all five are in place, multi-day badge performance becomes predictable instead of stressful.