Trade Show Badge Design for Quick Booth Conversations
Why a trade show badge is your fastest conversation filter
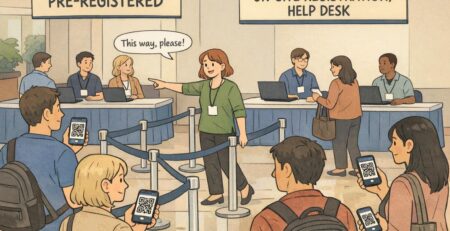
A trade show badge is often the first thing someone scans before they decide whether to stop, what to ask, and how long to stay. In a crowded aisle, people are moving, lighting is inconsistent, and attention is split between booths, signage, and schedules. That means your badge has one job: make the right information obvious fast.
The practical goal is simple: help another person identify your name, role, and company in 1–2 seconds from several feet away. When that happens, conversations start smoother—no squinting, no “Sorry, what was your name again?”, and fewer awkward qualifying questions that could have been answered by clear design.
A well-designed trade show badge reduces friction. It turns “Who are you?” into “Great—can I ask you about X?”
Information hierarchy: make the name the headline
If you want faster booth conversations, treat badge design like a mini billboard. People don’t read— they scan. So you’re not designing a “nice layout,” you’re designing an information hierarchy that works under real trade show conditions.
What slows recognition most often is prioritizing the wrong elements: oversized event logos, decorative backgrounds, or too many equal-weight text lines. When everything looks equally important, nothing is easy to find.
Wayfinding and typography research consistently points to the same fundamentals for fast decisions at a distance: large type, clear hierarchy, and strong contrast for quick recognition (source). Trade show badges are essentially “micro wayfinding”—you’re guiding someone’s eyes to the right details immediately.
- Big (headline): First name (or preferred name) — the first thing people need to say out loud
- Medium: Role or function — what someone should talk to you about
- Small: Company name — helpful context, but rarely the first spoken word
- Optional: One short conversation cue line — a prompt for relevant questions
- Smallest/secondary: QR/NFC indicator — useful, but should not compete with readability
Before opening any design tool, decide what is Big, Medium, and Small. The rest of the layout becomes much easier—and more consistent across the team.
Name size, font choice, and contrast that stay readable at 6–10 feet
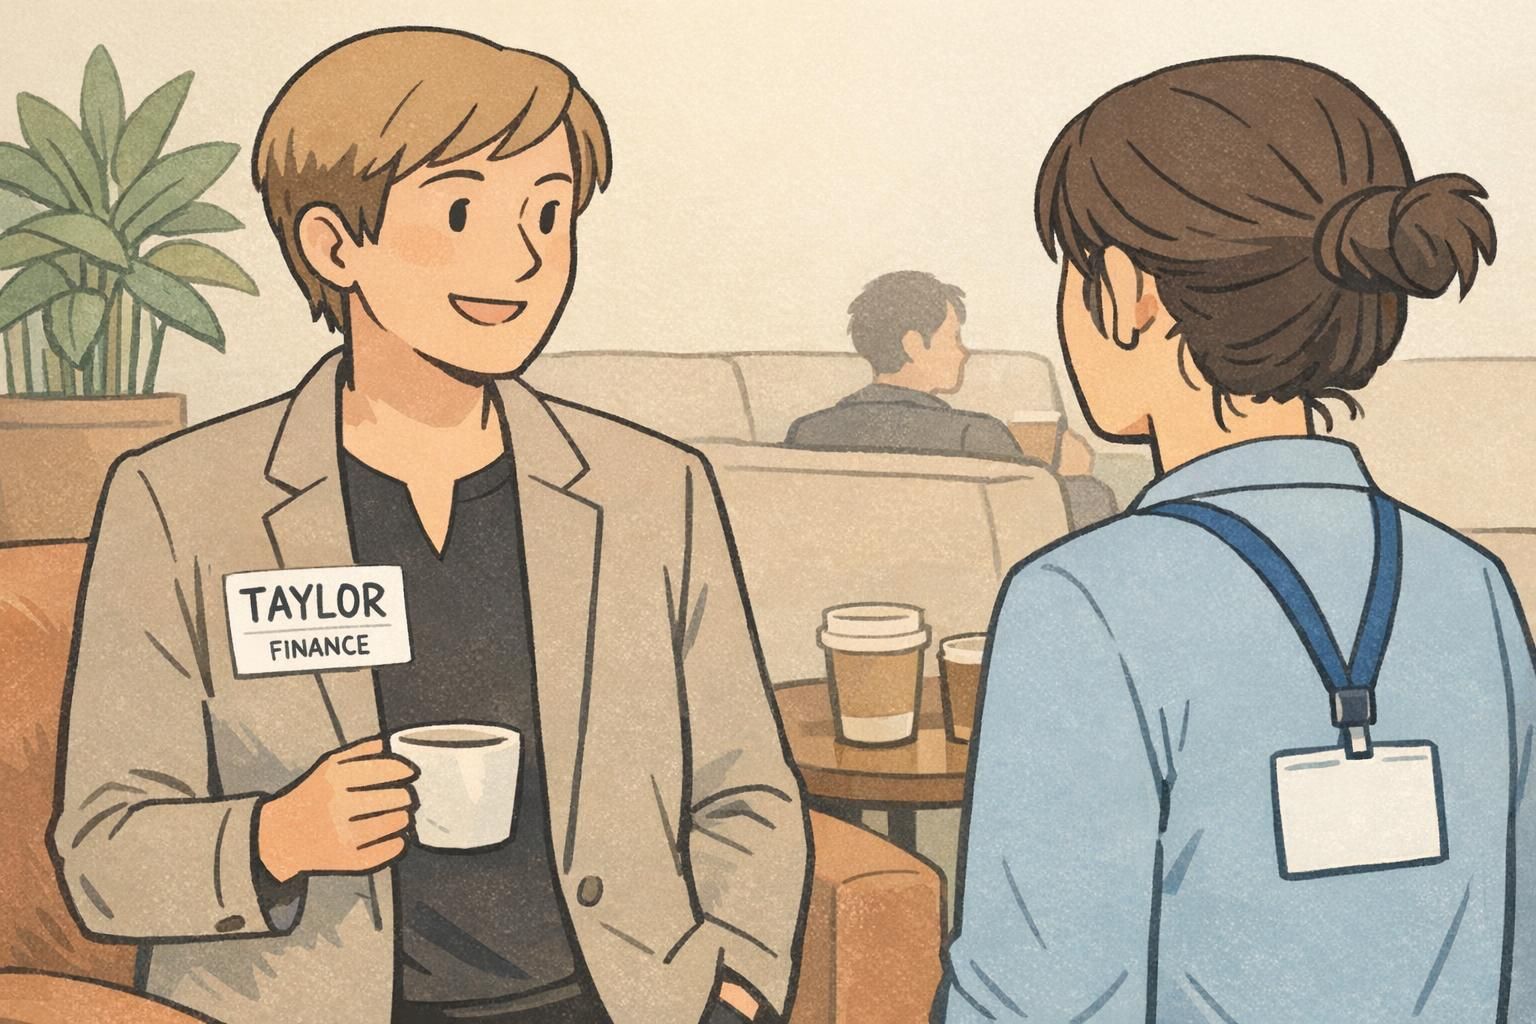
If there’s one element worth protecting at all costs, it’s name readability. When people can comfortably read your name from 6–10 feet, they’re more likely to greet you confidently and start a conversation without hesitation.
As a practical benchmark, many teams find that a large first-name line (often around 72 pt on a 4×3 badge) is a strong starting point. The “right” size will still depend on font choice and how long the name is, but the principle holds: the name should visually dominate.
- Do use a clean sans-serif font with a strong x-height (letters look open and distinct)
- Do use dark text on a light background for reliable contrast in mixed lighting
- Do keep the first name on its own line when possible
- Don’t use condensed fonts or extra-light weights (they disappear at a distance)
- Don’t set full names in ALL CAPS (it reduces quick shape recognition for many readers)
- Don’t rely on reverse type (light text on dark backgrounds) unless you test it under venue lighting
Trade show lighting is unpredictable: bright aisle light, dim booths, glare from badge holders, and reflections from lanyard clips. High contrast and sturdy letterforms are what keep a badge readable when conditions aren’t ideal.
Company placement and role clarity: help people open with the right question
After your name, the next biggest driver of a good booth conversation is role clarity. When your role is instantly actionable, people don’t waste the first 30 seconds figuring out whether they should talk product, pricing, technical details, or partnership strategy.
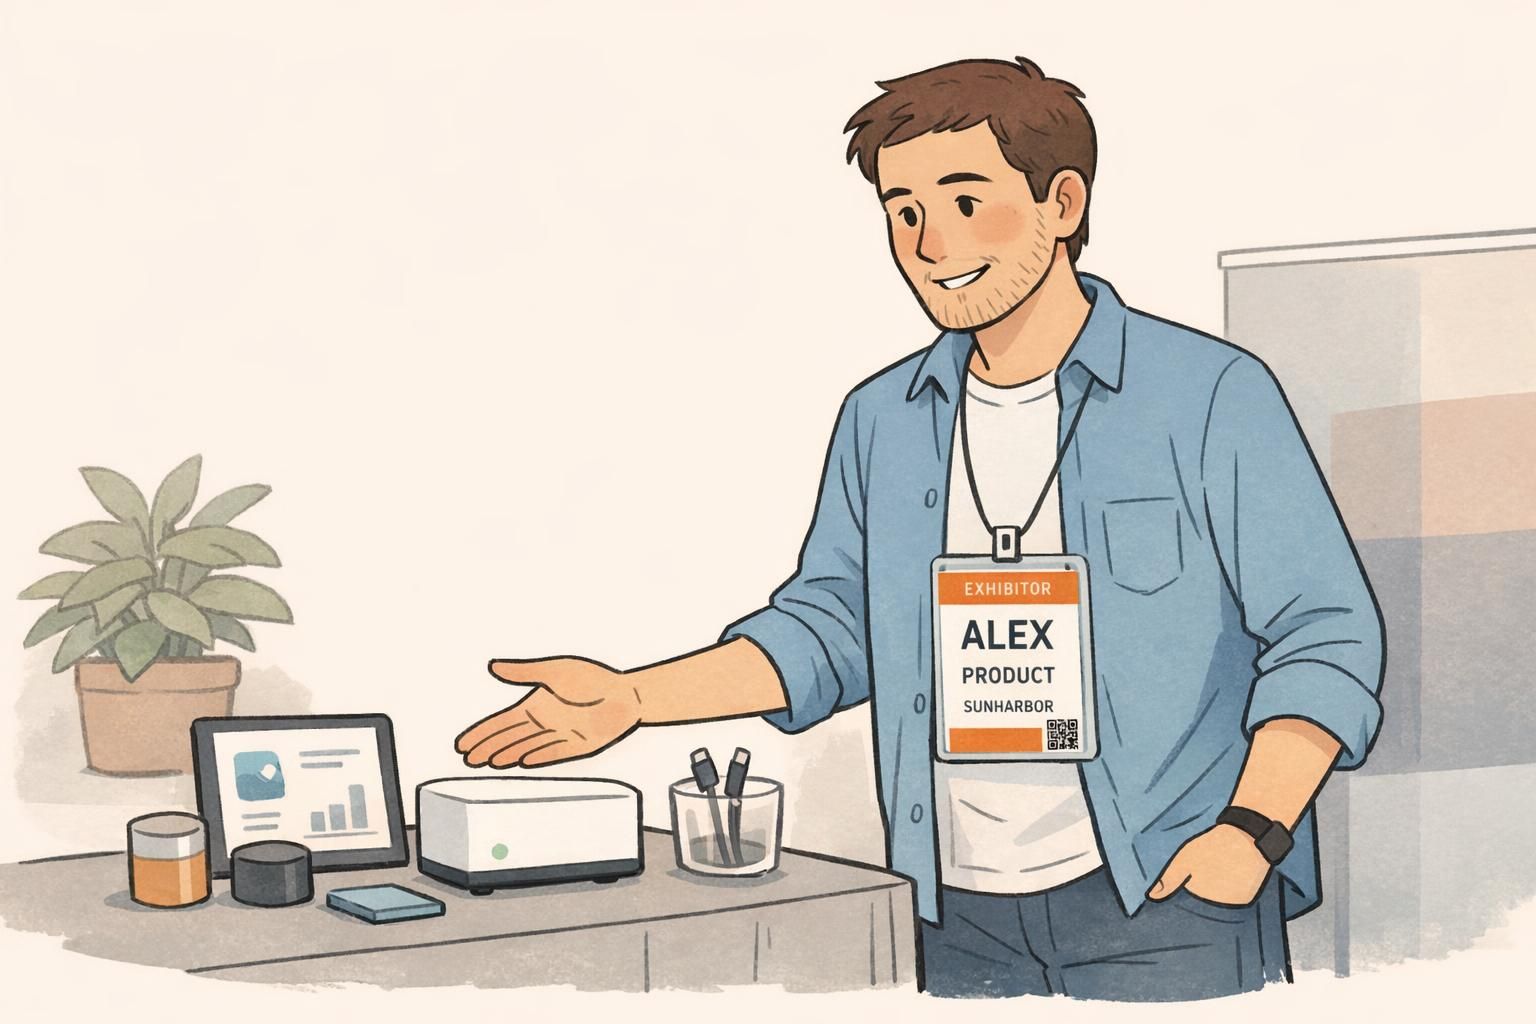
Company name still matters—especially at events with multiple attendees from the same organization—but it should be easy to locate without competing with the name. A common approach is: name at the top/center, role directly beneath, company as a smaller but prominent line below that.
- Actionable roles (good): Marketing, IT, Procurement, Operations, Finance, HR, Founder
- Ambiguous roles (risky): Team Member, Associate, Staff (unless paired with function)
- Decision context (when appropriate): Evaluator, Budget Owner, Influencer, Technical Lead
If your team is attending together, consistency matters. A uniform role style helps booth staff and other attendees scan faster because the pattern repeats.
- Role format template: FUNCTION (optional qualifier)
- Examples: “PROCUREMENT (EVALUATOR)”, “IT (TECHNICAL LEAD)”, “MARKETING (PARTNERSHIPS)”
- Keep the role line short enough to read in one glance; avoid long titles with commas
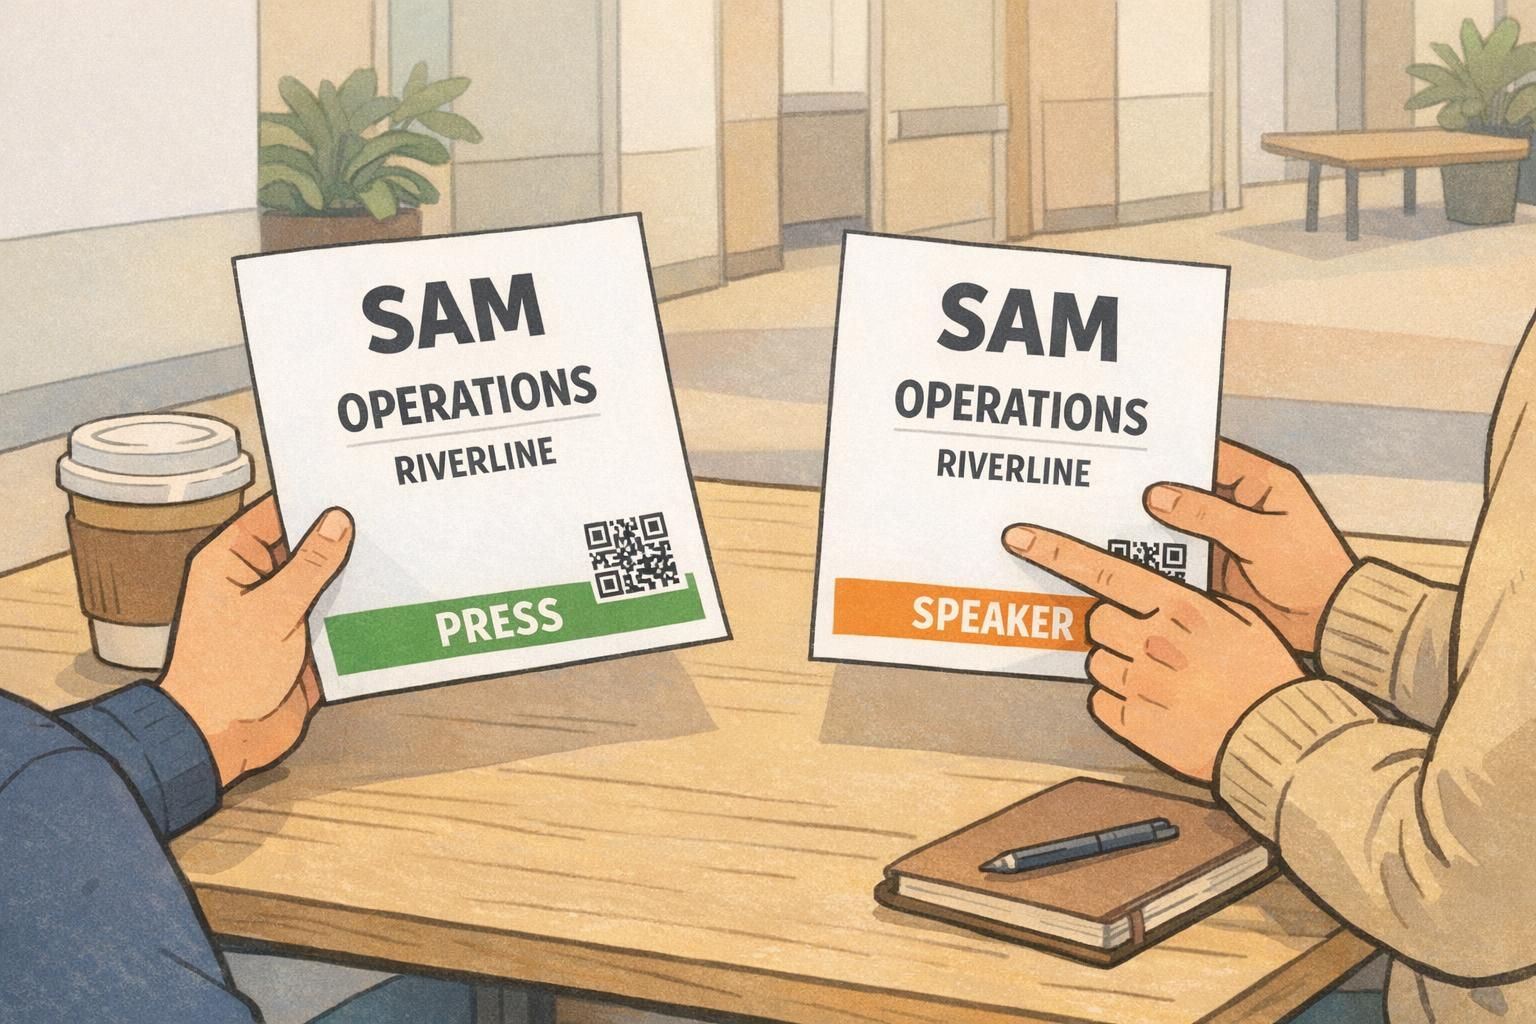
Exhibitor badge and attendee categories: use color plus labels (not color alone)
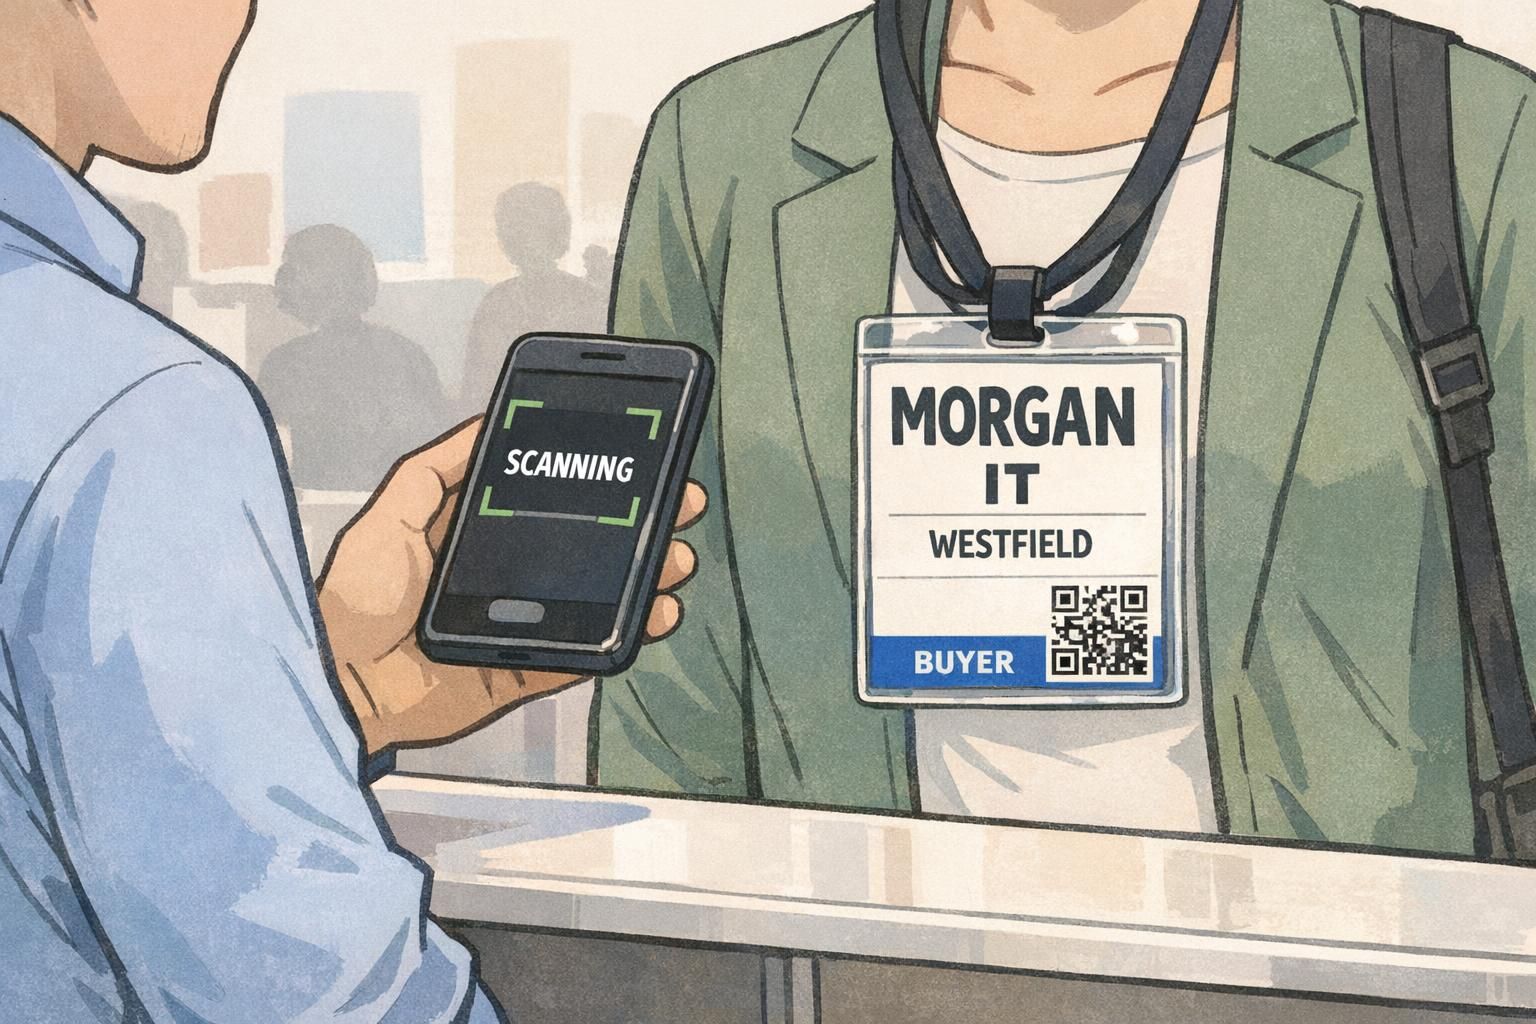
A clear attendee category reduces conversational guesswork. When someone can quickly tell “Exhibitor,” “Buyer,” “Press,” “Speaker,” or “Staff,” they adjust their approach immediately—without you needing to explain who you are before you can talk about what matters.
Color coding helps, but color alone isn’t accessible or reliable under different lighting and print conditions. The best practice is a consistent color bar plus a plain text label (for example, an orange bar that also says “EXHIBITOR”). This makes the category readable for everyone, including people with color vision differences.
- Keep categories to a manageable set (too many colors become noise)
- Place the category bar consistently on every badge (top bar or bottom bar)
- Keep category color away from the name area so name contrast stays strong
- Use a bold, short label: EXHIBITOR, BUYER, PRESS, SPEAKER, STAFF
If you’re issuing an exhibitor badge, treat it as a fast trust signal: it tells attendees you’re there to answer questions and help. If you’re issuing buyer or press categories, it helps booth teams start with the right conversation and avoid mis-qualification.
Add one “conversation cue” line (without clutter)
Once name, role, company, and category are clear, a single optional “conversation cue” line can dramatically improve the quality of booth conversations. It gives someone an easy, relevant opener—especially when your role alone could lead to a wide range of topics.
The key is restraint: one line, short enough to read instantly, placed below the name/role so it supports rather than competes.
- Good labels: “Focus:”, “Looking for:”, “Ask me about:”
- Keep it brief: ~30–40 characters if possible
- Examples: “Looking for: Payment integrations”, “Focus: Warehouse automation”, “Ask me about: Partner program”
A conversation cue isn’t extra decoration—it’s a practical prompt that makes follow-up notes and lead quality better because the first interaction is more specific.
Scanning and lead capture integration: QR/NFC placement and privacy basics
Many events now rely on fast lead capture. Scanning should feel effortless, but it shouldn’t take over the badge. The front of the badge is for human conversation; scanning elements should be visually secondary.
A reliable pattern is placing a QR code in a bottom corner where a phone can find it quickly (often bottom-right), while keeping the name and role centered and dominant. Size the QR code large enough for quick scans, but not so large that it competes with the name at a glance.
- Keep sensitive personal details (like email or phone) off the front when possible
- Use QR to link to a profile or vCard-style flow instead of printing everything
- Make scanning predictable: same corner on every badge reduces fumbling
- Plan the workflow: quick scan at the booth, quick notes in the lead app, then clean handoff to CRM
If you’re using NFC for tap-to-share or encoded cards for access, keep the experience simple: the badge should still read clearly even if technology fails or the venue is crowded. For teams that need encoding support, BadgeZoo can produce badges and cards that support NFC, RFID, and magnetic stripe encoding (HiCo and LoCo)—useful when the badge also functions as an access credential.
Layout patterns that work (4×3, 4×6, vertical vs. horizontal) + double-sided tips
Most badge problems come from layout inconsistency: category floats around, the name moves, the QR code jumps between corners, and the hierarchy changes from person to person. Standardizing a few layout patterns helps your whole team become easier to approach—and easier to scan.
Vertical 4×3 badges are common because they fit standard holders and sit well on lanyards. 4×6 badges can add room for longer roles, agenda info, or larger conversation cues, but the hierarchy still has to be strict. Horizontal layouts can work too, but they’re more likely to be partially covered by lanyards or flip at angles; testing matters.
- Proven pattern (top-to-bottom): Category bar (top or bottom), BIG first name, smaller last name, role, company, conversation cue line, QR in bottom corner
- If you must include an event logo, keep it small and place it where it won’t compete with the name
- Leave generous whitespace; it improves scan speed more than adding another line of text
Badges flip. Lanyards twist. People lean over demo tables. That’s why double-sided printing of critical info is often worth it—at minimum, print the name and category on both sides so a quick glance still works when the badge turns around.
If you’re sourcing custom event badges for trade shows and conferences, bring your hierarchy decisions (name size, role format, category system, and QR placement) to the vendor early. That reduces last-minute layout changes and onsite reprints.
- Layout validation checklist: Name is the largest element; role is second; company is easy to find; category is obvious; QR is scannable but visually secondary; nothing important sits where a clip or lanyard will cover it
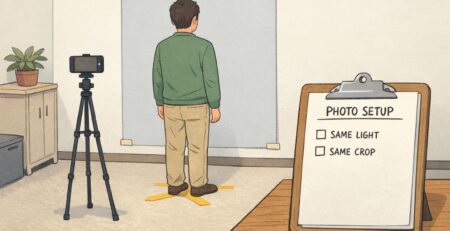
Quick testing before print: distance checks and staff feedback
Before you print hundreds of badges, do a fast prototype test. Print a few samples at actual size, slip them into real badge holders, and test them the way they’ll be used: standing, moving, and under typical indoor lighting.
- Distance check: From 8–10 feet, can you identify first name + category in under two seconds?
- Role check: From 6–8 feet, can you read the role without stepping closer?
- Company check: From 4–6 feet, is the company name easy to find without hunting?
- Scan check: Can a phone scan the QR quickly without covering the name with your hand?
- Flip check: If the badge twists, is the critical info still visible (or printed on both sides)?
Capture “misreads” during testing—especially confusion between categories or roles—and fix the root cause (usually font size, contrast, or bar placement). Getting this right is one of the easiest ways to improve booth flow on day one.
Usually the first name. It’s what people say out loud to start a conversation, and it’s faster to recognize at a distance. You can keep the last name smaller on the next line or alongside it.
Place it below the role in a smaller size. It should be easy to spot when someone is closer, but it shouldn’t compete with the name when someone is scanning from the aisle.
Use a color bar plus a clear text label like “EXHIBITOR” or “BUYER.” Avoid relying on color alone, and keep the category area separate from the name area to preserve contrast.
A networking name tag can work well for small, informal events because it’s lightweight and easy to wear. For larger trade shows, a structured badge system typically scales better for categories, lead capture, and consistent readability.
Ready-for-show-day checklist: Big readable name, clear role, company placed logically, category label + color bar, one optional cue line, QR in a consistent corner, and a quick distance test before printing.