Visitor Badge Program Playbook: Secure Check-In to Check-Out
Why a Visitor Badge Program Matters (Security + Hospitality)
A visitor badge program is one of the simplest ways to make a workplace feel both welcoming and well-managed. When guests arrive, they should immediately understand where to go, what will happen next, and how to move through the space without awkward guessing. At the same time, employees and security need a clear visual signal that distinguishes visitors from staff and contractors.
Done well, a consistent program supports safer movement through the facility, faster assistance during emergencies, and cleaner logs when you need to review who was on site and when. It also removes pressure from front-desk staff by giving them a predictable, friendly flow to follow from arrival to check-out.
The best programs feel calm and routine to visitors, while giving staff clear cues (who someone is, where they’re allowed, and whether they need an escort) at a glance.
Many organizations align visitor handling with widely used physical access control practices, where managing entry, identification, and monitoring supports broader facility security goals. For a neutral reference point on common physical access control concepts (including controls such as PE-2 and PE-3), see NIST SP 800-53: source.
- Clear identification: visitors are immediately recognizable
- More consistent decisions: fewer one-off exceptions at the desk
- Better emergency awareness: quicker headcounts and guidance
- Cleaner audit trails: arrival/departure times and host accountability
- Better first impression: professional, organized, and friendly
Step 1 — Pre-Registration: Set Expectations Before Anyone Arrives
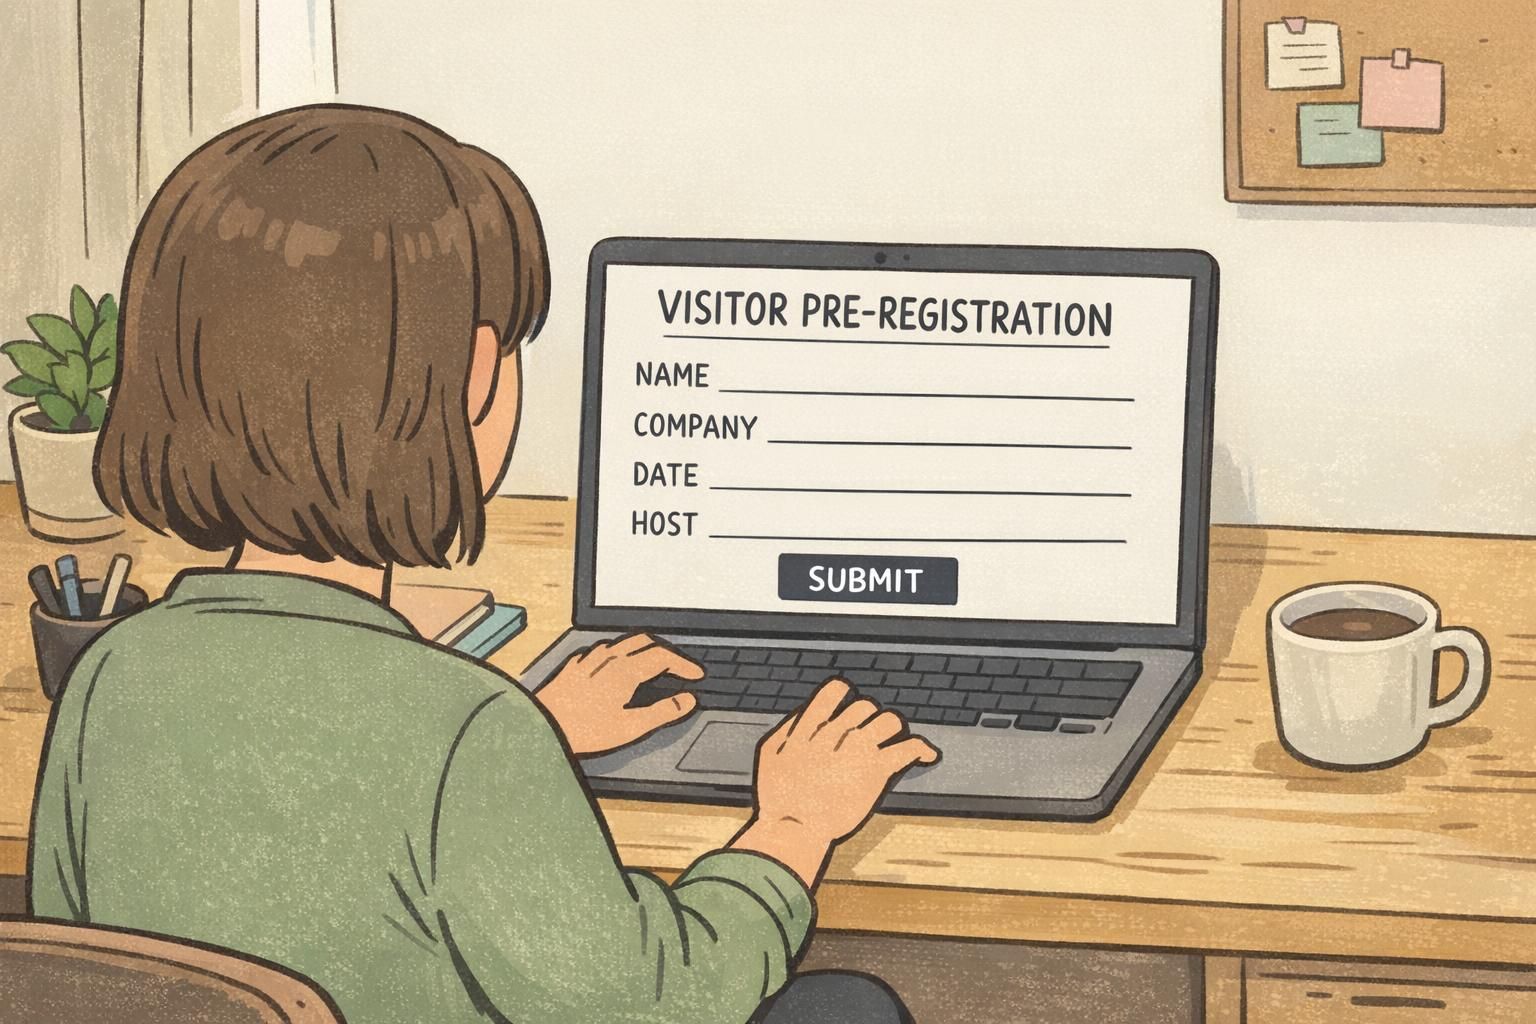
A smooth visit usually starts before the visitor reaches your front door. Pre-registration reduces lobby delays, prevents surprise drop-ins from becoming tense moments, and helps hosts take responsibility for who they’re bringing on site. It also gives visitors confidence that they’re expected and tells them exactly what to do when they arrive.
Keep the pre-registration request simple and consistent so hosts actually use it. Capture enough information to verify the appointment and issue a clear badge, but avoid collecting details you don’t need to run the visit.
- Visitor name (as it should appear on the badge)
- Visitor company/organization
- Purpose of visit (brief)
- Date and expected arrival window
- Host name and host contact method
- Areas to access (by general zone, not excessive detail)
- What the visitor should bring: ID requirements (if any), meeting details, and any required safety gear
- Where to go: building address, parking instructions, and which entrance to use
- What to expect: approximate check-in time and that a visitor badge must be worn visibly
- If needed for your environment: short, consistent acknowledgments (NDA, basic safety rules) kept concise
Pre-registration isn’t about making things complicated; it’s about reducing uncertainty. A few consistent fields and a clear confirmation message can prevent most lobby bottlenecks.
Step 2 — Lobby Guest Check In: Verify, Log, and Welcome
The lobby is where your process becomes real. A good guest check in experience feels predictable: greet the visitor, confirm the appointment, verify identity according to your policy, and log only what you truly need. When the steps are consistent, visitors feel taken care of and staff feel supported.
Start with a calm greeting, then confirm who they’re meeting and why they’re there. If you verify identity, do it the same way each time so the policy is fair and the desk staff doesn’t have to improvise. The goal is to verify and log, not to interrogate.
- Confirm: visitor name, host name, and appointment time
- Verify: identity per your policy (for example, visually checking an ID if required)
- Log essentials: arrival time, visitor organization, host, and destination area(s)
- Notify host: quick message or call so visitors aren’t left waiting
- Set expectations: explain badge visibility and any escort requirements
Add a clear privacy notice at the desk or kiosk so visitors understand what’s being collected, why, and how long it’s retained. This is especially helpful when you capture photos or keep detailed logs. A short, plain-language notice reduces confusion and builds trust.

Keep it practical: who the visitor is, who they’re meeting (host), where they’re going (area/zone), and the arrival time. Add details only if they support your security or compliance needs.
Whatever your policy is, consistency matters. A predictable approach reduces bias, avoids awkward exceptions, and helps staff apply the rules confidently.
Step 3 — Badge Issuance: Design for Clarity, Visibility, and Control
Badge issuance is where clarity pays off. A visitor badge should look meaningfully different from employee credentials so staff can recognize it instantly. If visitors and employees wear similar-looking IDs, it becomes harder to enforce access rules in hallways, break rooms, and controlled areas.
Aim for quick readability at conversational distance. The most useful information is what helps staff make the right call without asking a visitor to stop: who they are, that they’re a visitor, who is hosting them, and whether their access is time-limited.
- Large, high-contrast VISITOR label
- Visitor name (preferred) and company/organization
- Host name (or host department) for quick routing
- Visit date and an expiration window (for example, “Valid today”)
- Optional: photo for higher-security sites, if aligned with your policy
For control without constant debate, use simple access indicators. Color bands, clearly printed labels like “ESCORT REQUIRED,” or a badge buddy behind the badge can communicate rules quickly. This helps employees enforce policies politely because the badge itself explains what’s required.
The best visitor badge best practices prioritize “at-a-glance” recognition: different design from employee IDs, readable text, and a clear indicator of time limits and escort status.
Step 4 — On-Site Rules: Escort Levels, No-Go Zones, and Friendly Enforcement
On-site rules work best when they’re written by area type and communicated in plain language. Instead of relying on individual judgment in the moment, define which areas are public, controlled, or restricted, and then tie escort expectations to those categories.
Your visitor badge best practices should be easy to remember and easy to observe: badges worn visibly at all times, visitors stay with their host when required, and restricted areas are clearly marked. When a visitor accidentally heads the wrong direction, staff should have a friendly, consistent script to guide them back without embarrassment.
- Public areas: lobby and designated waiting areas (no escort needed unless your policy says otherwise)
- Controlled areas: office/work areas where visitors may be allowed with a host present
- Restricted areas: labs, server rooms, or sensitive spaces (escort required or no visitor access)

- Tailgating: “Hi there—please check in at reception so we can get you a visitor badge.”
- Wandering visitor: “Can I help you find your host? Visitor badges need to stay with the host in this area.”
- Photography restrictions: “Just a quick note—photos aren’t allowed in this zone. Thanks for understanding.”
“When the badge clearly shows ‘ESCORT REQUIRED,’ our staff don’t have to guess. It keeps the interaction polite and consistent.” – Facilities Coordinator
Signage & Script Kit: Make the Process Feel Easy (Not Intimidating)
Small, well-placed signage reduces confusion more than most policies ever will. Good signs help visitors self-correct (where to stand, what to have ready, where to go next) and keep the front desk from repeating the same instructions all day.
Aim for high-contrast, short phrases, and consistent placement. The goal is to guide behavior without making the lobby feel like a checkpoint. Pair signs with a quick script so receptionists deliver the same warm, clear message every time.
- Queue guidance: “Check in here” and where to line up
- ID reminder: “Please have ID ready” (only if your policy requires it)
- Badge visibility: “Please wear your visitor badge visibly at all times”
- Help guidance: “If you’re lost, return to reception”
- Return guidance: “Check out and return badge here”
“Welcome! I’m going to check you in and print your visitor badge. Please wear it visibly during your visit. If your badge says ‘Escort required,’ just stay with your host. When you’re done, please come back here to check out and drop the badge in the return bin.”
If visitors can see the next step (check in, wear badge, meet host, check out), the whole process feels more like hospitality—and less like friction.
Step 5 — Check-Out & Badge Return: Close the Loop Every Time
Check-out is the step that prevents small gaps from turning into big uncertainties. When you consistently record departure time and retrieve temporary credentials, you can quickly reconcile who is still on site. This supports safety roll-calls and strengthens your visitor logs for audits—without making the end of the visit feel inconvenient.
Make badge return obvious and routine. A labeled return bin at reception works well when it’s placed where visitors naturally pass on the way out. If you use scannable badges, scanning on exit can reduce manual errors and speed up the process.
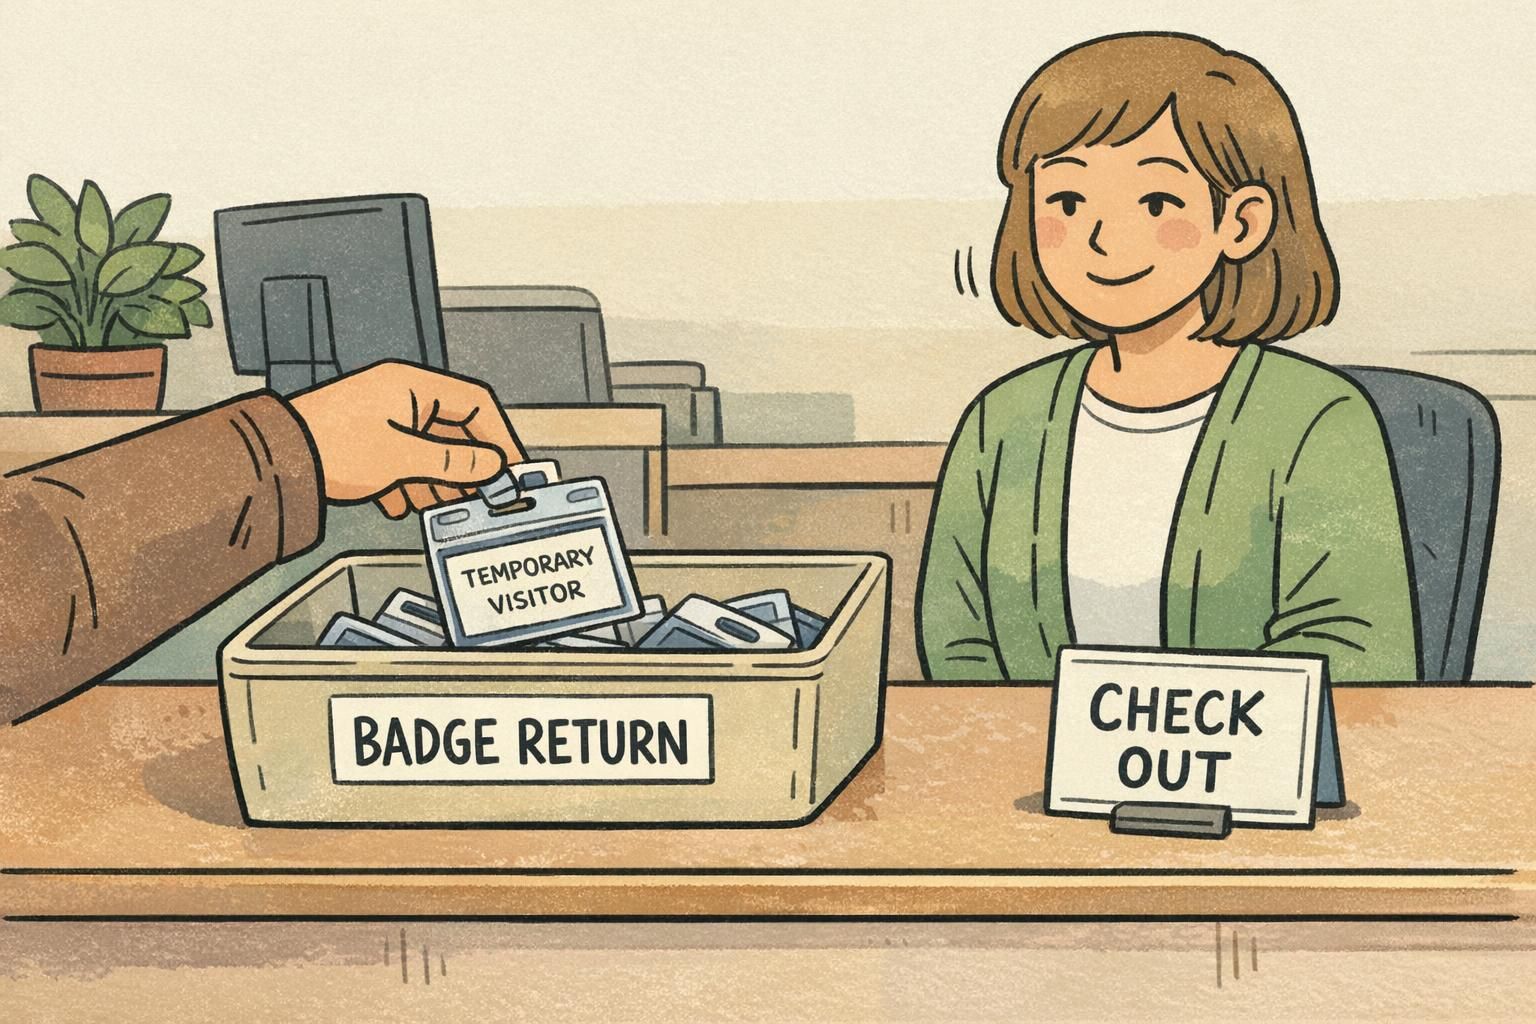
- Capture departure time (manual or scan-based)
- Collect temporary badges and any issued holders/lanyards if required
- Retrieve keys or loaner equipment if applicable
- Resolve exceptions: lost badge, early departure, or host not available
- Confirm the visitor has a clear path out (especially in multi-tenant buildings)
Treat it as a process issue, not a personal failure. Improve signage at exits, remind visitors during check-in, and consider a quick host reminder to return the badge before leaving.
Policies, Privacy, and Retention: Keep It Compliant and Right-Sized
Your visitor badge program is easier to run when policies are written down and kept right-sized. Staff should know who must wear a visitor badge, what verification is required, and how exceptions are handled—without having to interpret the rules differently on each shift.
Privacy is part of being professional. Collect only what you need for safe access and basic records, define how long logs and photos are kept, and limit access to visitor data to trained roles. Visitors don’t need a deep legal explanation at the desk; they do benefit from a plain-language notice that respects their time and information.
- Who must wear a visitor badge (and where it must be visible)
- What identity verification is required (and when it is not required)
- How to handle exceptions (minors, VIPs, government visitors) consistently
- What data is collected at guest check in, and why
- Retention periods for logs and photos, and who can access records
A good policy makes it easier to be welcoming. When staff don’t have to “make it up,” visitors get a smoother, more consistent experience.
Tools & Supplies That Support the Workflow (Without Overcomplicating It)
Tools should match your risk level and your daily reality. Low-risk offices may do fine with simple printed badges, while higher-security environments may prefer more integrated visitor management. Either way, the basics matter: you need reliable supplies so staff never have to improvise with unclear IDs.
Stock what you use most often, in a design that’s clearly differentiated from employee IDs. Color-coded visitor badges can be especially helpful for conferences, multi-tenant buildings, or large on-site trainings where rapid recognition matters.
- Temporary visitor badge stickers or cards
- Clear badge holders (durable and easy to hand out)
- Lanyards or clips that keep badges visible
- Differentiated designs (colors, headers, or badge buddies for access rules)
- Optional: scannable elements if you track check-in/check-out digitally
If you’re updating your materials, you can explore custom visitor badges designed to fit a temporary ID workflow, including layouts that make “VISITOR” and time limits easy to spot.
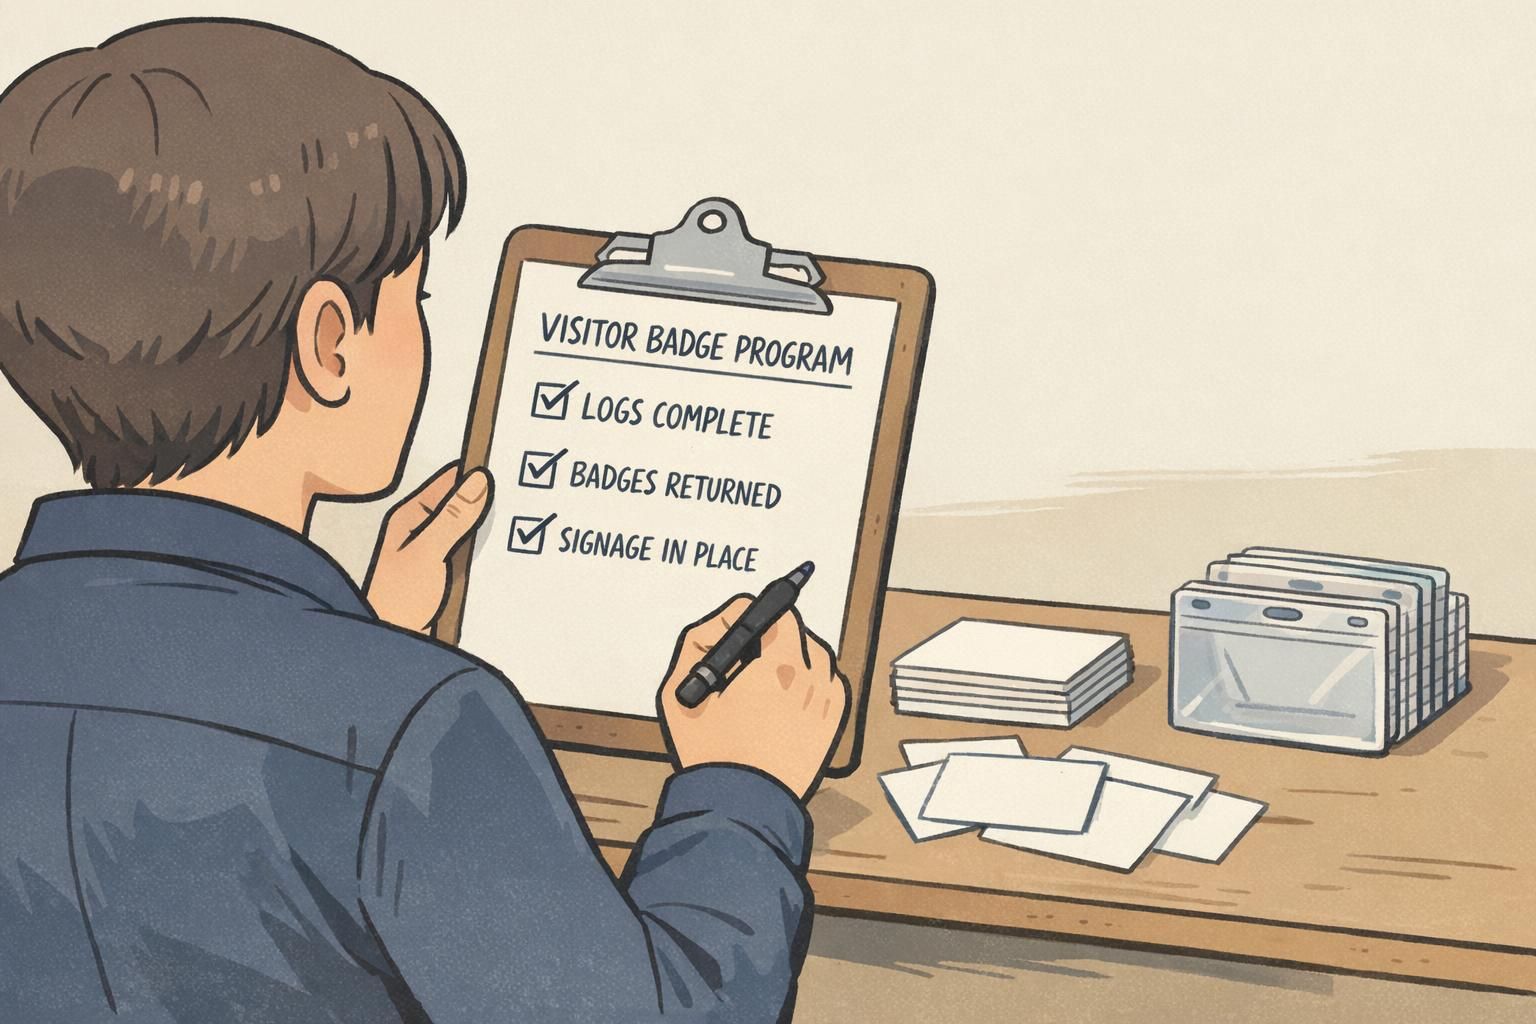
Audits & Metrics: Prove It Works and Keep Improving
A visitor badge program gets stronger when you measure a few practical outcomes and make small adjustments. You don’t need a complicated dashboard—just consistent tracking that shows whether the workflow is being followed and where it’s creating friction.
- Average guest check in time (from arrival to badge issuance)
- Badge return rate (returned vs. issued)
- Unbadged visitor incidents (and where they occur)
- Exceptions granted (VIP handling, after-hours access, missing host)
- Overstays (visits that exceed the expected expiration window)
Periodically review logs for anomalies, such as repeated overstays or visits that routinely request access to restricted zones. When you spot patterns, the fix is often simple: clearer signage, a tightened script, or a small update to how badges display access rules. A quarterly mini-audit helps keep the experience consistent across shifts and supports documentation when you need to demonstrate adherence to physical access expectations.
If you want one simple goal: every visitor is expected, checked in, clearly badged, guided appropriately, and checked out with the badge returned.