Badge Ribbons and Role Cards: When and How to Use Them Without Cluttering Badges
Why Badge Ribbons and Role Cards Work at Busy Events
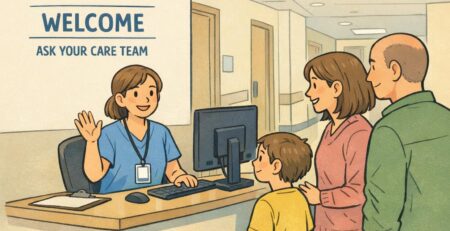
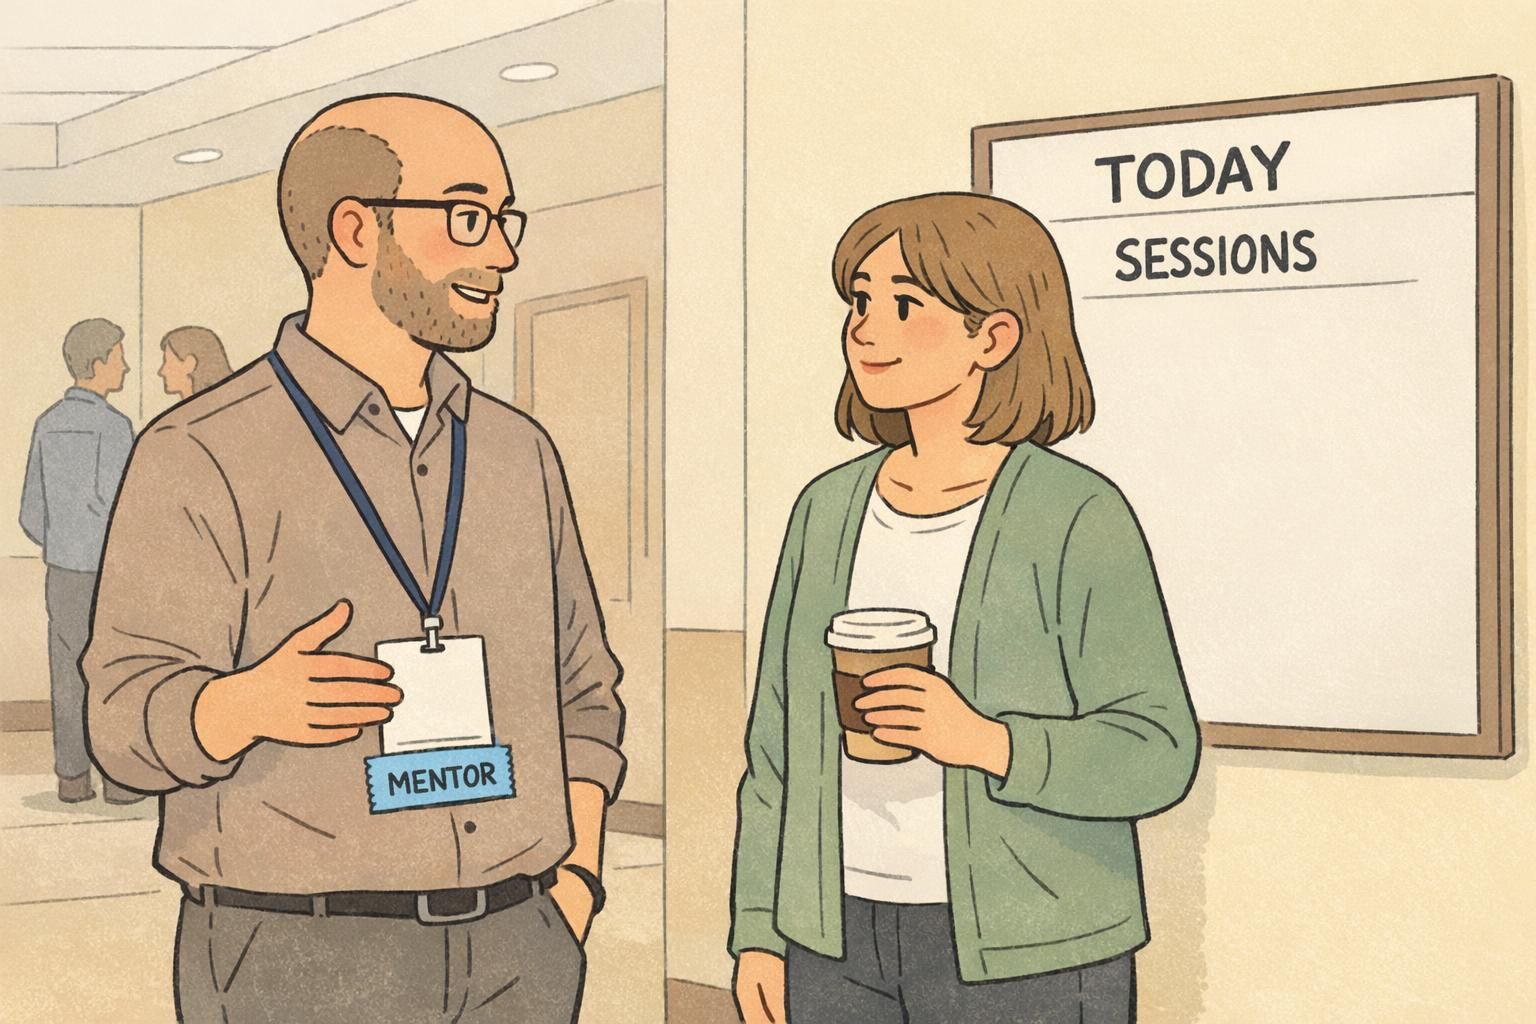
At a busy conference, people make dozens of quick decisions in hallways and doorways: Who can help me? Who’s running this session? Who should I introduce myself to? The fastest way to reduce friction is to make key context visible—without turning conference badges into tiny posters. That’s where badge ribbons and role cards shine. Instead of squeezing more text into the main name area, these add-ons create “ambient signals” people can read while walking, queuing, or scanning a room. A simple “SPEAKER” ribbon can help attendees know who’s presenting; a “MENTOR” ribbon can invite questions; a temporary “TIMEKEEPER” card can keep a breakout moving. The goal is not to add information for its own sake. It’s to change interactions in helpful, predictable ways while preserving the most important thing: a readable name people can actually use.
Think of add-ons as a second layer: the badge stays scannable for identity (name, org), while ribbons and cards communicate role or context only when it matters.
Badge Ribbons vs. Role Cards: What They Are (and What They’re Not)
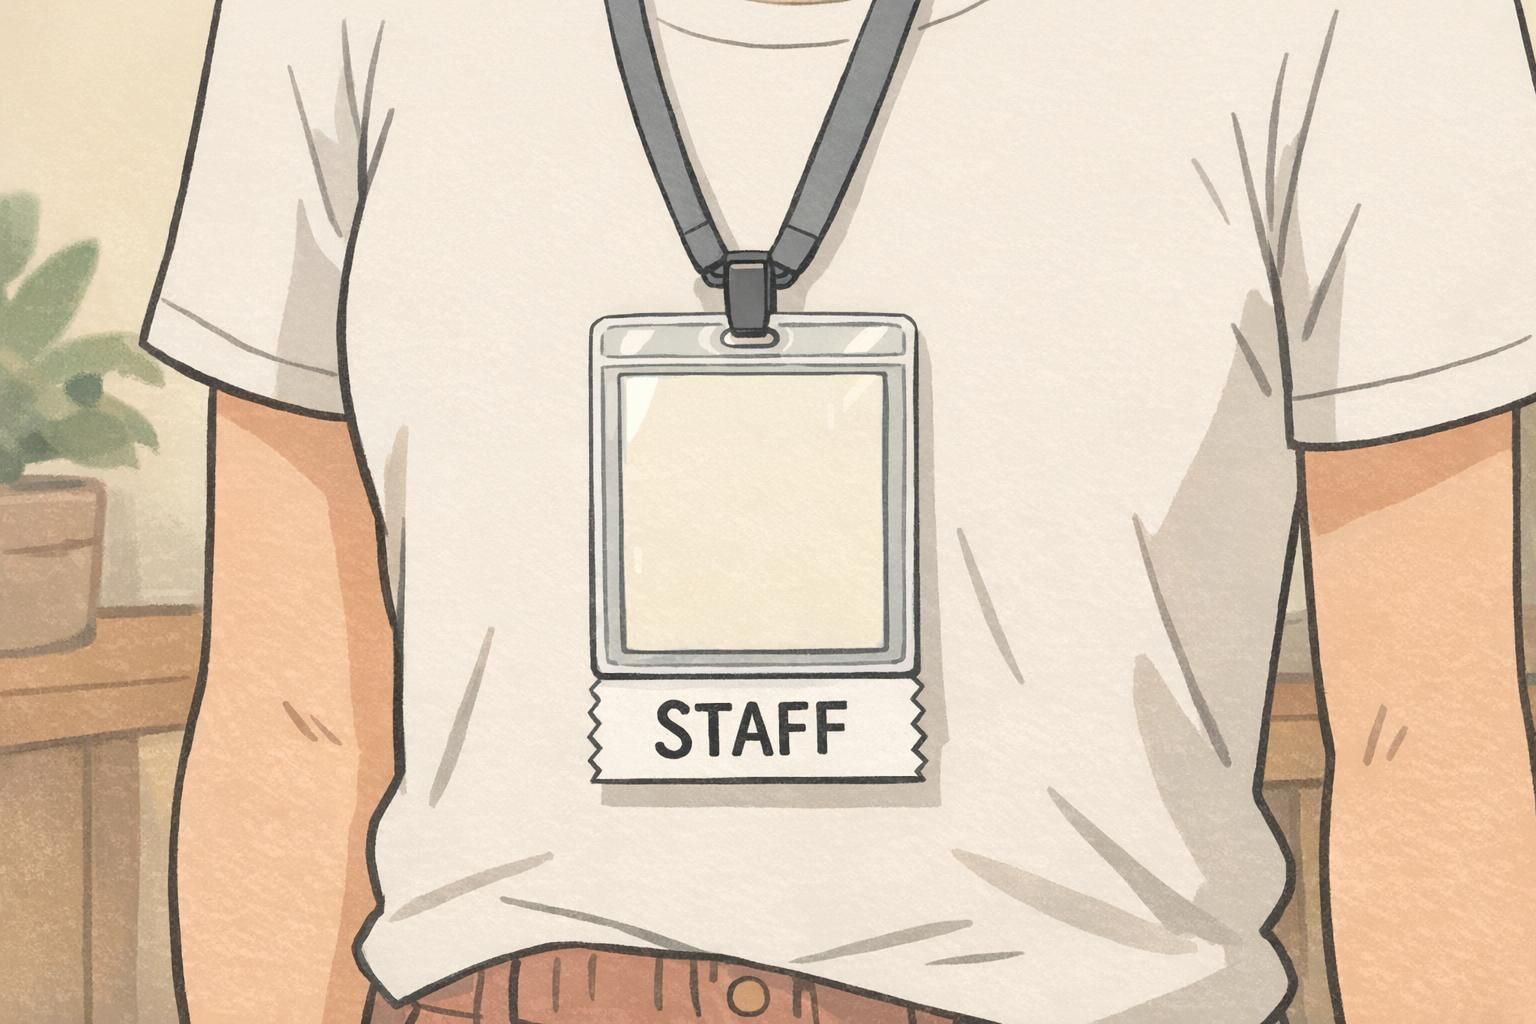
Badge ribbons are short, narrow strips—usually printed with one bold word—that attach to the bottom of an event badge or badge holder. They’re designed to be seen from a few feet away, and they work best when the message is simple and event-wide (like “SPEAKER” or “STAFF”). Role cards are small cards used to assign a temporary job within an activity. They’re common in workshops, breakouts, trainings, and role-plays—anytime you want people to behave differently for a specific period. A role card might say “TIMEKEEPER” or “SCRIBE,” and it can include quick reminders of what that role does. These tools are physical event aids—not digital credentials, not security authentication, and not replacements for a well-designed badge. They’re meant to complement conference badges by keeping the main badge clean and readable. Examples: – A “SPEAKER” ribbon identifies someone for the entire event. – A breakout “TIMEKEEPER” role card identifies someone only during that session.
- Badge ribbons = quick, visible, event-wide signals attached to the badge/holder
- Role cards = temporary, session-specific responsibilities used during activities
- Neither replaces core identification on conference badges (name and organization still come first)
When to Use Badge Ribbons (Roles, Access, Networking, Recognition)
Badge ribbons are best when the label should travel with the person all day (or all event) and be recognizable at a glance. Because they hang below the badge, they add meaning without shrinking the name text or cluttering the primary layout. Here are the most common, high-value uses for badge ribbons:
- Staff and volunteers: Makes it easy to find help, directions, and problem-solvers in a crowd.
- Speakers and presenters: Signals who attendees may want to meet (and who may need backstage access or setup support).
- Access or area permissions: Light-touch visibility for controlled spaces (for example, “BACKSTAGE” or “VIP”), especially when staff need to spot access quickly without reading fine print.
- Networking signals: Helps people self-sort, like “MENTOR,” “FIRST-TIMER,” or a topic ribbon used in a professional community.
- Recognition and milestones: “AWARD RECIPIENT,” “COMMITTEE,” or “ALUMNI” can prompt congratulations and conversation starters.
Recognition ribbons can also support participation when they’re designed thoughtfully. Visible markers sometimes nudge people to step in, contribute, or take initiative—especially in community settings—because they make status or accomplishments legible to others. For supportive context on how visible signals can influence motivation and participation in gamified or social environments, see this research discussion: source. The practical takeaway: treat recognition as a tool for positive social cues, not as a universal formula. Keep labels respectful, easy to interpret, and aligned with your event culture.
“The best ribbons don’t just label people—they make it easier for everyone else to know who to approach, who to thank, and who can unblock a problem.” – Event Operations Lead
When Role Cards Are Better Than Ribbons (Workshops, Breakouts, Role-Plays)
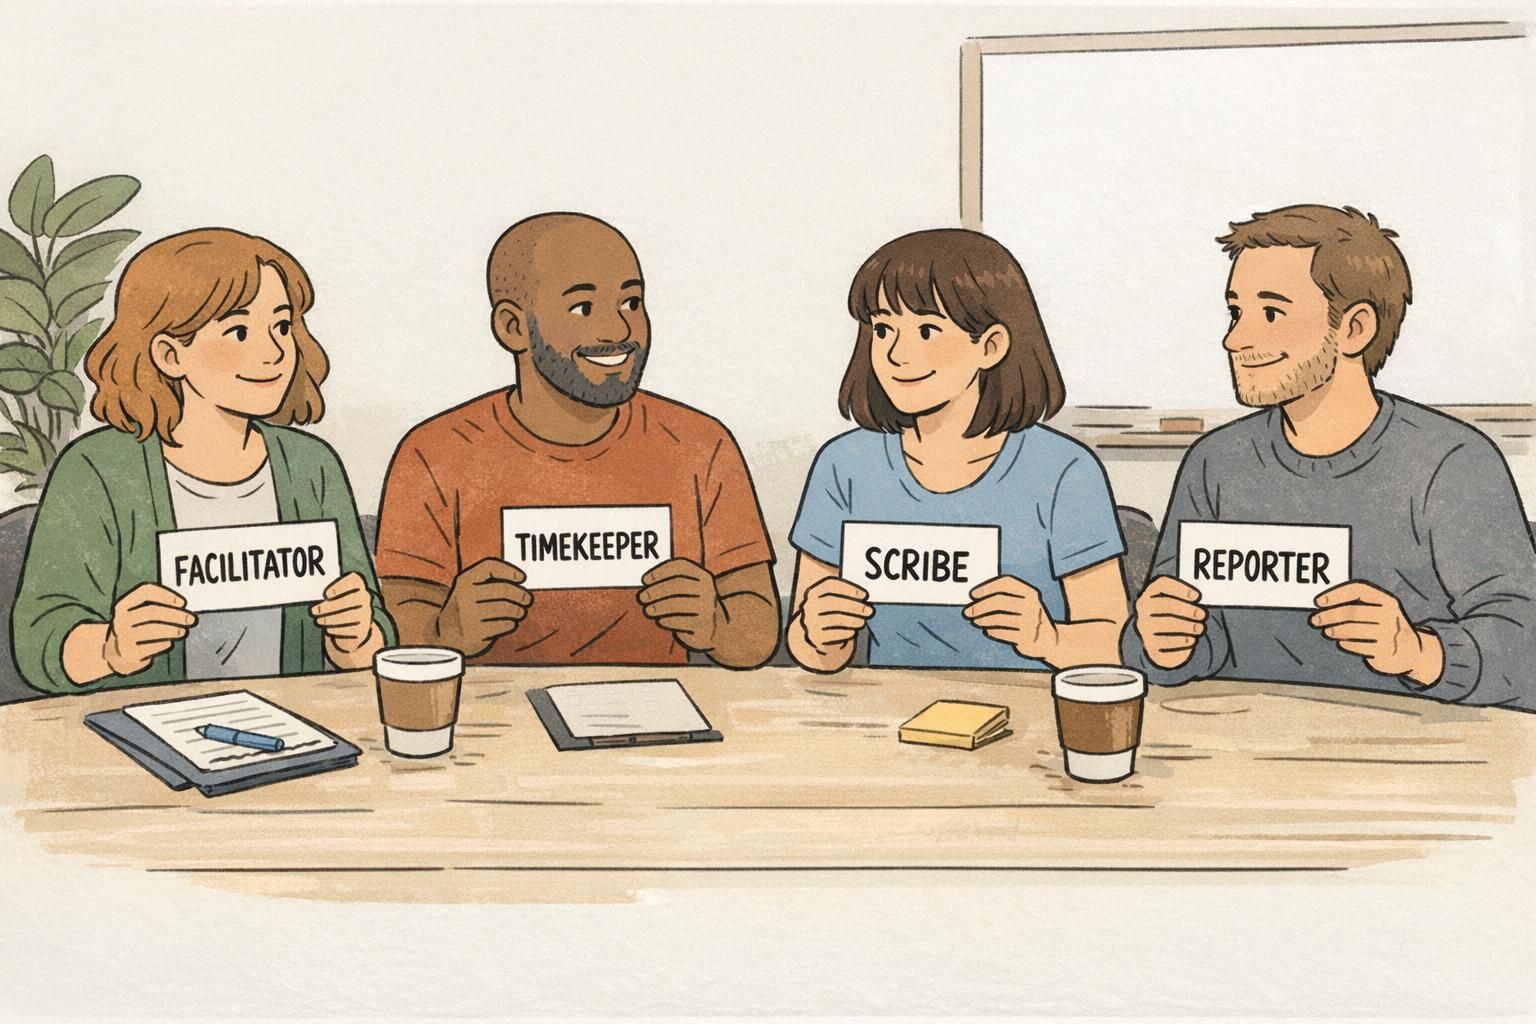
Role cards outperform ribbons when the responsibility is short-lived or context-specific. In structured conversations, it’s often a mistake to label someone for the whole day when they only need to act in a certain way for 30–60 minutes. Role cards reduce confusion in the moment because they move the “what do I do?” guidance into the session itself. They also avoid unintended social signaling outside the room (for example, someone shouldn’t be treated as the “Devil’s Advocate” in casual networking just because they held that role in a single exercise). Common workshop roles include: – Facilitator – Scribe – Reporter – Timekeeper – Devil’s Advocate Because role cards can be collected, reassigned, or rotated between rounds, they’re ideal for trainings and breakouts where you want balanced participation and shared ownership.
Yes—if the responsibility truly lasts all day and you want it visible in sessions. If the role changes by workshop, cards are still better than ribbons because they’re easier to rotate and won’t follow someone into unrelated spaces.
No. Role cards help within an activity, but conference badges remain the core identifier for names, organizations, and event access flow.
Readability First: A Simple Hierarchy for Badge Layout
To avoid clutter, start with a hierarchy that keeps conference badges scannable from a few feet away. Most hallway interactions rely on instant recognition, not close reading. If someone has to lean in, you’ve already lost momentum. A simple hierarchy that works: 1) Name (largest) 2) Organization (second) 3) Role indicators (via ribbons or a small, consistent badge element) If you’re using ribbons, placement rules matter. Put ribbons below the badge (not over it), keep the same orientation for everyone, and avoid ribbon stacks so tall they cover clothing or flip awkwardly when people move. Legibility guidance: – Use high-contrast text on ribbons (dark text on light ribbon or vice versa) – Keep role words short (one to two words) – Avoid too many categories (if you have 18 ribbon types, people stop learning what they mean) A quick “glance test” you can do during planning: print a sample badge and stand 6–8 feet away. If you can’t read the name immediately, don’t add anything else until that’s fixed.
- Protect the name area: never cover it with add-ons
- Standardize ribbon position: always under the holder/badge for quick scanning
- Limit ribbon count per person: 1–2 is usually plenty for clarity
- Make categories intuitive: use plain language (e.g., “STAFF,” “SPEAKER,” “MENTOR”)
Attachment Compatibility: Making Ribbons, Cards, and Holders Work Together
Even the best labels fail if they peel off, twist sideways, or cover the wrong information. Before you order, confirm how your badge ribbons will attach and how your conference badges will be worn. Most ribbons attach one of two ways: – Adhesive-backed: quick to apply, clean look when matched to the holder and ribbon material – Clip-on/slot style: attaches without adhesive, often used with certain ribbon formats and holder designs Compatibility checks that prevent common problems: – Holder style: Does your badge holder leave enough clear space at the bottom for a ribbon stack? – Lanyard vs. clip: Lanyards tend to keep badges centered but can swing; clips can sit flatter but may rotate depending on clothing. – Space below the badge: If the badge is already long, too many ribbons can run into pockets or bend when sitting. In real conference flow, attendees walk, turn, hug friends, carry coffee, and lean over tables. Your setup should survive that motion while keeping the name and key identity details visible.
If you want ribbons to sit straight, test a sample on the exact holder and lanyard/clip you’ll use—then walk around with it for a few minutes. Twisting usually shows up immediately.
Role Cards Design Tips (Short, Actionable, and Easy to Rotate)
Role cards work best when they can be read in seconds and acted on without extra explanation. Think “title + a few behaviors,” not a mini instruction manual. A practical template: – Title (big, bold): TIMEKEEPER – 2–5 behavior bullets (short): what to do, when to speak up, what success looks like Keep the language actionable. Instead of “Manage time,” try “Call out 10 minutes left and 2 minutes left.” Instead of “Support group,” try “Invite quieter voices once per discussion.” Assignment options that work in real rooms: – Random: shuffle and hand out (fast, neutral) – Chosen: let participants pick (good when buy-in matters) – Facilitator-assigned: best when balancing personalities or ensuring someone confident takes a key role Rotating roles across activities is a simple way to spread responsibility. It also prevents one person from becoming the default scribe or the default spokesperson in every group.
- Make titles unmistakable (all caps works well)
- Use 2–5 bullets maximum—readable in under 10 seconds
- Print on sturdy stock so cards survive handling
- Collect and rotate between rounds to build shared participation
Pairing Ribbons and Role Cards in Conference Badges Without Overdoing It
You don’t have to choose one tool for the entire event. A clean approach is to use badge ribbons for event-wide identification and role cards for breakout-only responsibilities. A simple flow that keeps things clear: – Registration: attendees receive conference badges with names and organizations in large type. – Add-ons at pickup: staff hand out only the essential ribbons (for example, SPEAKER, STAFF, VOLUNTEER, MENTOR). Keep it limited so the meaning stays obvious. – Workshops: facilitators distribute role cards at tables for session roles like Timekeeper or Reporter, then collect them afterward. This pairing prevents the most common problem: permanently labeling someone for a temporary duty. It also keeps the badge face readable, while still giving attendees helpful signals about who’s who across the venue.
“Ribbons help people find the right person fast. Role cards help the right conversation happen in the room. Together, they reduce confusion without turning badges into clutter.” – Workshop Facilitator
Ordering and Setup Checklist (So Distribution Stays Smooth)
The fastest way to create clutter is to add categories late or distribute inconsistently. A small amount of planning keeps your system understandable for attendees and easy for volunteers to run. Use this checklist to keep distribution smooth:
- Define your categories: decide which roles truly need to be visible at a glance.
- Limit ribbon types: fewer, clearer ribbons beat a long menu of niche labels.
- Decide who gets what: write simple rules (e.g., all speakers get SPEAKER; all room monitors get STAFF).
- Plan pickup stations: keep ribbons near check-in or a clearly marked add-on table.
- Brief volunteers: provide a one-page key so staff can explain ribbon meanings consistently.
- Set expectations for optional ribbons: if offering interests or pronouns, make it opt-in and clearly labeled so it feels welcoming rather than required.
- Do a sample run: test a few badge/holder/ribbon combinations before the event starts.
If volunteers can’t explain them quickly or attendees can’t remember what they mean, it’s too many. Many events find that 4–8 core ribbon types cover most needs, with optional ribbons kept clearly separate and opt-in.
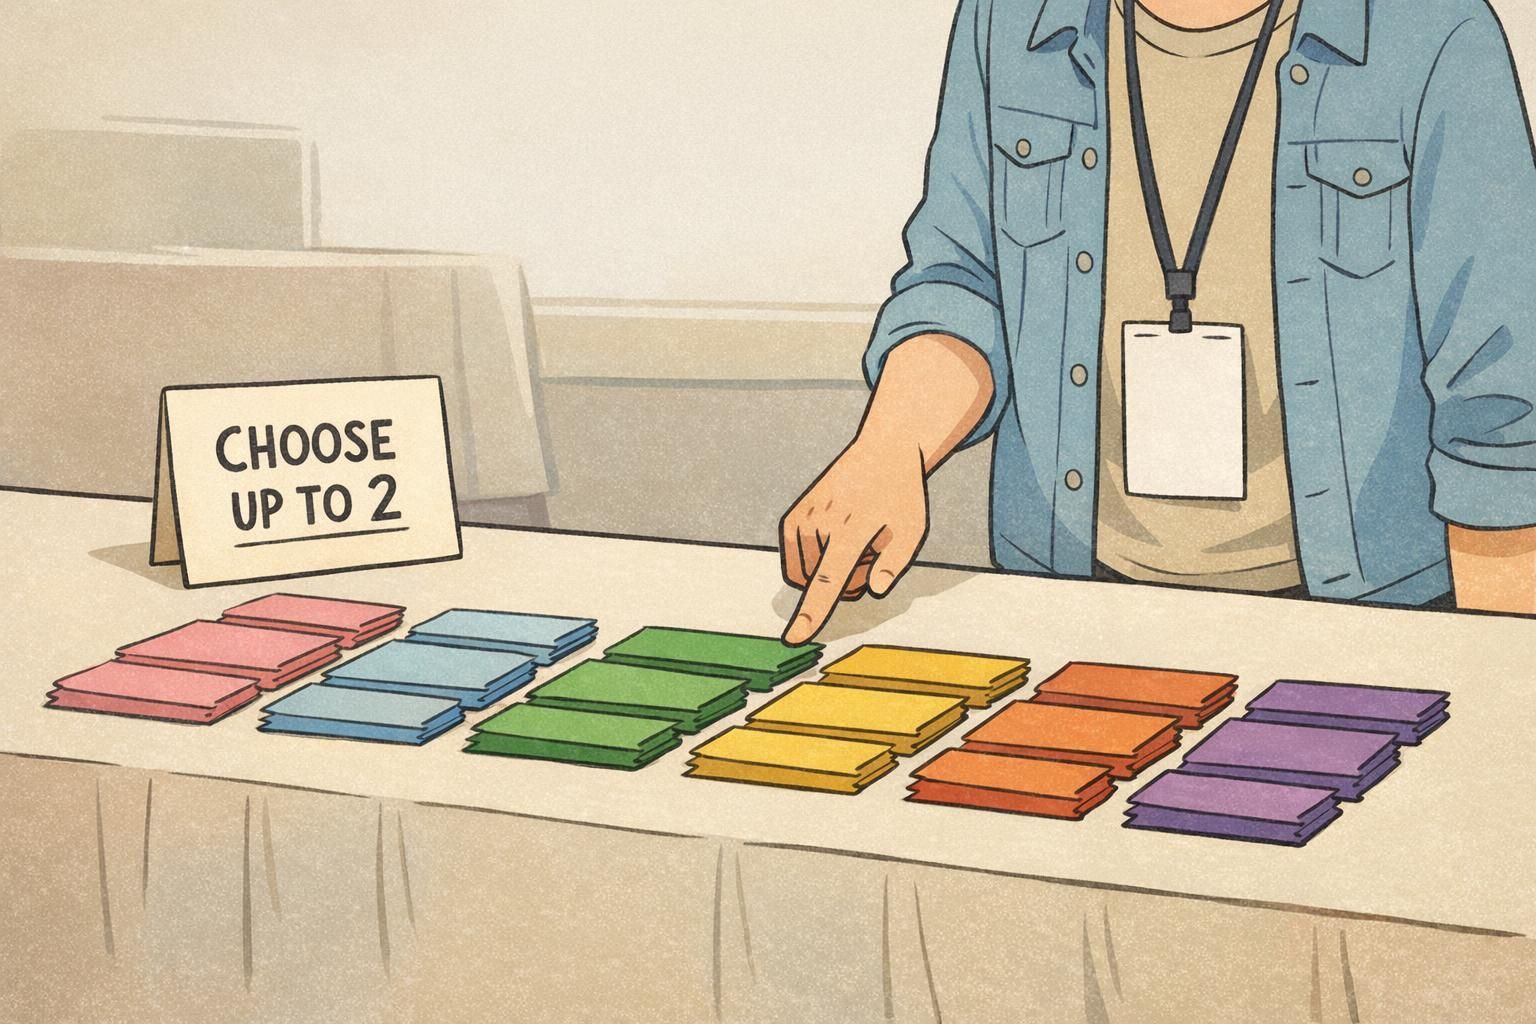
Yes. A simple limit (like choosing up to two) helps prevent visual clutter and keeps the badge readable while still giving people choice.
Event Badge Solutions That Support Ribbons and Add-On Role Indicators
If you know you’ll use badge ribbons and add-on role indicators, choose conference badges and holders that protect the main name area while leaving clean attachment space below. Practical considerations include badge size (so names stay large), holder type (so ribbons hang straight), and whether you’ll use lanyards or clips based on how attendees move through the venue. BadgeZoo’s custom event badges can be selected in formats that pair well with ribbon add-ons—so organizers can keep names readable and role signals clear without crowding the badge face. If you’re unsure which holder and attachment style will work best for your event flow, you can contact BadgeZoo with questions or custom requests at http://badgezoo.com/contact.
A clean badge system is easier to staff, easier to explain, and easier to use—especially when the badge design stays focused on names while add-ons handle roles and context.