
Onboarding Badges That Help New Hires Feel Included Faster
Why onboarding badges reduce first-week social friction
The first week at a new job is a lot of tiny decisions: Who do I say hi to? Do they know my name? Am I interrupting? Where do I stand in this conversation? Most of that tension isn’t about the work—it’s about navigating people and routines you haven’t learned yet.
Onboarding badges lower that social friction by making the basics visible right away: a readable name, a clear photo, and a role or team label that matches how people actually talk internally. When coworkers can identify a new person quickly, greetings become easier, introductions feel less awkward, and the new hire doesn’t have to “earn recognition” just to be included.
A well-designed onboarding badge acts like a quiet welcome signal: it helps others approach confidently and helps new hires spend less energy managing uncertainty.
This matters even in friendly cultures. People are often willing to help, but they hesitate when they’re not sure who someone is, what to call them, or whether they’re supposed to have access. Clear identification removes those micro-barriers and creates more natural moments of connection—especially in busy hallways, shared workspaces, and shift changes.
Design the “welcome identity set” (simple, consistent, and readable)
Think beyond the card itself and design a “welcome identity set”: the badge layout, the accessory (lanyard/clip/holder), and a small temporary onboarding marker that blends into your standard ID system. The goal is to help the new hire look like part of the team immediately, while still giving coworkers a subtle cue to offer guidance.
- Large first name that’s readable at conversational distance
- Clear, current photo with consistent lighting and framing
- Role/team label that matches how people refer to groups internally (e.g., “Facilities,” “Customer Support,” “Night Shift”)
- A simple, temporary onboarding marker (small icon, color band, or a short line) that doesn’t overwhelm the design
- Consistent layout across departments and locations so no one has to “decode” a new format
Consistency is a social tool. When everyone’s ID follows the same visual rules, coworkers can scan quickly and respond naturally: say the right name, connect the person to a team, and route questions appropriately. For new hires, that reduces the pressure of repeated self-introductions and helps early conversations focus on real work and relationships.

A low-pressure new hire welcome ritual teams can repeat every time
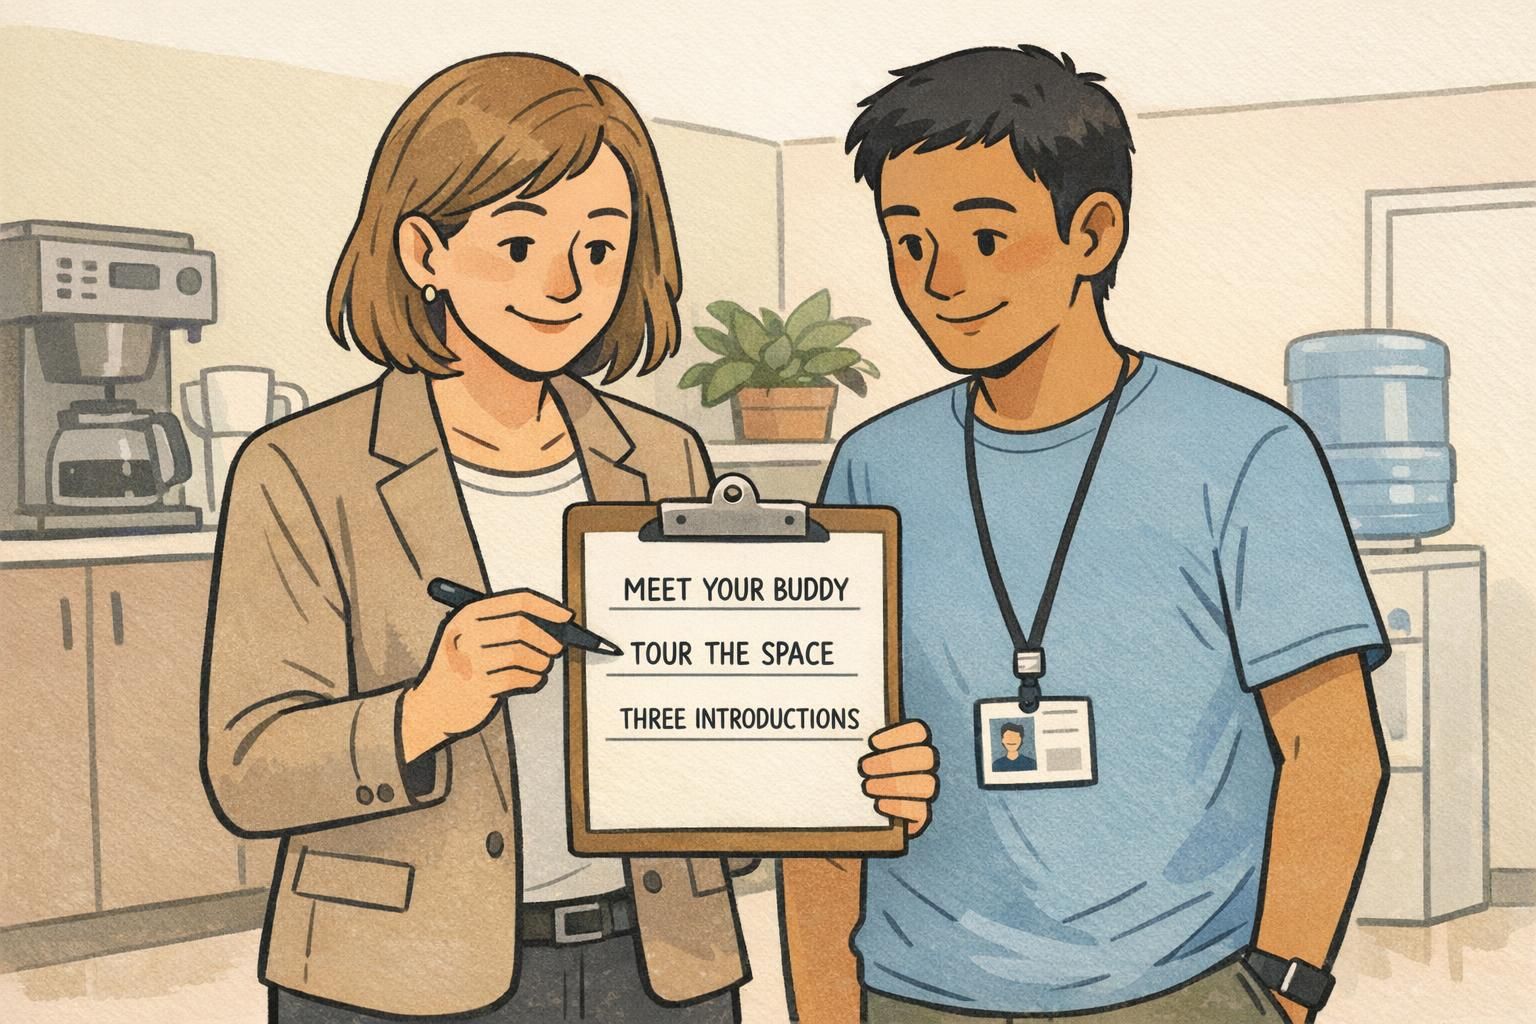
A badge program works best when it’s paired with a predictable human moment. New hires don’t just need an ID—they need a simple, repeatable way to enter the social flow of the team. A short ritual also helps managers stay consistent on busy days, so every person gets the same baseline support.
A practical option is a “badge-on + three hellos” routine. It’s quick, it’s low-pressure, and it turns the first few interactions into something the new hire can count on instead of improvise.
- Greet the new hire and confirm name pronunciation (and preferred name, if applicable).
- Hand off the badge and clip it on together so it sits correctly and doesn’t flip.
- Do three quick introductions to nearby coworkers (name + role + how they’ll interact).
- End with one clear next step (where to go, who to meet, what the first task is).
“The most helpful part wasn’t the paperwork—it was that the first introductions felt planned. The badge made it easy for people to greet me, and the first minutes felt less like I was interrupting.” – New hire
This kind of new hire welcome works because it reduces uncertainty on both sides. Coworkers know they’re expected to say hello, and the new person isn’t left wondering when it’s ‘okay’ to start talking to people. Over time, that supports employee belonging by making inclusion a routine, not a personality test.
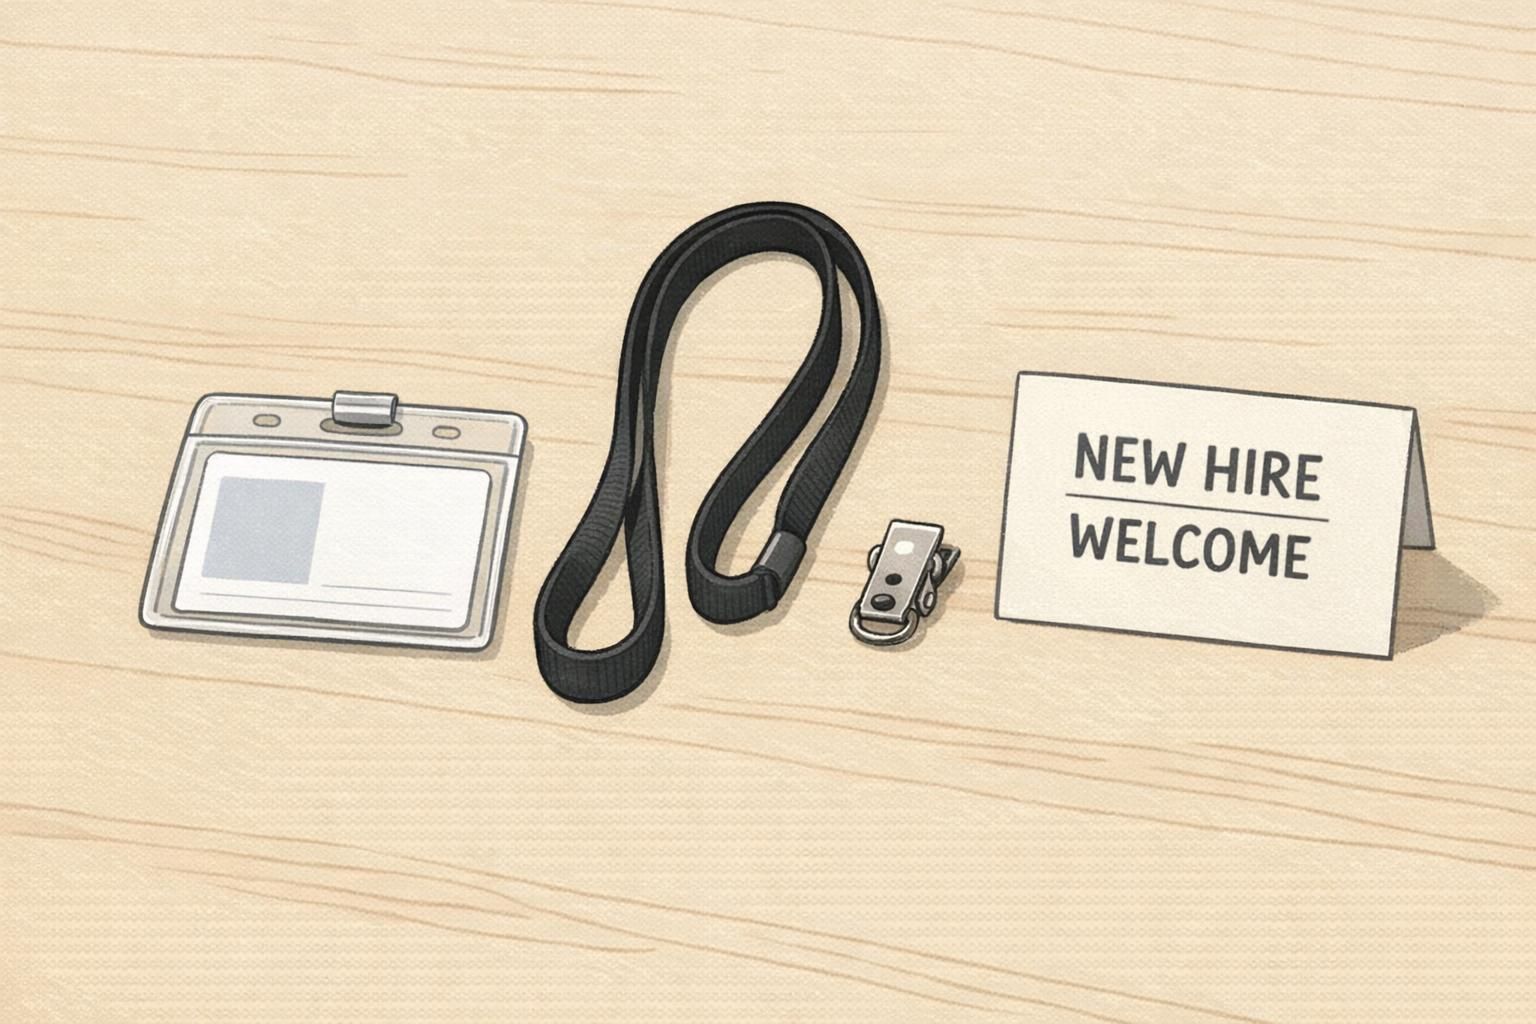
Where ID accessories help: clips, lanyards, holders, and comfort
If an ID is hard to wear, it becomes a distraction. A badge that flips backward, falls off, or feels awkward can make a new hire more self-conscious—especially when they’re already monitoring how they’re coming across. Comfort and reliability are part of “readability,” because the best layout won’t help if the badge isn’t visible.
Choosing accessories based on the work environment also reduces confusion in fast interactions. When the whole team uses a similar setup, it’s easier to spot the ID quickly and trust that it’s worn correctly.
- Office/campus settings: lanyards can be comfortable for all-day wear and easy to spot during quick hallway conversations.
- Manufacturing or active roles: durable clips can reduce snagging and help the badge stay oriented correctly.
- High-motion or public-facing roles: holders protect the card, keep it rigid, and can prevent bending or unreadable wear.
Standardizing accessories across a site or shift makes it easier for coworkers to recognize IDs quickly and helps new hires feel like they “fit” from day one.
Use “ask-me” cues without singling people out (badge buddies, when appropriate)
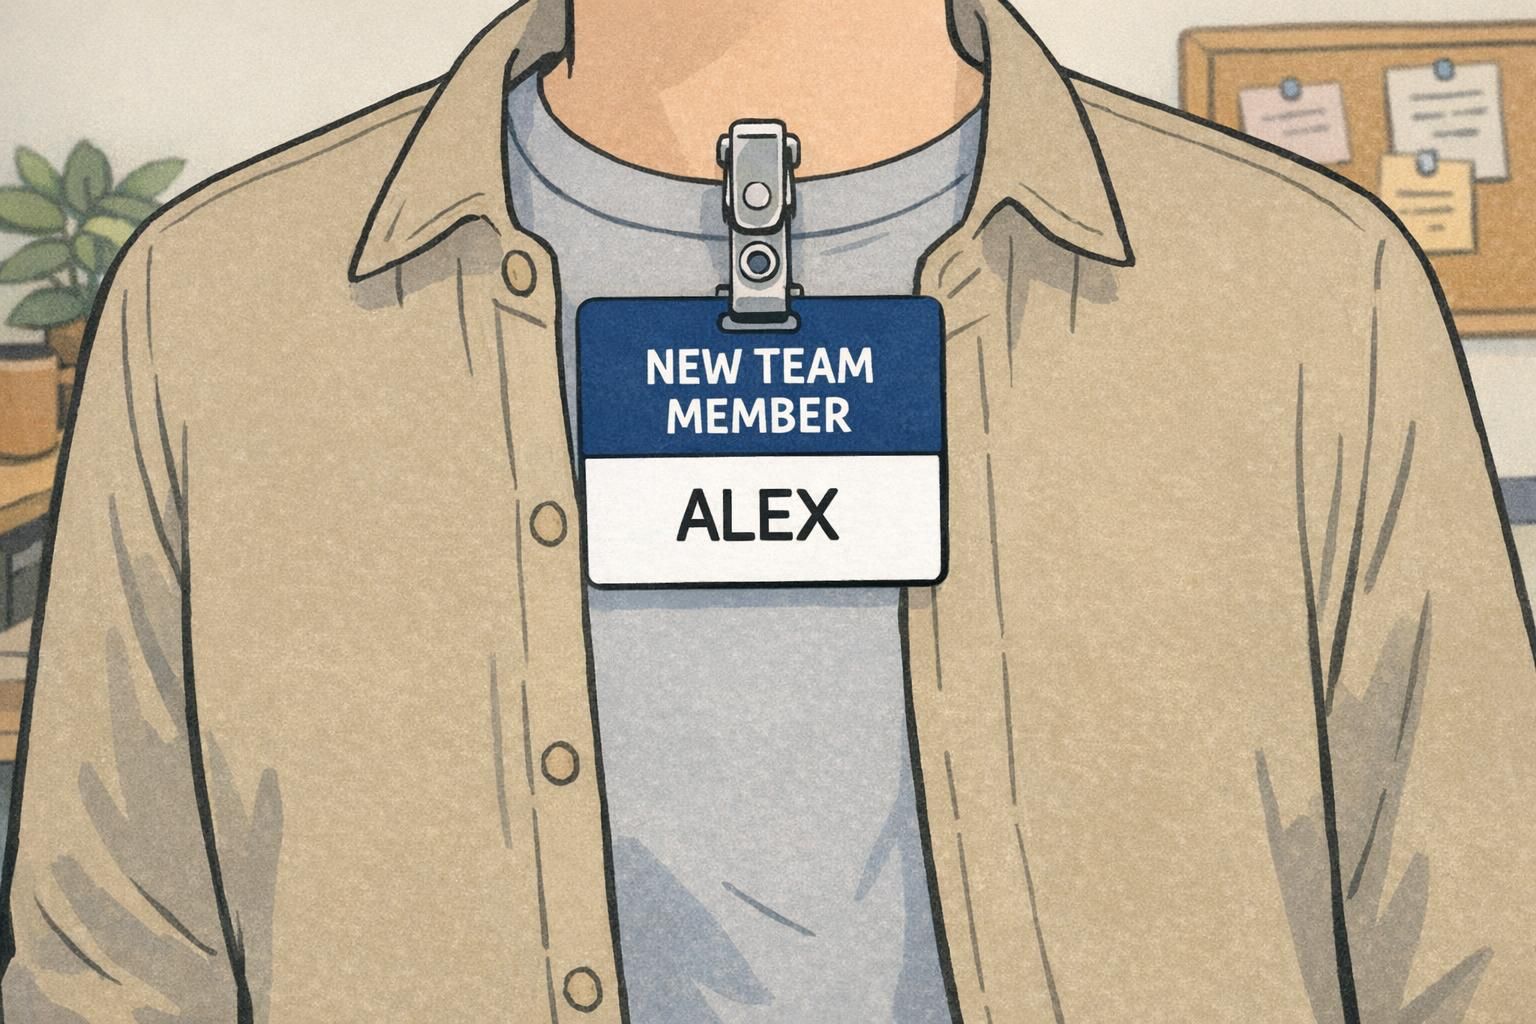
Some workplaces benefit from a visible cue that a person is brand new—especially when safety, access, or fast-paced teamwork is involved. But the cue has to be handled carefully: it should invite support without making someone feel labeled or “othered.”
A professional approach is a time-limited message that focuses on inclusion, not inexperience—something like “NEW TEAM MEMBER” for the first two weeks. If you use a badge buddy, the physical construction matters for readability and comfort: a badge buddy works best when it’s a rigid rectangular backing card the SAME WIDTH as the ID badge, slightly taller than the ID badge, clipped together with the ID badge using the same top clip so the two cards form a single straight vertical stack.
- Keep the message neutral and supportive (e.g., “NEW TEAM MEMBER”).
- Use it briefly (a defined window like 1–2 weeks).
- Match your existing ID look so the person still appears part of the team.
- Make sure the buddy and ID align as one straight vertical stack for a clean, readable presentation.
“The best onboarding cue is one that prompts kindness without turning someone into a project. A simple, time-limited marker can help coworkers step forward naturally.” – People Operations lead
Digital badges vs. physical IDs: how they can work together in onboarding
Physical IDs and digital badges solve different problems during onboarding, and that’s why they pair well. A physical ID supports daily recognition and access: it helps coworkers greet someone by name, helps teams confirm who belongs in a space, and reduces awkward pauses in real-time interactions.
Digital badges (often called open badges or micro-credentials) can complement this by recognizing progress over time—like completing safety training, systems access steps, or role-specific learning milestones. Research and practice discussions around open badges commonly emphasize their use for documenting and signaling achievements in a portable way (source).
- Physical ID: “I can find you and greet you” (immediate, day-to-day belonging and access).
- Digital badge: “I can see your progress and celebrate it” (milestones, learning completion, recognition).
When teams celebrate onboarding milestones while also making daily identification easy, new hires get both clarity (where they belong today) and momentum (how they’re progressing).
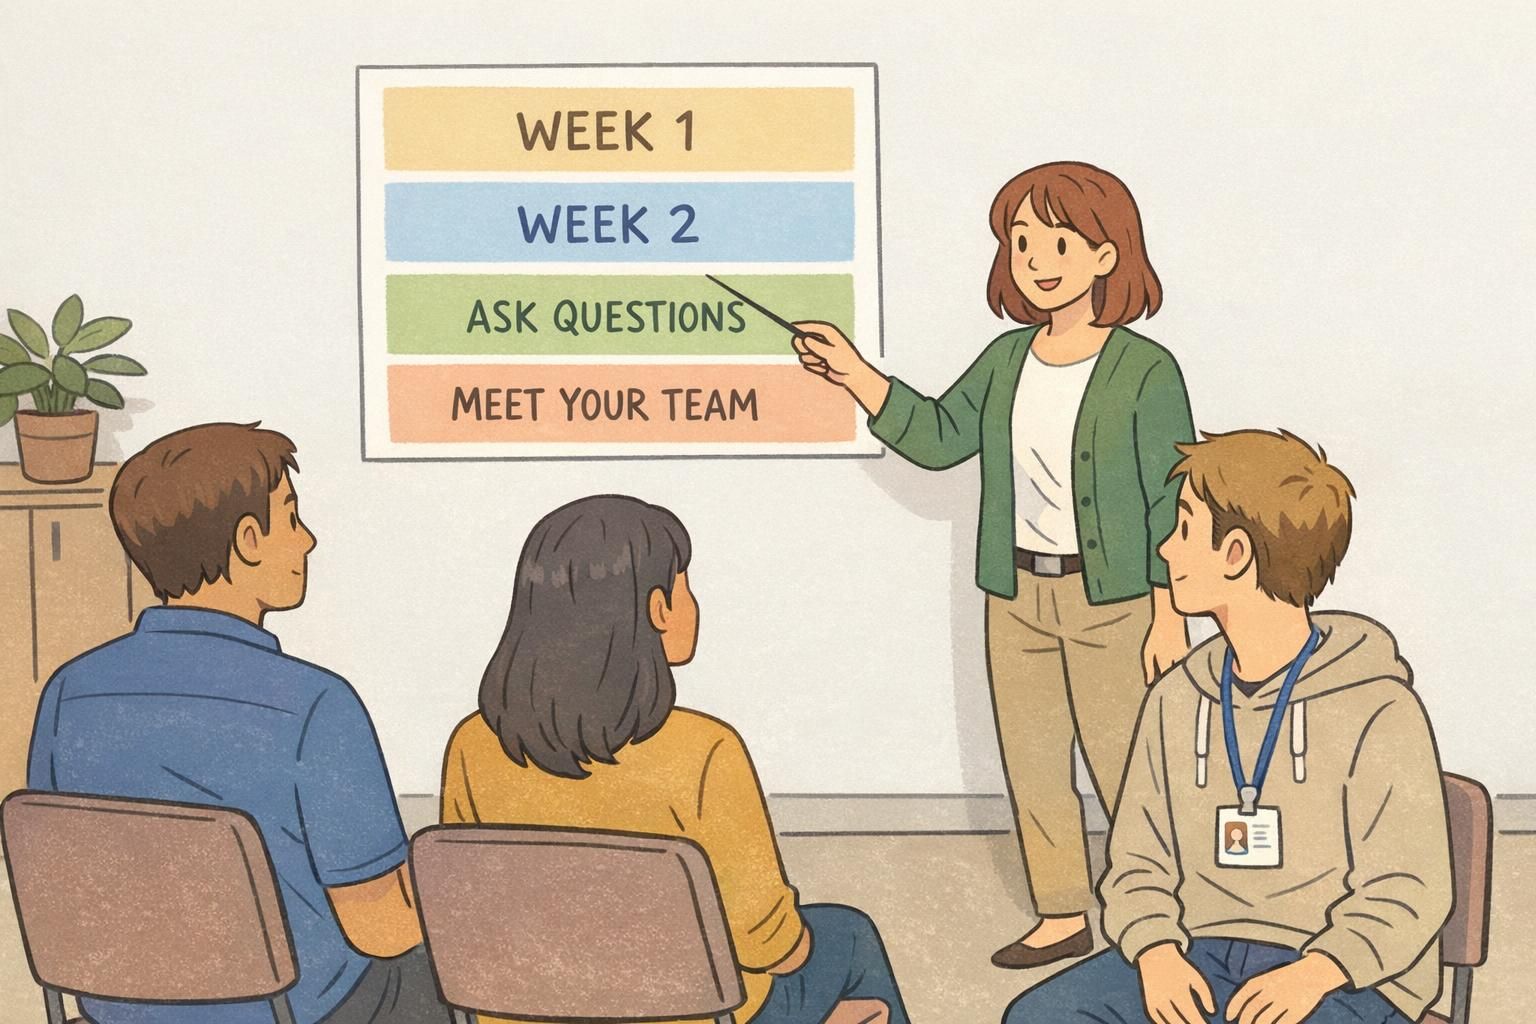
A 2-week onboarding badge plan (templates teams can adopt)
A simple plan helps teams deliver a consistent experience without making onboarding feel rigid. The aim is to start with extra clarity (so people know to welcome and support), then transition smoothly into the standard ID format as the new hire builds familiarity and relationships.
- Week 1 (Day 1): Issue the standard ID immediately and confirm it’s readable (name, photo, role/team). Add a temporary onboarding marker if your culture benefits from it.
- Week 1 (Days 1–5): Use structured introductions: manager, assigned buddy/mentor, and one cross-functional partner the role will work with often.
- Week 1 (Ongoing): Standardize how the badge is worn (same accessory type for the team when possible) so it stays visible and comfortable.
- Week 2 (Early): Check in briefly: is the badge easy to wear, readable, and consistent with what others are using?
- Week 2 (End): Remove the temporary marker and transition to the fully standard format once core contacts are met and key training steps are complete.
This approach keeps the experience fair. A consistent process means employee belonging doesn’t depend on which manager is busiest or which shift has the most time. Everyone gets the same baseline welcome, the same clarity, and the same chance to be recognized quickly by name.
Long enough to support early connections, short enough to avoid labeling—many teams choose about two weeks, then transition to the standard ID format.
Offer an opt-out and focus on readability and consistent accessories. You can still use the repeatable introduction ritual without any special marker.
If they come on-site even occasionally, a consistent ID can still reduce friction during visits. For fully remote roles, the same principles apply to visible identity in video calls and directories, while physical IDs may be reserved for site access needs.
Common pitfalls to avoid (and how to fix them professionally)
Most onboarding badge problems aren’t complicated—they’re small design and process decisions that add up. Fixing them usually means prioritizing readability, consistency, and fast support when something goes wrong.
- Pitfall: Tiny names or overly decorative fonts. Fix: Make the first name the largest element and use a clean, high-legibility typeface.
- Pitfall: Low contrast (light text on light background). Fix: Increase contrast so names and roles can be read quickly in real lighting conditions.
- Pitfall: Inconsistent layouts across buildings or departments. Fix: Use one layout system so people recognize where to look for name, photo, and team every time.
- Pitfall: Overloading the front with internal codes. Fix: Keep the front human-friendly; move secondary details to the back or a secure system.
- Pitfall: Slow replacement or mismatched accessories. Fix: Standardize holders/clips and make replacement straightforward so new hires don’t feel “unfinished” during their first weeks.
A badge that’s hard to read or hard to wear doesn’t just create confusion—it can make a new hire feel invisible. Readability and reliability are inclusion tools.
BadgeZoo products that support a consistent onboarding identity program
If you’re building a consistent onboarding identity program across teams or locations, it helps to align the physical pieces—ID badges, name tags, holders, lanyards, and optional badge buddies—so each new hire receives the same professional setup. Standardization reduces last-minute exceptions and makes the new hire welcome feel intentional rather than improvised.
BadgeZoo can support this kind of consistent setup with custom ID badges and the related accessories teams typically pair with them. For organizations that need to run onboarding frequently, it can also be helpful that there’s no minimum order quantity, so teams can stay consistent even when hiring in smaller waves.
The most effective programs keep the experience simple: one readable ID system, comfortable accessories, and a repeatable welcome moment that helps people connect quickly.