Healthcare ID Badges: Role Clarity That Builds Patient Trust
Why healthcare ID badges matter for role clarity and patient trust
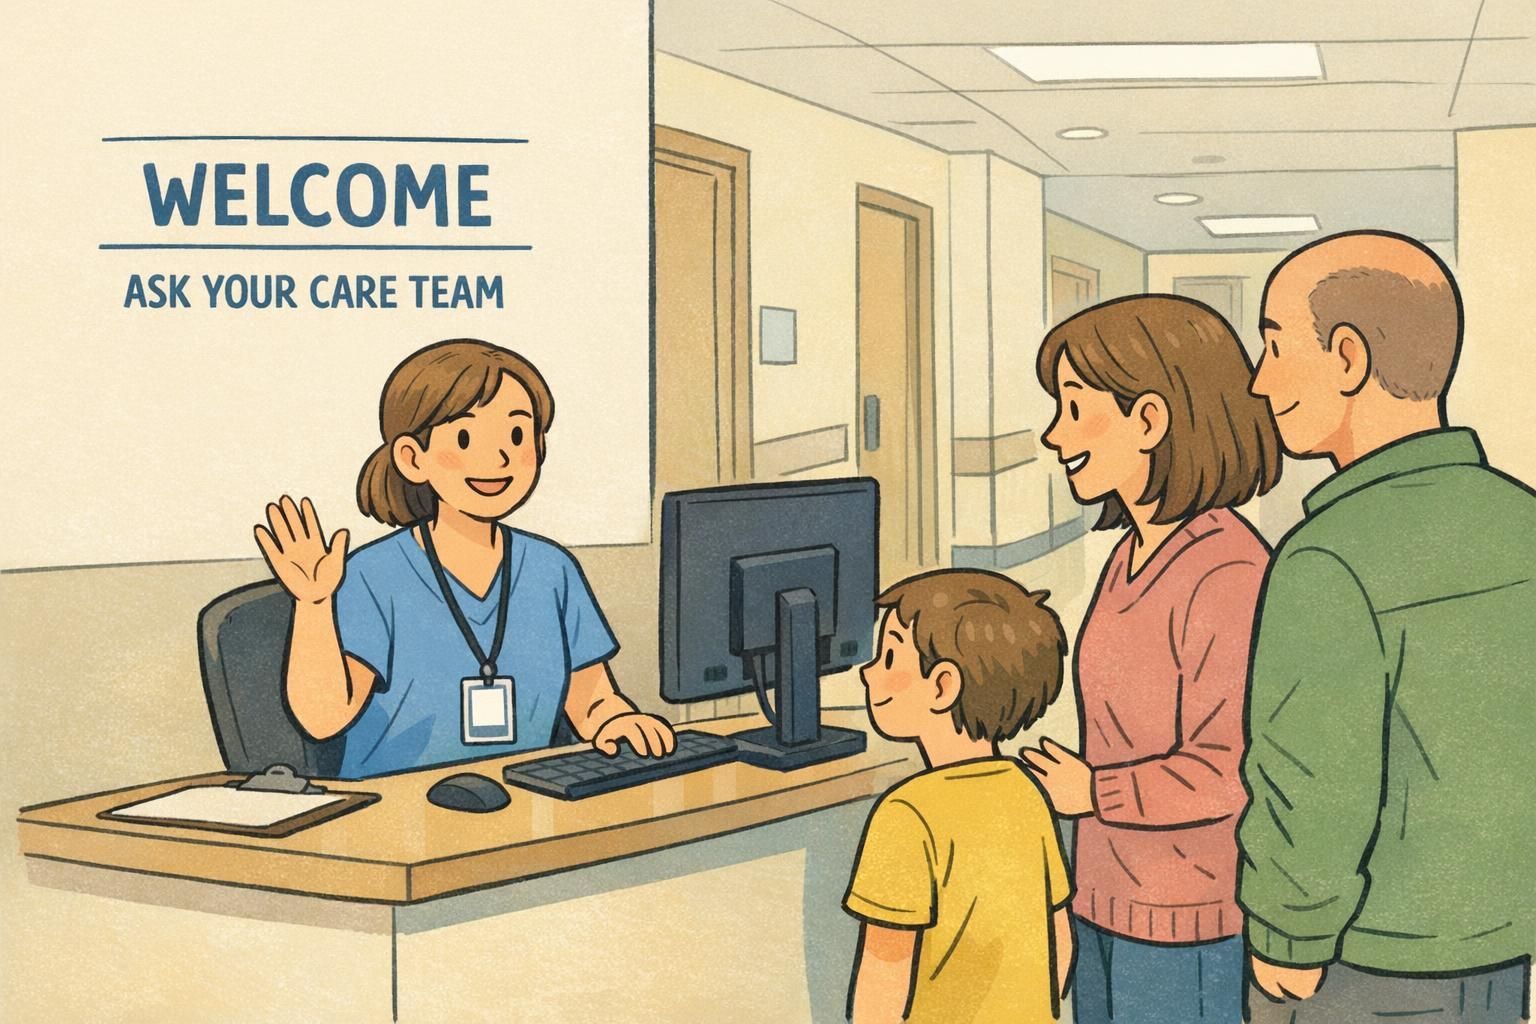
In a hospital or clinic, patients may meet a dozen people in a single day—often while they’re tired, anxious, or in pain. In that reality, healthcare ID badges do more than meet a policy requirement: they help people quickly answer a basic question, “Who are you in my care today?” When roles are obvious at a glance, conversations get easier, questions go to the right person, and families feel more oriented in a busy environment.
Role clarity is a practical trust-builder. It’s not about slogans or branding. It’s about lowering uncertainty during real moments: a new face enters the room, a family member wants an update, a patient needs help getting to the bathroom, or someone is deciding whether a medication should be adjusted. Clear identification supports a calmer experience for patients and a smoother workflow for staff.
When roles are easy to recognize, patients spend less energy figuring out who’s who—and more energy focusing on care instructions and shared decisions.
- Patients and families can direct questions to the right person faster
- Staff spend less time re-explaining their role across repeated interactions
- Handoffs feel clearer because visual cues support verbal introductions
- Units feel more organized, especially during high-traffic hours
Where role confusion happens most (and what it costs)
Role confusion is common in healthcare because teams are layered by design. Patients may interact with an attending physician, resident, nurse, nurse practitioner, physician assistant, medical assistant, technician, phlebotomist, transporter, and students—sometimes within a single morning. If identification relies on small print, acronyms, or inconsistent badge designs, patients can’t reliably tell who is responsible for which decisions.
Certain moments make misidentification more likely: shift changes, transfers between units (ED to inpatient, ICU to step-down), rapid rounding, and high-acuity situations where speed matters. Families may ask the first person they see for an update, only to learn that person isn’t the right contact. This can cause delays, frustration, and repeated conversations that add stress to already emotional moments.
- Shift change: new faces arrive before introductions are complete
- Transfers: the same patient meets a new team with different uniforms and routines
- Rounds: multiple clinicians enter together and speak quickly
- Procedures and imaging: technicians and nurses rotate in and out rapidly
- Teaching environments: students and trainees are present alongside licensed staff
The cost of role confusion is often time and frustration: misdirected questions, delayed updates, and repeated “I’m not sure who you are” moments at the bedside.
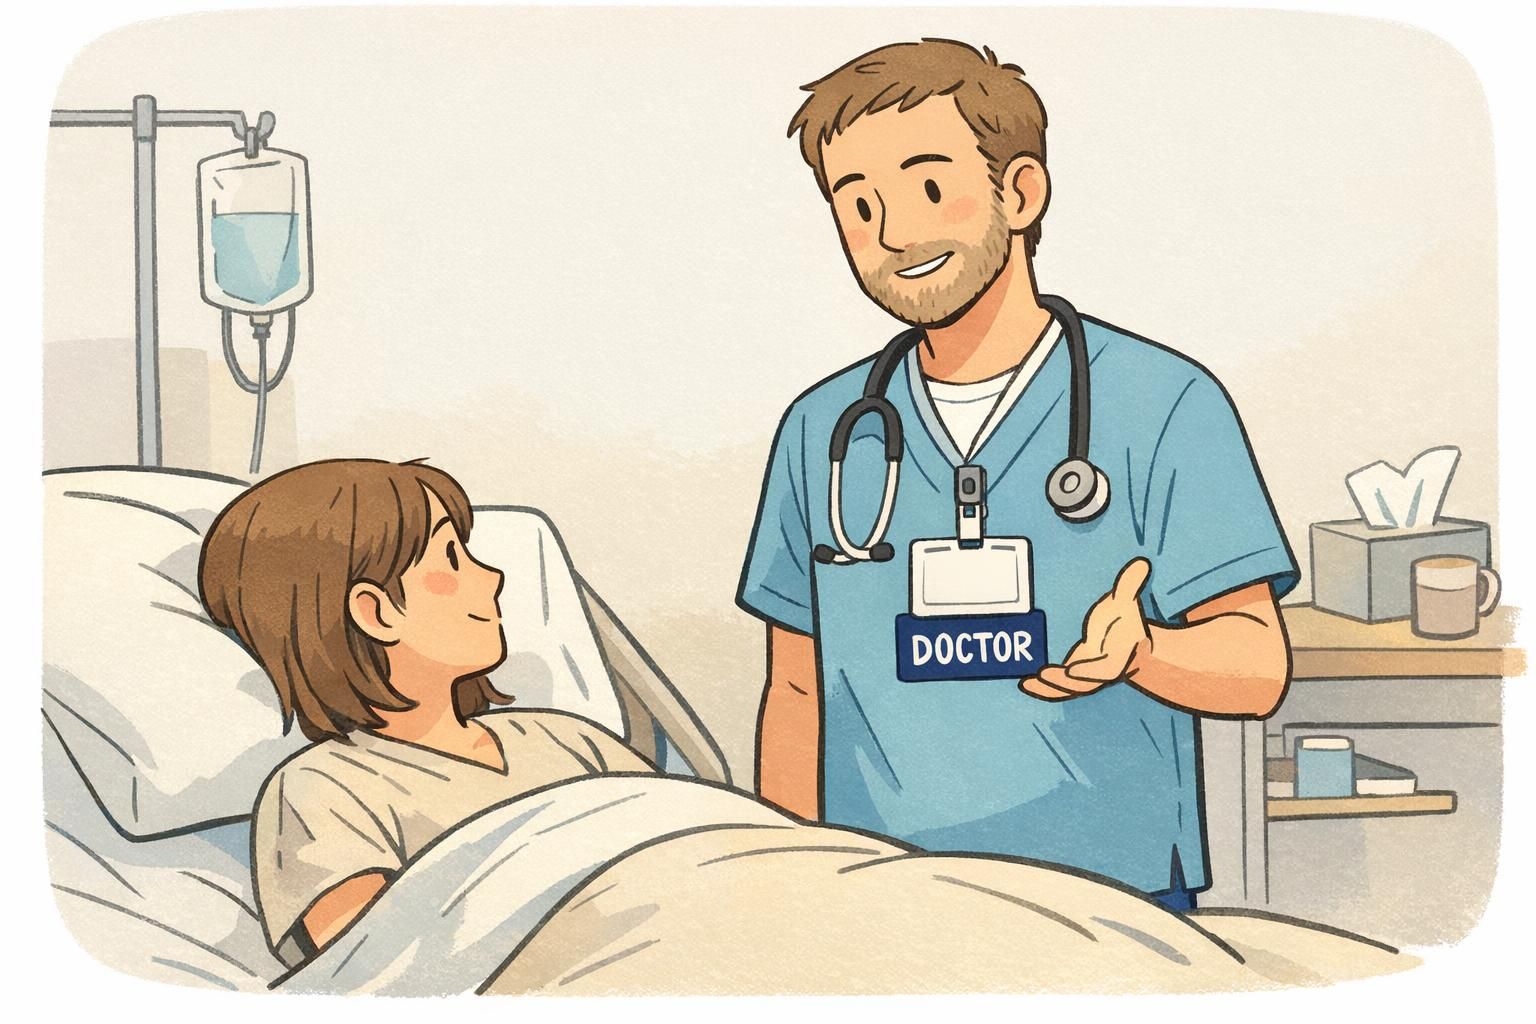
Badge buddies and role-identity cards: a practical visibility upgrade
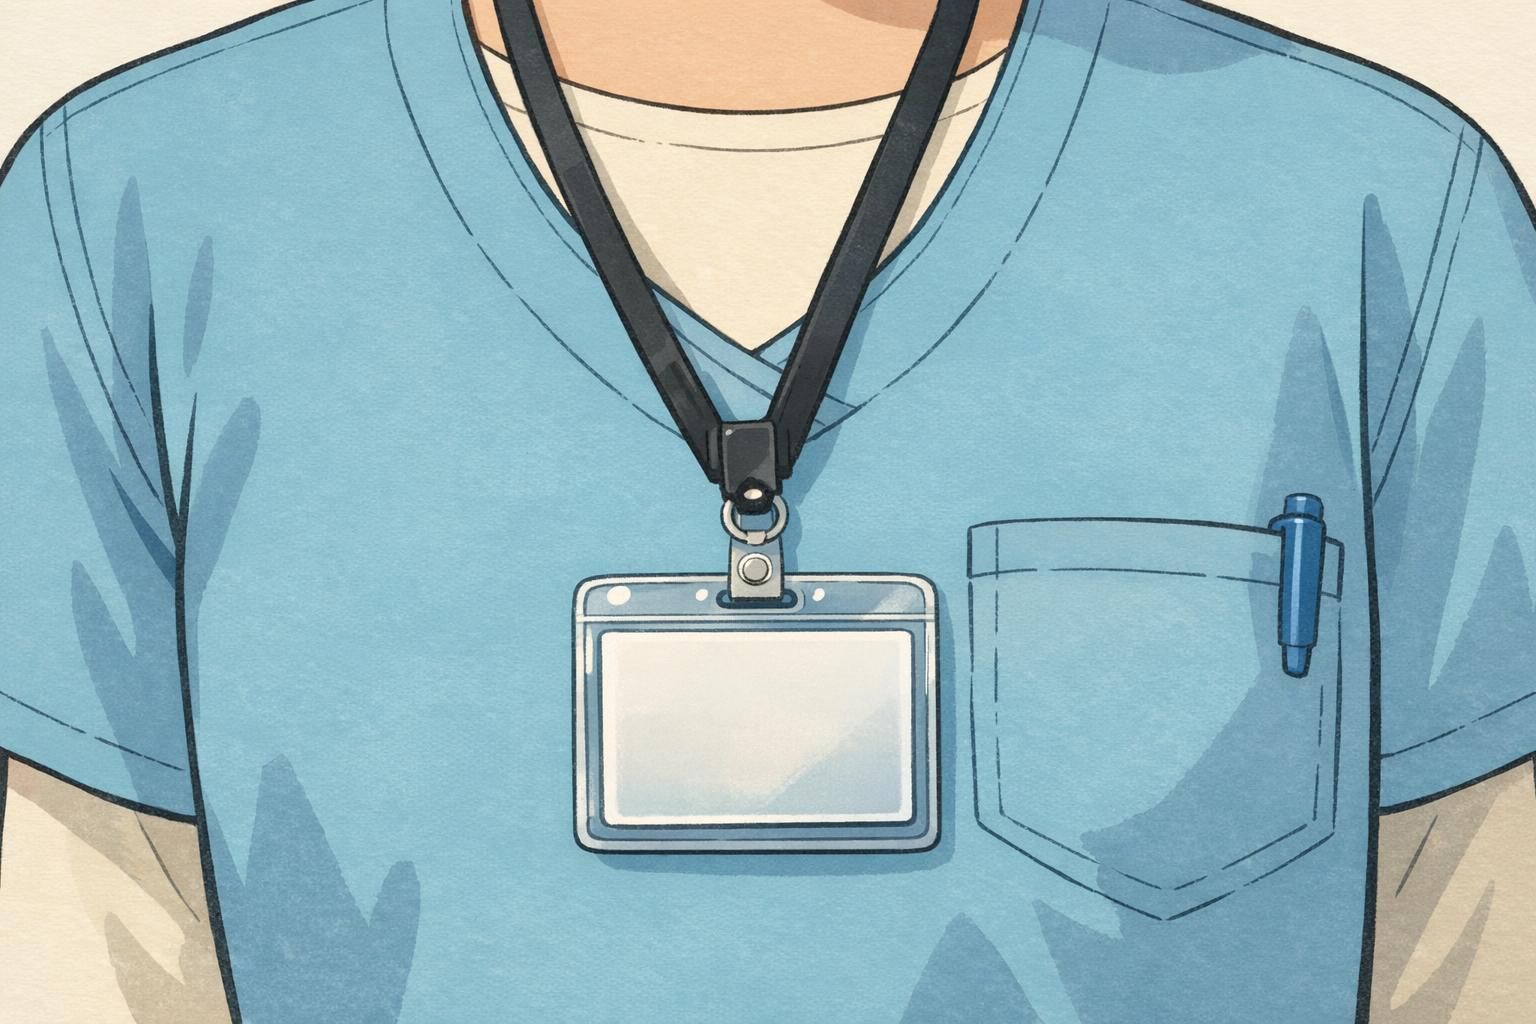
Even well-designed ID cards can be hard to read from a few feet away—especially if the layout includes a photo, name, department, and small role text competing for space. That’s where badge buddies (or role-identity cards) can help. A badge buddy is a rigid backing card that sits behind an existing ID badge and displays a large, plain-language role label. Because it’s larger and simpler, it’s often readable at typical bedside distance.
In clinical training settings, standardized role identifiers—often with color-coding—have been associated with improved perceived role clarity and reduced misidentification after implementation. That evidence aligns with what many teams observe day-to-day: when the role label is unmissable, introductions land better and patients feel less uncertain about who they’re speaking to. (See: source.)
A badge buddy is especially useful in high-traffic environments (ED, inpatient units, perioperative areas), places with frequent introductions, or teaching hospitals where multiple learners rotate through. In quieter settings with fewer role types—or where staff have longer, consistent relationships with patients—a standard badge with clear role text may be sufficient.
- When badge buddies help most: fast-paced units, frequent handoffs, teaching teams, float pools
- When a standard badge may be enough: small clinics, stable care teams, low staff turnover
- Best results: pair the visible role label with a consistent verbal introduction every time
“When the badge clearly says ‘Nurse’ or ‘Doctor,’ families stop guessing. It turns ‘Who are you?’ into ‘Can I ask you about…?’—which is a much better start to a conversation.” – Unit charge nurse
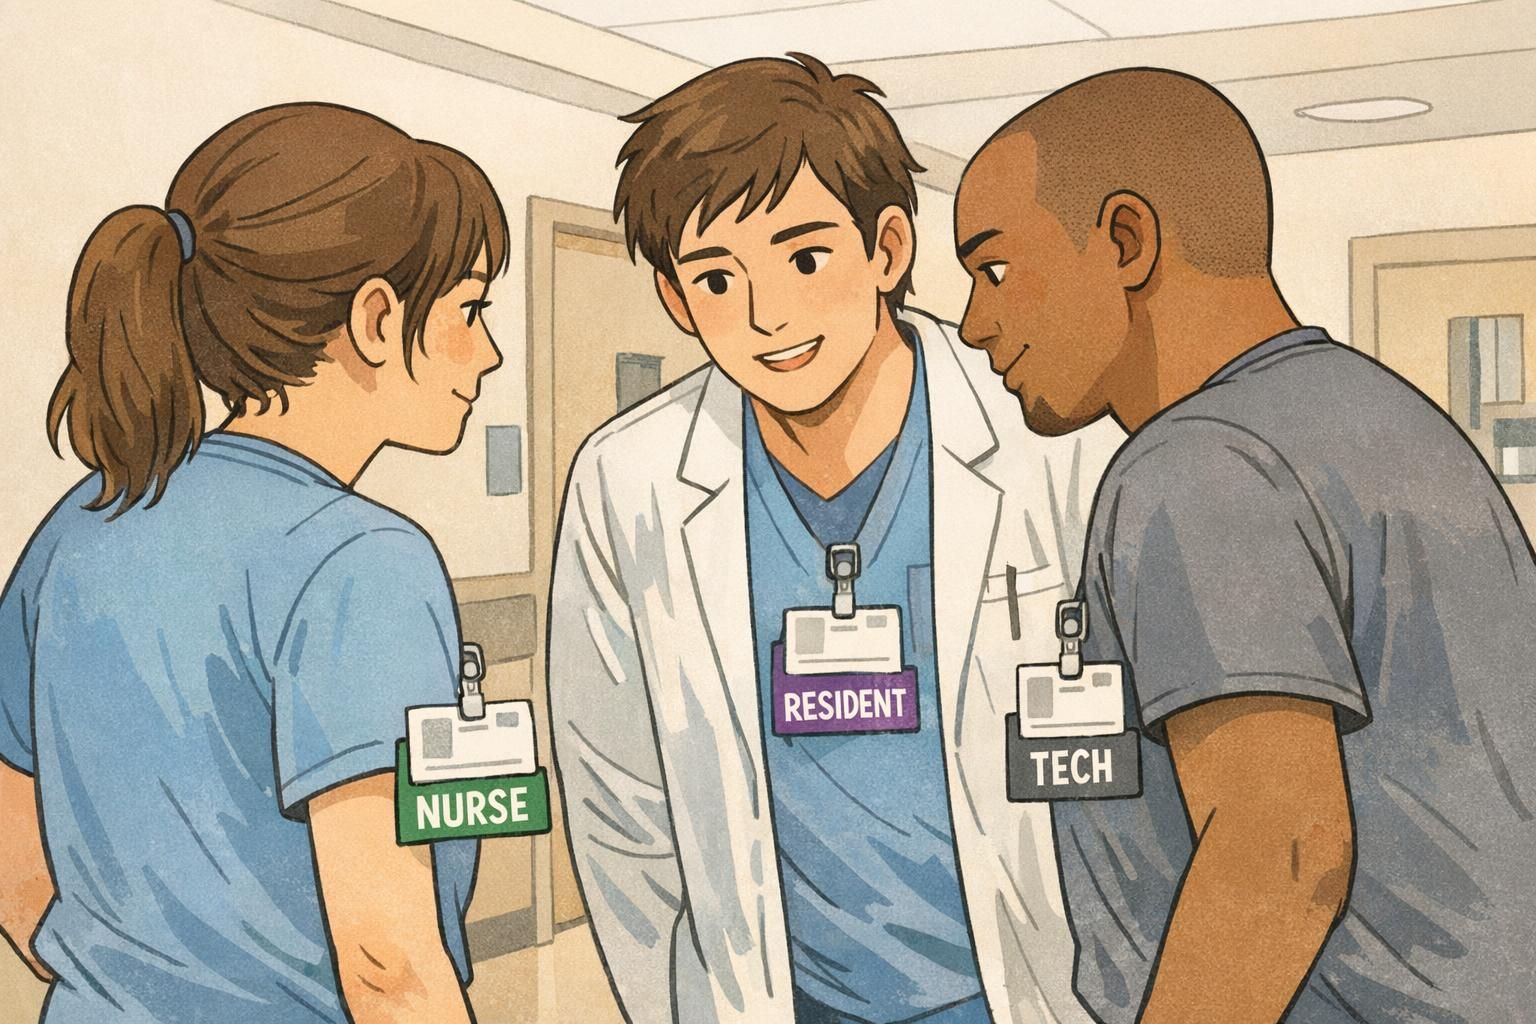
Role labeling ideas patients understand (plain language over acronyms)
If a patient can’t interpret the role text instantly, the label isn’t doing its job. Degrees, credentials, and acronyms may be meaningful internally, but patients often need plain language. The goal is not to oversimplify clinical practice—it’s to make the first five seconds of interaction clearer so the next five minutes can be more productive.
Choose role names patients recognize at a glance, and keep them consistent across departments. That way, when someone transfers from the ED to inpatient care (or from a clinic to imaging), they’re not forced to relearn the system.
- Examples of plain-language role labels: Doctor, Nurse, Nurse Practitioner, Physician Assistant, Resident Physician, Medical Student, Technician, Medical Assistant
- Avoid relying only on: MD, DO, RN, NP, PA-C, MA, RT (these can be included elsewhere but shouldn’t be the primary role cue)
- Keep role sets stable: if one unit uses “Tech” and another uses “Technician,” standardize one term
Plain-language role labels reduce the “translation burden” on patients—especially in stressful moments, for older adults, and for visitors who are new to the setting.
They don’t have to. Labels can focus on function (who you are in the care team) rather than status. Consistency and clarity matter more than ranking.
Usually not. Patients often benefit most from a small, consistent set of roles (for example: Doctor, Nurse, Tech, Medical Assistant, Student), with specialty details handled in conversation.
Consistency tips: colors, placement, readability, and accessibility
A role identification system only works if it stays consistent over time. If colors shift by unit, fonts are too small, or badges end up tucked into pockets, patients lose the benefit. Consistency is also what makes the system fair to staff: everyone is represented clearly and in the same visual “language.”
Color-coding can help, but it should be done carefully. Use a clear mapping (one role = one color across the organization), and confirm that colors remain distinguishable under typical indoor lighting. Also remember accessibility: color should support the label, not replace it. The role text should always do the heavy lifting.
- Readability: large font, high contrast, minimal clutter
- Placement: predictable location (center-chest on a clip or lanyard) so patients know where to look
- Color system: one color per role across all units; document the mapping and keep it stable
- Accessibility: role text that remains legible for older adults and people with limited vision; avoid low-contrast palettes
- Durability: designs should stay readable after regular cleaning and daily wear
A helpful rule: if a patient can’t read the role label from a few feet away, it’s worth revisiting size, contrast, or placement.
Choosing the right ID format for your facility (day-to-day workflows)
Identification works best when it matches real workflows. The “right” setup depends on how staff move, what tasks they perform, and what local policies require. A format that’s comfortable and visible is more likely to be worn consistently—which is essential for patient trust and smooth communication.
For example, lanyards can work well for staff who move frequently between rooms and need easy badge access. Clips can be better for roles that lean over patients often, where a dangling lanyard could get in the way. Protective holders can help when cards face frequent wear. Whatever you choose, it should be easy for HR and unit managers to maintain and replace without creating a patchwork of different looks.
- Lanyards: good for frequent movement and quick scanning at chest level
- Clips: helpful when leaning over patients often and keeping the badge close to the uniform
- Protective holders: useful for cards that get heavy daily handling
- Multi-site systems: standardize the look so the same role doesn’t appear differently across locations
- Policy alignment: confirm materials and attachment styles align with infection-control and safety requirements
“We didn’t need a complicated system—just one that matched how people actually work on the unit.” – Nurse manager
Products that support clear identification (without redesigning everything)
Many facilities can improve clarity without replacing an existing credential system. Often, the simplest upgrade is adding a high-visibility role identifier behind current cards—so the photo and official details remain the same, while the role becomes easier to read quickly.
That can look like durable ID badge printing paired with protective holders, or adding badge buddies sized to align cleanly with a standard ID. For teams seeking a quick implementation, a role identifier is usually easier to roll out than a full redesign because it builds on what staff already wear and what systems already support.
If you’re exploring role identifiers, BadgeZoo offers custom badge buddies for clear role labeling that can be designed to sit behind existing IDs. The goal is straightforward: make roles obvious in everyday interactions, so patients and families spend less time wondering who they’re speaking with.
The most effective identification improvements are often the least disruptive: keep the core ID, and add clearer role visibility where patients can actually see it.

Rollout plan: train introductions, audit clarity, and iterate
Even the best badge system won’t help if it’s inconsistently used. A practical rollout focuses on two things: matching the visible role label with a consistent spoken introduction, and checking that the system stays clear across units and shifts.
Start with a simple script that mirrors what patients see. For example: “Hi, I’m Alex, your nurse today,” or “Hi, I’m Dr. Rivera, one of the doctors on your team.” When staff repeat this pattern, patients learn the rhythm of the environment—and they become more comfortable asking questions.
- Step 1: Standardize role labels (plain language) and decide where the label will appear
- Step 2: Train a matching introduction script during onboarding and reinforce it in huddles
- Step 3: Do quick spot checks: Is the badge visible at chest level? Is the role readable? Are colors mapped correctly?
- Step 4: Collect feedback from patients and staff: “Was it clear who everyone was?”
- Step 5: Iterate: refine labels, colors, or placement based on what actually happens on the floor
Ask patients and families directly in a simple way, such as “Was it clear who your nurse and doctor were today?” Combine that feedback with quick staff spot checks on visibility and correct role mapping.
They help, but they shouldn’t replace introductions. The best results come when the visible role label and the spoken role match consistently.
Sustained role clarity comes from a simple loop: label clearly, introduce consistently, check visibility, and adjust based on real patient feedback.


