Custom Badge Buddy Shapes and Sizes: When Standard Isn’t Enough
Why a Custom Badge Buddy Is Sometimes the Best Fit
A custom badge buddy isn’t just about looking different—it’s often a practical fix for real workflow problems. Standard inserts can feel “almost right” until you’re on a busy floor, trying to read small text quickly, or dealing with a badge setup that twists, hides key details, or fits awkwardly inside a holder.
Most teams start with a familiar rectangle and a familiar holder. That’s a good baseline. But once you need more legible quick-reference info, clearer role visibility at a glance, or a more consistent fit across different clips and reels, custom sizing and shapes can make identification cleaner and easier to use day after day.
A better badge buddy doesn’t add complexity—it reduces hesitation. The best customizations improve readability, visibility, and compatibility with the way people actually wear their IDs.
- Cramped information: you need a few lines more space without shrinking the font
- Poor visibility: role text gets blocked by the ID card, holder edge, or a jacket pocket
- Awkward fit: the insert shifts, bends, or doesn’t sit straight in the holder
- Inconsistent setups: different departments use different holders, causing alignment problems
- Fast recognition needs: a distinct silhouette or layout helps teams identify roles instantly
What Badge Buddies Do (and Where They’re Most Useful)
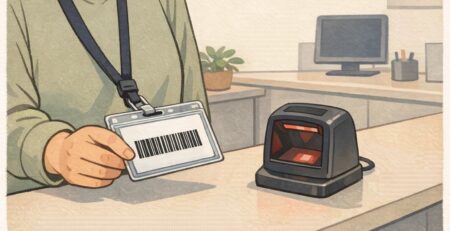
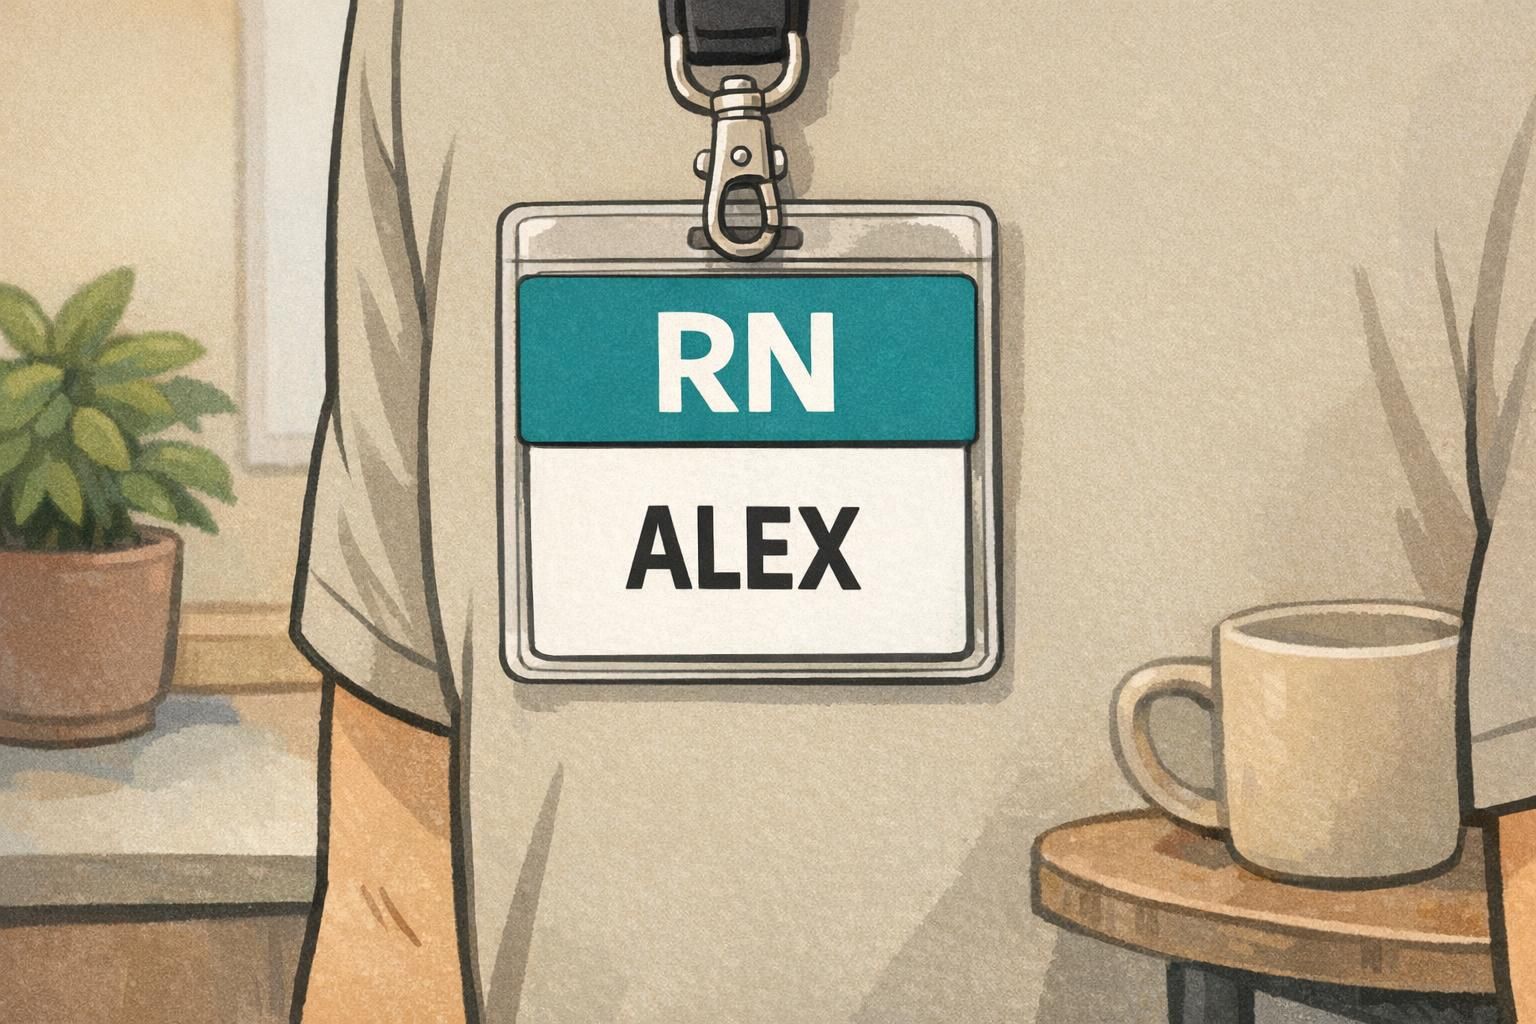
Badge buddies are add-on cards designed to sit behind (or sometimes alongside) an ID card. They’re meant to provide quick, highly visible information without requiring anyone to pull out a phone, open a binder, or remember a policy mid-task.
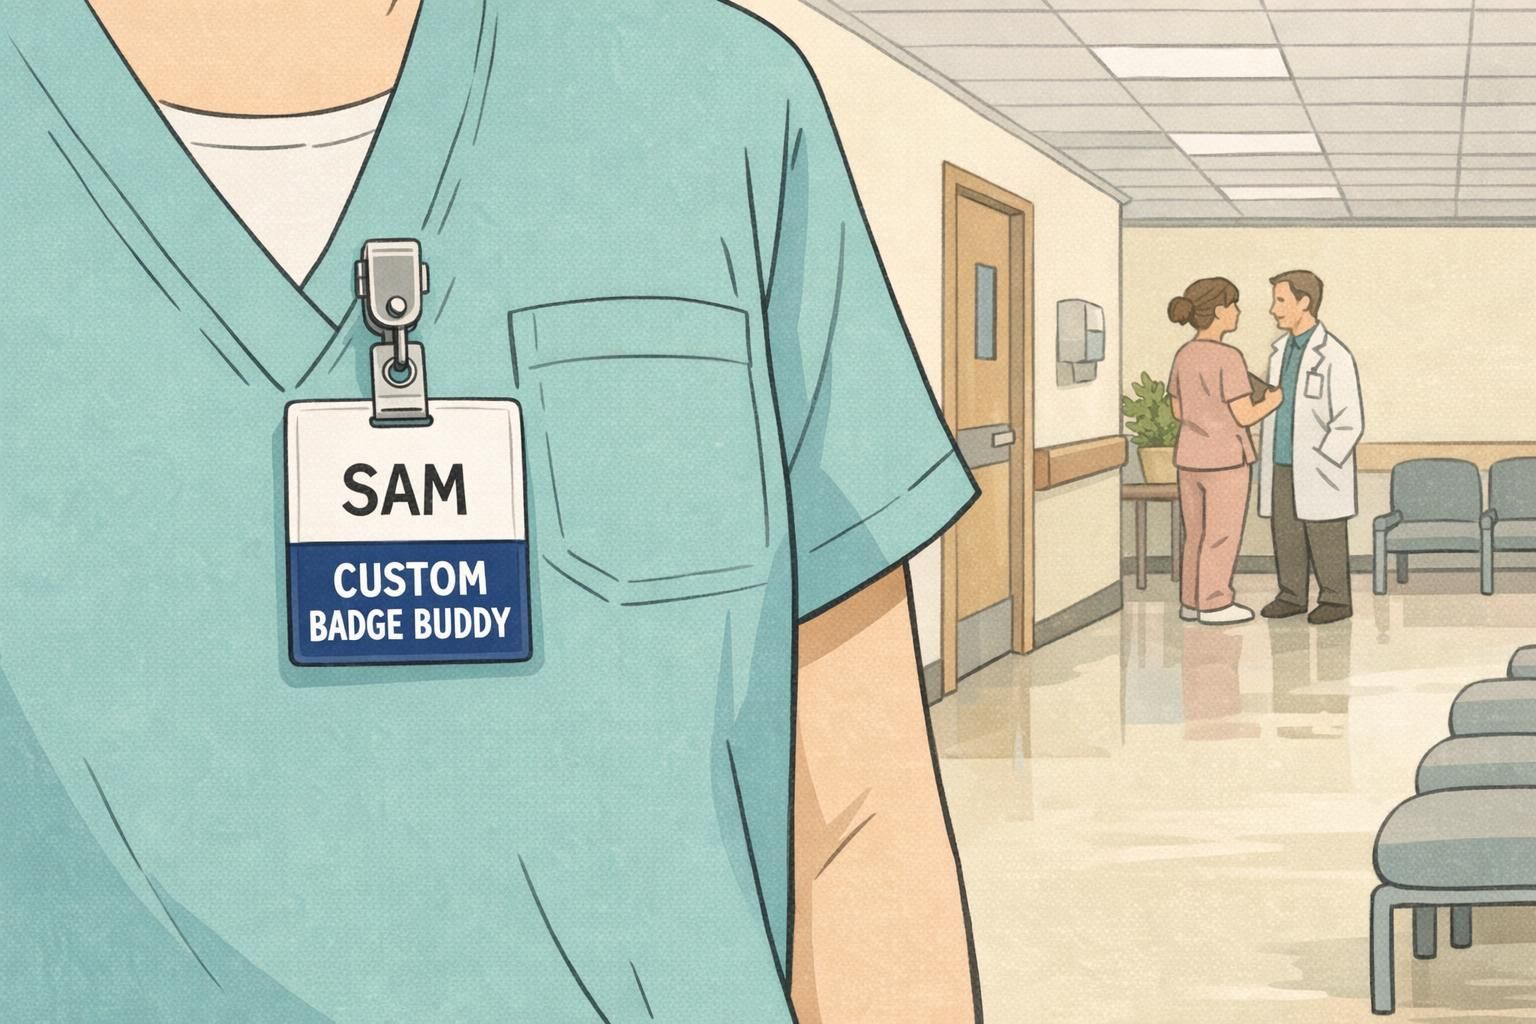
They’re commonly associated with healthcare because roles and permissions matter in fast-moving environments. But the same “read it instantly” benefit applies to many workplaces: labs, schools, manufacturing floors, hotels, warehouses, corporate offices with visitors, or event operations where staff roles change by shift.
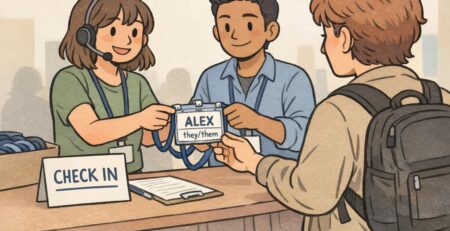
- Role callouts (e.g., team, unit, coverage role, on-call identifier)
- Safety reminders and “stop points” (short, scannable prompts)
- Escalation steps (who to contact first, second, third—kept concise)
- Tiny reference tables (codes, conversions, quick checks) when truly needed
- Wayfinding or access cues for shared spaces (when appropriate for your workplace)
“If someone can read your role in one glance, they don’t have to ask—or guess. That saves time, especially when the hallway is busy.” – Facilities Coordinator
Standard Badge Buddy Sizes and the Holder Reality Check
A lot of “standard” badge buddy options are rectangular and land around 3.5″ x 5″ or 4″ x 6″. Smaller inserts often stay closer to common ID dimensions, which is helpful when you want the badge buddy to stack neatly behind the ID without feeling bulky.
Here’s the reality check: the holder and hardware usually decide what “standard” really means. A size that looks perfect on paper can become annoying if it catches on pockets, hits equipment when bending, or rotates and hides the very information it’s supposed to display.
Standard sizing tends to maximize compatibility with common holders—but dense information and small type can turn a “quick reference” into a “hard-to-read reference.”
- If you need a simple role identifier, standard rectangles are often enough
- If you need more than a few lines of readable reference content, standard sizes may force tiny text
- If your team wears rigid holders, oversized inserts can feel stiff and bulky
- If your team wears flexible holders, thickness and edge shape matter for comfort and durability
Badge Buddy Sizes: How to Choose Based on Readability and Movement
When you’re comparing badge buddy sizes, start with the real-life moment when someone needs the information. How far away will they be? Is the wearer walking quickly? Is the badge swinging on a lanyard, clipped to a pocket, or mounted to a retractable reel?
Larger cards can improve legibility and reduce “tiny text” mistakes. But a larger footprint can also bump equipment, interfere with bending or lifting, or become uncomfortable in patient-facing tasks. The goal is to pick the smallest size that still scans quickly in the environment it will be used in.
- Define the must-read items (role text first; anything else is secondary)
- Estimate typical viewing distance (close conversation vs. across a counter)
- Decide where it will sit (lanyard centerline vs. hip clip vs. chest pocket clip)
- Watch for movement: swinging, flipping, and edge catching are usability problems
- Prototype two sizes: one “minimum readable” and one “maximum comfortable,” then choose the smallest that works
Not always. Bigger usually improves readability, but it can also increase swinging, bumping, and discomfort. The best size is the smallest one that stays readable and stable on the hardware your team actually wears.
That’s a common reason to consider a custom badge buddy format. You can keep the same layout and role system while adjusting dimensions or hole/slot placement so both setups hang straight and stay readable.
When Standard Isn’t Enough: Shapes and Layouts That Solve Specific Problems
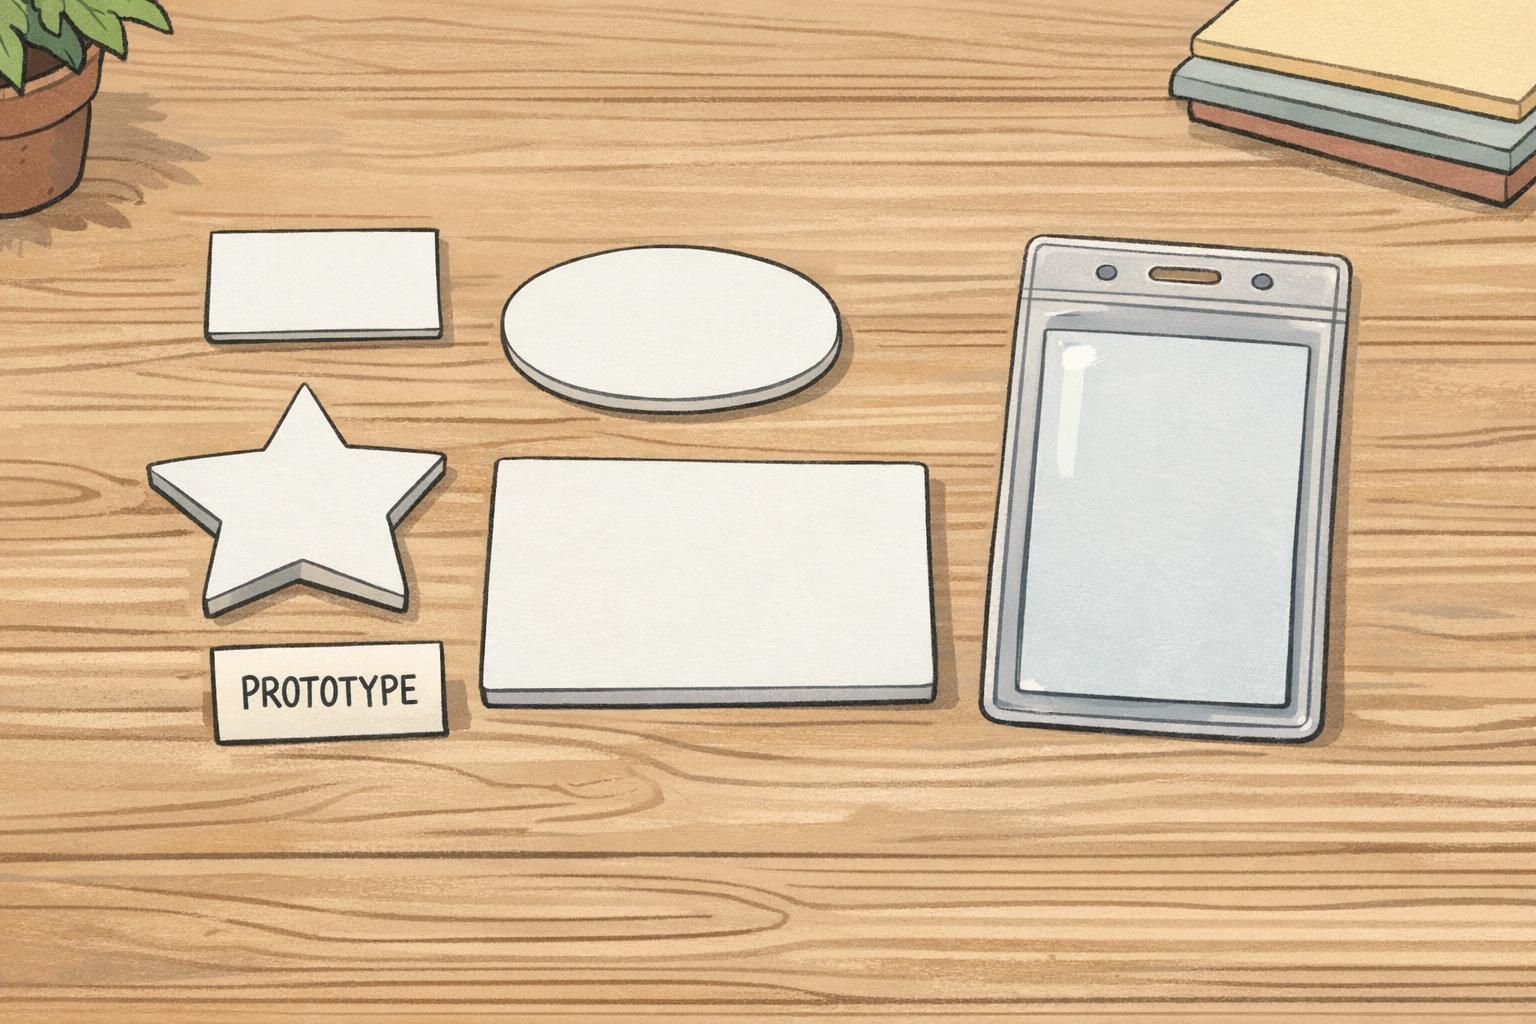
Custom doesn’t have to mean complicated. Often, it’s a small change—slightly taller, slightly wider, or a different top cut—that makes a badge buddy easier to read and easier to wear.
Custom shapes like an oval/ellipse, star, heart, keyhole/slot, mini wrap styles, or jumbo formats can improve visual scanning or create clearer hierarchy for critical steps. Rounded corners and die-cut tabs can also reduce edge wear and make it easier to find the right section quickly.
A distinctive silhouette can help fast recognition across teams or units—but the design should still read cleanly and professionally from typical working distances.
- Die-cut tabs: highlight a role category or unit while keeping the main card compact
- Rounded corners: reduce snagging and edge wear over time
- Keyhole/slot concepts: support specific clip/attachment behaviors (when aligned to your hardware)
- Jumbo formats: reserve for situations where reference content must be genuinely readable at a glance
- Same-width, slightly-taller stack: keeps the ID and buddy aligned while adding role visibility
Compatibility First: Holders, Lanyards, Reels, Clips, and Orientation
Before you commit to any custom size or die-cut, confirm how the card will be worn and what holder style is required. Compatibility decisions—vertical vs. horizontal, rigid vs. flexible holders, lanyard vs. reel vs. clip—matter as much as the design.
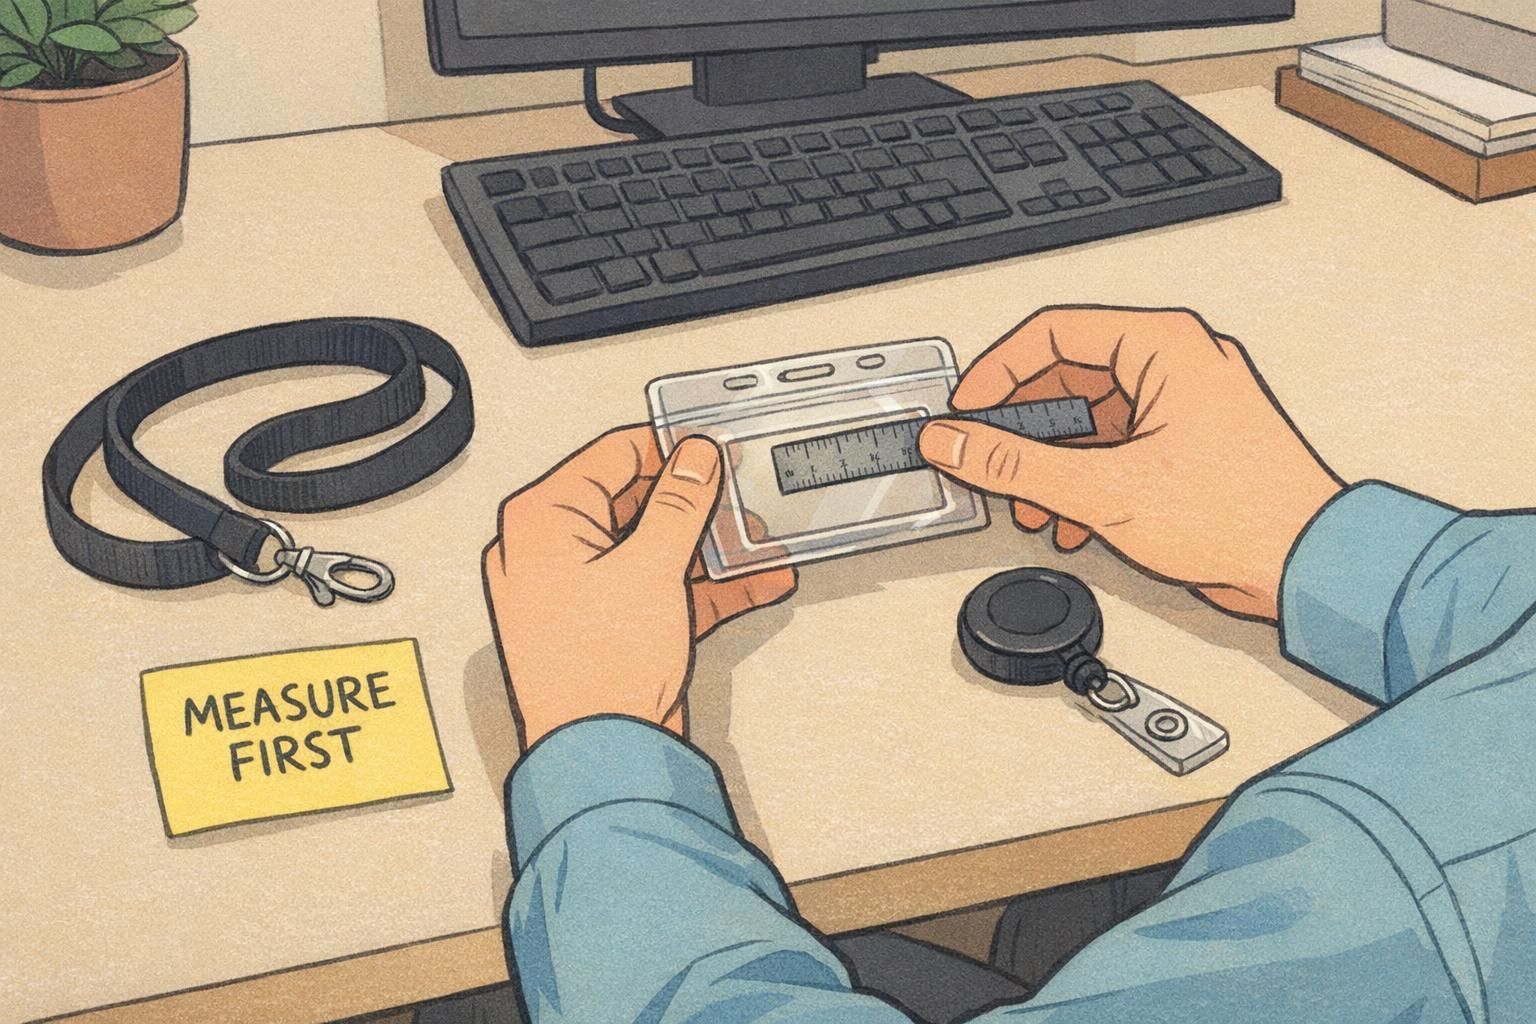
The most common issues aren’t about the print—they’re about alignment and comfort: mismatched orientation, hole/slot placement that doesn’t line up with hardware, or thickness that’s too stiff for a particular holder style. Measuring early keeps your setup consistent across a team.
- Measure the holder window (what must be visible) and the outer holder size (what must fit comfortably)
- Confirm orientation: vertical and horizontal layouts behave differently on clips and reels
- Check attachment points: hole/slot placement must line up with your clip or lanyard hook
- Decide whether the badge buddy sits behind the ID (stacked) or needs its own window/holder
- Test for flipping: a balanced top attachment usually stays straighter and more readable
Designing a Role Identifier Card That Stays Clear (Not Cluttered)
A role identifier card works best when it’s instantly scannable. That means a simple hierarchy: the role is the headline, then a small amount of supporting detail, and only then (if needed) quick-reference content.
If you try to make one card do everything, the role becomes harder to find and the reference content becomes harder to read. High-contrast color blocks, consistent alignment, and generous spacing reduce scanning time—especially in environments where people are moving and distractions are constant.
- Make the role text the largest element on the front
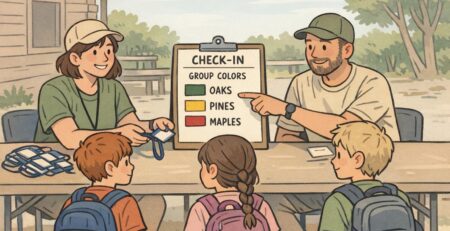
- Use one clear color block per role category (avoid overly complex patterns)
- Keep supporting details short (think: 1–3 items that truly help)
- If you need tables or steps, consider two-sided printing so the front remains a clean role callout
- Use consistent placement across teams so people learn where to look
“The best role cards don’t need explaining. If the role is big and the layout is consistent, people spot it immediately.” – HR Generalist
Materials, Durability, and Hygiene Considerations for Daily Wear
A badge buddy gets handled constantly: clipped on, removed, wiped down, bumped against counters, and carried through long shifts. Material choice affects stiffness, edge durability, and how well the card holds up to daily wear.
Laminated or vinyl-style constructions can improve water resistance and reduce tearing, while rounded corners help prevent peeling and snagging. If the badge is used in an environment with cleaning protocols, choosing wipeable materials and simple surfaces can make it easier to align with local guidance and routines. In healthcare settings, it’s also worth checking accessory and cleaning recommendations that may apply to your workplace (source).
Durability isn’t only about thickness—edge shape, surface finish, and how the card sits in the holder all affect how long it stays readable and professional.
- Rounded corners can reduce corner wear and snagging
- Smoother, wipeable surfaces are easier to clean than heavily textured ones
- Rigid vs. flexible feel should match the holder style and daily movement
- Consider whether the badge will be removed often (frequent removal increases edge stress)
Ordering and Proofing Tips: Measure, Mock Up, Then Go Custom
The fastest way to get custom right is to measure what you already use, then test before producing a full run. Start with your current ID card and holder window, then determine the maximum height and width that won’t catch on pockets, bump equipment, or feel awkward when sitting and bending.
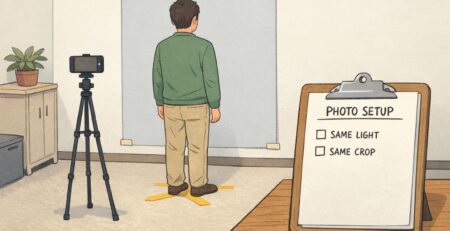
A full-scale paper mockup is surprisingly effective. Print it, cut it out, and wear it on the same hardware for a full shift. Pay attention to flipping, swinging, and whether the badge buddy stays aligned behind the ID. Once you have a size that feels right, a proof step helps confirm spacing, placement, and readability before production.
- Measure the holder window and outer holder dimensions
- Set your maximum comfortable size (based on pockets, equipment, and movement)
- Print a paper prototype at full scale and wear-test it
- Check that the attachment point sits straight and doesn’t cause twisting
- Review a proof for layout spacing and hole/slot placement before final production
BadgeZoo Options for Badge Buddies and Matching ID Accessories
When you’re building a consistent identification system, it helps to plan badge buddies alongside the ID cards, holders, and event credentials they need to work with. Coordinating sizes, orientation, and attachment methods up front reduces surprises—especially when multiple departments wear IDs differently.
BadgeZoo can support coordinated layouts that combine role callouts with optional quick-reference content, designed to fit your preferred hardware and orientation. If your team is exploring a custom approach and wants a second set of eyes on sizing, alignment, or die-cut options, you can review custom badge buddies and reach out with questions through http://badgezoo.com/contact.
A consistent system doesn’t mean every card is identical—it means the rules are consistent (layout hierarchy, color logic, orientation), while special roles can use custom sizing or shapes when needed.
Yes. Many teams keep a consistent role layout across departments while adjusting the badge buddy dimensions to fit the holder style or to make key text more visible without crowding the ID badge.
Measure the holder window, confirm orientation, and mock up the card at full scale on the exact lanyard/clip/reel your team uses. That quick test usually reveals flipping, bumping, or visibility issues before you print.