Student ID Ideas for Kids’ Programs: Fun, Durable Badges That Stay Legible
Why student ID ideas matter in kids’ programs
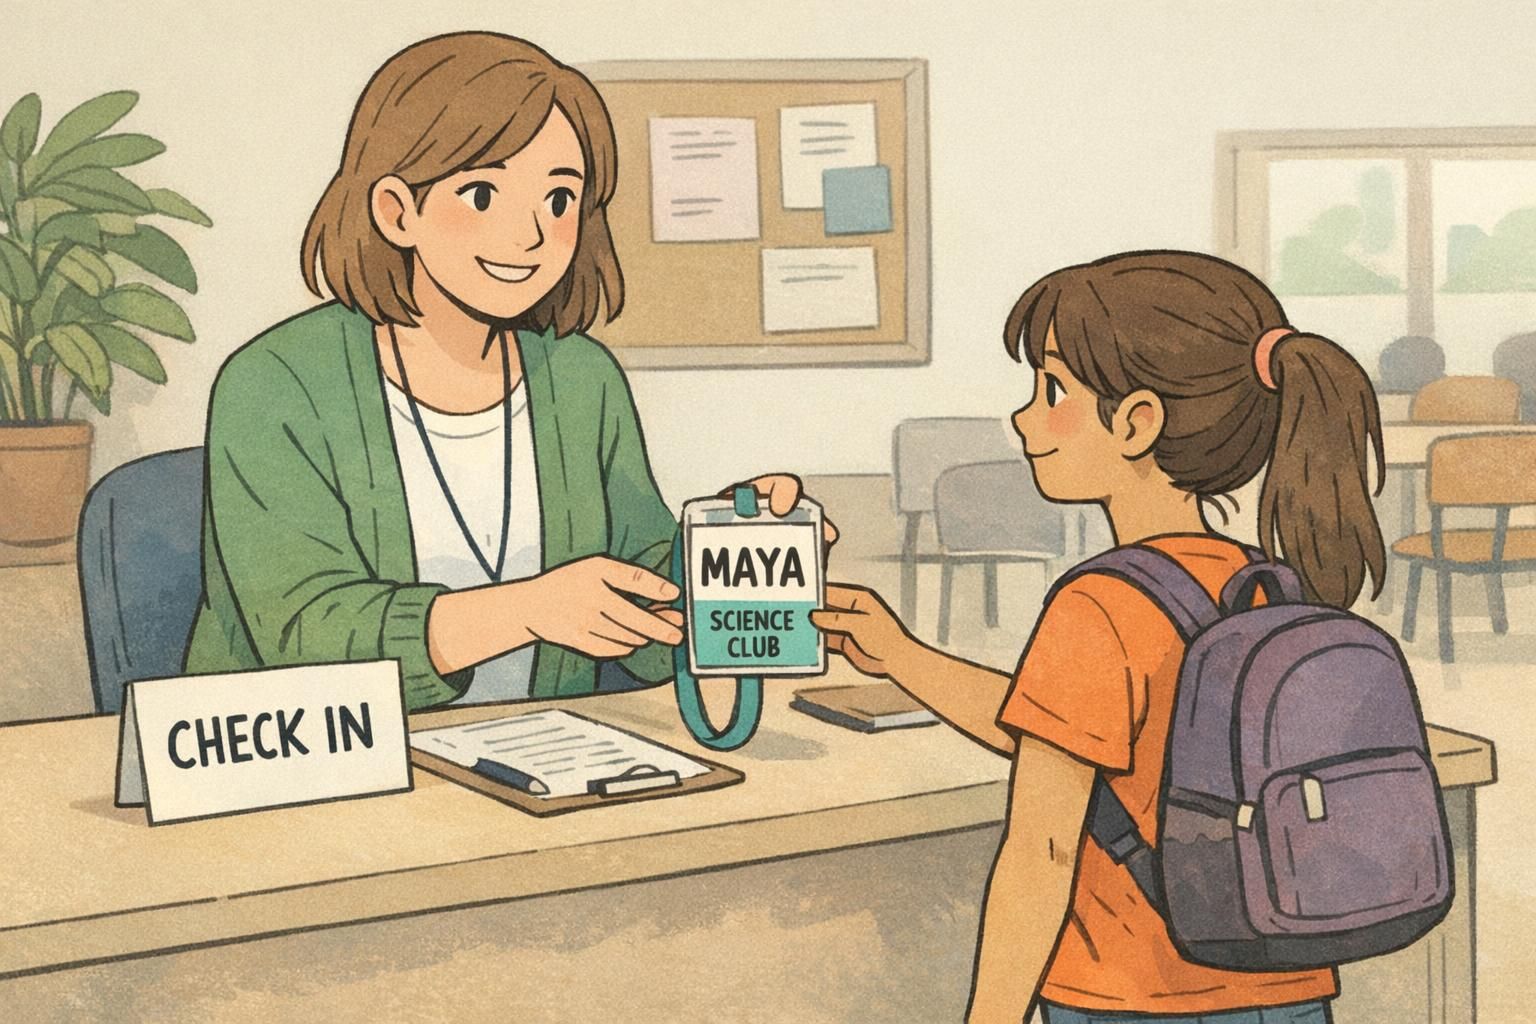
The most useful student ID ideas do two things at once: they help staff identify kids quickly, and they help kids feel like they belong. When a badge is readable from a few feet away, staff can greet students by name, sort groups faster, and keep check-in and pick-up moving smoothly—even during busy transitions.
In kids’ programs, badges also get real wear: they’re handled with messy hands, bumped by backpacks, and occasionally dropped on the floor. That’s why a great ID isn’t just a cute design—it’s a simple, sturdy tool. The goal is day-after-day legibility, with kid-friendly visuals that don’t compete with the most important information: the student’s name.
If staff have to step closer to read a badge, the badge is working too hard. Prioritize instant readability first, then add friendly visual cues.
School badge design basics: big names, simple layouts, friendly visuals
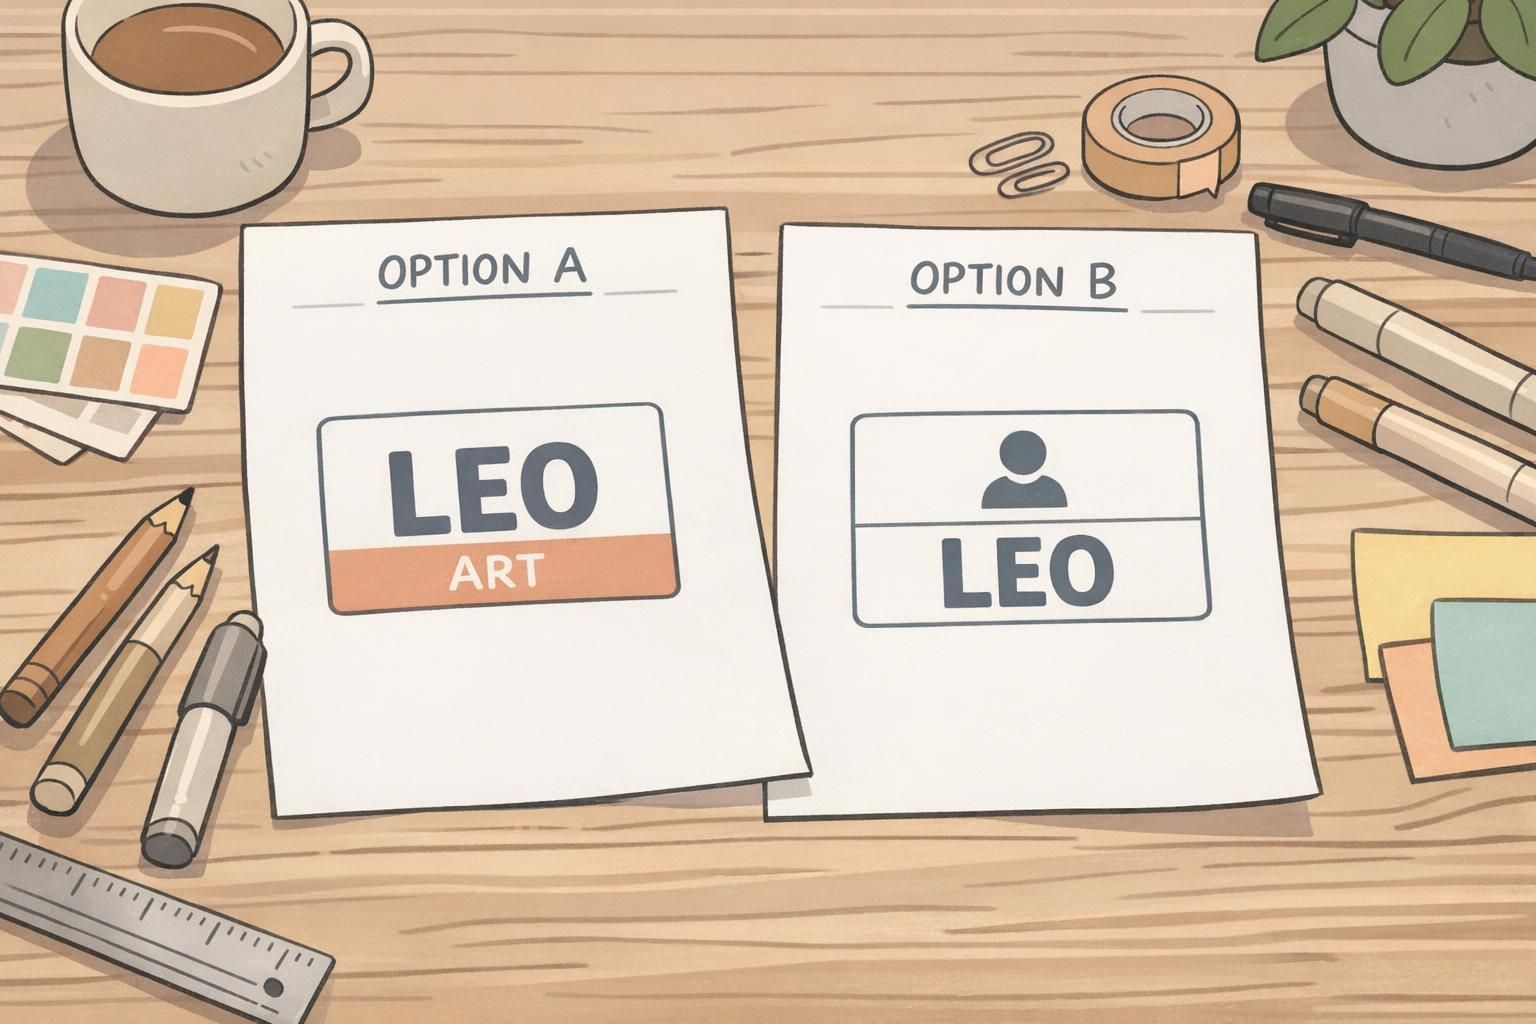
Strong school badge design starts with a clear hierarchy. If you want a badge to work in real life (not just look good on a screen), the name needs to be the largest element, set in a clean sans-serif font, with plenty of open space around it.
A reliable structure for kids’ programs is: Name (largest) → Program or Group (smaller) → Optional photo or icon (small and supportive). Keep backgrounds quiet and low-contrast so the name stands out immediately. If you add patterns or gradients, keep them subtle and avoid placing them behind the name.
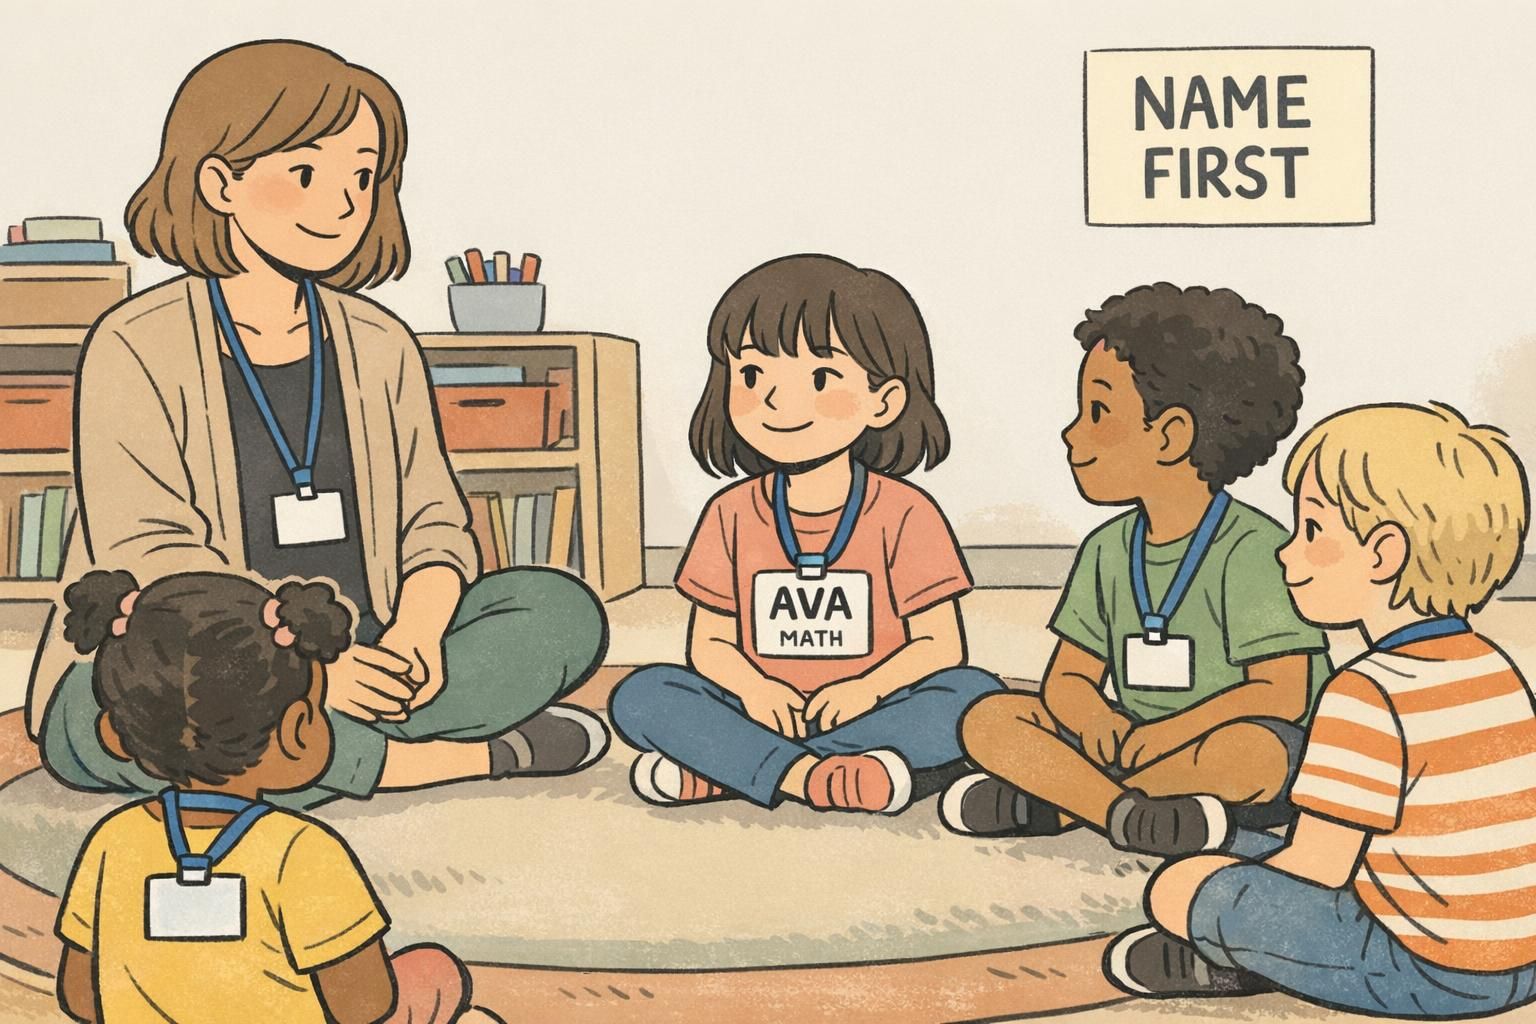
- Make the first name or preferred name the biggest text on the front
- Use a simple two- or three-line layout (avoid squeezing in extra lines)
- Choose high contrast: dark text on a light background is usually easiest
- Add fun with a color band, mascot, or single icon—then stop before it gets busy
- Leave margins so text isn’t crowded by the card edge or holder frame
Age-based layouts that stay legible (preschool, elementary, middle school)
The best badge layout depends on age—not because older kids need more information, but because they interact with IDs differently. Younger kids benefit from stronger visual cues and fewer details, while older students often prefer a cleaner, more mature look. Across all ages, the name stays dominant and easy to scan.
- Preschool: extra-large name, one big color cue (like a class color), and one simple icon (star, leaf, rocket). Skip small print and avoid busy backgrounds.
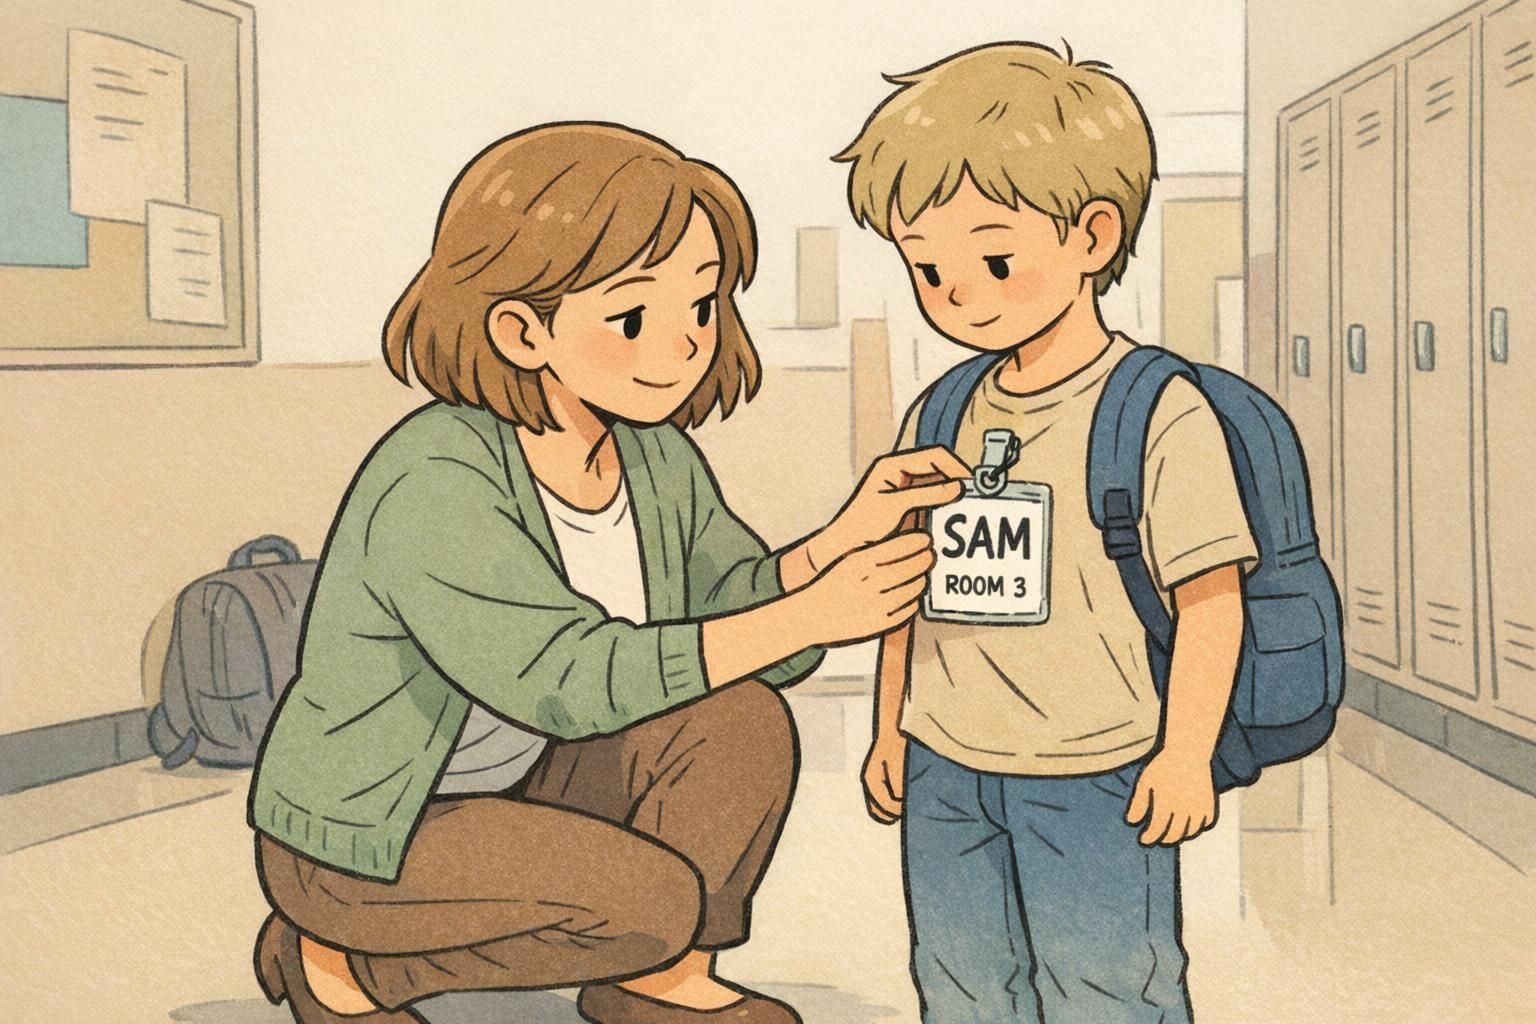
- Elementary: large name plus a clear group label (for example, “ART CLUB” or “ROOM 3”). If you need extra info, consider printing staff-facing notes on the back instead of shrinking the front.
- Middle school: keep the same readability rules, but use calmer colors and simpler graphics. A clean stripe, small icon, or subtle pattern can feel age-appropriate without reducing legibility.
If you can’t read the name in one quick glance, remove something—don’t add something.
Durability choices: materials, lamination, and protective holders
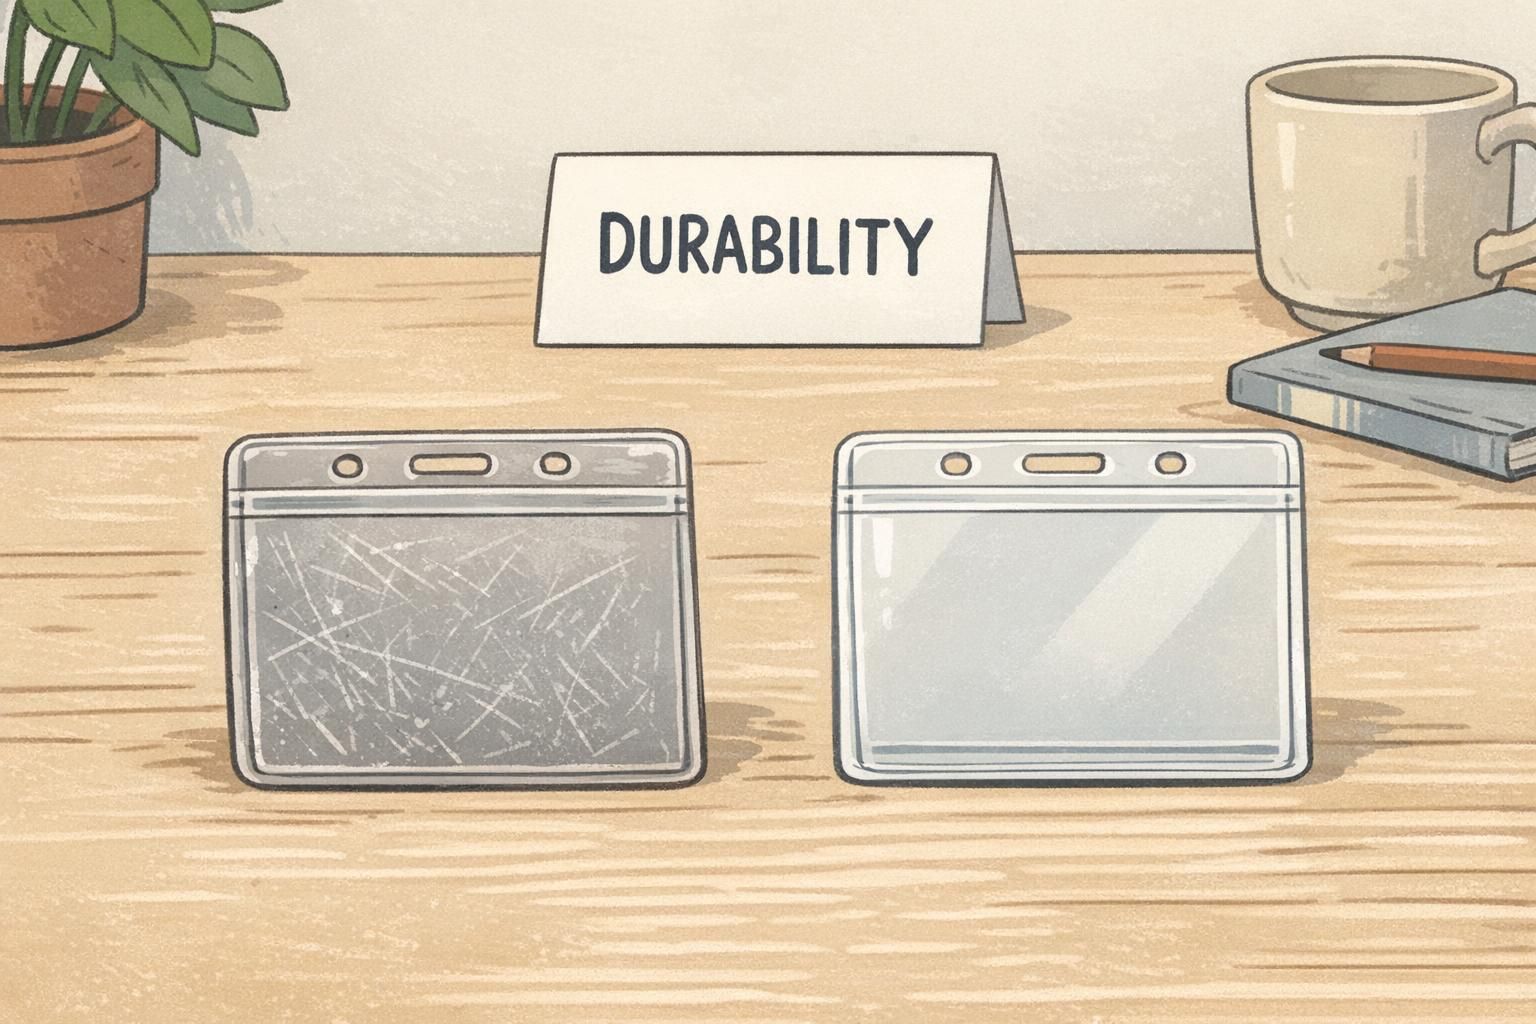
Kids’ badges take daily abuse, so durability is a requirement, not a bonus. Ink can scratch, paper can tear, and corners can curl—especially when badges ride in pockets or rub against backpacks. The most dependable setups pair a durable card with a clear holder that protects the print from moisture and friction.
For many programs, thicker PVC cards or laminated prints are a practical foundation. Clear holders reduce surface wear and make it easier to keep the badge looking “new” longer. If you plan to reuse badges across sessions, choose materials that are wipeable and holders that can be replaced cheaply when they get cloudy or cracked.
- Choose a card type that won’t easily crease or tear when handled repeatedly
- Use clear holders to reduce scratching and moisture damage
- Avoid designs where critical text sits right at the edge (holders can cover edges)
- If reusing badges, keep a few spare holders on hand for quick swaps
Safety accessories and wear options (lanyards, clips, breakaway features)
How kids wear an ID matters as much as what’s printed on it. The best attachment is the one that stays visible during the activity without becoming a distraction. Active programs often do better with sturdy clips or short lanyards that reduce swinging and flipping.
If you use lanyards, prioritize breakaway safety closures and lightweight materials that are comfortable for long wear. For clip-based options, a strong shirt clip can keep the badge stable on the front of the body, which makes it easier for staff to read quickly.
- For sports and high-movement activities: short lanyards or stable clips
- For classroom-style programs: breakaway lanyards can be comfortable and consistent
- For younger kids: avoid long, swingy setups that flip the badge backward
- Set a consistent wear position (front of shirt, chest level) so staff always know where to look
Kids name tags and badges: what information to include (and what to skip)
The most effective kids name tags include only what’s needed for your environment. More information is not always more helpful—especially if it shrinks the name or creates privacy concerns. Keep the front focused on quick recognition, and only add details that directly support day-to-day operations.
A strong default for most programs is: preferred first name, group/class, and an optional photo if it helps staff recognize students quickly. If you need internal notes (like allergies, authorized pick-up cues, or staff reminders), consider putting them on the back so the front stays clean and readable.
- Include on the front: preferred name (largest), group/class (smaller), optional photo or simple icon
- Consider on the back: staff-only notes if required by your program workflow
- Skip on the front: sensitive details that don’t support quick, public identification
- When in doubt: simplify until the name is unmistakable from a few feet away
A badge that protects privacy and stays readable usually beats a badge that tries to contain every detail.
Simple program rules that keep IDs working all day
Even great badges fail if routines are unclear. A few repeatable rules can dramatically reduce lost IDs, unreadable cards, and time wasted during transitions. The best rules are short, easy to repeat, and built into your check-in and dismissal flow.
- Put it on at check-in: badge goes on before the student enters the main space
- Keep it on the front: front-of-shirt placement prevents flipped or hidden badges
- Return it before you leave (for reusable sets): build return into the pick-up routine
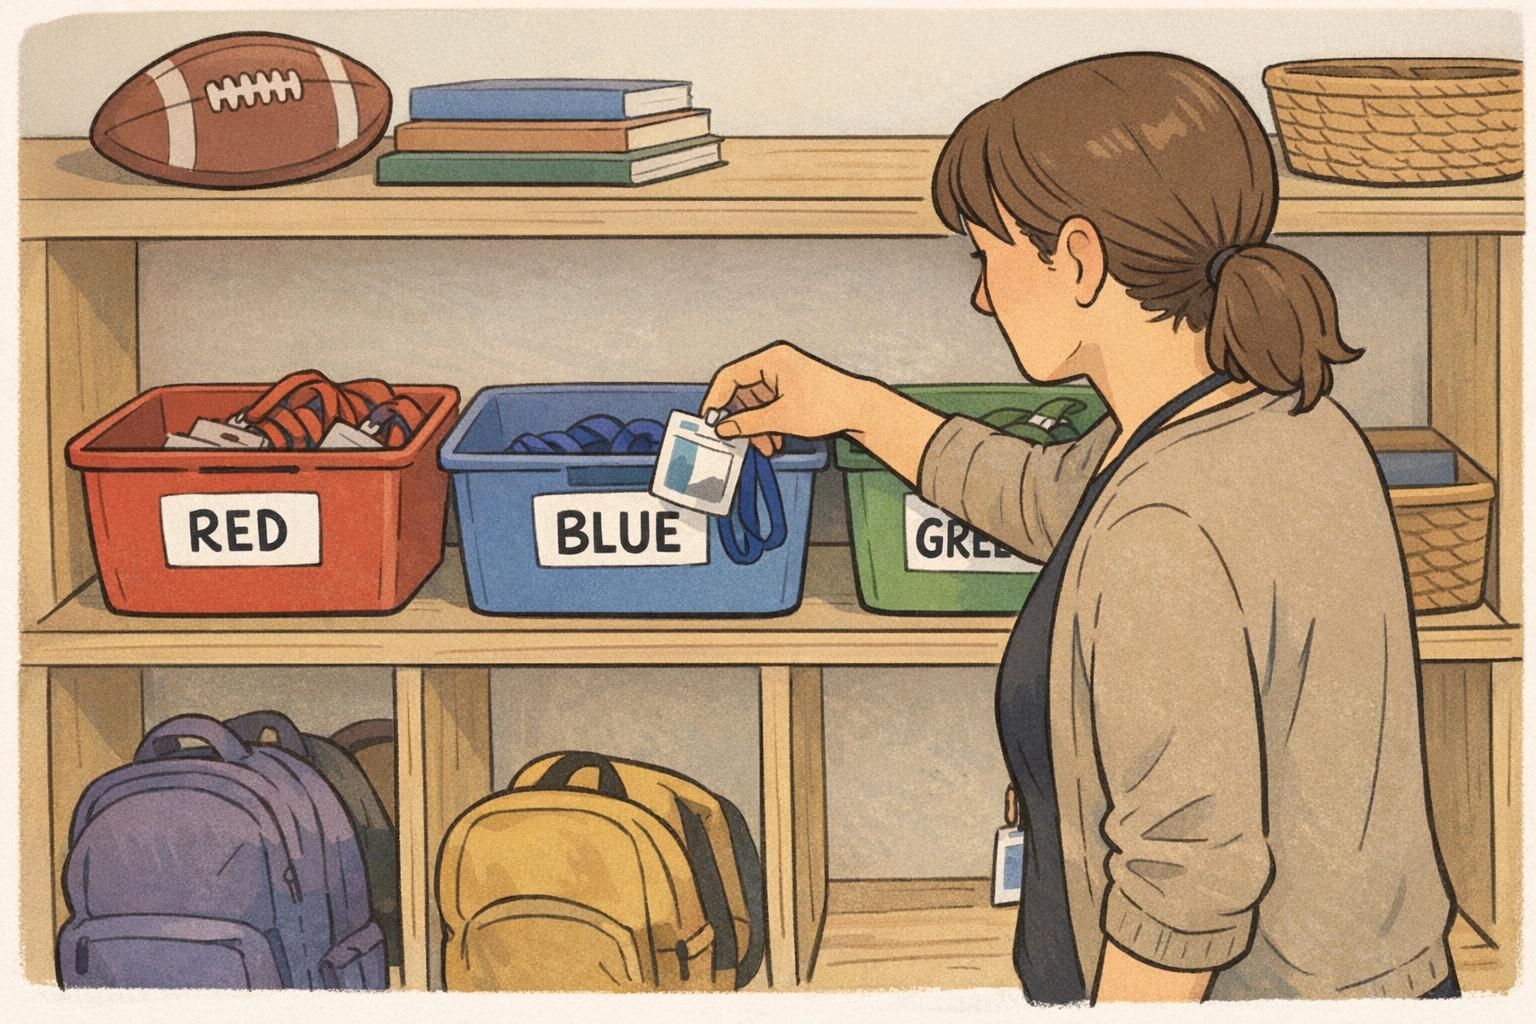
- Store by group: labeled bins or hooks reduce mix-ups and speed up distribution
- Do a quick daily check: replace cracked holders or broken clips before the next session
In many programs, keeping IDs on during the full session improves consistency, especially when groups move between rooms. If an activity makes badges impractical (like certain sports), create a clear routine for when they come off and where they go.
Use a standard template and keep a small supply of spare holders and attachments. A consistent format makes reprints or temporary replacements simpler to manage.
Add motivation without clutter: earned icons, levels, and “badge moments”
Many programs use IDs as more than identification—badges can also support positive reinforcement. A small earned icon, a level marker, or a “badge moment” (like a quick stamp for participation) can boost enthusiasm without turning the ID into a complicated chart.
The key is restraint. Keep earned elements small, predictable, and placed where they won’t compete with the student’s name—such as a corner icon area, a thin bottom strip, or a stamp area on the back. Research on badge systems in educational and gamified contexts suggests that well-structured badges can increase engagement and participation when the system stays clear and simple (source).
- Use one consistent spot for earned icons (top-right corner works well)
- Limit to one or two achievement markers at a time to avoid visual overload
- Keep the name untouched: no stickers or stamps over the main name area
- Consider putting “collectible” elements on the back to preserve front readability
“When the name stays big and the ‘earned’ part stays small, staff still get fast recognition—and kids still feel proud of progress.” – Program Coordinator
Ordering and reordering tips: sizes, templates, and fast updates
Badges are easiest to manage when you standardize the parts you can control: size, template, and where each element goes. A consistent format means a lost badge is a quick replacement, not a redesign project. It also helps new staff learn what to look for at a glance.
- Pick a standard size and orientation (then stick with it across groups)
- Use one template per program, with only color and group name changing
- Collect the same inputs every time: preferred name, group, color, optional photo
- Decide early: single-session badges (keep) vs. reusable sets (return daily)
- Keep a small buffer of blank holders and a few extra clips/lanyards for breakage
If you’re ordering for multiple sessions or expect changes, it helps to choose a supplier setup that can accommodate small replacement batches. For example, BadgeZoo offers no minimum order quantity, which can make it simpler to reprint just what you need when a badge goes missing or a name changes.
Product options for durable kids’ program IDs
For kids’ programs, the simplest way to keep badges readable is to treat them as a set: the card, the protective holder, and the wear option should work together. Coordinating these pieces can reduce daily friction for staff—fewer flipped badges, fewer cracked cards, and fewer “I can’t read this” moments during transitions.
A durable ID card paired with a clear holder helps protect the print and keeps names crisp. When you’re choosing attachments, match them to your activities—crafts and classroom settings may work well with short breakaway lanyards, while active programs may prefer stable clips that keep the badge from swinging.
If you’re exploring options for your program, BadgeZoo’s custom printed ID cards can be paired with clear holders and kid-friendly wear options so badges stay legible through everyday use.
The most kid-proof badges are boring in the best way: big name, simple group label, protected surface, and a safe attachment that stays put.