Language Identifier Badge Design for Multi-Language Teams: Better Service, Less Confusion
Why a language identifier badge reduces confusion in multilingual service
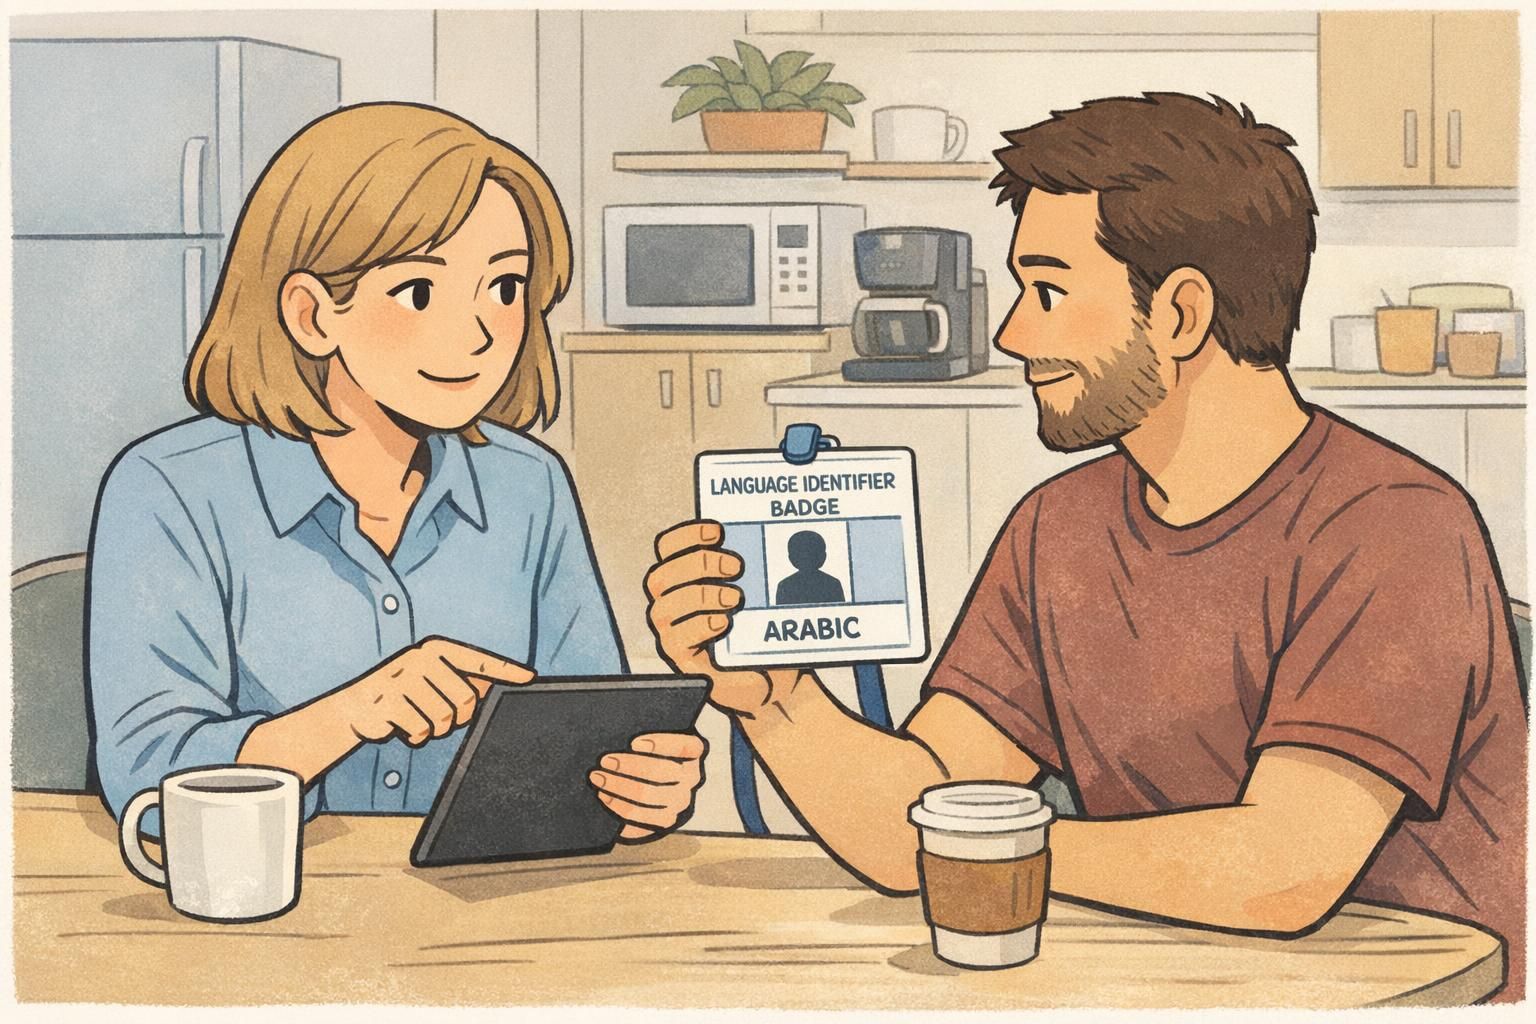
In a busy workplace, communication is often the difference between “handled” and “heated.” A language identifier badge makes that communication easier by giving customers and coworkers a fast, respectful signal about who can help in which language—without anyone having to guess or ask uncomfortable questions.
For customers, the value is immediate: they can approach the right person on the first try. For teams, it reduces preventable handoffs—those moments when someone starts an intake, realizes there’s a language barrier, and has to restart the conversation with a different staff member. When language visibility is clear at a glance, you get smoother service, fewer repeated explanations, and less frustration on both sides of the counter.
A clear language identifier badge helps people find the right help faster—supporting a welcoming experience while keeping service moving.
- Fewer awkward “Do you speak…?” moments at the start of an interaction
- Less back-and-forth as customers get routed to the right person sooner
- Reduced pressure on coworkers to interpret who might speak a language
- More consistent teamwork when language support is visible and predictable
Where language indicators help most (and what problems they solve)
Language indicators are most effective in places where conversations are time-sensitive, emotionally important, or tied to accuracy—especially when there’s a line, a schedule, or a safety issue. In these settings, multilingual staff are already doing vital work. A simple badge just makes it easier to connect people to the right support sooner.
- Retail counters: Faster greetings, returns, and product questions when customers know who to approach
- Hospitals and clinics: Smoother intake questions, clearer directions, and fewer misunderstandings during high-stress visits
- Hotels and hospitality: Better check-in, wayfinding, and quick resolutions for room or reservation issues
- Schools: Easier parent conversations, front-office assistance, and clearer communication during pickup or urgent situations
- Public-facing offices: More efficient form support and reduced escalations when staff can quickly route language needs
- Event check-in: Faster registration and fewer bottlenecks when language needs are visible during the first contact
Think about real workflow moments where language friction shows up: the initial greeting, explaining a policy, answering intake questions, giving directions, or handling an escalation. When a customer can see “Spanish” or “Arabic” on a badge, they’re less likely to bounce between staff members—or avoid asking for help at all.
They help most in public-facing roles, but they also support internal coordination—especially when teammates need help with a phone call, a form, or a time-sensitive question.
That’s exactly when indicators can help. When the team is small, a clear visual cue prevents guesswork and reduces repeated interruptions.
Respectful implementation: consent, accuracy, and avoiding stereotypes
A language indicator works best when it’s implemented thoughtfully. The goal is clarity and support—not putting anyone on display or creating pressure to “perform” a language skill on demand. That starts with consent and realistic expectations.
- Aim for opt-in participation when possible: People should have a choice about displaying language skills, especially in roles where requests can be emotionally charged.
- Define what the badge means: For example, does “Spanish” mean basic greetings, intake questions, or full conversation? Clear definitions help prevent misunderstandings.
- Plan for updates: Language skills change over time. Set an easy process for updating badges when proficiency improves or when someone prefers to remove a language.
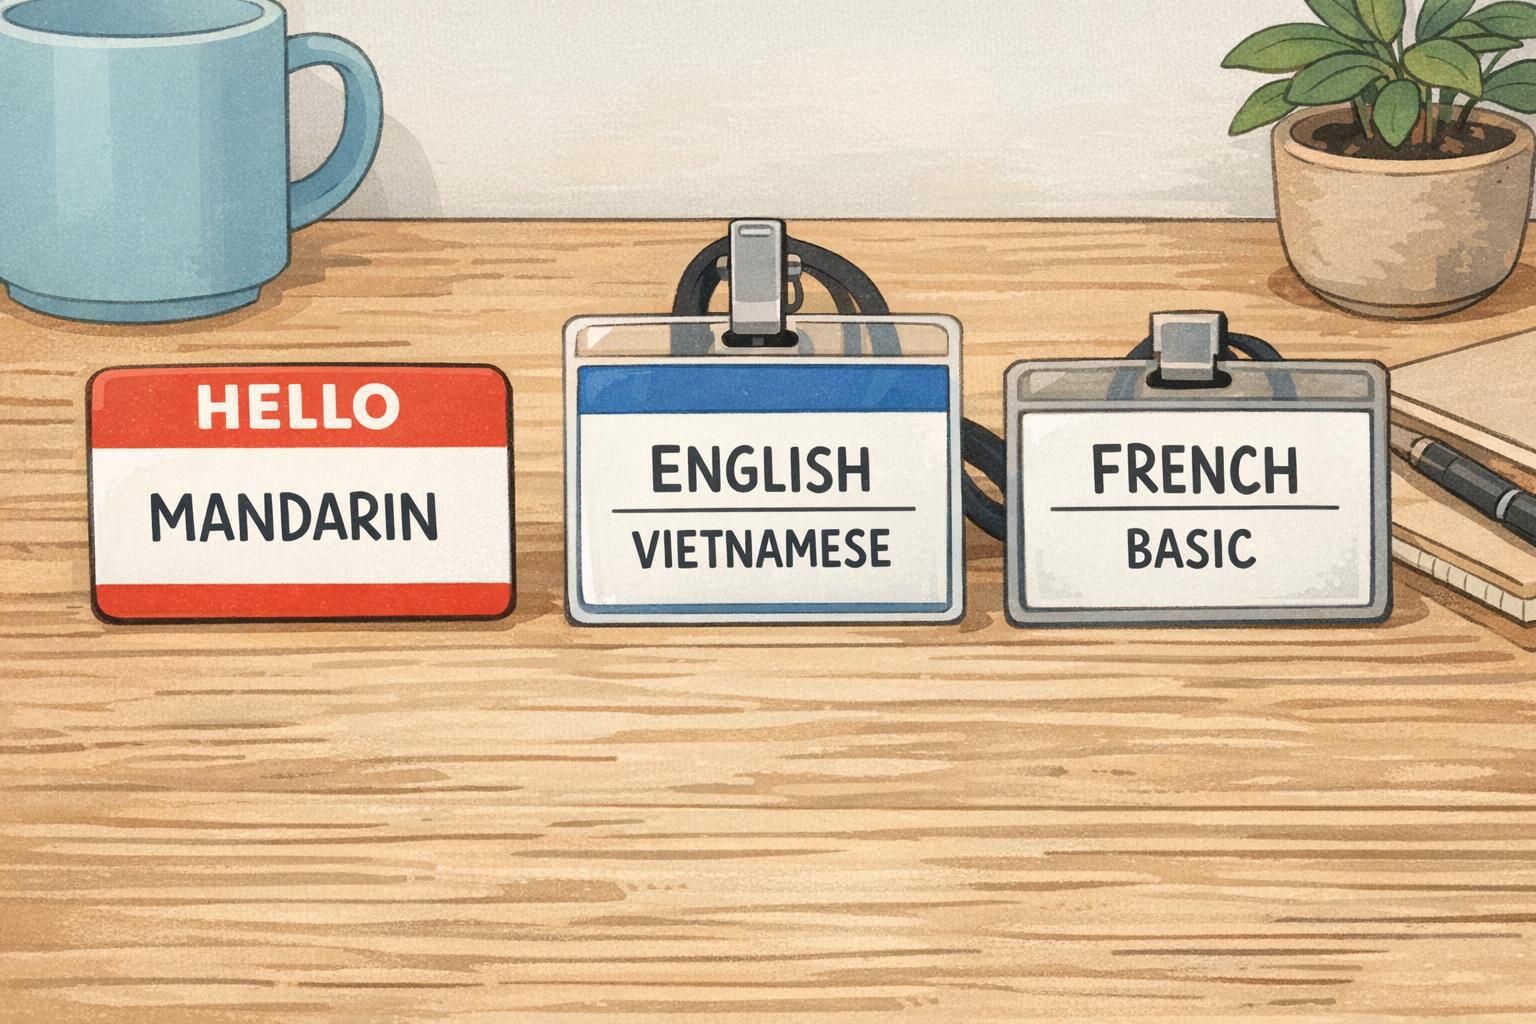
- Use plain language labels: Use “Spanish,” “Arabic,” or “ASL” rather than flags or cultural imagery that can feel reductive or inaccurate.
- Support the badge with backup: Provide translation tools, handoff scripts, and manager support so the badge is helpful rather than burdensome.
The most respectful language programs pair visibility with support: clear expectations, easy opt-in/opt-out, and practical tools for moments when a conversation goes beyond someone’s comfort level.
“When language help is requested respectfully—and we have a clear handoff plan—our bilingual staff feel supported instead of singled out.” – Front-of-house Supervisor
Layout ideas that stay readable: languages, levels, and roles
A badge only works if it can be read quickly. The best layouts keep language information prominent, limit clutter, and use consistent patterns across the team. If you serve the public, assume the badge will be viewed from a few feet away, under bright lights, and while people are in motion.
- Simple hierarchy: One primary language on the first line, up to two secondary languages below it
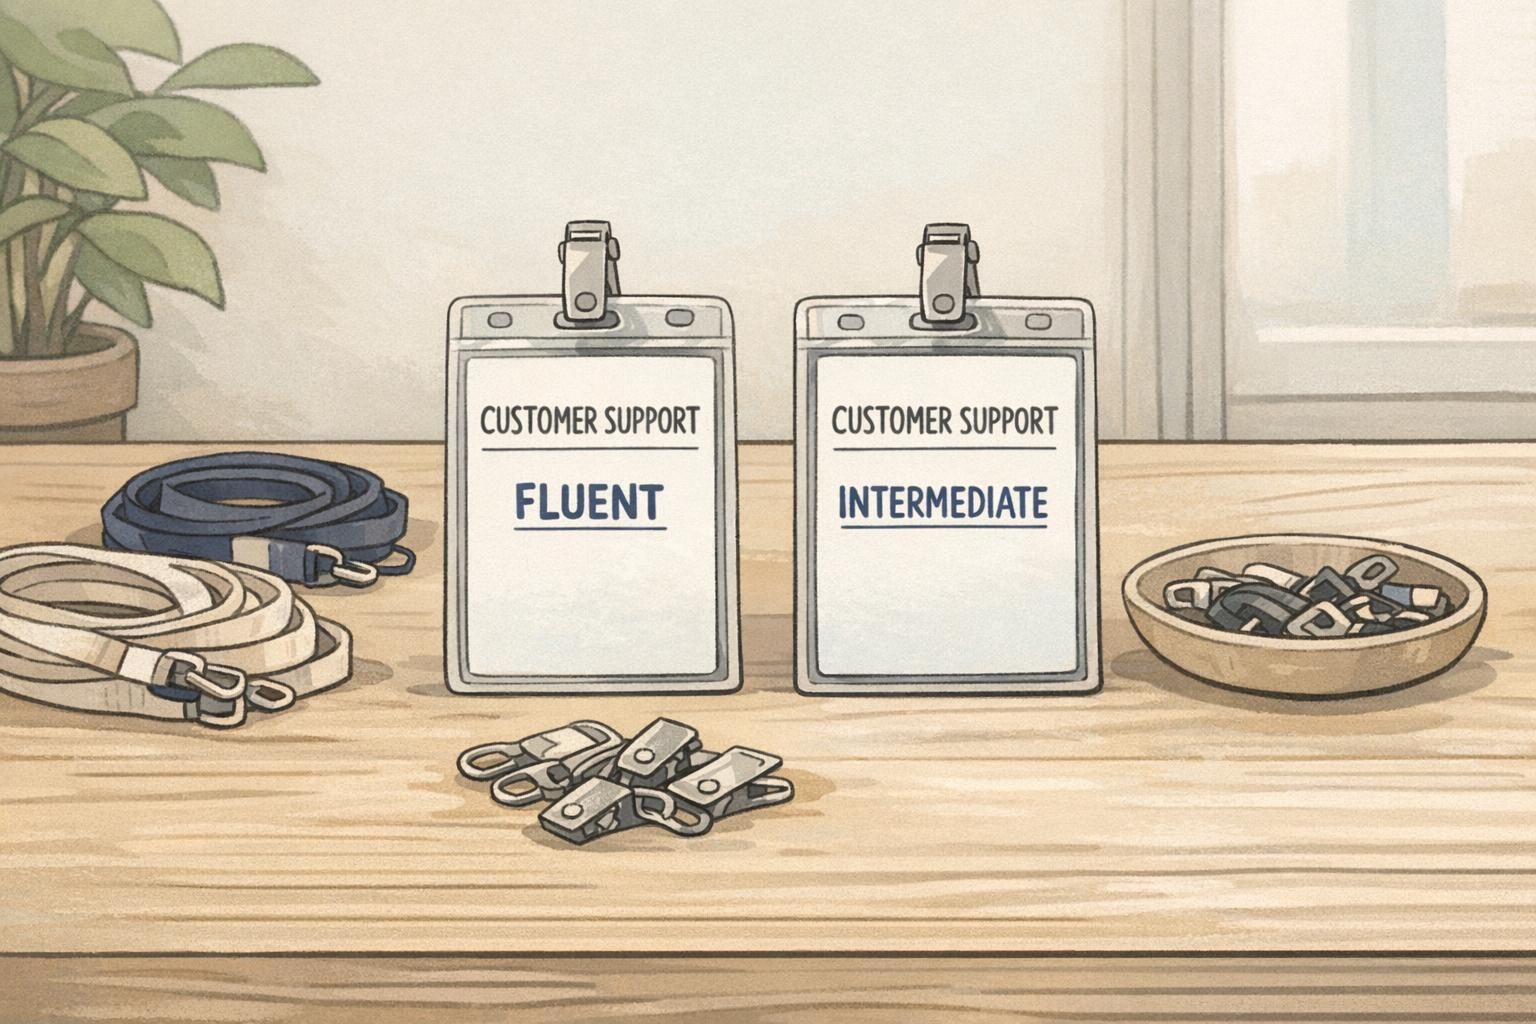
- Optional proficiency tiers: “Basic / Intermediate / Fluent” to set expectations without overexplaining
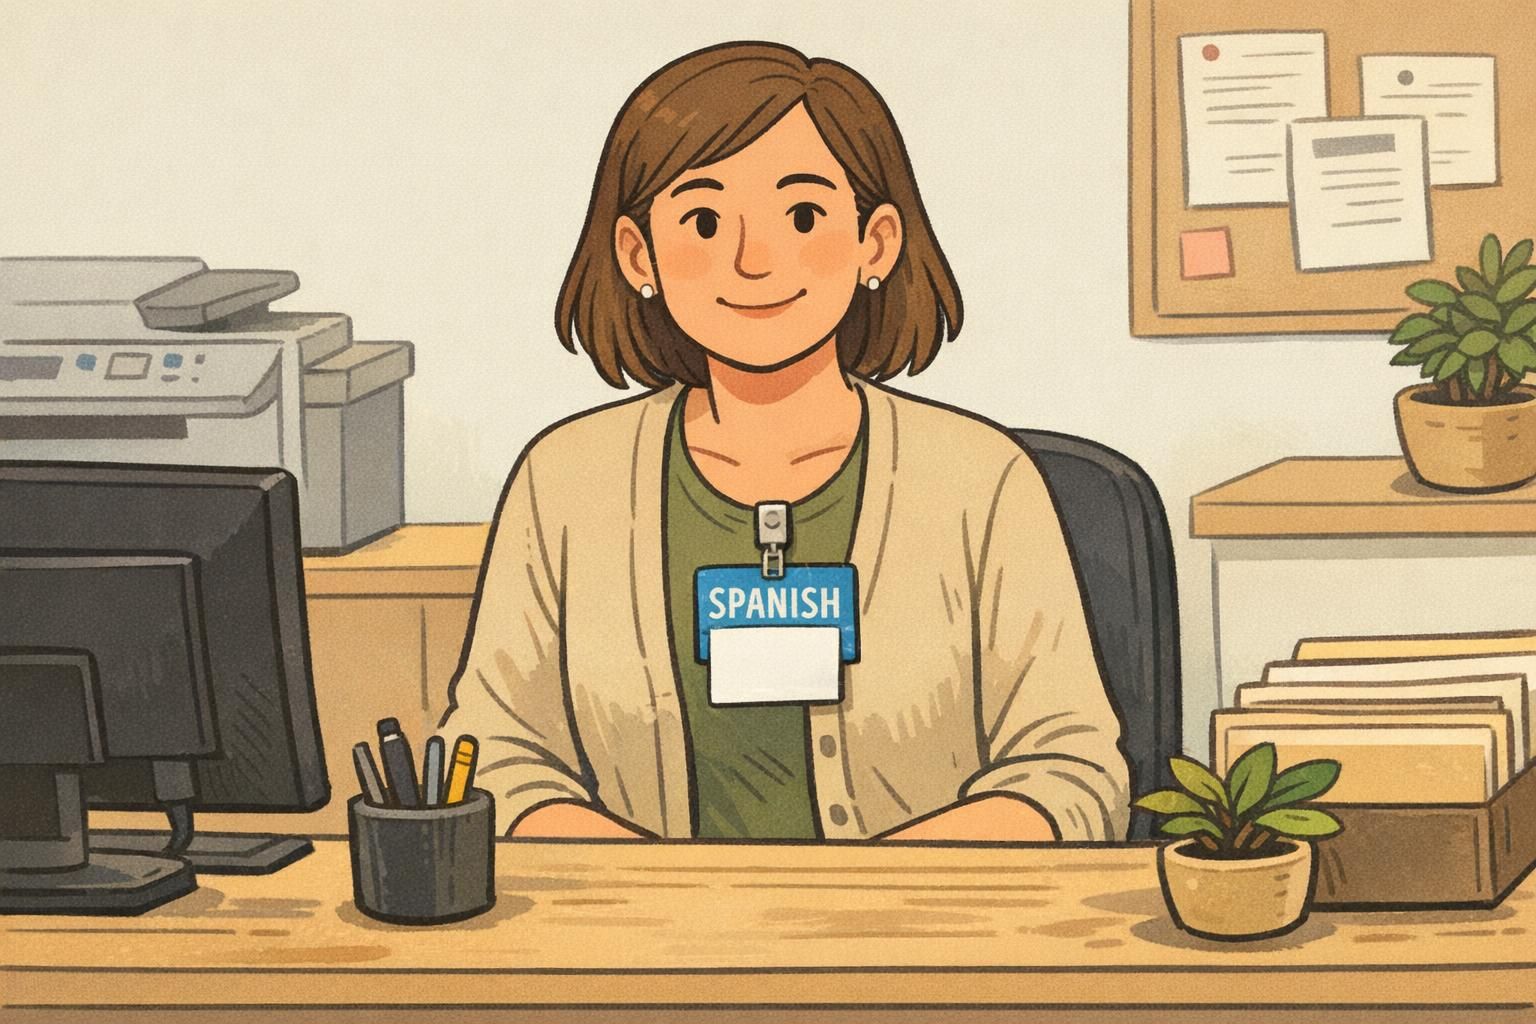
- Role + language pairing: Put the role first if that’s what customers need (e.g., “Customer Support”), then language details beneath
- Color bands with text labels: Color can help scanning, but always include text so it’s accessible and unambiguous
- Icon + text (sparingly): If you use an icon, keep it universal and let the text do the work
- Two-sided design: If badges flip on lanyards, consider language indicators on both sides for readability
There’s always a trade-off: more languages and more detail can reduce legibility. If someone supports many languages, consider highlighting the most-used language(s) and using an internal directory for the full list—so the badge remains clean and effective.
Using multilingual staff badges as a communication tool (beyond customers)
Language visibility isn’t just for customers. Multilingual staff badges also act as internal communication tools that help teams coordinate in real time. Shift leaders can route requests more smoothly, teammates can find support for a phone call, and new hires can learn who to ask—without broadcasting someone’s personal background or putting them on the spot.
In practice, this often looks like a quick, respectful request for help followed by a clear handoff. When teams agree on simple phrases, it becomes easier to ask without pressure—and easier to say yes or no based on workload and comfort.
- “Are you available to help with a Spanish question at the front desk?”
- “Could you join for one minute to confirm we’re explaining this correctly?”
- “If you’re tied up, I can use the translation tool and follow up—what do you prefer?”
- “Can I hand this call to you, or should I schedule a callback with someone fluent?”
A badge works best when it’s part of a bigger system: a team directory, a clear escalation path, and shared expectations about when language support is requested.

Choosing the right product format: name tags, ID cards, badge buddies, and lanyards
The best format depends on how your workplace operates—what employees already wear, whether you need security features, and how quickly language information needs to be recognized. The goal is “scanability”: the language indicator should be in a consistent place, at upper-chest level, and easy to read in real conditions (movement, lighting, and distance).
- Name tags: Great for front-of-house roles where fast friendliness matters; easy to place high on the chest for visibility
- Photo ID cards: Best for secured areas, compliance needs, or workplaces that already rely on ID access routines
- Badge buddies: A simple add-on behind an existing ID to make language visible without reprinting the primary ID card
- Lanyards and holders: Helpful for workplaces where IDs must be worn; choose configurations that reduce flipping and glare
If you already have a standard ID that can’t be easily changed (or needs to stay consistent for security), a badge buddy is often the cleanest way to add language visibility. For example, you can use badge buddies for language identification to keep the core ID unchanged while making the language cue large and easy to spot.
- Do: Use large, high-contrast type (dark text on a light background or vice versa)
- Do: Keep the language label short and centered so it can be read at a glance
- Don’t: Stack too many languages in small text—better to prioritize the most useful ones
- Don’t: Rely on glossy finishes if glare makes the label hard to read under strong lights
Simple standards that keep badges credible (training and verification)
A language label carries weight—customers and coworkers will trust it. That’s why light standards matter. You don’t need a complicated certification process, but you do need an approach that keeps language indicators accurate and useful over time. When people understand the criteria behind labels like “Basic” or “Fluent,” it reduces pressure on bilingual employees and helps everyone know what to expect.
A practical approach is to combine self-assessment with a quick confirmation step. In many workplaces, that can be as simple as a manager check-in, a short scenario conversation, or completing a brief customer-service language module. Research on badge systems also suggests they work best when paired with clear criteria and a thoughtful implementation plan—so the badges stay meaningful rather than decorative (source).
- Self-assessment: Staff choose a level based on defined examples (e.g., greetings vs. full problem-solving)
- Manager confirmation: A short, supportive check to confirm the label fits the role’s needs
- Scenario checks: Quick role-plays like “checking in a guest” or “confirming an appointment time”
- Progress milestones: Clear steps for moving from Basic to Intermediate to Fluent as skills grow
Proficiency tiers aren’t about judging skills—they set expectations. That helps customers feel supported and helps staff feel protected from unrealistic demands.
Rollout checklist: design, printing, and team adoption
A good rollout makes language indicators feel normal and helpful—part of everyday service rather than a special program that fades. The simplest plans focus on consistency: consistent labels, consistent placement, and consistent expectations about how language support is requested.
- Decide which label language(s) to use: Choose clear terms (e.g., “Spanish,” “Korean,” “ASL”) and keep them consistent across the team
- Choose a template: Pick a layout that stays readable at a glance and matches your existing ID system
- Set readability rules: High contrast, large type, minimal clutter, and predictable placement on the chest
- Pilot with a small group: Test in real workflow moments like check-in, intake questions, and escalations
- Train the handoff: Provide simple scripts and clarify when to use translation tools or manager backup
- Scale and maintain: Keep a reprint cadence, update when skills or roles change, and keep a few spares for onboarding
For ongoing maintenance, it helps to plan for normal changes: new hires, role changes, and skill growth. Keeping a small set of spare holders, clips, and a process for updates makes it easy to keep the system accurate without adding friction.
When language visibility is paired with friendly scripts, clear escalation pathways, and realistic proficiency labels, teams provide better service with less confusion—without placing extra burden on the people who already help the most.