Last Minute Badge Change: A Swap-Friendly Process for Last-Minute Name Updates
Why a last minute badge change happens (and why your process matters)
A last minute badge change is one of the most common “small problems” that can create a big bottleneck at an event. It can be as simple as a typo, as personal as a preferred-name update, or as operational as a substitution when someone can’t attend. And because badges do real work—helping attendees identify each other, helping staff verify access tiers, and helping everyone navigate spaces—getting the badge right matters.
The goal isn’t perfection on the first print. The goal is a system that makes corrections fast, keeps the attendee record accurate, and doesn’t break the line. When staff have a clear, repeatable approach, attendees feel taken care of and check-in stays calm—even during peak arrival times.
A good correction process treats the badge as a display item you can swap quickly, while treating the attendee record as the authoritative source you must update consistently.
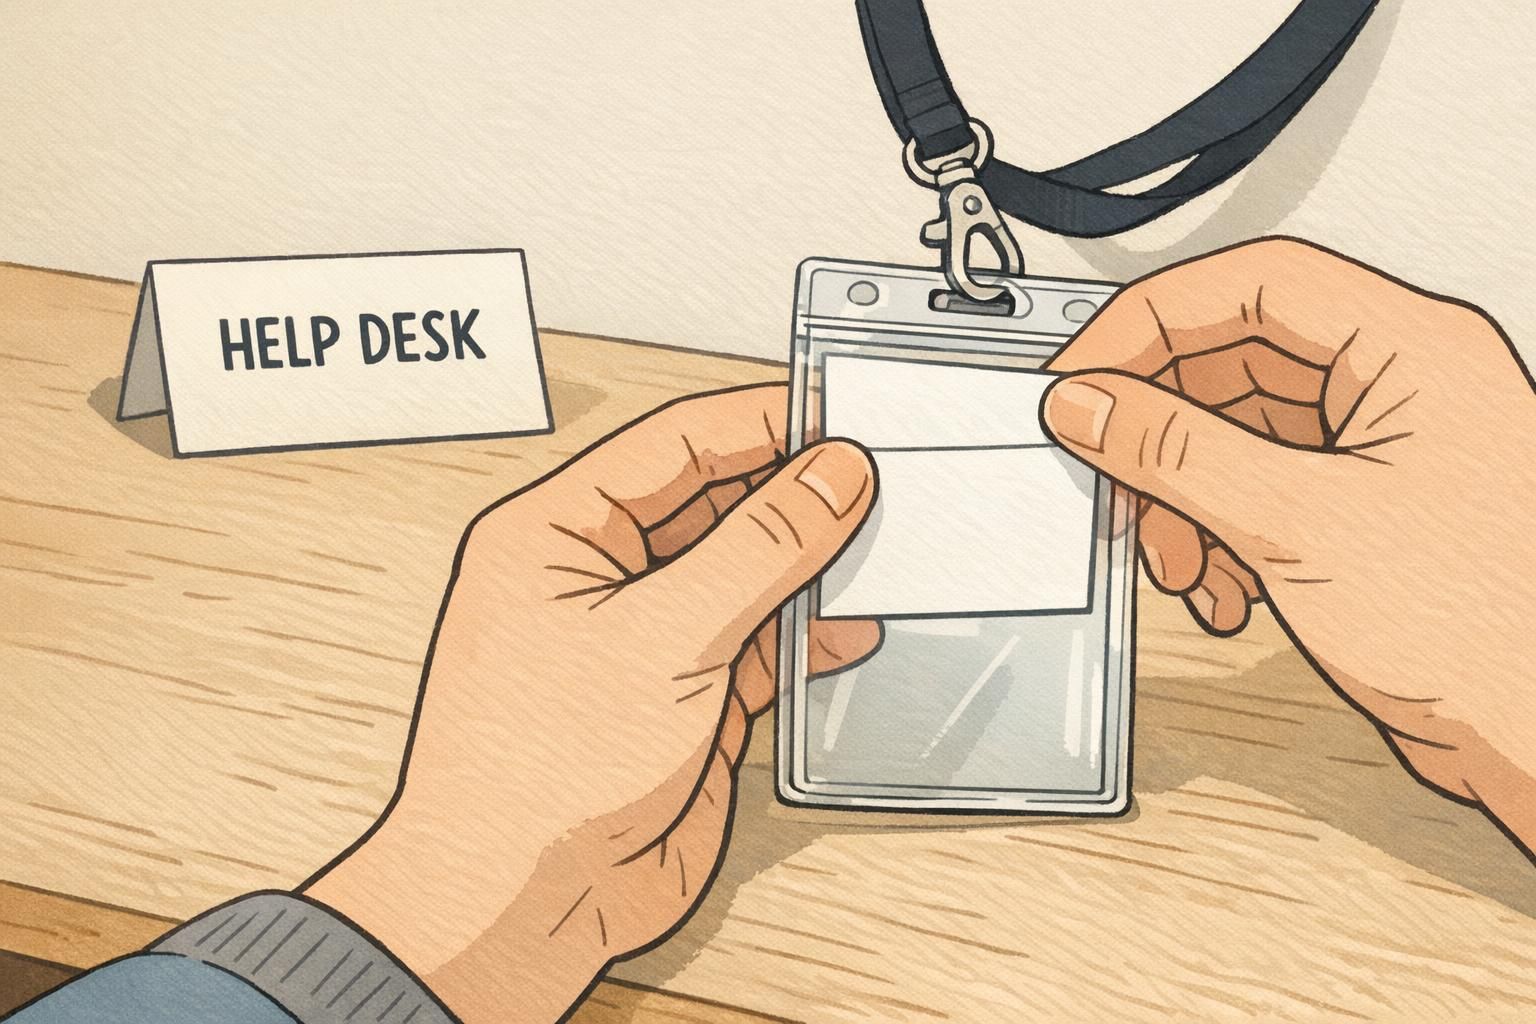
Design badges to be swappable: separate identity from the physical badge
Swap-friendly badge design starts with one mindset shift: the attendee record is the “source of truth,” and the physical badge is a replaceable output. If your badges are designed so a name update requires a full rebuild, corrections will always feel disruptive. If your badges are designed so the name is a simple insert, changes can take seconds.
A reliable approach is a reusable holder with a paper insert. You can also use a pre-printed shell (branding, sponsor strip, access tier color band) with a variable name area that’s printed on demand. Either way, your goal is to separate stable elements from changeable ones so staff can swap only what needs to change.
- Stable elements to keep fixed: event name/branding, date, logo, background pattern, access tier color (e.g., attendee/speaker/staff), QR code format (if used)
- Changeable elements to keep easy: first/last name, preferred name, company, role title, pronouns (if included), table number (for banquets), session group
- Practical layout tip: reserve a clearly bounded “name zone” with high contrast so inserts/labels remain consistent and readable across reprints
This separation also protects consistency. Even if you need to print a quick replacement, the badge still looks like it belongs at the same event and still communicates the same access tier.
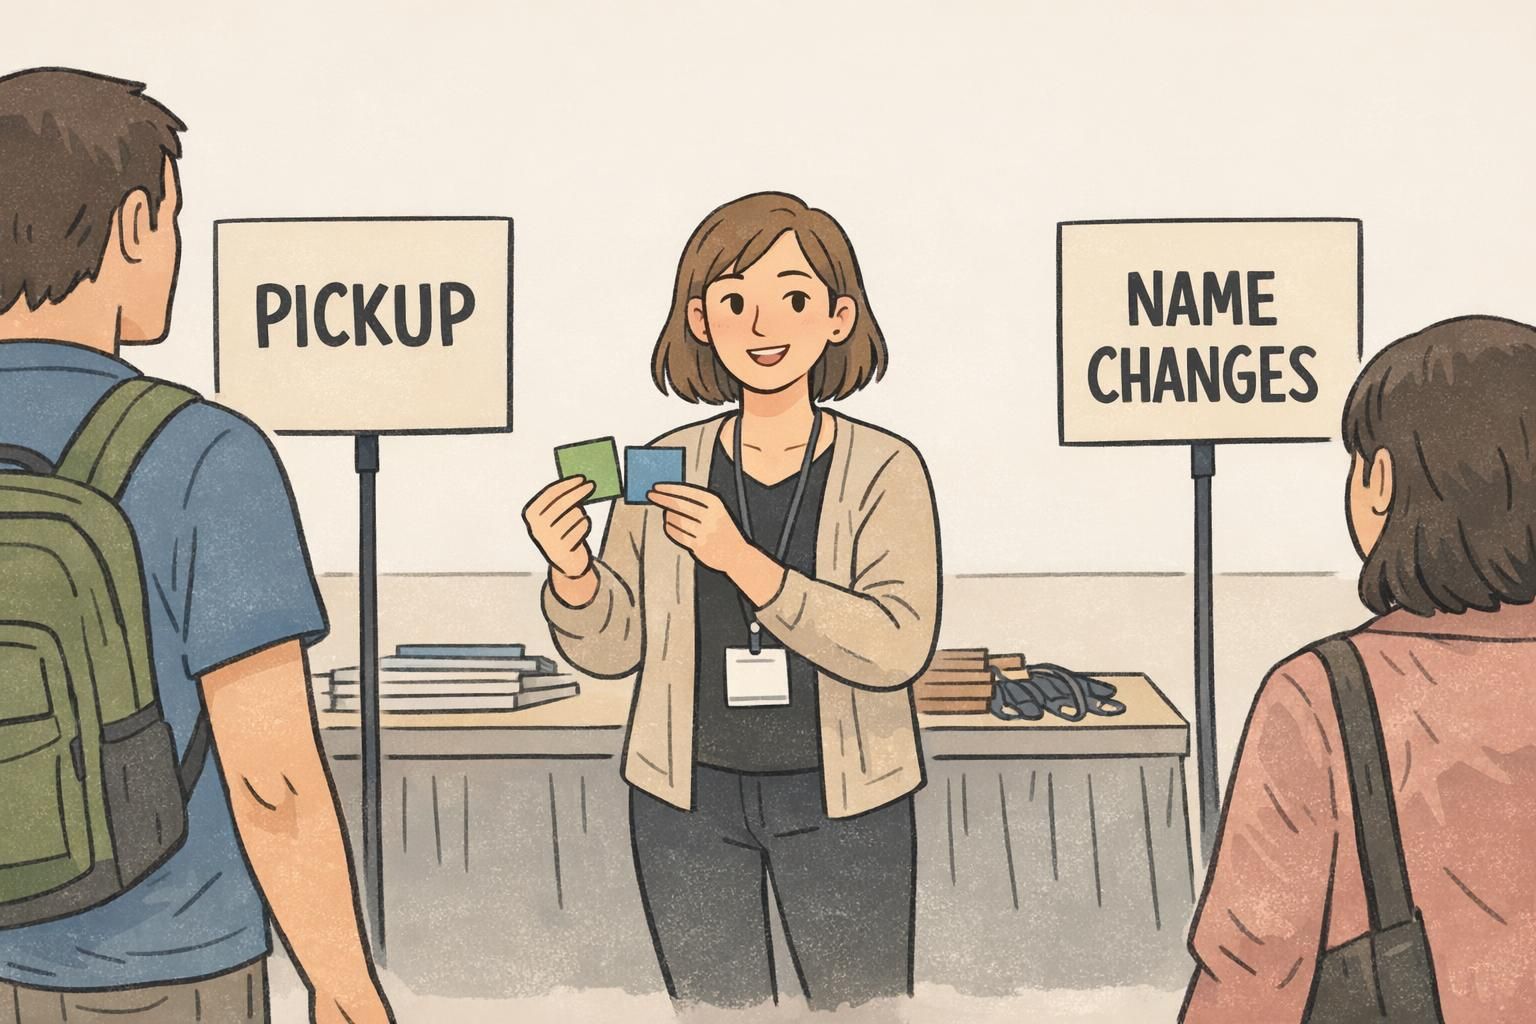
The fast lane vs. help desk: a registration flow that won’t break the line
The simplest way to keep check-in moving is to stop treating every situation as “one line, one counter.” Instead, run two queues: a standard pickup lane for routine check-ins, and a small help-desk lane for changes. This protects throughput by keeping quick pick-ups truly quick, while giving corrections the attention they need without an audience of waiting attendees.
The key is routing. If someone needs a correction, they should be redirected immediately—before they reach the badge pickup station. Clear signage, a greeter, and a consistent script are what make this work.
- Pickup lane handles: standard badge pickup, lanyard/holder distribution, basic directions
- Help desk handles: name corrections, company/role edits, substitutions, lost badges, access questions
- Triage rule of thumb: if it requires opening the attendee record, it goes to help desk
“If it’s a straightforward pickup, you’re in the Pickup line. If anything on the badge needs to change, we’ll take you right over to the Help Desk so we can fix it without holding up the line.” – Registration Greeter Script
This setup also reduces stress for staff. The pickup station can focus on speed and friendliness, while the help desk can focus on accuracy and documentation.
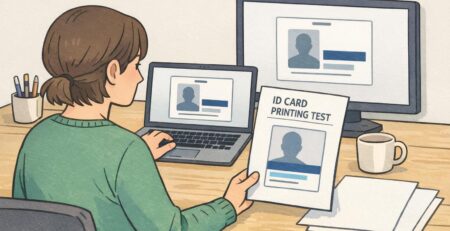
Help-desk workflow for event badge reprint and corrections
A help desk runs best with a consistent workflow. That way, every staff member handles badge corrections the same way, and you avoid common problems like duplicate attendee records, mismatched access levels, or printing a badge that doesn’t match what’s stored in the system.
Use a simple loop: verify the attendee record, confirm what should display, update the database, then print and issue the corrected badge. For an event badge reprint, the order matters—update first, print second—so the badge in someone’s hand matches the record you’ll use for scanning, attendance reporting, or access control.
- 1) Verify: locate the attendee record; confirm identity per your event policy (e.g., confirmation email, last name + company, or photo ID if required)
- 2) Confirm: ask the attendee to spell the display name and confirm what should appear (company/role/pronouns if included)
- 3) Update: edit the attendee record so your database stays accurate
- 4) Print/Prepare: print a new insert/label/badge while the attendee is present when possible
- 5) Issue: place the corrected insert in the holder (or hand over the new badge) and confirm it’s readable at arm’s length
- 6) Log: record the change (time + staff initials + what changed) to prevent duplicates and repeated reprints
Typically: spelling fixes, capitalization, display/preferred name, company name, and role title—anything that affects what prints but doesn’t change permissions.
Ticket transfers, access level changes (like upgrading to VIP), and any change that affects restricted areas or benefits. Keep these routed to a supervisor so access control stays consistent.
Treat “what’s printed” and “what grants access” as related but not identical. Many issues are safe to correct immediately, but access tier changes should be controlled and traceable.
On-demand printing options: from quick inserts to full badge printing
On-demand printing is where a swap-friendly system pays off. When you can print a correction at the point of use—right at the help desk—you reduce back-and-forth, reduce transcription errors, and get the attendee back into the event faster. The general principle that reliable identifiers and point-of-use labeling can reduce misidentification errors is widely applicable in operational settings; applied to events, it supports printing and correcting identifying labels where check-in decisions are being made (source).
Choose a printing tier that matches your event volume and durability needs. Many events use more than one method: inserts for most fixes, plus a faster label option for micro-corrections.
- Tier 1: Standard office printer + pre-cut/perforated inserts. Best for: low to medium volume, predictable layouts, quick insert swaps in clear holders.
- Tier 2: Label printer + overlay labels. Best for: very fast corrections when the base insert is fine and only a name/company line needs an update.
- Tier 3: Dedicated badge printer (full badge printing). Best for: higher volume, thicker stock, more durable badges, or when you want a more rigid “all-in-one” badge.
No matter which tier you use, print in the attendee’s presence when possible. It’s the fastest quality check you have: the attendee can confirm spelling and format immediately, and you avoid redoing the same badge twice.
- Common badge sizes: choose one standard size for your event and keep holders/inserts matched to that size to avoid slowdowns
- Typography: use high-contrast text, avoid overly light weights, and size the name so it’s readable from a comfortable speaking distance
- Brand consistency: keep logos and access colors in the stable template layer so even inserts and reprints look uniform
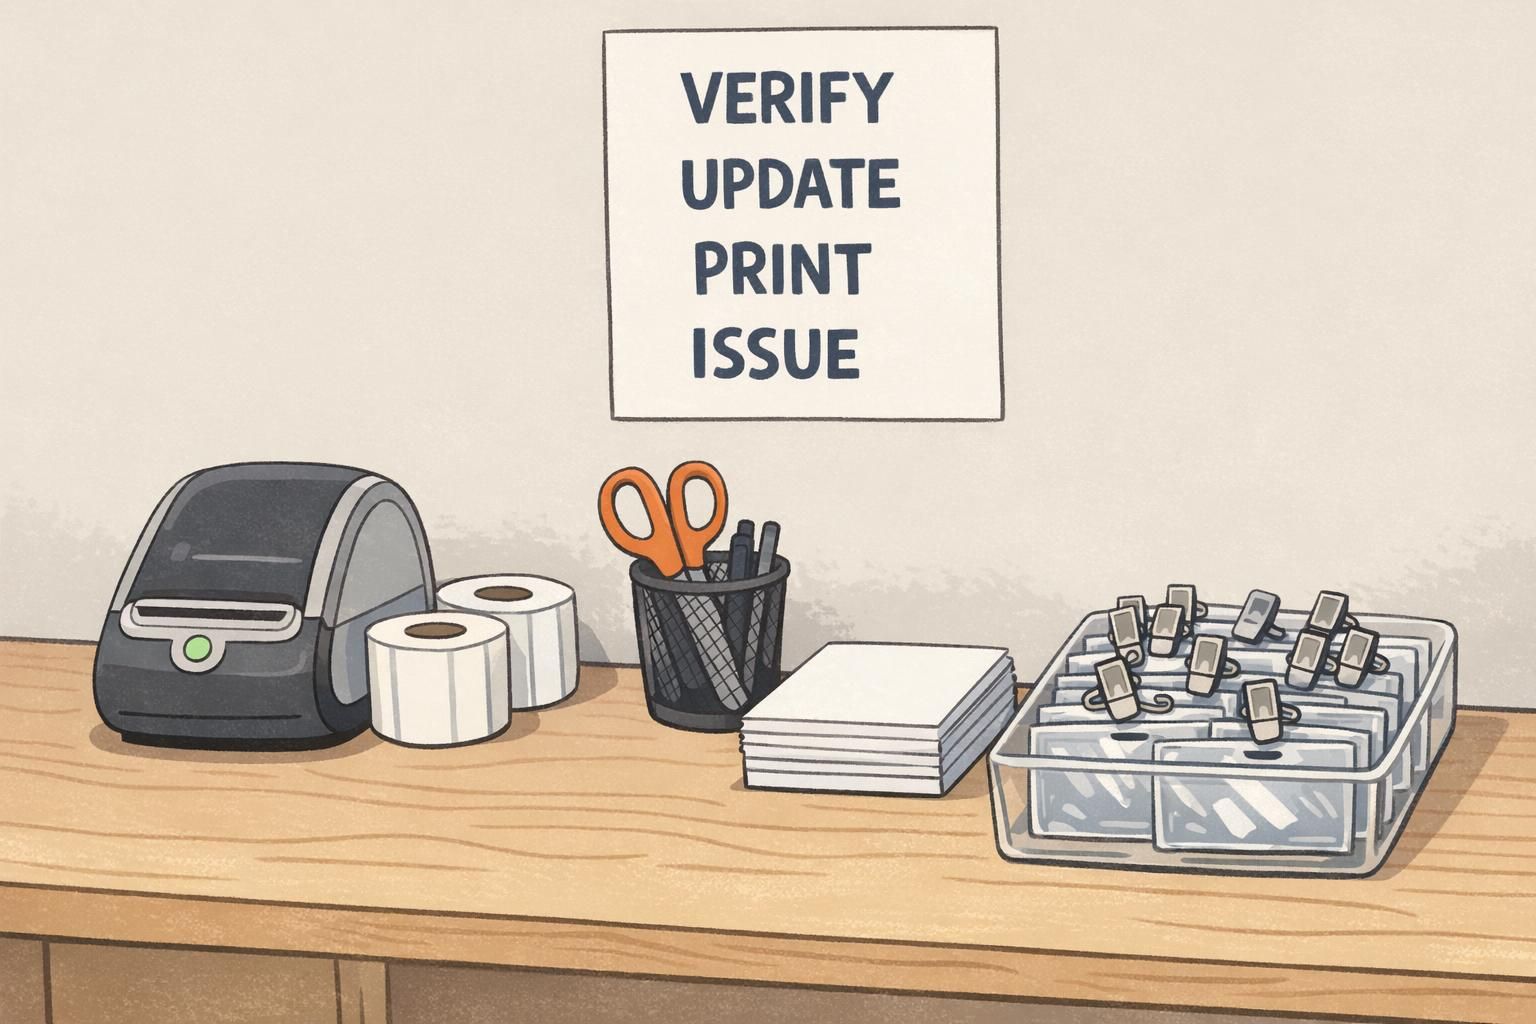
Supplies checklist for a swap-friendly badge station
Supplies are what turn a good plan into a fast, repeatable reality. When corrections require hunting for paper, borrowing scissors, or finding the “one extra lanyard,” the line slows down. When supplies are staged, corrections become predictable.
- Reusable badge holders (matched to your chosen badge size and orientation)
- Blank badge inserts (pre-cut or perforated) for on-demand printing
- Lanyards and/or clips (plus a small overage for breakage and late adds)
- Label printer + label rolls (optional, but extremely helpful for quick overlays)
- Backup ink/toner and a spare printer power cable (small items that prevent big disruptions)
- Scissors and/or a paper cutter (for trimming inserts if needed)
- Matte writable stickers (for ultra-fast fixes or temporary notes when policy allows)
- Permanent markers (fine tip) for controlled, legible emergency edits
- A small tray or folder for “voided” inserts/badges pending disposal or audit
Build a small “rapid fix kit” at the front desk (a few blank inserts, matte writable stickers, and a marker). It prevents tiny issues from turning into a full reprint during peak rush.

Common scenarios and the best fix (spelling, preferred name, substitutions, lost badges)
Most badge issues fall into a few repeatable scenarios. When staff have a simple “fix menu,” decisions become consistent, and attendees get the same quality outcome no matter who is at the desk. This is also where badge corrections should be standardized: the same problem should trigger the same steps every time.
- Spelling correction: confirm spelling with the attendee, update the record, print a new insert or overlay label, and swap it into the holder. Avoid handwritten edits unless it’s a true emergency fix.
- Preferred name update: store the legal name internally if your event requires it, but print the preferred name for the badge display. Confirm capitalization and diacritics, then update the record so future prints match.
- Substitution (someone else attends): verify authorization based on event policy, update the attendee record to the new person (or follow your transfer process), void the old badge, and issue a new badge tied to the correct record.
- Lost badge: verify identity, reissue, and mark the badge as a replacement in your change log to reduce the chance of duplicate badges circulating.
When possible, yes. Collecting the old insert or voiding the old badge helps prevent confusion and reduces the risk of two versions being used.
When the base insert is accurate and clean, and only a single line (like the name) needs to change quickly. If readability suffers, do a full insert reprint instead.
Consistency beats improvisation. A small, written “fix menu” reduces debate at the counter and makes training much easier.
Products that make swaps easier (holders, inserts, and event badge setups)
Swap-friendly events often rely on a modular setup: durable holders, reliable attachments, and inserts that can be printed quickly. Standardized sizes matter more than many planners expect—when holders, inserts, and templates match, you reduce jams, misprints, and the awkward moment when a corrected insert doesn’t sit flat.
If you’re building or refreshing your setup, consider keeping one standard holder size for the event and printing everything to that spec. For events that anticipate frequent updates, reusable holders are especially practical because the “hardware” stays the same while the paper changes.
BadgeZoo’s reusable event badge holders are one example of a modular approach that supports quick insert swaps and consistent presentation across standard check-in and corrections.
Pre-event communication and on-site signage that reduces change requests
Not every last minute badge change is preventable, but many are. A short pre-event message and clear on-site signs reduce surprises, set expectations, and help attendees self-route to the right place without repeatedly asking staff.
A helpful pre-event email can remind attendees to check spelling, confirm their display name, and understand what can be updated at check-in. The tone should be supportive: you’re not trying to block changes—you’re trying to keep check-in smooth while ensuring badges remain accurate.
- Pre-event email essentials: where to review name details, what information will be printed, and what’s editable on-site
- Set expectations: explain that access level changes or transfers may require organizer approval at the help desk
- On-site signage: clearly label “Pickup” and “Help Desk/Name Changes” at the front of the queue, not at the counter
- Staff alignment: train greeters to route corrections immediately, using the same script every time
“Clear signs and a dedicated help desk turned badge changes from a disruption into a quick, normal step. People stopped apologizing for the fix—we just handled it.” – Event Operations Lead
When attendees know where to go for updates—and staff know exactly what to do—corrections stay calm, fast, and accurate.