Event Badge Design Basics: Make Names Big, Fast
Why event badge design should optimize for instant name recognition
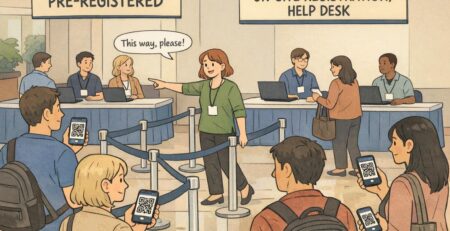
At a busy event, introductions happen quickly: someone steps up, you smile, you reach for their name—and if the badge makes you work for it, the moment gets awkward. The simplest goal of event badge design is instant name recognition at conversational distance, so people can connect without repeating “Sorry, what was your name?”
When the name is treated as the badge’s primary “job,” everything else becomes easier to organize: check-in moves faster, networking feels smoother, and attendees spend less time decoding tiny text. This isn’t about making a badge look “minimalist” for style; it’s about reducing friction in the real world, where people are walking, turning, chatting, and reading under mixed lighting.
A readable event badge is a social tool: it removes small barriers so conversations can start faster and feel more natural.
Make the name the hero: size, placement, and whitespace
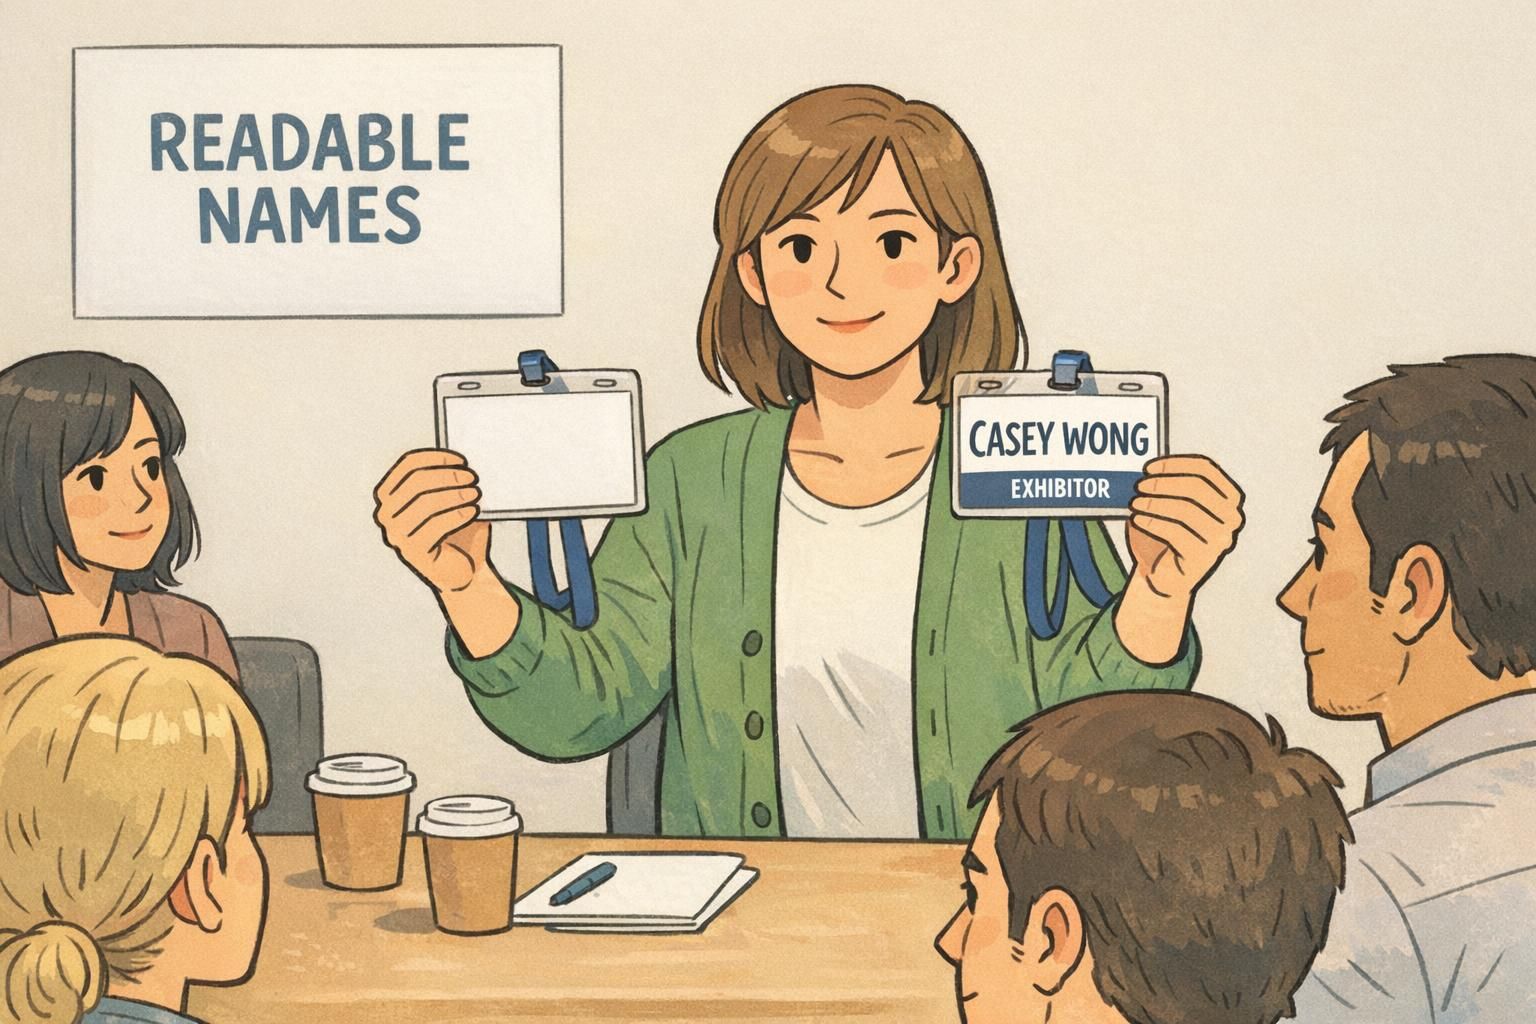
If you only fix one thing, fix this: make the attendee’s name the largest element on the badge. Put it at the visual center or top-center, where a person’s eyes naturally land during a quick glance. This is true whether you’re making a simple conference name badge, a staff credential, or a multi-day expo pass.
Whitespace (empty space) is what allows a large name to actually look large. If the badge is crowded with logos, patterns, and multiple lines of text competing for attention, the name visually “shrinks” even when it’s technically a bigger font size. Leave breathing room around the name so it reads instantly.
- Put the name at the top-center or center, not buried mid-layout.
- Make the name the largest text on the badge—clearly larger than the organization and role lines.
- Protect the name with whitespace on all sides so it doesn’t fight nearby elements.
- Avoid placing busy graphics behind the name area (even faint patterns can reduce speed of recognition).
- Use a “squint test”: if you squint at the badge, the name should still be the first thing you notice.
“If people can read a name in one glance, they start the conversation with confidence. If they can’t, they hesitate—and that hesitation adds up across the event.” – Event Operations Lead
Contrast and typography that stay readable in motion
Badges aren’t read in perfect conditions. They’re read while someone is moving, while a lanyard swings slightly, and while overhead lights create uneven shadows. To keep a readable event badge readable in motion, typography and contrast matter as much as layout.
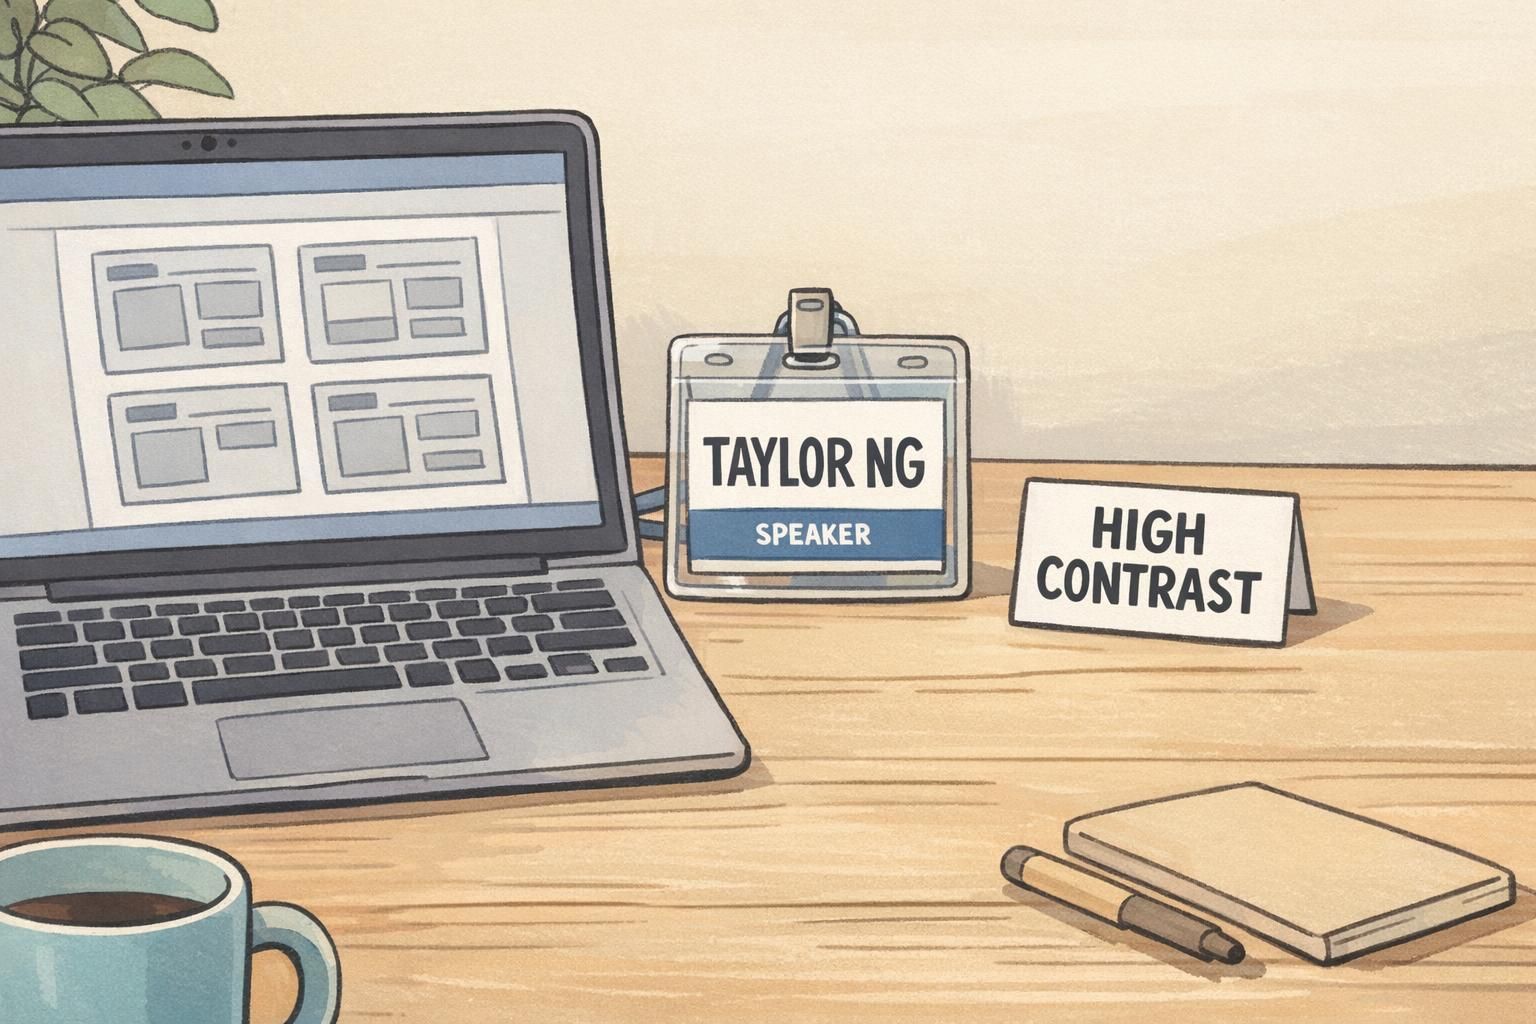
Choose a clean sans-serif font and avoid thin weights that disappear at a glance. Decorative fonts may look “on brand,” but they often break down when viewed from a few feet away. Strong contrast is your friend: dark text on a light background or light text on a dark background. If you use background graphics, keep them subtle and away from the name field so letters remain crisp.
Research on readability and quick recognition consistently supports the practical idea of prioritizing legibility with clear typography and visual emphasis for faster comprehension in real-world settings (source). Applied to event badge design, that translates to simple type, strong contrast, and fewer visual distractions around the most important information.
- Font: clean sans-serif, regular or semi-bold weight for names.
- Contrast: keep the name at high contrast against its background.
- Backgrounds: avoid patterns behind text; if used, keep them faint and outside the name area.
- Case choices: title case often reads faster than ALL CAPS for longer names, but either can work if spacing and weight are strong.
- Spacing: give letters and lines room—crowded text feels smaller and harder to parse.
Hierarchy for the rest: organization, role, pronouns, and QR codes
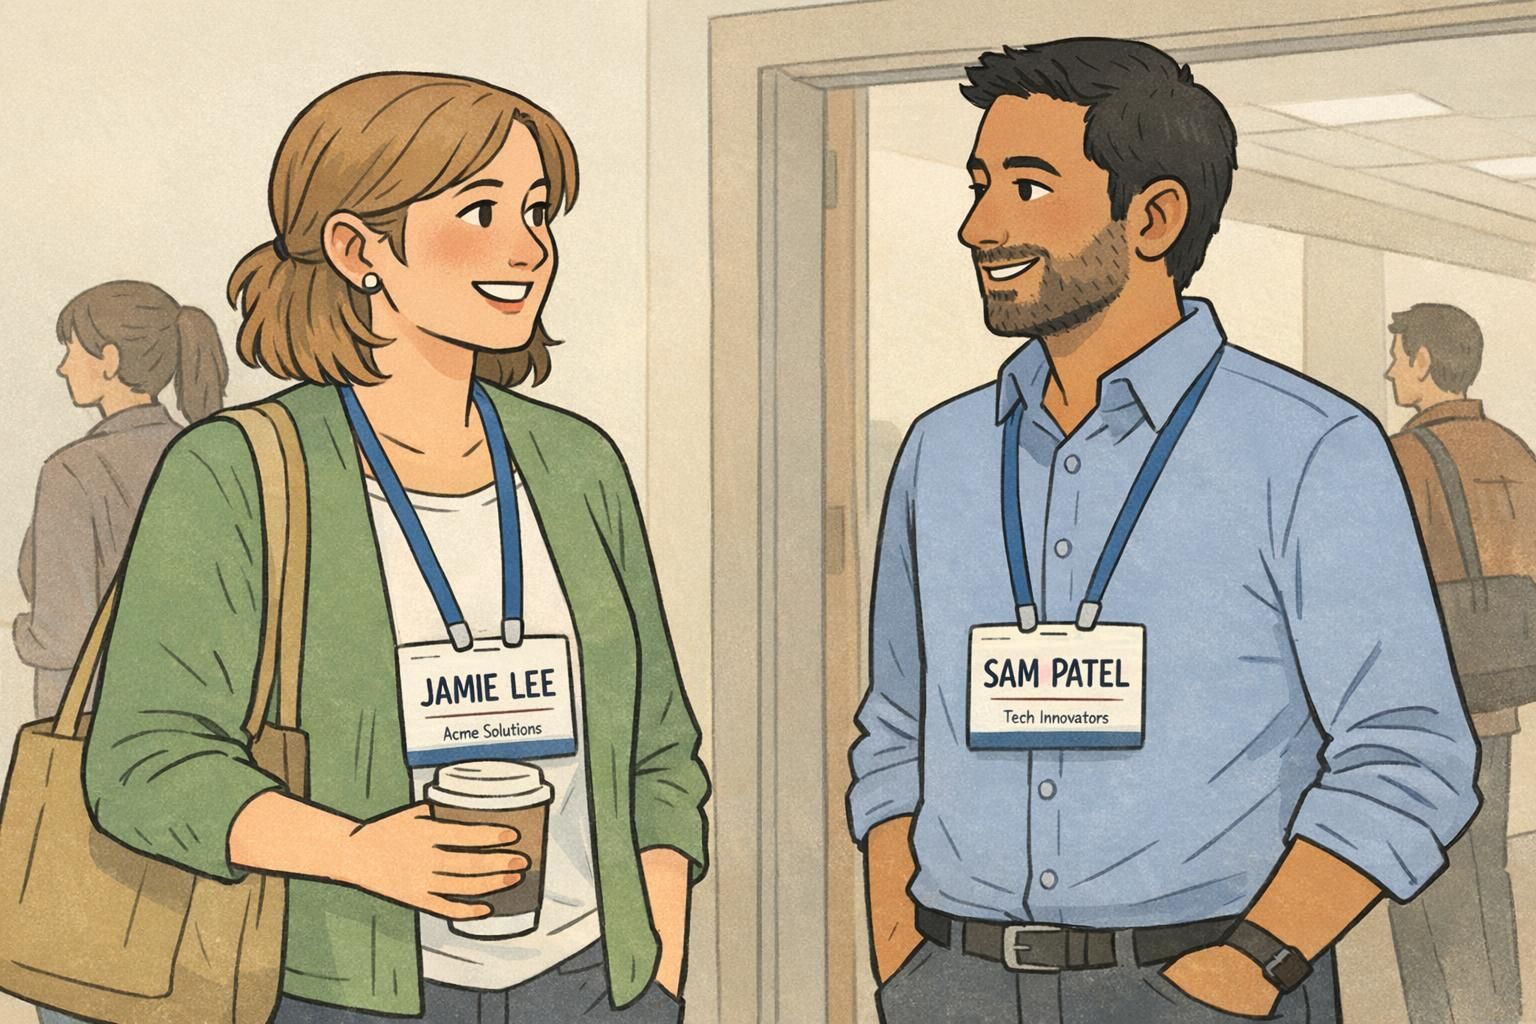
Once the name is doing its job, you can add supporting details without slowing recognition. The key is hierarchy: organization/company, role/title, pronouns, and QR codes should be clearly secondary and positioned so they don’t compete with the name.
A common mistake is placing too many elements near the top half of the badge. If a QR code, sponsor strip, and role line all crowd the name, the name inevitably gets smaller. Instead, treat the badge as two zones: a primary zone for the name (clean and spacious) and a secondary zone for everything else.
- Organization/company: one line below the name, smaller and lighter in visual weight.
- Role/title: one short line, ideally below the organization; keep it scannable.
- Pronouns: keep them close to the name but not equal in size; consider parentheses or a short label style.
- QR codes: place toward the bottom corner or lower half so they don’t shrink the name area.
- Limit “top-half competition”: keep the top area visually quiet so scanning stays fast.
Big enough to scan comfortably when someone holds the badge still, but not so large that it forces the name to shrink. If you have to choose, prioritize the name and move the QR code to the lower half.
Only if they support the event’s goals. If networking is the priority, the company line is often more useful than a long title. If roles matter operationally, keep titles short and consistent.
Conference name badge layout: simple category labels that reduce confusion
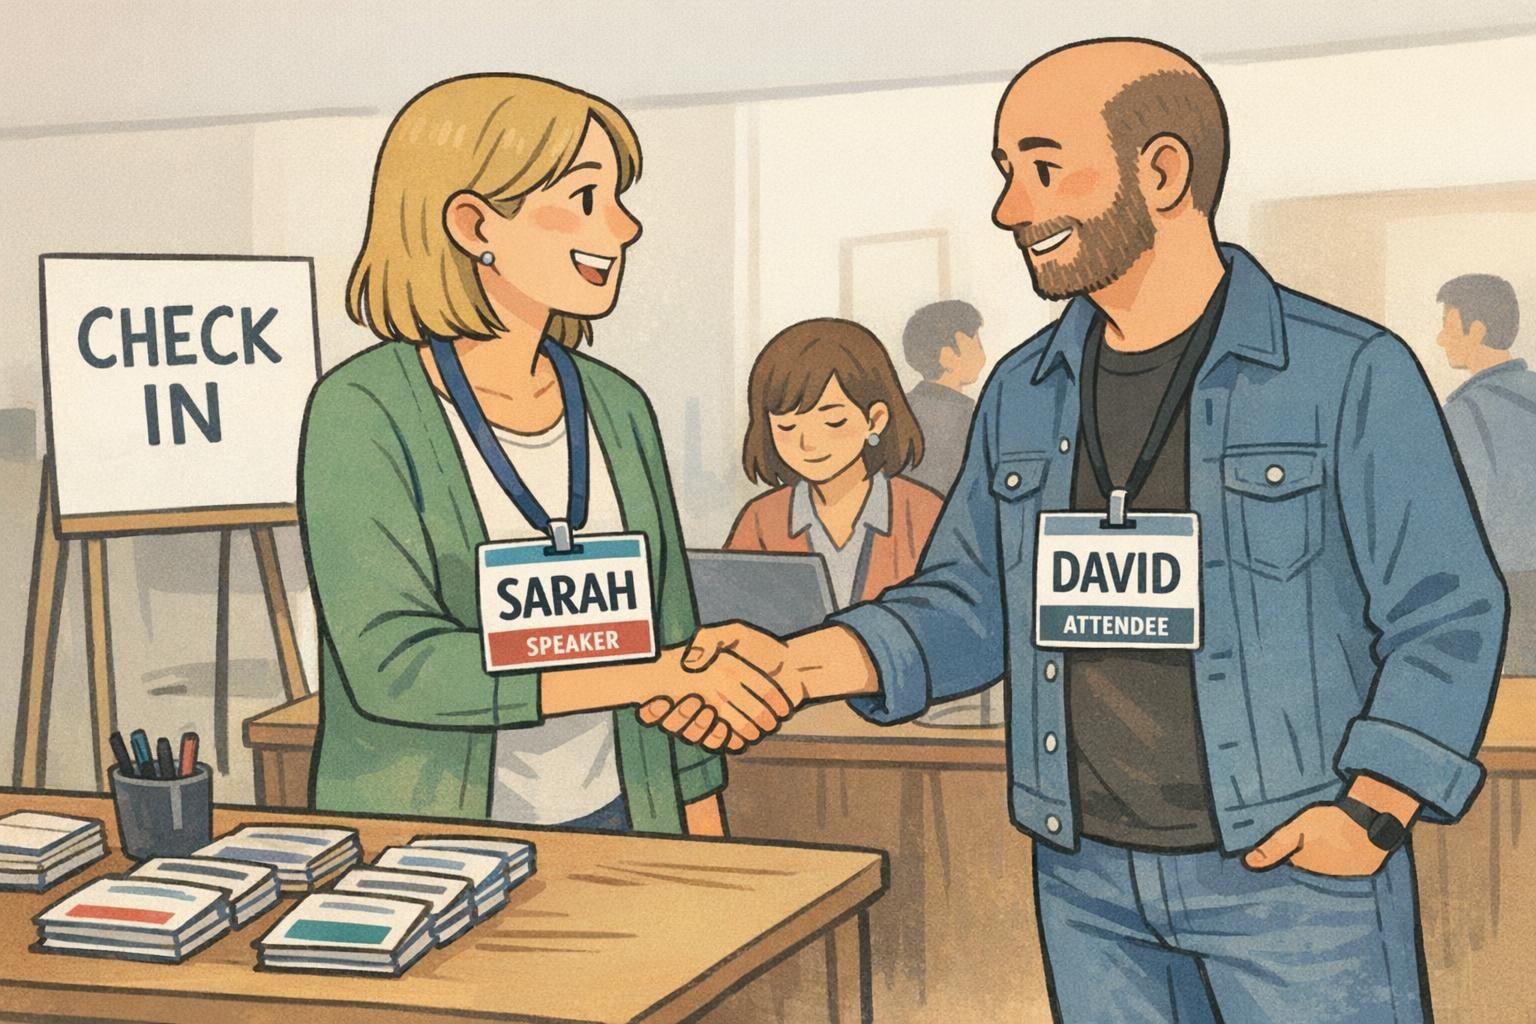
A conference name badge often has two jobs: help people connect (name first) and help people navigate roles quickly (speaker, exhibitor, staff, attendee). The best layouts keep category labeling obvious but restrained—clear enough to reduce confusion, subtle enough that it doesn’t overpower the name.
A simple pattern works well: a small header strip or color bar for the category (for example, “SPEAKER”), then a clean name field beneath it. When category labeling is consistent across all badge types, attendees learn it fast. That means fewer pauses at doors, fewer wrong-line moments at check-in, and fewer “Are you staff?” interruptions during sessions.
Aim for “big name, simple label.” If someone can read the name immediately and confirm the category in half a second, the badge is doing its job.
Color and category systems: clear social signals without visual noise
Color is a powerful shortcut—when it’s used with restraint. If your event has multiple attendee types or access levels, a consistent color system can help staff and attendees recognize categories quickly. The risk is overdoing it: too many colors, gradients, or patterns can make badges harder to read and can dilute the clarity of the name.
A practical approach is to keep the overall palette calm and consistent, then use one controlled color element for categorization: a header strip, a border, or a small badge buddy-style add-on. Whatever you choose, keep the placement and wording consistent across all categories so people learn the system without thinking.
- Use one primary category indicator (header bar, border, or single accent block).
- Keep category words short and standardized (SPEAKER, STAFF, EXHIBITOR, ATTENDEE).
- Avoid patterned backgrounds behind the name—use patterns only in non-text areas if needed.
- Don’t rely on color alone for critical access decisions; keep the label text clear too.
- Keep the system consistent across days and sessions so recognition improves over time.
Printing and production basics: size, bleed, and “real-life” testing
Even great designs can fail in production if they’re not prepared for print. Start with a badge size that supports a large name line—vertical formats often work well with lanyards because they provide more height for a big name plus a clean secondary zone for details.
Plan for margins and bleed so critical text never gets trimmed. Keep the name and category comfortably inside the safe area. Then test early: print a small batch of samples on the same stock and with the same holders you plan to use. Hold them at typical networking distance and see what happens.
- Choose a format that allows a large name line without crowding (often vertical).
- Keep names and category labels well inside safe margins.
- Include bleed for background color blocks so edges print cleanly.
- Test with the real holder/lanyard so glare and swing are accounted for.
- Do a “3–6 feet test”: if you can read the name and category quickly at that distance, you’re on the right track.
Products that support readable event badges (holders, lanyards, fast print options)
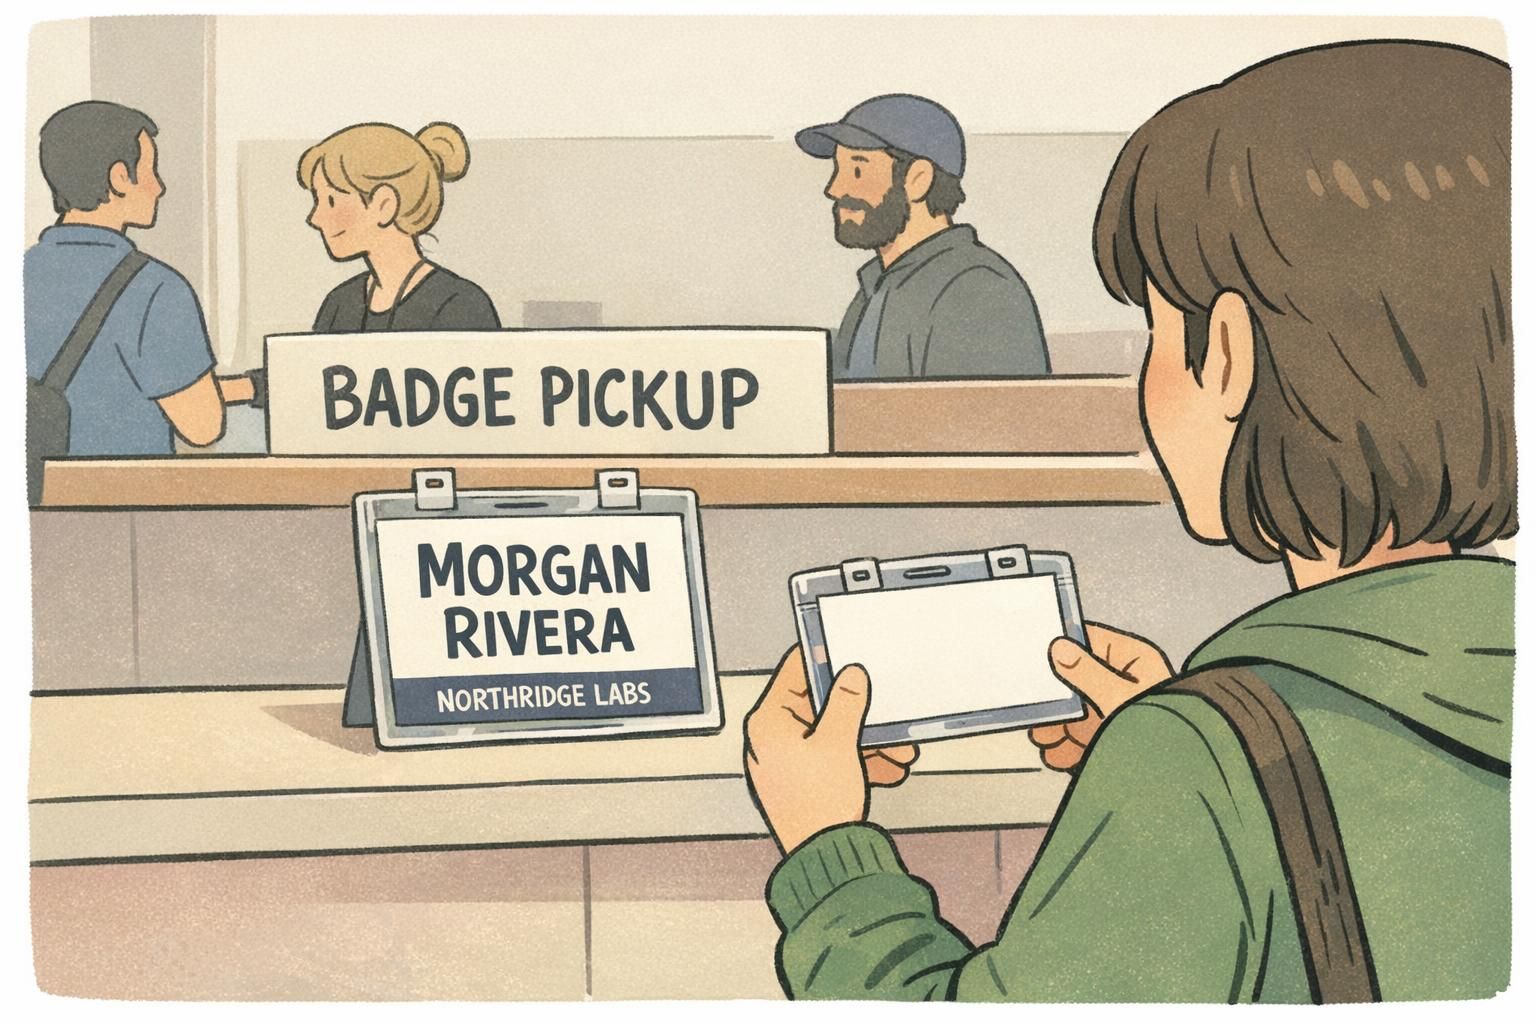
A clean layout still depends on the physical setup. Holders and lanyards affect whether badges stay flat, face forward, and remain legible throughout the day. A sturdy holder helps prevent curled corners, and a clear holder with minimal glare makes names easier to read during quick conversations.
For multi-day events, durability matters because smudges, bends, and worn edges can slowly reduce readability. It can also help to select a size and holder style early so your template is built around real constraints, not just a screen preview.
If you’re sourcing printed badges and accessories together, BadgeZoo offers event badge printing and accessories that can be matched to your chosen wear style and layout needs.
Materials shouldn’t fight the design. The goal is simple: keep badges facing forward, reduce glare, and protect the parts people need to read quickly.
Quick checklist: the “big name, simple label” event badge design standard
Before you finalize a template, run a fast check. The point isn’t perfection—it’s consistency and speed. When attendees can read names immediately and recognize categories without effort, networking improves and confusion drops.
- Name is the largest element and appears in a high-contrast style.
- Name area is clean: no busy graphics, no competing blocks near it.
- One clear category label (SPEAKER/STAFF/EXHIBITOR/ATTENDEE) with consistent placement.
- Organization/role/pronouns are secondary and don’t push the name smaller.
- QR code (if used) sits in the lower half and doesn’t clutter the top.
- Print a sample and do a quick “in-motion” read test at 3–6 feet.
- Lock the template so every badge follows the same hierarchy across the event.
Making the name compete with everything else—logos, dense details, and oversized category bars. If the name isn’t instantly visible, the badge slows introductions.
Use a single small header strip or color bar for the category, then keep the name area large and quiet. Consistent placement across all badges does most of the work.