Barcode ID Card Barcodes on Badges: Avoiding Smears, Scratches, and Curves
Why Barcode Durability Matters for Daily Badge Use
A barcode ID card is only as dependable as the condition of the printed code. In real workplaces and events, badges get touched, wiped, bumped against desks, and worn on lanyards that swing throughout the day. Over time, small changes—smears, scratches, glare, and even slight bending—can reduce contrast or distort the barcode pattern enough to slow down reads or cause scan failures.
When a badge won’t scan quickly, the impact is felt immediately: doors hesitate or deny access, check-in lines stall, time clocks require repeat attempts, and point-of-service stations become error-prone. The goal isn’t just “a barcode that works once”—it’s a code that stays reliably scannable through everyday handling.
If your badges are scanned repeatedly (access control, attendance, check-in, POS), durability isn’t a nice-to-have—it’s a core part of scan reliability.
- Faster throughput: fewer rescans and fewer manual lookups
- More consistent access: less trial-and-error at fixed door scanners
- Less staff friction: fewer interruptions when badges are presented all day
- Better longevity: badges can stay in circulation longer without reprints
What Actually Causes Scan Failures: Contrast, Glare, and Geometry
Most barcode scanners succeed when they can “see” a clean, high-contrast pattern with predictable edges. When scans fail, it’s usually not mysterious—something changed about the signal the scanner relies on. Three common culprits are contrast loss, reflective glare, and geometry problems caused by curves or flex.
Contrast loss happens when oils from hands, dirt, cleaning residue, or smears soften the crisp edges between dark bars (or modules) and the lighter background. Abrasion can also remove ink or scratch the surface so the pattern becomes incomplete. Glare is different: the barcode might be intact, but a shiny surface or strong overhead light creates reflection that overwhelms what the scanner is trying to detect. Finally, geometry problems occur when a badge bows on a lanyard, flexes at a clip point, or bends in a pocket—changing how the barcode pattern aligns with the scanner’s view.
- Smears and residue: blur edges and lower contrast
- Scratches and abrasion: remove or interrupt parts of the pattern
- Glare: reflection reduces readability even if the print is fine
- Curves and bends: distort the pattern so the scanner “sees” uneven spacing
- Obstructions: clips, slot punches, or fasteners intrude into the scan area
“When scanning gets slow, it’s often because the barcode is still there—but it’s not being seen consistently. Surface glare and small bends create ‘it works sometimes’ behavior.” – Operations Lead
Badge Barcode Placement: Flat Zones, Safe Margins, and No-Obstruction Areas
Good badge barcode placement starts with one principle: make the code easy for scanners to find and interpret. That means choosing a flat, uninterrupted area and leaving comfortable quiet zones (blank space) around the barcode so scanners can detect the boundaries cleanly. Even a well-printed barcode can become unreliable if it’s crowded by nearby graphics, pushed into a corner that curls, or positioned where hardware will cover it.
Think about where badges physically wear. Slot punches, clips, retractors, and magnetic fasteners create pinch points and rubbing zones. Edges and corners can curl. A barcode placed too close to any of those features is more likely to get scratched, obscured, or bent—especially if the badge is frequently tapped against a reader.
- Reserve a flat “scan zone” with extra blank space around the barcode (quiet zones)
- Keep the barcode away from slot punches and hardware that can cover or press into it
- Avoid placing the barcode near corners or edges that commonly curl
- For vertical layouts, place the barcode lower to reduce clip interference—while still staying away from corners
- Don’t place barcodes across seams, folds, or areas where a badge will flex
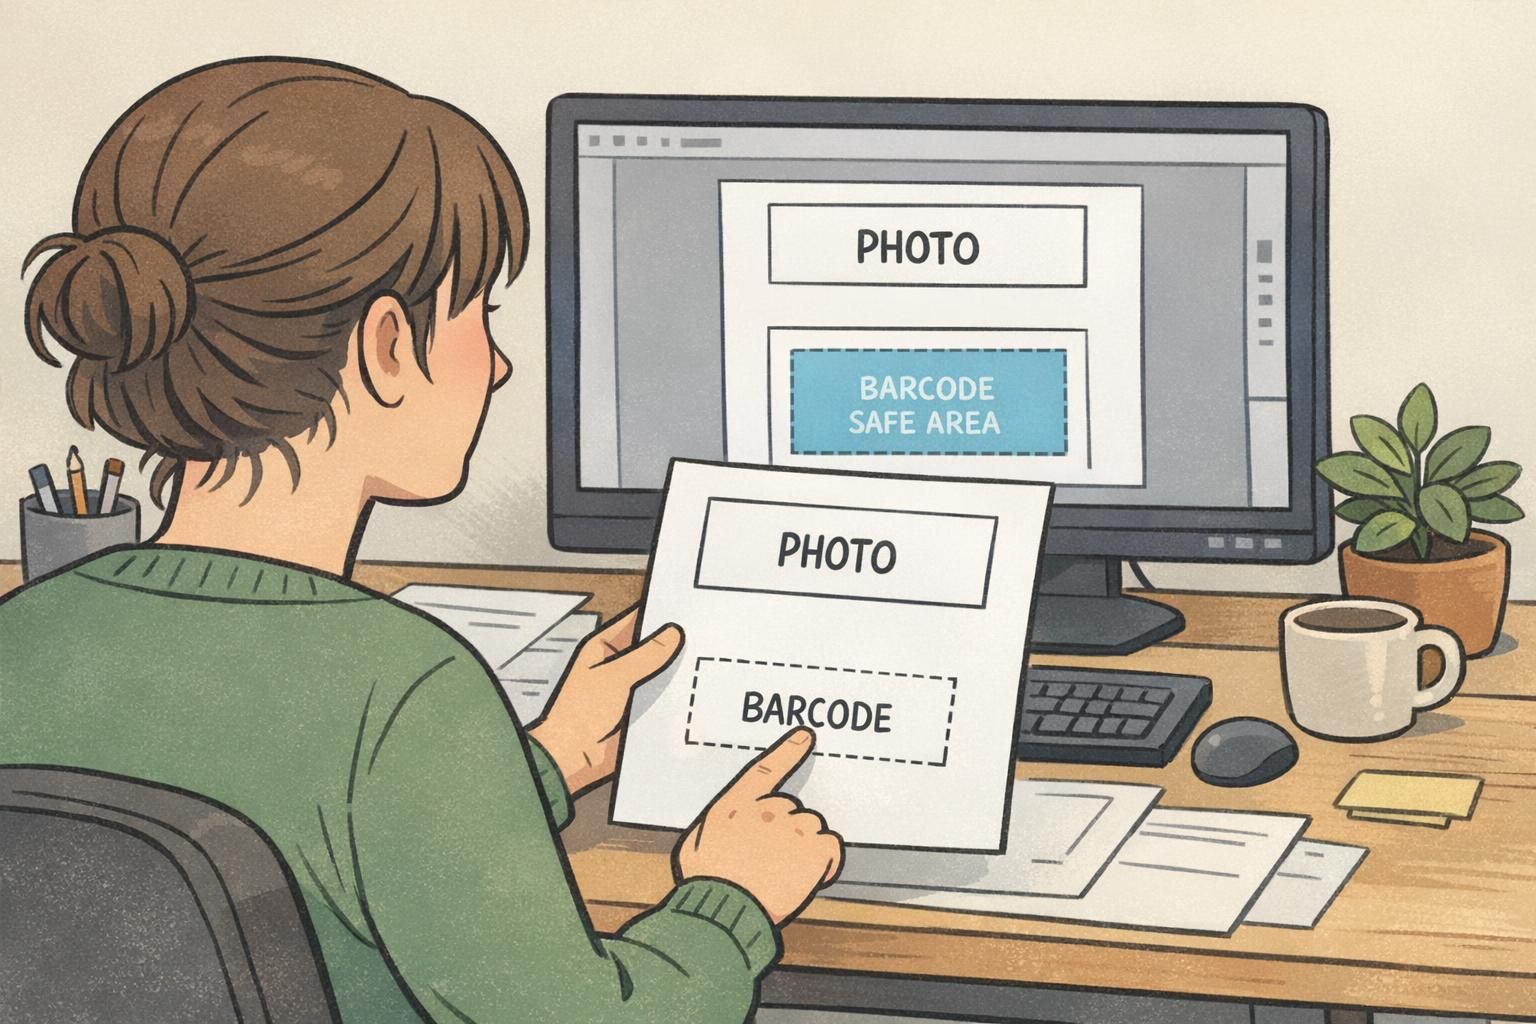
Quiet zones are blank margins around the barcode. They help scanners detect where the code begins and ends, improving speed and reducing misreads—especially when the badge is scanned at different angles.
It can work, but it’s riskier. Clips and punches are common sources of obstruction and flex. If you must place it near the top, leave extra clearance so hardware never overlaps the barcode.
Holders vs. Exposed Cards: How Protection Changes Scan Reliability
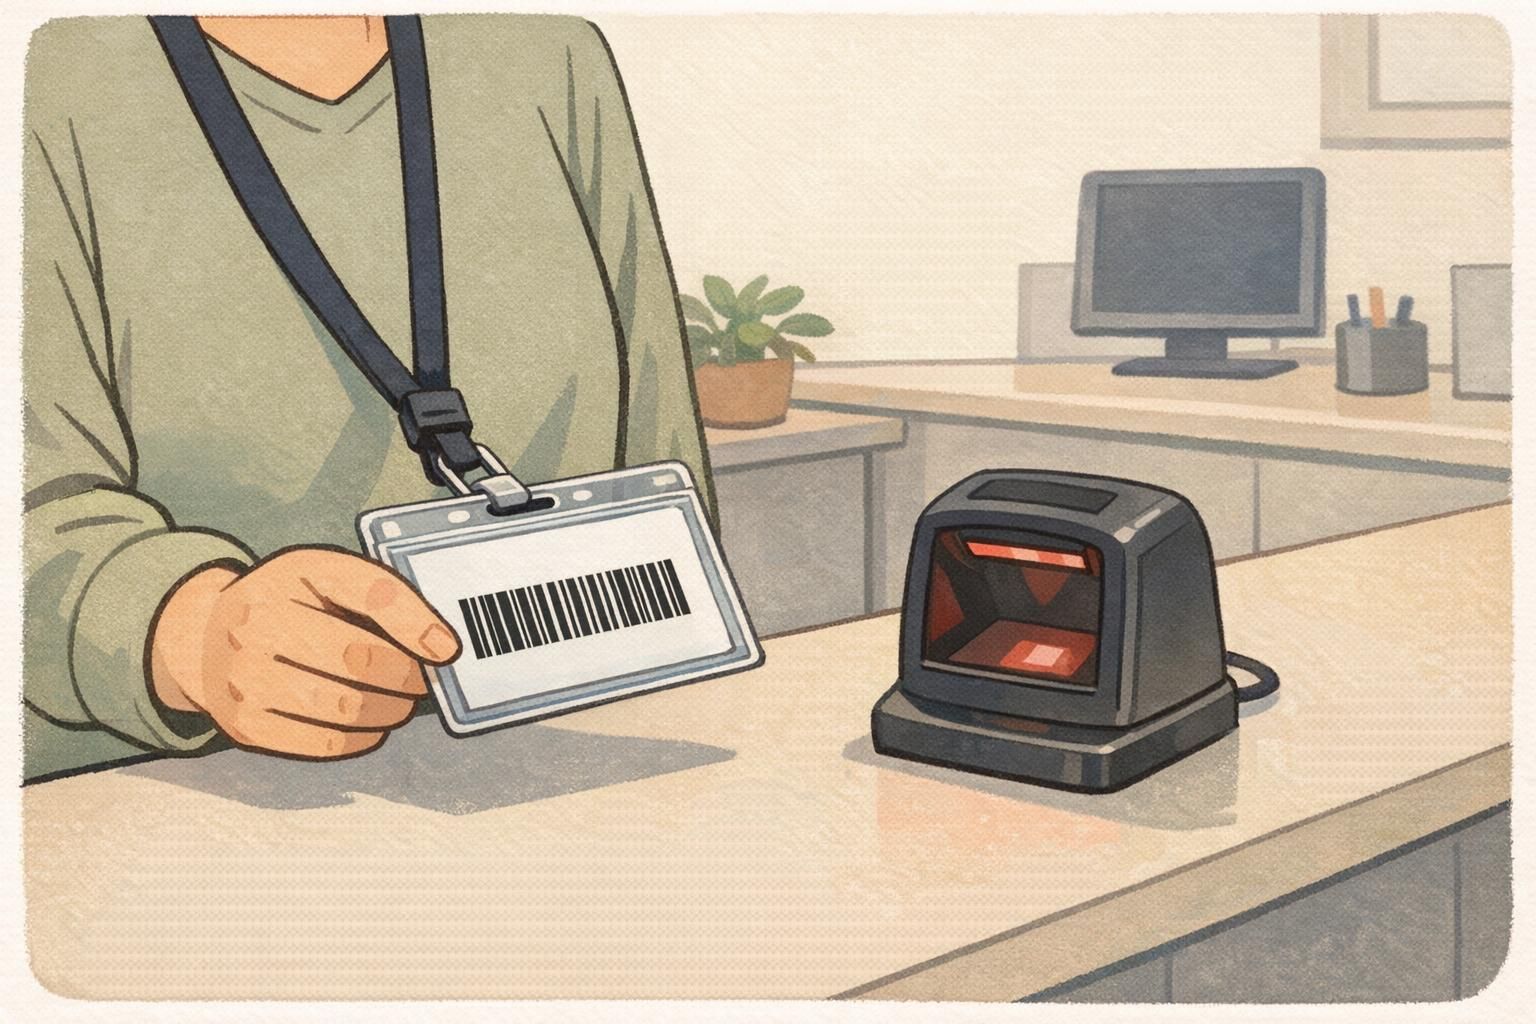
Whether you scan an exposed card or a badge inside a holder changes what the barcode surface experiences day to day. Exposed cards are more vulnerable to abrasion (desk edges, pockets, repeated handling), spills, and accidental smearing. A clear holder adds a protective layer that takes the wear instead of the printed code.
That said, not all holders behave the same. Some plastics introduce glare, and a holder that’s too tight can slightly warp the badge, especially if it’s repeatedly inserted and removed. For high-throughput environments—busy check-in lines, frequent access control, or staff who present badges dozens of times per day—a rigid, well-fitted holder with a smooth face often improves consistency over time because the barcode stays intact and flatter at the moment of scan.
Protection improves reliability when it prevents damage without adding glare or warping. The “best” setup is the one that keeps the barcode flat, clean, and easy to see in your lighting.
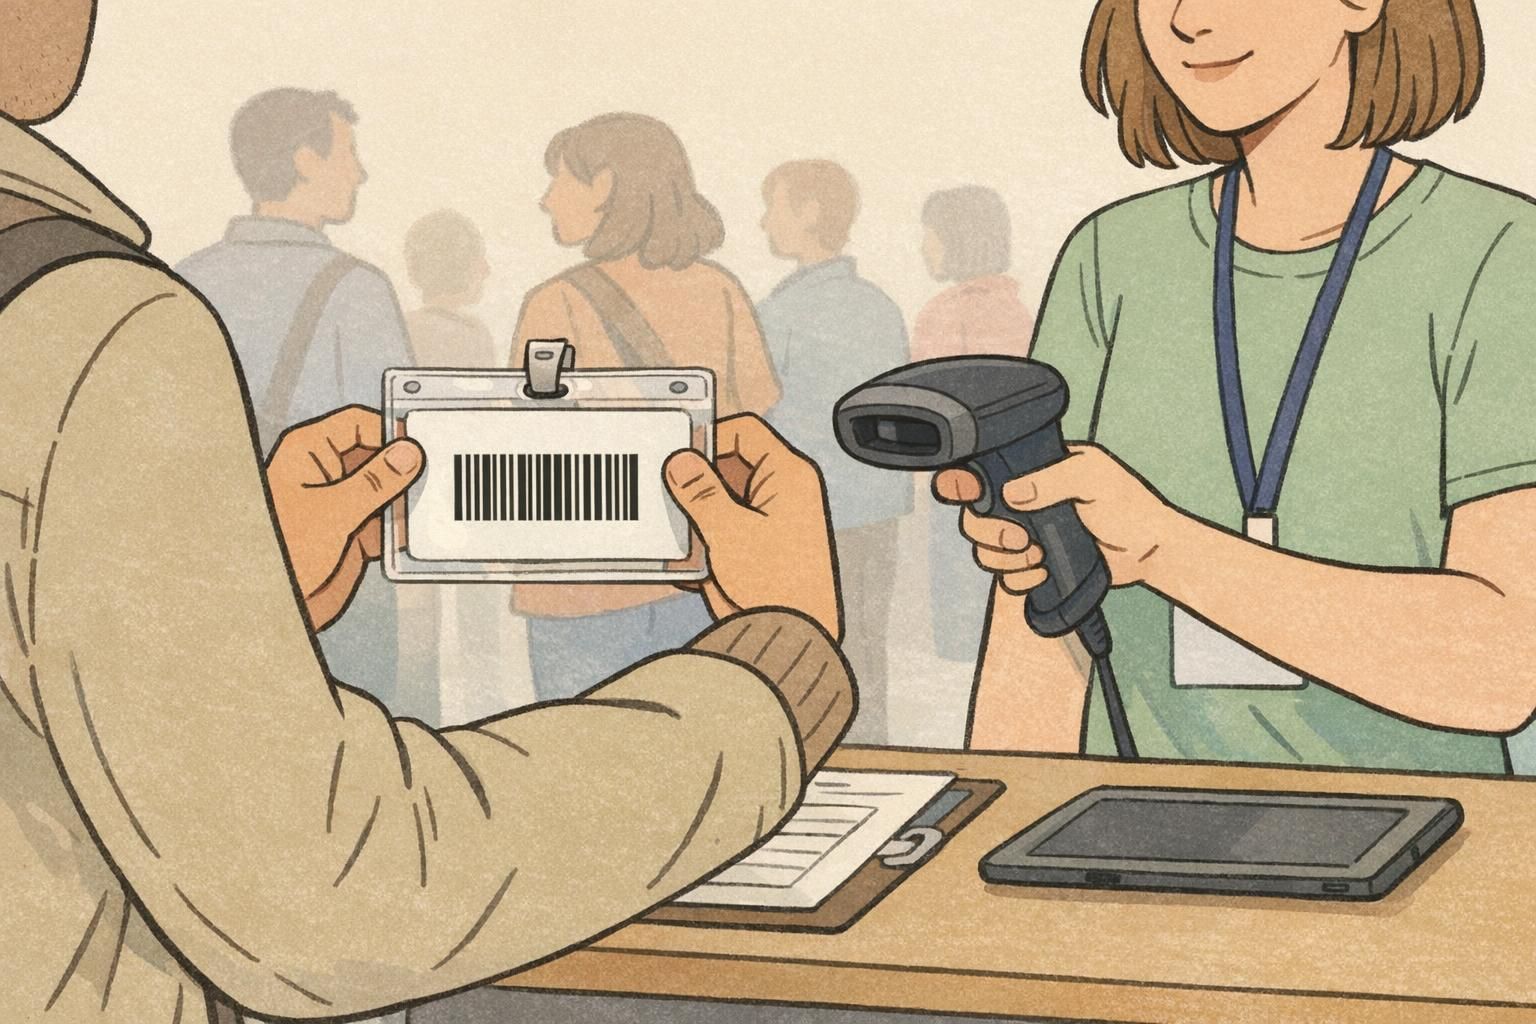
- When exposed can be fine: low-scan frequency, low-contact wear, controlled handling
- When holders help most: daily access control, time clocks, event check-in, busy reception desks
- Holder features to look for: rigid structure, clear scan face, fit that doesn’t bow the badge
Finishes and Overlays: Lamination, Matte Options, and Cleaning Reality
Finishes and overlays are your front line against smears and scratches. A protective overlay or lamination can shield the barcode from surface wear and reduce ink transfer caused by repeated contact. This matters most for badges that are handled frequently—passed to security, presented at a window, or worn where the badge rubs against clothing or a desk.
Lighting is part of the equation, too. Under bright indoor lights, glossy surfaces may create glare at certain angles, and scanners can become less consistent. Matte or low-glare surfaces often scan more predictably in those conditions, depending on the scanner type and typical scan angle. The practical approach is to choose a finish that stays readable after routine cleaning, because real badges will be wiped.
- If badges get wiped daily: prioritize a durable overlay that resists streaking
- If lighting is bright or scanners are fixed-position: consider matte/low-glare surfaces
- Avoid harsh cleaning habits: gentle wiping helps prevent residue that can blur edges
- Check your whole system: finish + holder + lighting + scan angle all interact
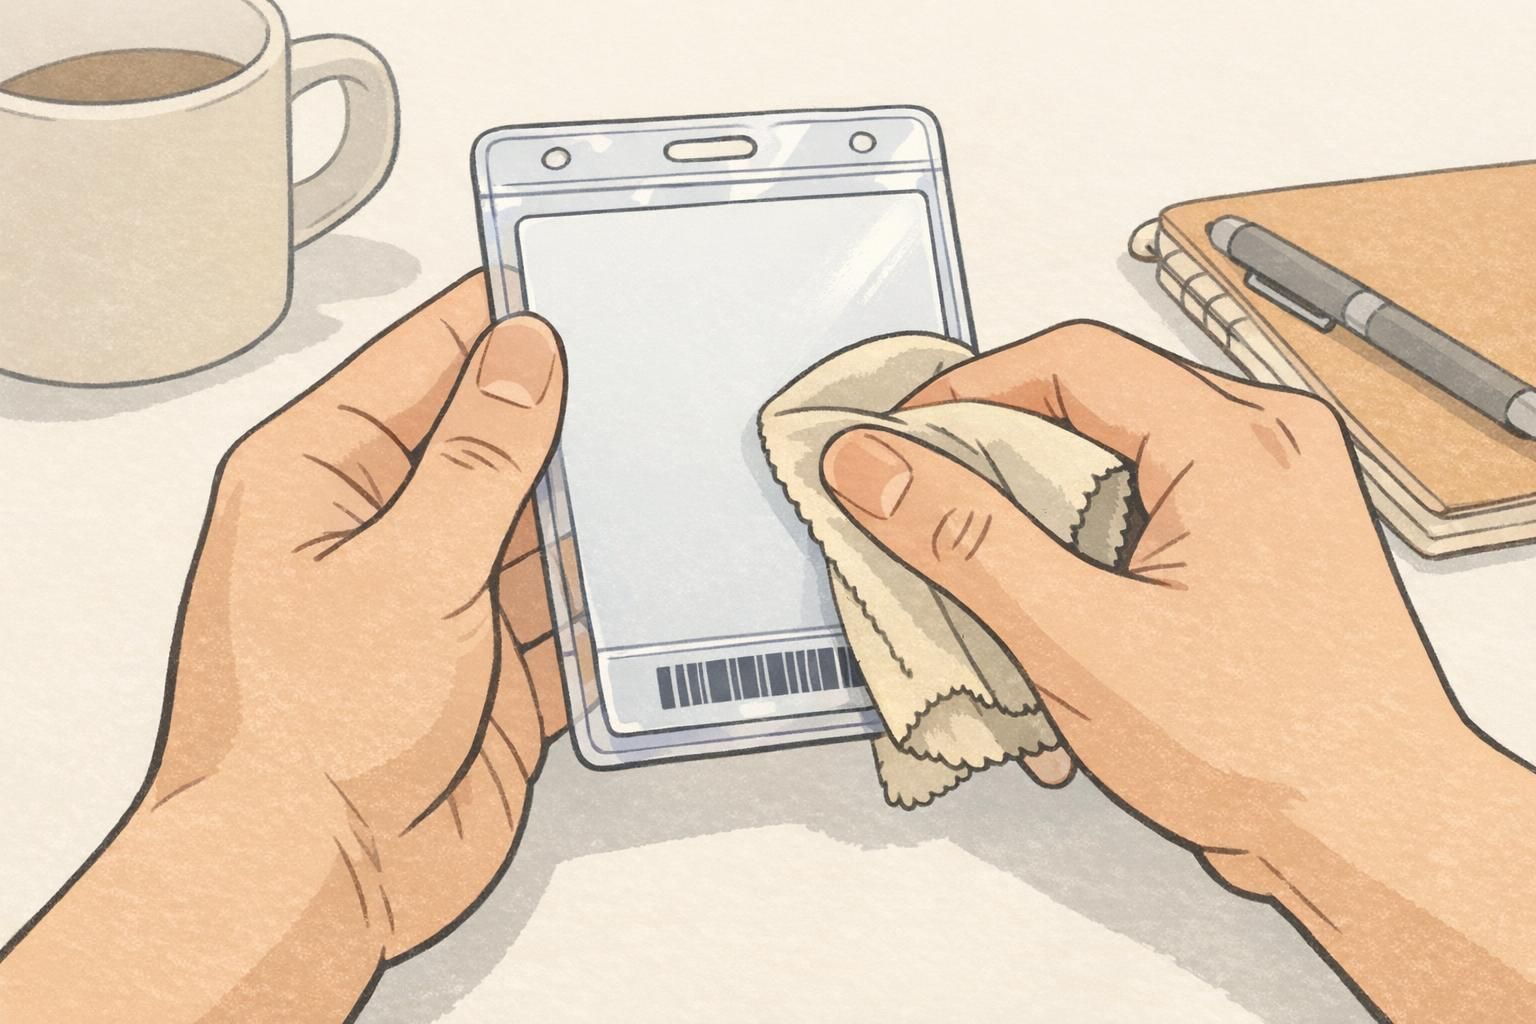
It can if it adds glare or creates surface distortion. A well-applied overlay and a low-glare finish often protect the barcode without hurting readability, especially when the badge is scanned at varying angles.
Small changes in lighting, scan angle, and reflections can matter. If one station has brighter overhead lights or a different scanner position, a glossy surface may glare more often there.
Preventing Curves and Flex: Materials, Rigidity, and Everyday Handling
Curves and flex are easy to overlook because a badge can look “mostly fine” while still scanning poorly. When a badge bows on a lanyard, bends in a pocket, or flexes near a clip, the barcode geometry changes at scan time. That can reduce reliability, especially with scanners that expect a consistent distance and alignment.
The simplest fix is mechanical: keep the badge flatter. A rigid card stock, a sturdier badge construction, or a rigid holder can prevent the subtle curvature that builds up over days of wear. This is particularly important for staff badges worn all day and repeatedly presented to fixed-position readers.
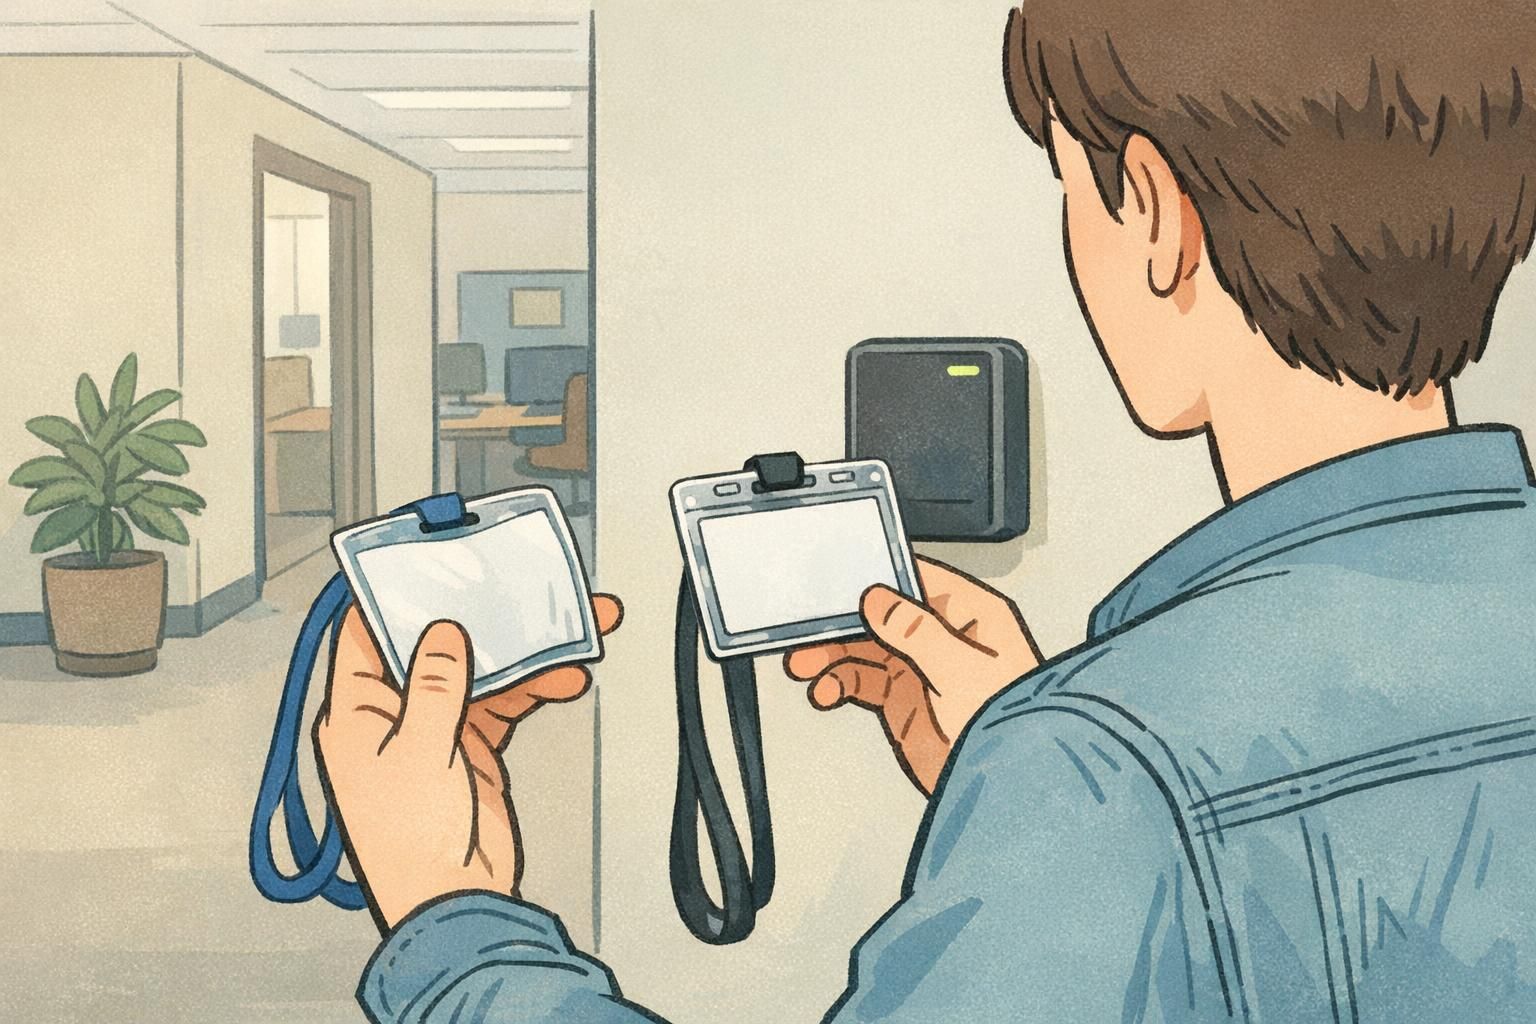
- Reduce pocket carry when possible (pockets encourage bending and curling)
- Choose a holder that supports the full card, not just the top edge
- Avoid clip points that pinch directly over the barcode area
- Store spare badges flat to prevent “pre-curving” before distribution
Barcode Scanning: Quick Test Routine Before You Print in Bulk
A short, practical barcode scanning test can prevent big headaches later. Before committing to a full print run, test the badge in the environment where it will actually be used: typical lighting, expected scan angles, and realistic handling patterns. A barcode that scans perfectly in a design proof review can behave differently at a bright lobby desk or a wall-mounted door reader.
Operationally, the goal is consistent identification with fewer errors and fewer manual workarounds. Research on barcode-based identification workflows in real settings highlights how reliability and readability support smoother processes and reduce mistakes when barcodes are used as part of daily operations (source). In other words: if you can keep the code intact and easy to read, you’re supporting the people and systems that depend on it.
- Test in your real lighting: bright lobby lights, dim hallways, and sunlight near windows
- Scan at real angles: the way people actually present badges, not “perfectly squared”
- Simulate wear: lanyard swing, desk rub, pocket carry, and repeated presentations
- Gently clean, then re-test: confirm wiping doesn’t leave streaks that slow scanning
- If scan speed drops: adjust contrast, size, badge barcode placement, or protection
If performance changes after a week’s worth of simulated wear, it’s a sign the surface protection or placement needs improvement—not necessarily the scanner.
Product Options That Help Protect Scannable Badges Over Time
When durability is a priority, pairing a well-printed barcode with a protective holder can reduce abrasion and keep the code readable longer—especially in busy workplaces and high-turnover events. The key is matching the holder style to how the badge is worn (lanyard, clip, or mixed use) so the badge stays flatter and avoids contact wear in the scan area.
If you’re exploring holder options, you can start with clear badge holders that protect barcodes and compare rigidity, fit, and how the holder face behaves under your lighting. A small pilot group is often enough to learn what stays clean and flat during real daily wear.
- For frequent scanning: favor rigid holders that minimize flex at presentation time
- For desk-facing roles: look for protection against edge rub and repeated handling
- For events: prioritize quick visibility and durability through check-in traffic
Practical Do’s and Don’ts for Long-Lasting Scannable Badges
Most scan issues are preventable with a few layout and handling choices. When you design for durability—and protect the code from the kinds of wear badges experience in the real world—you get faster scans, fewer interruptions, and a smoother experience for staff and guests.
- Do keep the barcode flat at scan time (rigid holder or sturdy badge construction helps)
- Do protect the printed area from abrasion with an overlay or a clear holder
- Do keep the code clean and high-contrast; wipe gently to avoid streaks
- Do leave comfortable quiet zones around the code for reliable detection
- Don’t place the barcode near punches, clips, magnetic fasteners, or pinch points
- Don’t put barcodes across seams, folds, or areas likely to crease
- Don’t place the barcode in corners where curl and edge wear are common
- Don’t use highly reflective, glare-prone surfaces if your lighting and scan angles make reflections likely
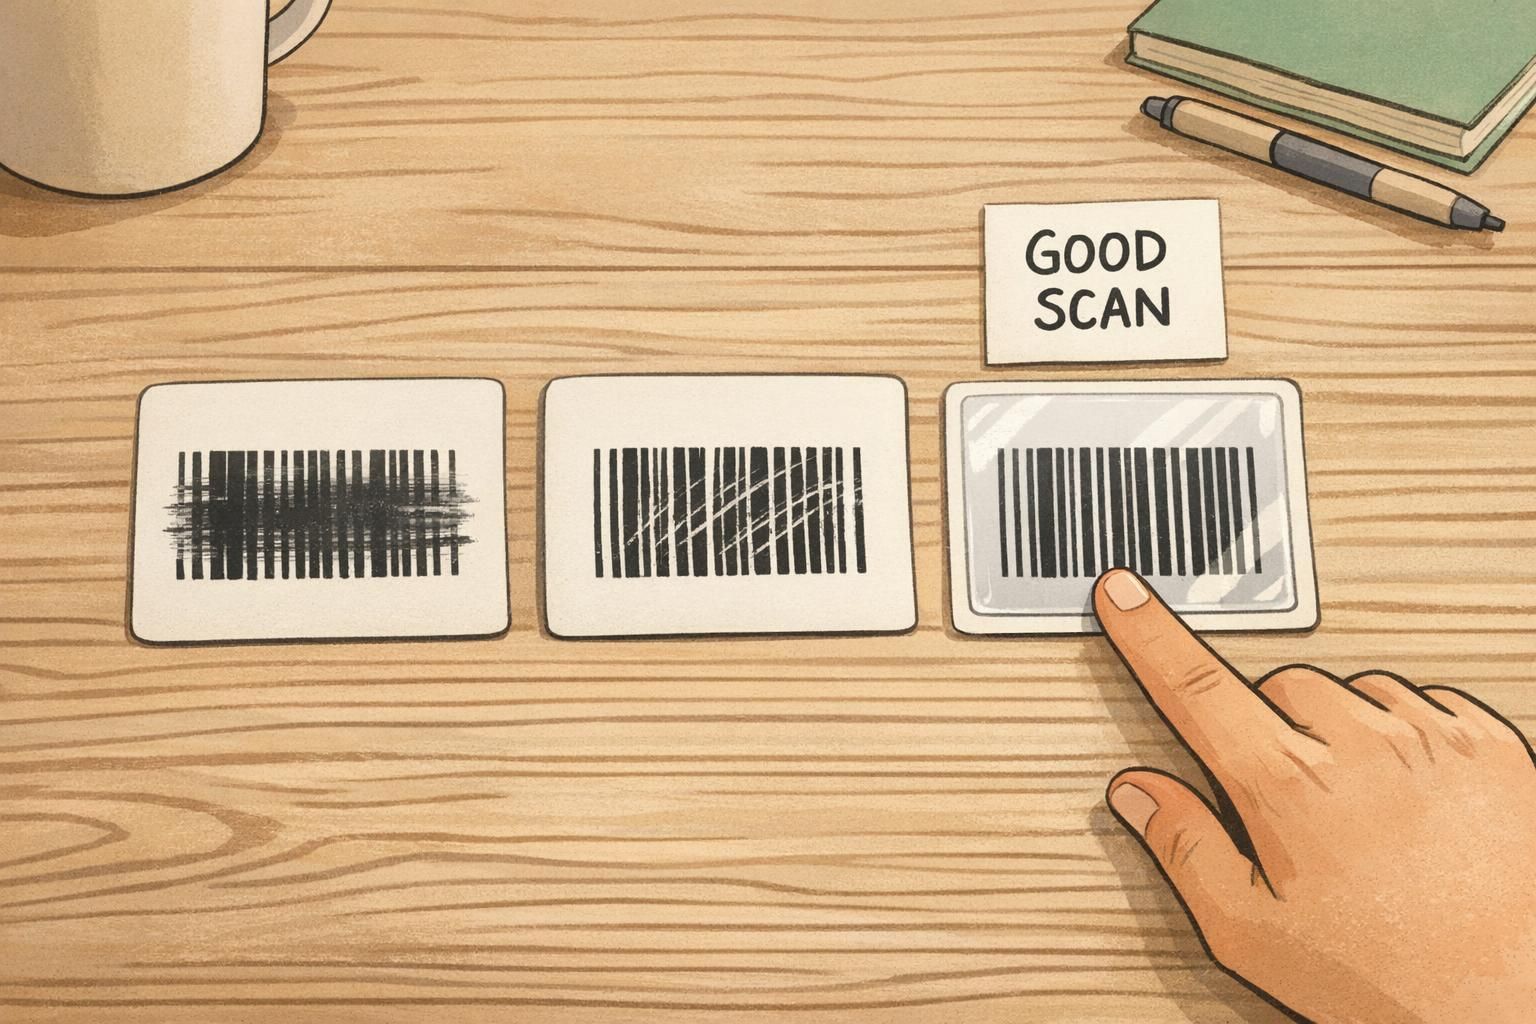
Occasional success usually signals a surface or geometry issue—glare, residue, scratches, or bending. Improving protection and placement typically produces more consistent results than relying on repeated attempts.
Protect the code from wear and keep it flat. A rigid, well-fitted holder (or a durable overlay) often delivers the biggest real-world improvement because it prevents smears, scratches, and bending from accumulating.