Prepare Badges and Accessories Before Storage
The best way to store ID cards starts before they reach a drawer or cabinet. Clean, completely dry cards are easier to protect from scratches, while dry holders and accessories help keep moisture out of the storage space. A few careful preparation steps also make supplies easier to check and issue when someone needs identification.
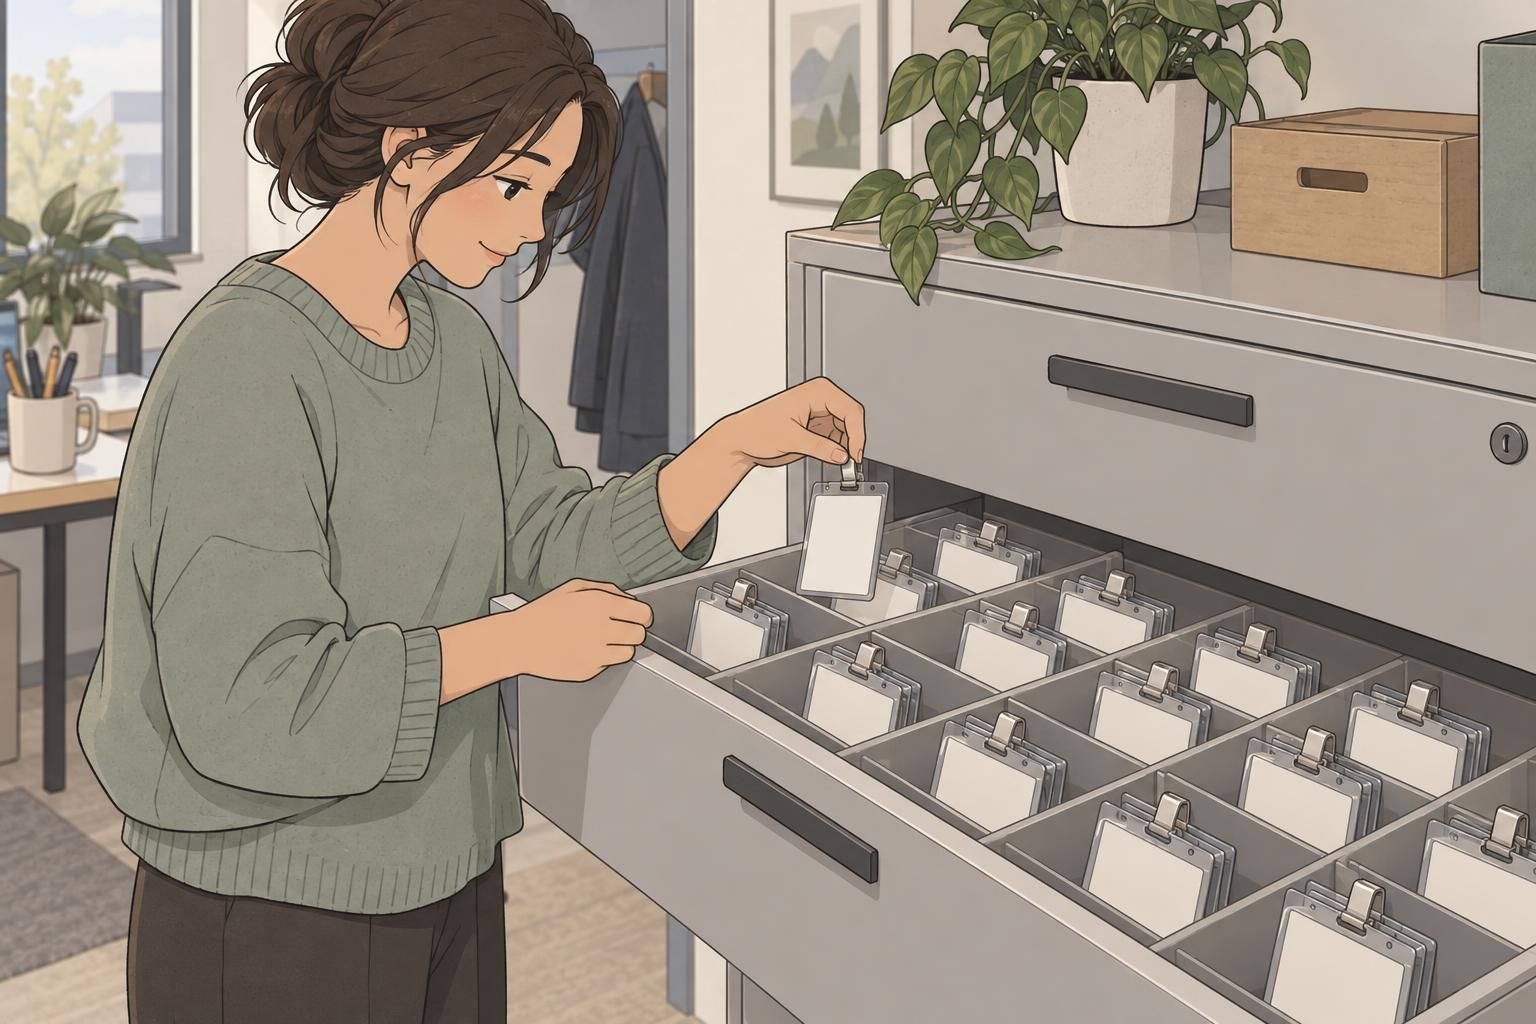
Handle each card gently and wipe away dust or fingerprints with a soft, dry cloth. Avoid harsh cleaners that could damage the card’s finish. Check the holder as well: placing a clean card into a dusty compartment leaves it in contact with the very material you meant to remove.
- Set aside a clean, uncluttered surface for preparing cards and accessories.
- Wipe cards carefully with a soft, dry cloth rather than rubbing them against clothing or other supplies.
- Check holders, clips, and lanyards, and let any damp accessories dry completely before putting them away.
- Separate visibly damaged items from ready-to-issue supplies so staff can review their condition.
Preparation should leave every item ready for its assigned space. Avoid placing loose clips or other hard accessories against card faces while sorting. Keeping cards and hardware apart from the beginning makes the rest of the storage process simpler.
Store ID Cards to Prevent Warping and Scratches
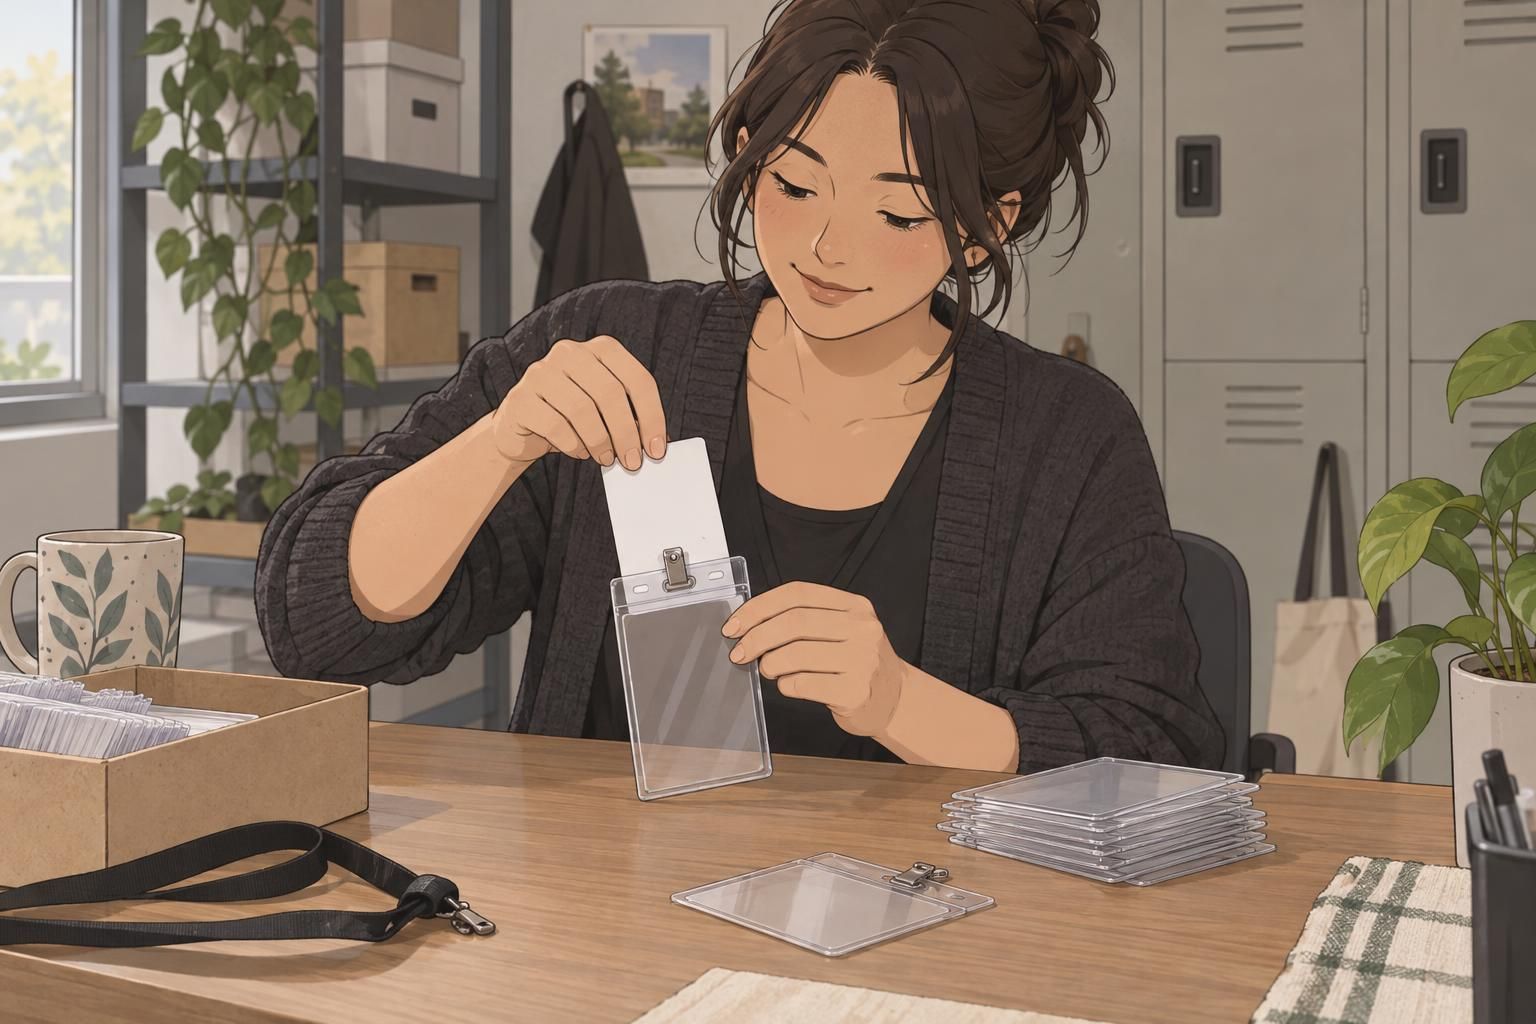
Give each card its own sleeve or compartment and keep it flat. The goal is to prevent bending and stop card surfaces from rubbing against one another. A shared drawer may look tidy from above, but loose cards can still slide against adjacent cards, clips, or other supplies whenever someone searches through it.
How to store ID cards without crowding them
Choose shallow containers with nonabrasive dividers so each card has a clear place. Leave enough room to remove one item without shifting or squeezing the others. If a card is stored inside a holder, arrange the holder so its clip does not press against a neighboring card.
- Keep cards flat rather than bent against a container wall or forced into a short compartment.
- Use separate sleeves or compartments to prevent surface-to-surface rubbing.
- Avoid overpacking trays, even when there appears to be room for another handful of cards.
- Keep heavy supplies off the storage box and away from exposed cards.
- Return each card to its assigned space instead of laying it across other stored items.
A useful storage check: can you remove one card without bending it, scraping it against hardware, or disturbing neighboring cards? If not, give the items more space.
Organize Badge Accessories by Type and Material
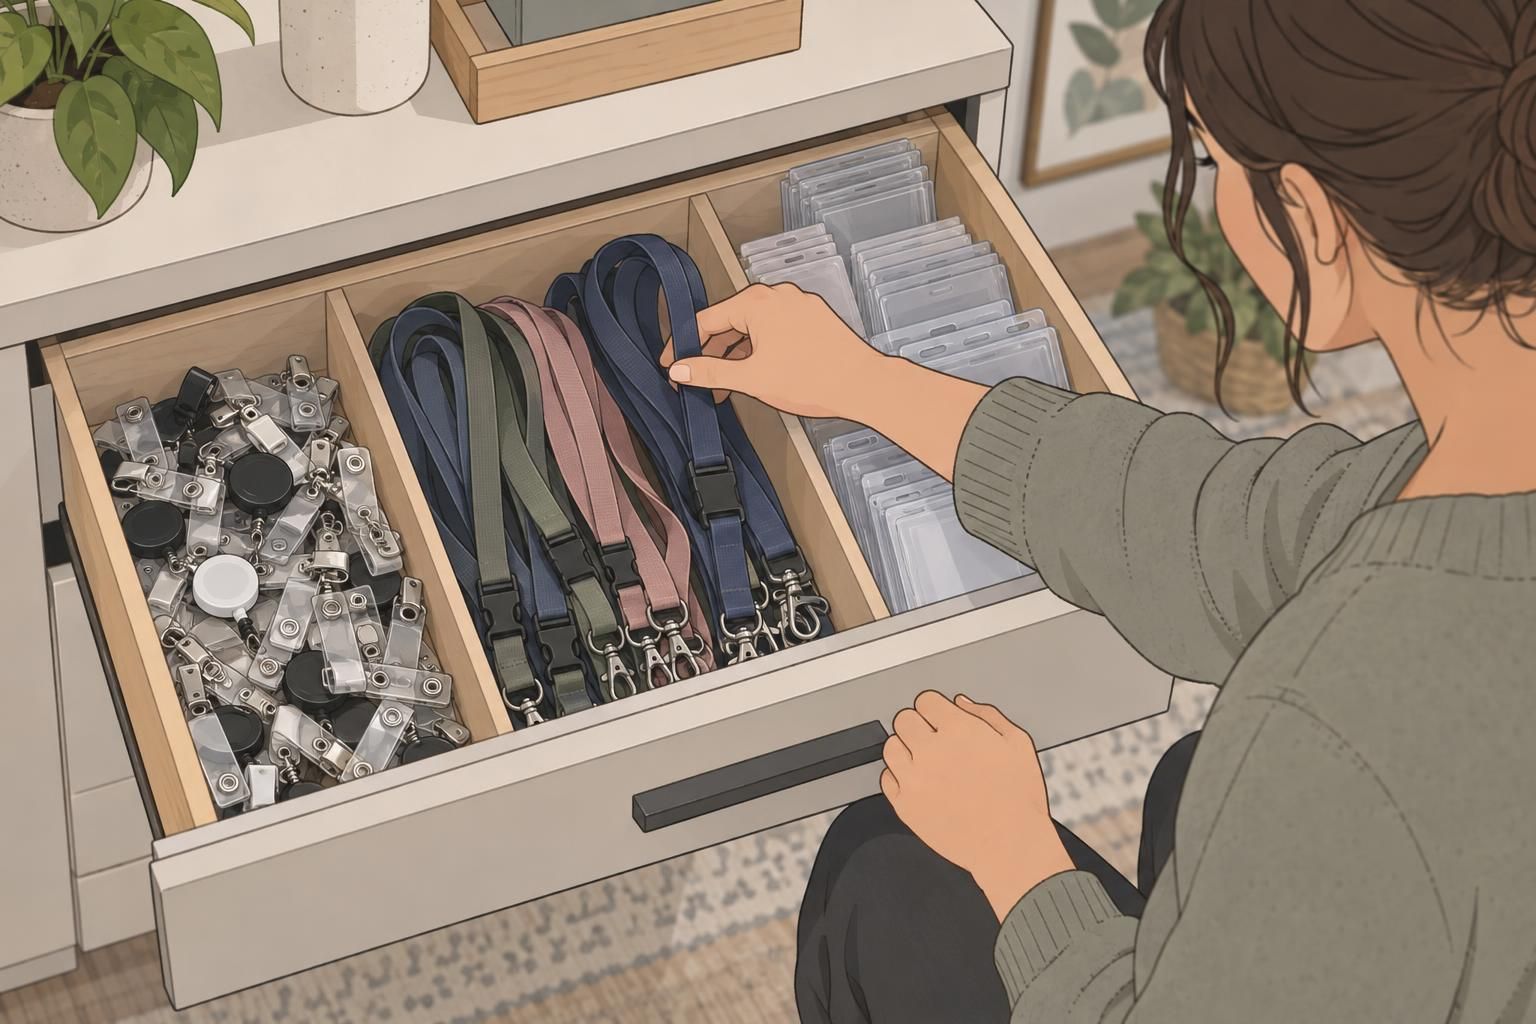
A consistent badge accessory storage system protects supplies while making everyday requests easier to handle. Sort holders, clips, lanyards, and other accessories into separate groups. Then divide those groups by material where useful, rather than mixing cloth items, hard hardware, and electronic accessories in one container.
Keep cloth accessories flat and free from unnecessary folds. Give clips their own compartment so they do not rub against clear holders or card surfaces. Store electronic accessories in a clean, dry place away from moisture and temperature extremes. The same basic principle applies throughout: each item should be easy to retrieve without disturbing unrelated supplies.
- Holders: group them together in dedicated compartments, separate from loose hardware.
- Clips: contain them in their own divided space for quick access.
- Lanyards and other cloth accessories: lay them flat without crowding.
- Electronic accessories: assign a clean, dry compartment in a stable storage location.
Organize around the way staff issue identification. If a request usually involves a card, holder, and lanyard, keep their separate compartments near one another. This shortens the search without sacrificing the separation that protects individual items.
Set Up Spare Badges for Quick, Secure Issuance
Spare badges should be easy for authorized staff to find without being left openly accessible. Group them by type or role in clearly identified compartments. Keep operational badges in a locked cabinet or drawer, with each card still flat and separated from neighboring cards.
Use an issue-and-return record to make distribution accountable. Record which badge was issued, who received it, when it went out, and when it came back. This gives staff a practical way to distinguish available supplies from items currently in use, rather than relying on memory or an empty space in a tray.
- Locate the correct badge group using the compartment label.
- Remove one badge without disturbing the remaining cards.
- Retrieve the appropriate holder, clip, or lanyard from its separate compartment.
- Record the issue before handing over the identification.
- On return, check condition, clean and dry as needed, and update the record before storing.
Keep items awaiting review apart from ready-to-issue spare badges. A returned badge with a visible surface change should not disappear into the available group before someone checks it. This simple separation keeps quick issuance from becoming a hurried search through mixed-condition supplies.

Choose a Stable Storage Location
Where you store ID cards matters as much as how you divide them. Choose a dry, climate-controlled area away from direct sunlight, heat sources, and vents. Avoid damp basements and attics, where storage conditions may be less stable. A convenient shelf is not a good choice if it exposes supplies to heat, moisture, or strong light.
Closed drawers and cabinets help limit light exposure. Inside them, use protective sleeves, nonabrasive dividers, and suitable containers to keep items separated. For paper-based storage boxes or dividers, acid-free materials are a useful preservation consideration. These broader principles—climate control, low-light storage, acid-free containers, and separation—are reflected in preservation guidance for military items from the American Library Association’s Government Documents Round Table (source).
Apply that guidance as a general storage framework, not as a card-specific material specification. Protective materials and a stable location work together: a divided box cannot compensate for a damp room, and a dry cabinet does not prevent scratches if cards are loose inside it.
Choose the location first, then organize the contents: dry, climate-controlled, shaded storage provides the foundation for flat, separated cards and orderly accessories.
Label and Inspect the Storage System
Labels make an organized system usable by more than the person who created it. Give each drawer, tray, or compartment a clear identifier, and maintain an inventory that records the item type, condition, and exact storage location. Use matching location names in the inventory and on the storage compartments.
Inspect stored supplies periodically rather than assuming closed storage will remain problem-free. Look for moisture, corrosion on hardware, mold, pests, and changes to card surfaces. Also check whether crowded compartments or misplaced accessories are allowing cards to bend or rub against other items.
- Confirm that cards remain flat, dry, and individually separated.
- Check accessories for visible damage, moisture, or corrosion.
- Compare stored quantities and locations with the inventory and issue-and-return record.
- Separate affected items for review and address environmental problems promptly.
- Restore labels and dividers when supplies have drifted into the wrong compartments.
The most effective badge accessory storage system is one staff can maintain during ordinary work. Clean items before storage, give every card a protected space, and keep records current. Together, these habits help preserve identification supplies and keep spare badges organized for the next issue.