
Why scannable codes belong on badges
A QR code badge connects a visible piece of identification with a digital task. At an event, that might mean checking in an attendee, opening a networking link, or finding the correct registration record. In a workplace, it can support an identification workflow while leaving the person’s name and other essential details readable.
The right design starts with what happens after the scan. A code that opens a link on a phone has different practical needs from one read by a handheld registration scanner. Think about who will scan it, which device they will use, and whether the wearer will hold the badge or leave it hanging from a lanyard.
A barcode ID card is another option when an existing workflow calls for a linear code. In either format, scan reliability depends on the complete design: code size, clear space, placement, print surface, and the conditions in which people actually use it.
QR code badge sizing and quiet zones
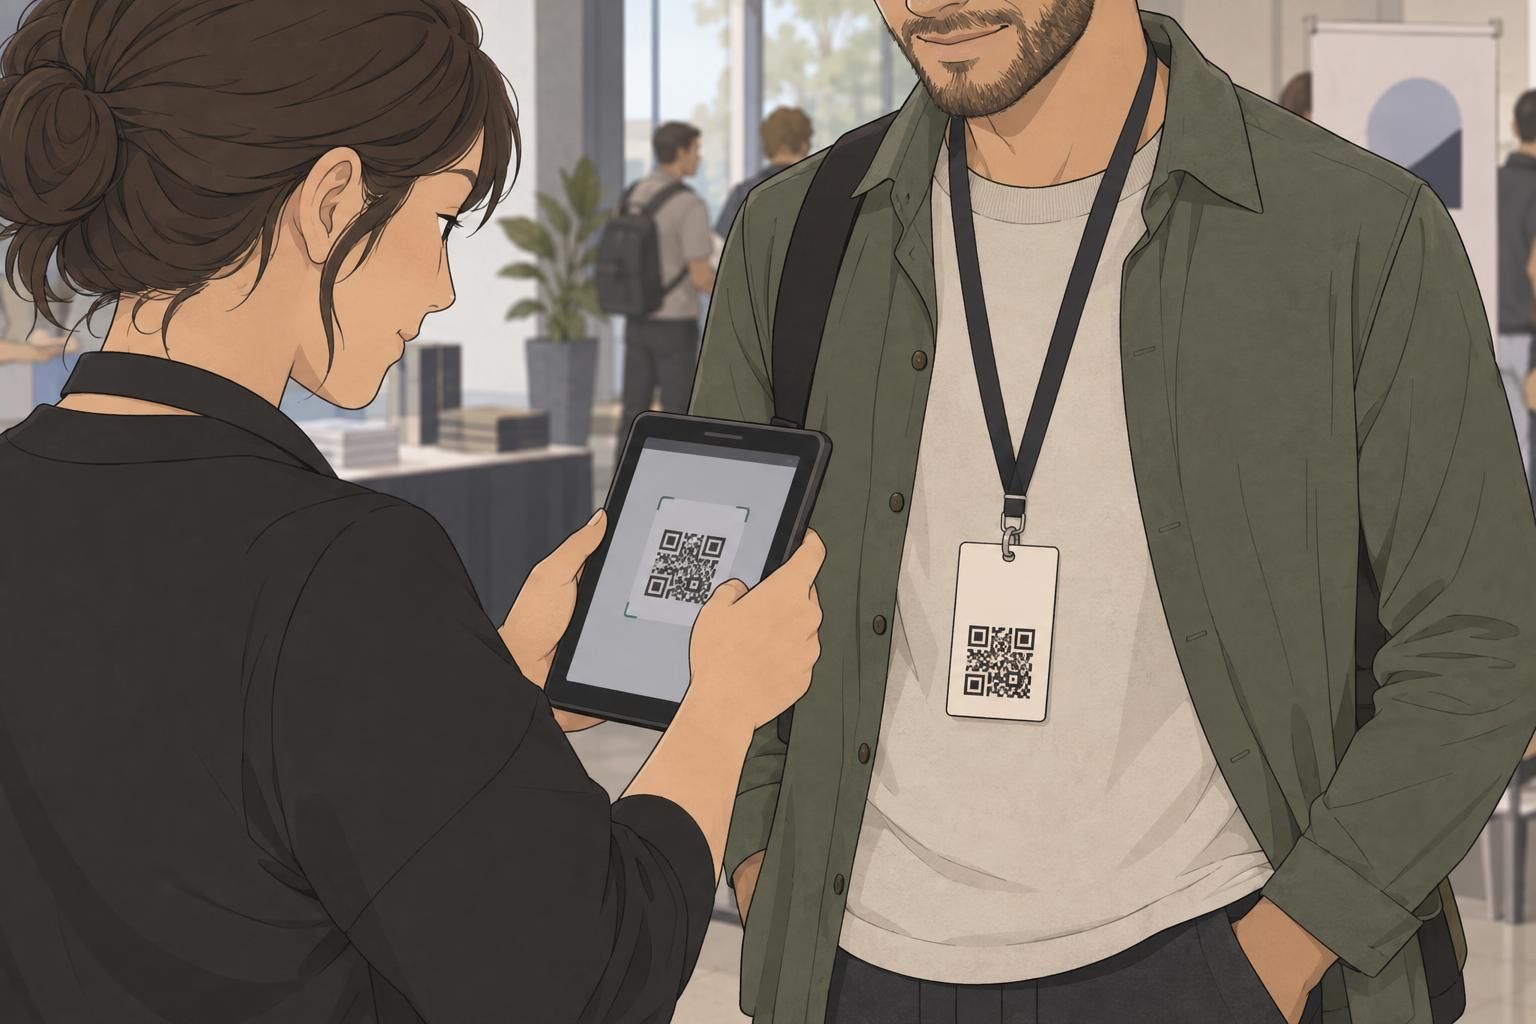
Choose QR size around the expected scanning distance, rather than fitting the code into whatever space remains. Around 20–25 mm can suit close-up scans on a credit-card-sized ID badge. For event scans at arm’s length, 30–50 mm can be a practical target. These are starting points, not guarantees: the intended reader and the amount of information encoded still matter.
For practical badge-size guidance, see this source. Confirm the dimensions by testing a printed sample at the intended scanning distance. A code that reads when held near a phone may not work as comfortably when a registration worker scans it while it hangs on someone’s chest.
Allow a quiet zone of at least four modules on every side. A module is one of the small square units that make up the code. This means the required margin is measured relative to those squares, not as a fixed border that works for every design. Reserve space for both the code and its quiet zone when planning the layout.
- Keep text, logos, decorative graphics, and printed borders outside the quiet zone.
- Leave enough clearance that a punch, slot, or holder edge cannot intrude into the blank margin.
- Check the finished print size rather than judging dimensions from a zoomed-in screen preview.
- Retest if the code size or encoded information changes.
Place the code where scanners can reach it
Front placement makes a code available without asking the wearer to turn the badge over. The lower half or a flat side panel can provide a useful scanning area while keeping the person’s name prominent. Treat the code as its own layout element, with space to approach it using the intended phone or reader.
Reverse placement can preserve more room on the front for identification details. The trade-off is access: someone may need to turn the badge before every scan. Consider what happens if the badge rotates on its lanyard. Will the scanning side remain visible, or will staff repeatedly need to ask wearers to find it?
Keep the entire code and its quiet zone away from lanyard slots, clips, punches, rounded corners, folds, and seams. A layout can look clear before finishing but become crowded once a clip or holder is in place. Review placement on an assembled sample worn in its normal position, not only on a flat design proof.

Build contrast and material into the design
Dark code modules on a light, plain background are a dependable design starting point. Keep dense graphics away from the scanning panel so the code has a clearly defined area. A matte surface is preferable where possible because reflections can make the printed pattern harder for a device to read.
Consider the whole surface the scanner will see. A matte badge inside a reflective sleeve still needs testing in that sleeve. Likewise, lamination can change how light falls across the code. Check whether the wearer or scanner operator must tilt the badge repeatedly to avoid glare; that is a useful sign to revisit the finish or layout.
Keep the encoded payload focused. A long URL or an information-heavy payload can create a denser pattern, making small printed details more demanding to read. Use a short attendee ID or URL where the workflow allows it. Add a readable, human-friendly fallback, such as a printed attendee reference, so staff have another way to find the right record.
Protect the scanning panel as a complete unit: a clear code, strong contrast, an uninterrupted quiet zone, and a surface that works under the expected lighting.
When a barcode ID card may be the better fit
QR codes and linear barcodes serve related purposes, but the intended reader should guide the choice. A QR code can suit phone-based links and networking. A barcode ID card using a linear format such as Code 128 may fit a registration or access-control workflow already built around dedicated readers.
The layouts differ, too. A linear barcode needs enough horizontal space for its bars and clear margins at both ends. A QR code needs a square area with a quiet zone on all four sides. Neither should be squeezed into a narrow leftover space or placed where a holder covers its required margins.
Orientation also deserves attention. Check how the intended reader handles a badge that is slightly tilted or turned, rather than assuming every device reads both formats in the same way. Before committing to either option, confirm that the actual scanner supports the chosen format and test it in the position staff will use.

Test scan reliability before production
Proof the QR code badge at its final print size using the intended badge stock, holder, and finishing. A successful scan from a screen is not a substitute for testing the physical badge. The goal is to check the same combination of code, material, device, and handling that people will encounter during use.
- Print a final-size sample and check that the code and quiet zone remain clear.
- Use the actual phones and handheld readers intended for badge scanning.
- Start at the expected scanning distance, then check realistic variations in distance and angle.
- Test rotation and the badge’s normal position while worn, including any tendency to turn.
- Check venue lighting and reflections rather than relying only on ideal desk lighting.
- Confirm that each code opens the correct destination or resolves to the correct attendee record.
- Repeat the checks after lamination or sleeve insertion.
If a sample needs repeated repositioning, identify the cause before production. Try adjusting size, placement, contrast, payload length, or the surface, then test again. Change one factor at a time where practical so you can see what helped. Include the human-readable fallback in the review to confirm it remains useful if a scan does not complete.

Choose a badge format for the scanning workflow
Choose the badge format after establishing how scanning will happen. A compact ID badge may suit close-up use, while a larger event badge can provide room for an arm’s-length code, its quiet zone, and readable identification details. The aim is to give each element enough space without making the wearer’s name harder to find.
Decide whether the scanning side needs to remain consistently visible. A front-facing layout can reduce handling during repeated check-ins; a reverse-side layout can work when turning the badge is a comfortable part of the process. In either case, choose a holder that leaves the entire scanning panel unobstructed and check the layout with its actual attachment.
A well-planned QR code badge brings the physical design and scanning workflow together. Start with the task and reader, reserve adequate space, protect contrast and margins, and test the finished assembly. Those decisions support dependable scanning while preserving the badge’s everyday purpose: helping people identify one another clearly.