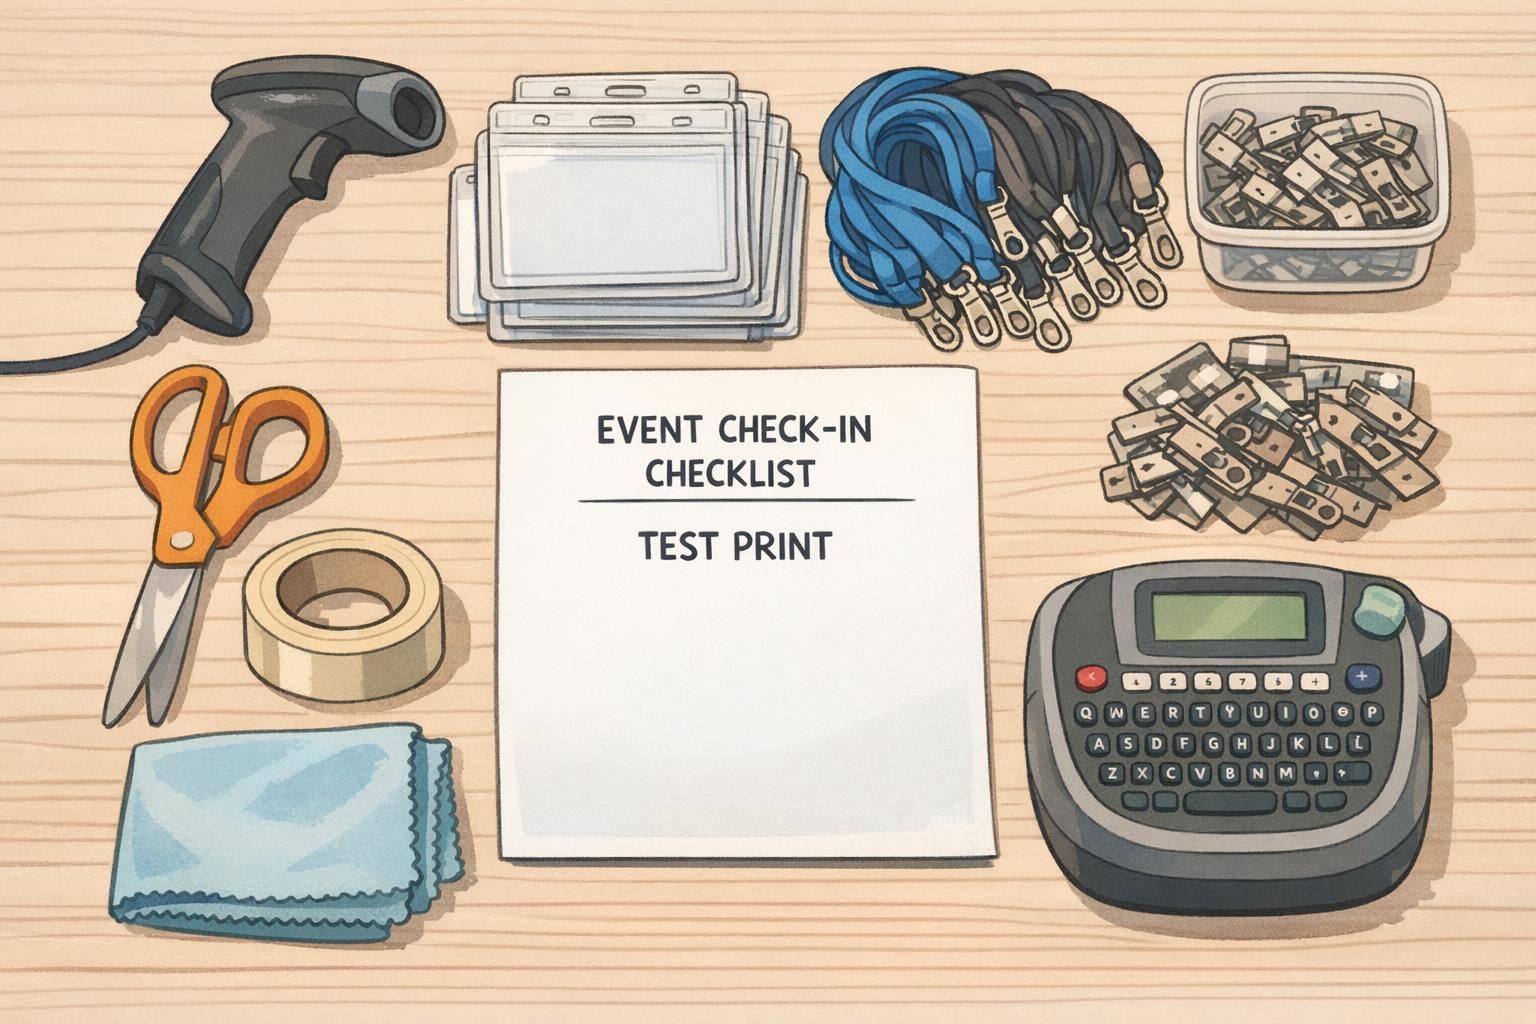
Badge Printing Kit: 17 Essential Items to Pack for On-Site Event Badge Printing
Quick Checklist Overview for Your Badge Printing Kit
A reliable badge printing kit is more than “bring a printer and hope for the best.” It’s a complete, repeatable system that lets you print, hand off, and reprint badges smoothly—even when arrivals spike, Wi‑Fi wobbles, or a ribbon runs low. When you pack intentionally, you reduce lines, avoid awkward delays at check-in, and help attendees feel welcomed and properly identified from the first minute.
Use this event-day checklist to pack by category (equipment, consumables, power, connectivity, setup, troubleshooting) so nothing critical gets left behind. You’ll also see where backups matter most, what to test before doors open, and what should live at the check-in table for fast, error-free handoffs.
- Core hardware (Items 1–4): printer, computer, scanner, input controls
- Badge stock and consumables (Items 5–7): blank stock, ribbon/ink, test badges
- Wearables and presentation (Items 8–10): holders, lanyards, clips and add-ons
- Power and charging (Items 11–14): cords, protection, extensions, backup power
- Connectivity and data (Items 15–16): internet options and offline backup files
- Troubleshooting and setup (Item 17 + small tools): cleaning, spares, station organization
If you can’t reprint a badge in under two minutes during peak check-in, the issue is usually missing supplies, unclear station layout, or an untested workflow—not the printer itself.
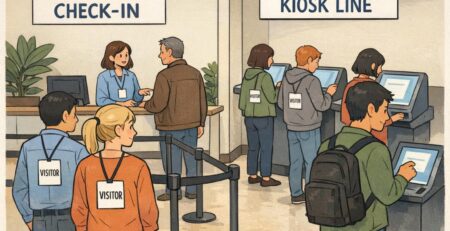
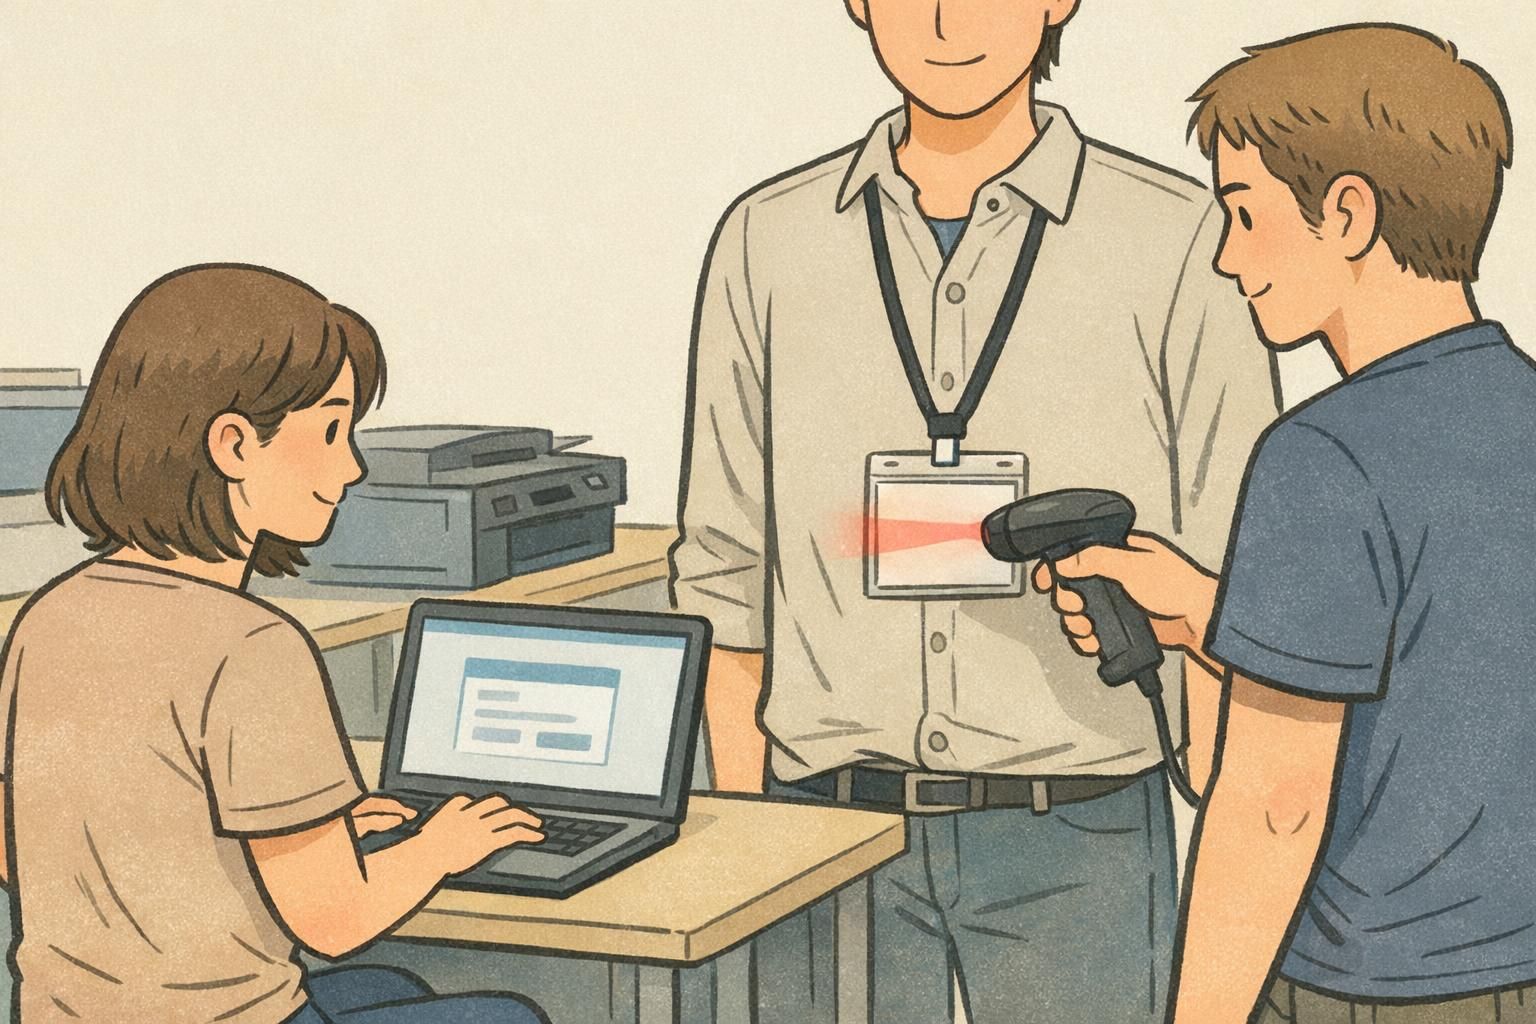
Core Hardware: Print, Scan, and Check In Without Bottlenecks
Your core hardware is the “engine” of check-in. The goal is simple: one person can look up an attendee, confirm details, and trigger printing without switching devices, hunting for cables, or losing time to software prompts.
Pack your essentials as a set, and assume you’ll need to operate at peak speed for at least 20–40 minutes when most attendees arrive. Small comfort and ergonomics items (like an external mouse) can matter more than you expect when you’re doing repetitive check-in actions all morning.
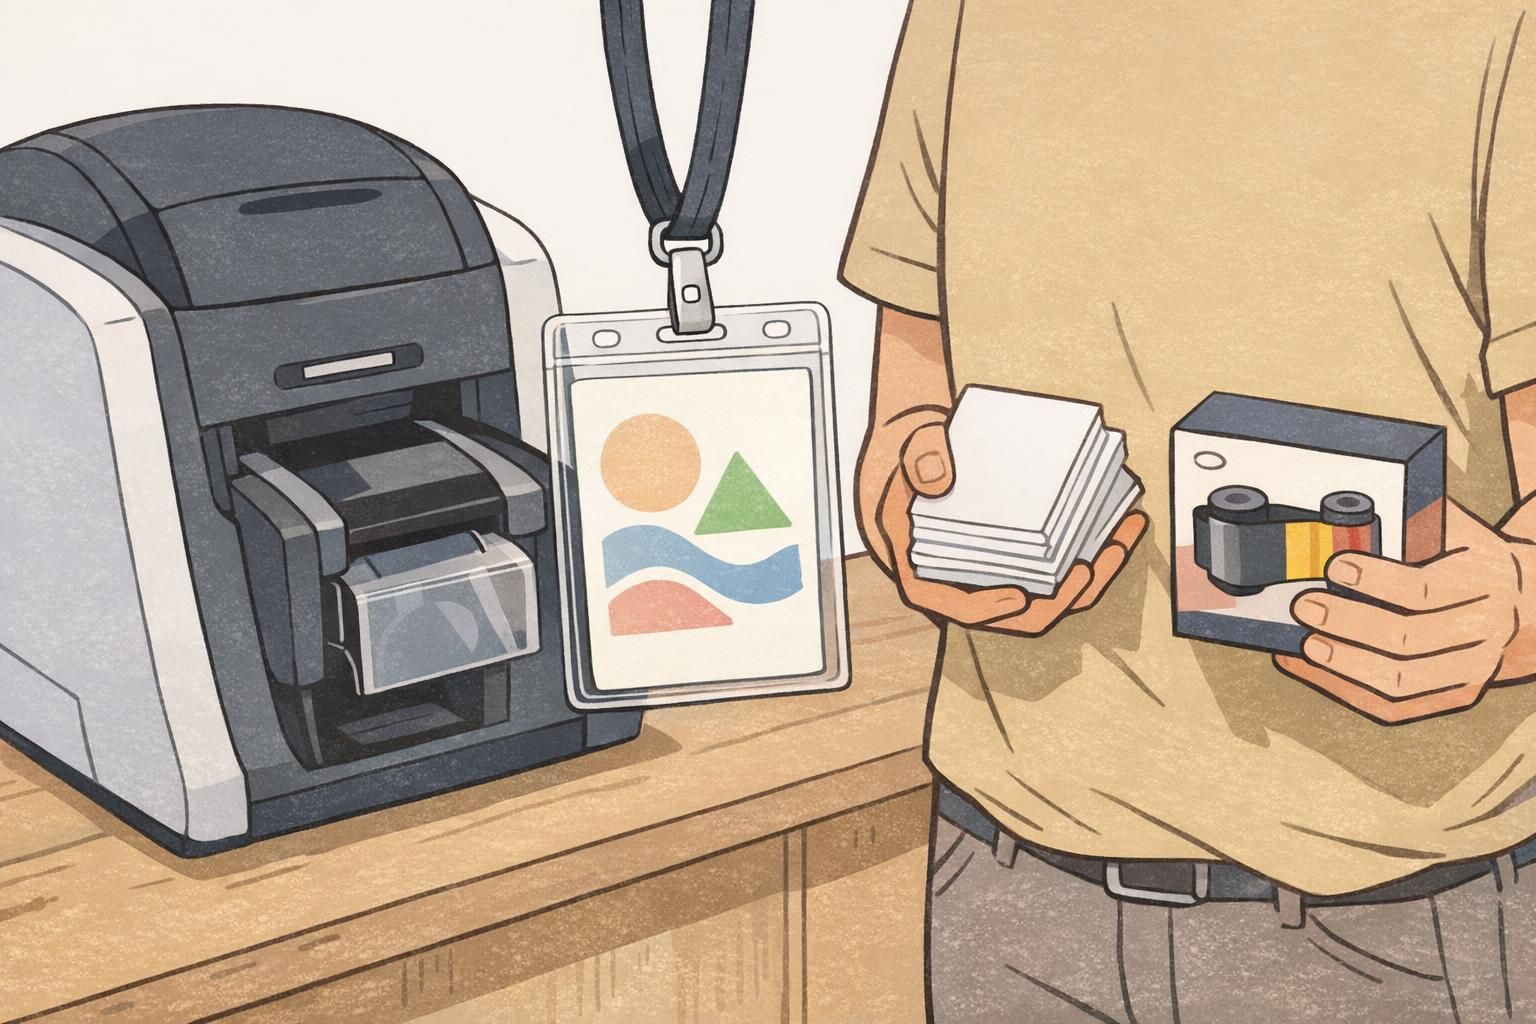
- Item 1 — Badge printer: Bring the unit you’ve tested with your badge stock and template, plus any printer-specific accessories you normally use.
- Item 2 — Laptop or tablet running registration + badge software: Confirm the right apps, drivers, and permissions are already installed and working.
- Item 3 — Barcode/QR scanner (if your workflow uses quick lookup): Scanning can instantly pull the record and trigger printing, which reduces typos and speeds the line.
- Item 4 — Keyboard + mouse (and a small stand if needed): Faster input, fewer mistakes, better ergonomics—especially during peak arrival waves.
Not always, but a scanner can dramatically reduce lookup time and name-entry errors when you have lots of walk-ups, last-minute changes, or long attendee lists.
If check-in is mission-critical and you can support it, a backup computer (even an older one with templates and the roster loaded) is one of the most effective redundancies you can bring.
Badge Stock and Consumables: Cards, Labels, Ribbons, and Reprint Buffer
Consumables are where on-site printing plans most commonly break. Running out of blank stock or using the wrong ribbon/ink turns a smooth check-in into a bottleneck fast. Pack for your expected attendance, then add a practical buffer for misprints, edits, damaged badges, and last-minute registrants.
It also helps to think in “reprint capacity.” Even a well-run event will have name corrections, role changes, or a badge that gets wet or bent. If your kit supports quick reprints, attendees stay identified and staff don’t have to improvise.
- Item 5 — Badge stock (cards or label rolls): Pack for projected attendance plus extra for reprints and walk-ups.
- Item 6 — Correct ribbon/ink/toner for your printer model (plus one extra for long/high-volume events): A spare is cheap compared to downtime.
- Item 7 — Test badges (a small, separate set): Use them to confirm alignment, color, and scannability before attendees arrive.
Keep your “reprint buffer” physically separate from your main stack. That way you don’t accidentally burn through your safety margin during the first rush.
Wearables and Presentation: Holders, Clips, and Lanyards for Immediate Use
Printing is only half the job. The moment a badge comes off the printer, attendees need a clean, comfortable way to wear it—without staff scrambling to find the right holder size or detangling a pile of lanyards.
If you use role identification (like staff vs. speaker vs. vendor), this is also where a little organization goes a long way. Pre-sorting accessories and role add-ons keeps distribution orderly and prevents mix-ups at the registration desk.
- Item 8 — Badge holders (matched to your badge size and orientation): Vertical and horizontal holders are not interchangeable in a busy line.
- Item 9 — Lanyards: Pack enough for attendance plus extras for replacements; keep them pre-bundled to prevent tangles.
- Item 10 — Clips/pins and any role add-ons (such as badge buddies or color-coded elements): Pre-sort by role so check-in stays fast.
If you want a consistent, event-ready look, you can standardize your printed pieces and accessories together—many teams pair their onsite workflow with pre-designed event badges and name tags so check-in staff can focus on accuracy and speed rather than last-minute formatting.
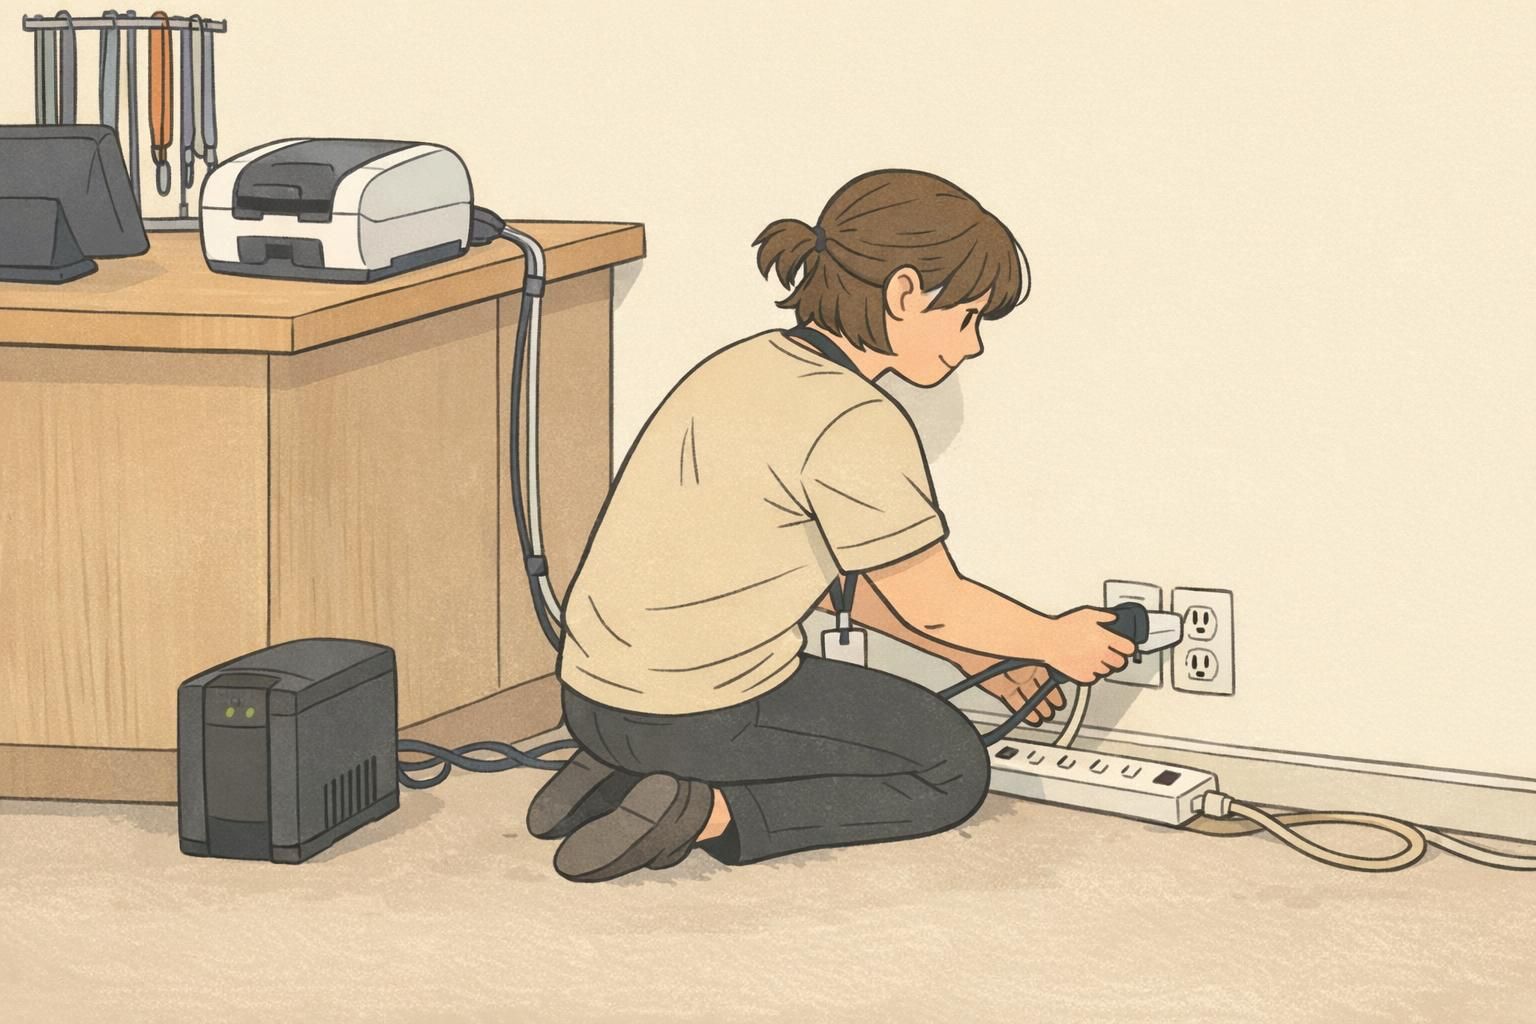
Power and Charging: Cords, Surge Protection, and Backup Plans
On-site printing often fails because of power issues, not printing issues. Outlets are in the wrong place, cords are missing, circuits get bumped, or a brief power dip resets equipment at the worst possible moment. Treat power like its own packing category—and bring more options than you think you’ll need.
- Item 11 — Printer power cord: Pack the exact one that fits your model.
- Item 12 — Laptop/tablet charger: Include the wall adapter and any dongles needed.
- Item 13 — Power strip + extension cord: Lets you build a functional station even when outlets are inconvenient.
- Item 14 — Surge protector (and ideally a small UPS if available): Helps protect equipment and keeps you running through brief outages or power dips.
If phones or tablets are part of your check-in workflow, add a power bank so staff aren’t tethered to a wall mid-shift. Also consider cable routing: taped-down cords reduce tripping hazards and accidental unplugging.
Connectivity and Data: Internet Options and Offline Registration Backups
Many check-in workflows depend on cloud registration systems, shared databases, or network printing. That’s fine—until the venue network slows down, the Wi‑Fi password changes, or you’re set up in a lobby corner with weak signal. Prepare for “connected” and “offline” modes so badge production doesn’t stop during peak arrivals.
This is where well-chosen event registration supplies go beyond physical items: the right files, saved templates, and offline rosters can keep your station operating calmly even when connectivity is unpredictable.
- Item 15 — Internet options (Ethernet cable and/or dedicated hotspot): Ethernet is often more stable than Wi‑Fi when available.
- Item 16 — Offline backups: Download an attendee list, keep an offline roster, and save local copies of badge templates so you can keep printing if the network slows.
If you can print from a local template and verify check-ins against a downloaded list, you can keep lines moving and reconcile records later.
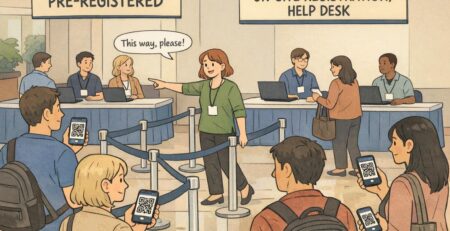
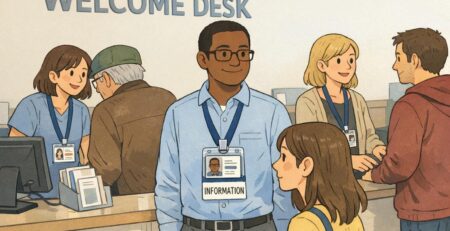
Setup Materials: Table Layout, Signage, and a Staff Instruction Sheet
A smooth check-in is as much about station design as it is about equipment. The best setup makes it obvious where to queue, where to verify details, where to pick up badges, and where reprints happen—without staff needing to explain the process repeatedly.
Pack small setup materials that help you build an organized workspace quickly. These items are cheap, light, and often the difference between a tidy “production line” and a cluttered table that slows everyone down.
- Item 17 — Setup toolkit: tape, scissors, cleaning cloths, and (optionally) a label maker for fast organization.
- One-page staff instruction sheet: login steps, where templates are stored, how to run a test print, and what to do when a badge needs a reprint.
- Simple station layout plan: print area, pickup area, and a clearly defined reprint lane to prevent line-jumping confusion.
“When we separated ‘pickup’ from ‘reprint,’ our line instantly felt calmer. People knew exactly where to stand, and staff stopped getting interrupted mid-print.” – Event Operations Lead
Troubleshooting Kit: Spares for Jams, Alignment, and Last-Minute Fixes
Even with careful prep, events are real-world environments: dust, bumps, rushed badge loading, and software pop-ups happen. A compact troubleshooting pouch turns “we’re stuck” into “give us 90 seconds.”
Keep troubleshooting supplies together (not scattered across bags), and make sure more than one staff member knows where they are. The faster you can restore normal printing, the less the issue affects the attendee experience.
- Cleaning cards/swabs appropriate for your printer: Helps fix streaks, smudges, and feed issues.
- Extra cables and adapters: A spare USB cable (or the connection type you use) prevents a single failure from stopping printing.
- Basic tool kit suitable for your hardware: Only what you actually use—small, safe, and easy to locate.
- Model-specific spares if applicable: If your printer commonly needs service parts (like rollers or a printhead), pack spares or confirm rapid access to them.
- Vendor support contacts and warranty details: Keep them in the kit so staff can escalate quickly without searching email threads.
Troubleshooting works best when it’s standardized: same pouch, same pocket, same contents every event. Consistency reduces “where is it?” delays.
Pre-Event Testing: A 30-Minute Dry Run for On Site Printing
The most reliable way to avoid event-morning surprises is a short, timed dry run. In about 30 minutes, you can prove that devices connect correctly, templates open, the printer outputs cleanly, and barcodes/QR codes scan reliably.
Treat it like rehearsal: you’re not just testing printing—you’re testing the full check-in motion under light time pressure. That’s how you catch the “small” problems that become big problems when a line forms.
- Connect everything: printer + computer + scanner, using the same cables and ports you’ll use on event day.
- Confirm drivers and permissions: open the registration tool and the badge template without update prompts or login issues.
- Print 5–10 test badges: check alignment, logos, and name spacing across multiple prints.
- Scan every test barcode/QR: verify fast, consistent readability.
- Practice a reprint: change a name, reprint, and confirm the corrected badge is produced quickly and consistently.
Check alignment (nothing clipped), consistent spacing, crisp edges, and scannability. Also verify the badge sits straight in the holder and looks presentable at typical viewing distance.
Ideally the day before (or earlier), and then a quick test print again during setup before doors open—using the same stock and settings you’ll run live.
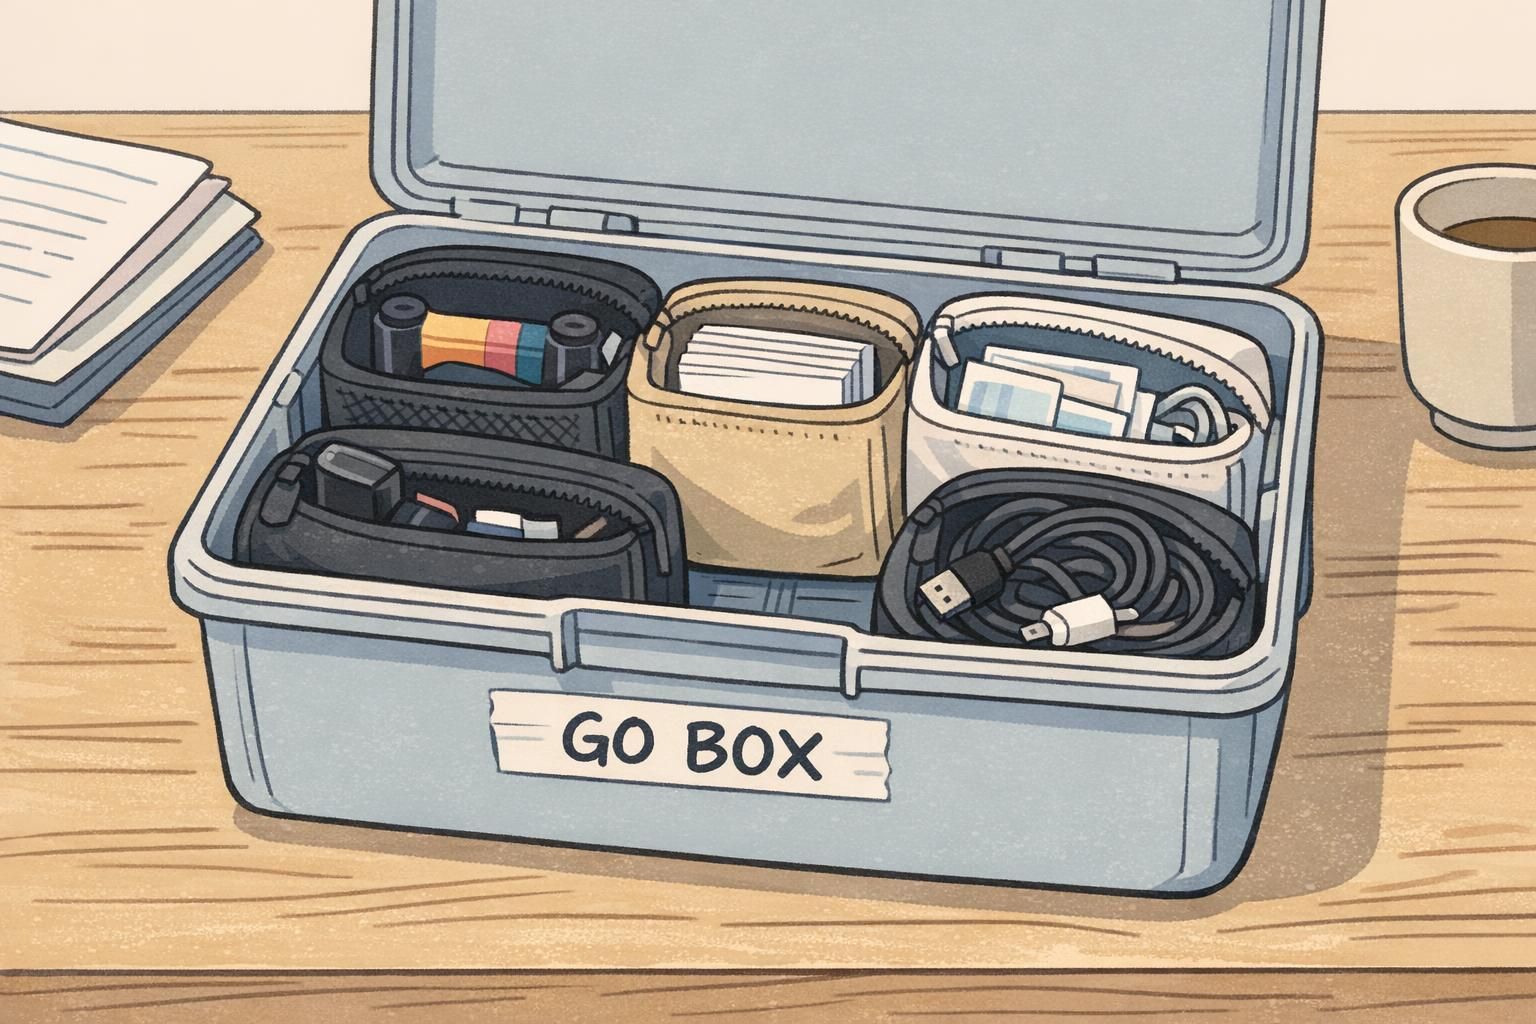
Pack Like a System: Redundancy, Labels, and a ‘Go Box’ for Fast Deployment
The difference between a stressful check-in and a smooth one is often whether your badge program is treated as a coordinated workflow—design to issuance to delivery—rather than a single tool you happen to bring. A system mindset makes responsibilities clear, reduces hunting for parts, and makes your process repeatable across events and staff.
This planning mindset aligns with the idea that reliable operational outcomes come from coordinated processes and supports, not just individual technologies (source). In practical terms: label everything, standardize where supplies live, and build in just enough redundancy to handle predictable failures.
- Label every cable and adapter: So anyone on staff can reconnect gear quickly without guessing.
- Keep consumables in one bin: Stock, ribbons/ink, holders, and lanyards should be easy to inventory at a glance.
- Separate “critical spares” from “nice-to-haves”: Put the essentials where they’re found first.
- Build a minimal ‘go box’: Extra stock, one spare ribbon/ink, cleaning items, and power essentials—enough to keep printing if something goes missing.
- Assign roles at the table: one person verifies/checks in, one manages printing and handoff, and one handles exceptions/reprints during rush periods.
When your kit is packed like a system, any trained staff member can set up the station, run a test print, and keep check-in moving—even if the original lead is pulled away.