Event Check In Table Setup: A Layout That Prevents Lines
Why Your Event Check In Table Layout Creates (or Prevents) Lines
An effective event check in table setup does one thing exceptionally well: it helps people sort themselves before they reach a staff member. When guests can instantly see where to go and what to have ready, the “thinking time” disappears—and the line moves. Most events can aim for a 60–90 second check-in for pre-registered attendees. That’s realistic when the layout removes confusion, keeps the next step obvious, and prevents slow tasks (like payment questions or name changes) from mixing into the fastest line. This guide walks through practical table layouts, signage, and staffing patterns that reduce bottlenecks and prevent common badge problems. You’ll also see where misprints and missing badges typically happen—usually during rushed lookups, last-second lane switching, and cluttered pickup tables—and how a better flow prevents them.
- Design for self-sorting: attendees should know their line before they reach the tables
- Keep fast tasks on the main path and move exceptions to a separate area
- Make the badge handoff predictable and tidy to reduce misprints and missing items
Plan the Registration Flow in Micro-Steps (So One Problem Doesn’t Stop Everyone)
Fast check-in is less about “working faster” and more about breaking your registration flow into short, repeatable stages. When each stage has a clear start and finish, staff stay consistent and guests keep moving. A dependable flow looks like this: 1) Greeting and wayfinding: someone confirms the guest is in the right place and points them to the right line. 2) Lookup or QR scan: staff verifies the attendee record quickly. 3) Badge handoff (and lanyard): the badge pickup station delivers the badge, already oriented and ready to wear. 4) Exit direction: guests are guided away from the table so the next person can step up. 5) Separate issues and on-site signups: anything slow happens elsewhere. The biggest reason lines become “sticky” is that exceptions get handled at the same spot as the fastest check-ins. The moment a guest needs a name correction, payment question, or registration creation, you’ve changed the task from seconds to minutes—so route those cases away from your main lane. This also lowers misprints. When staff aren’t under pressure from a stalled line, they’re more likely to confirm details carefully (name spelling, organization, role, pronouns if applicable) before handing over a badge.
A smooth registration flow keeps the fastest attendees moving and redirects exceptions to a separate station—so one complicated issue doesn’t slow everyone behind it.
Choose a Layout Style: U-Shape Hub vs. Parallel Lanes vs. Fast-Track Split
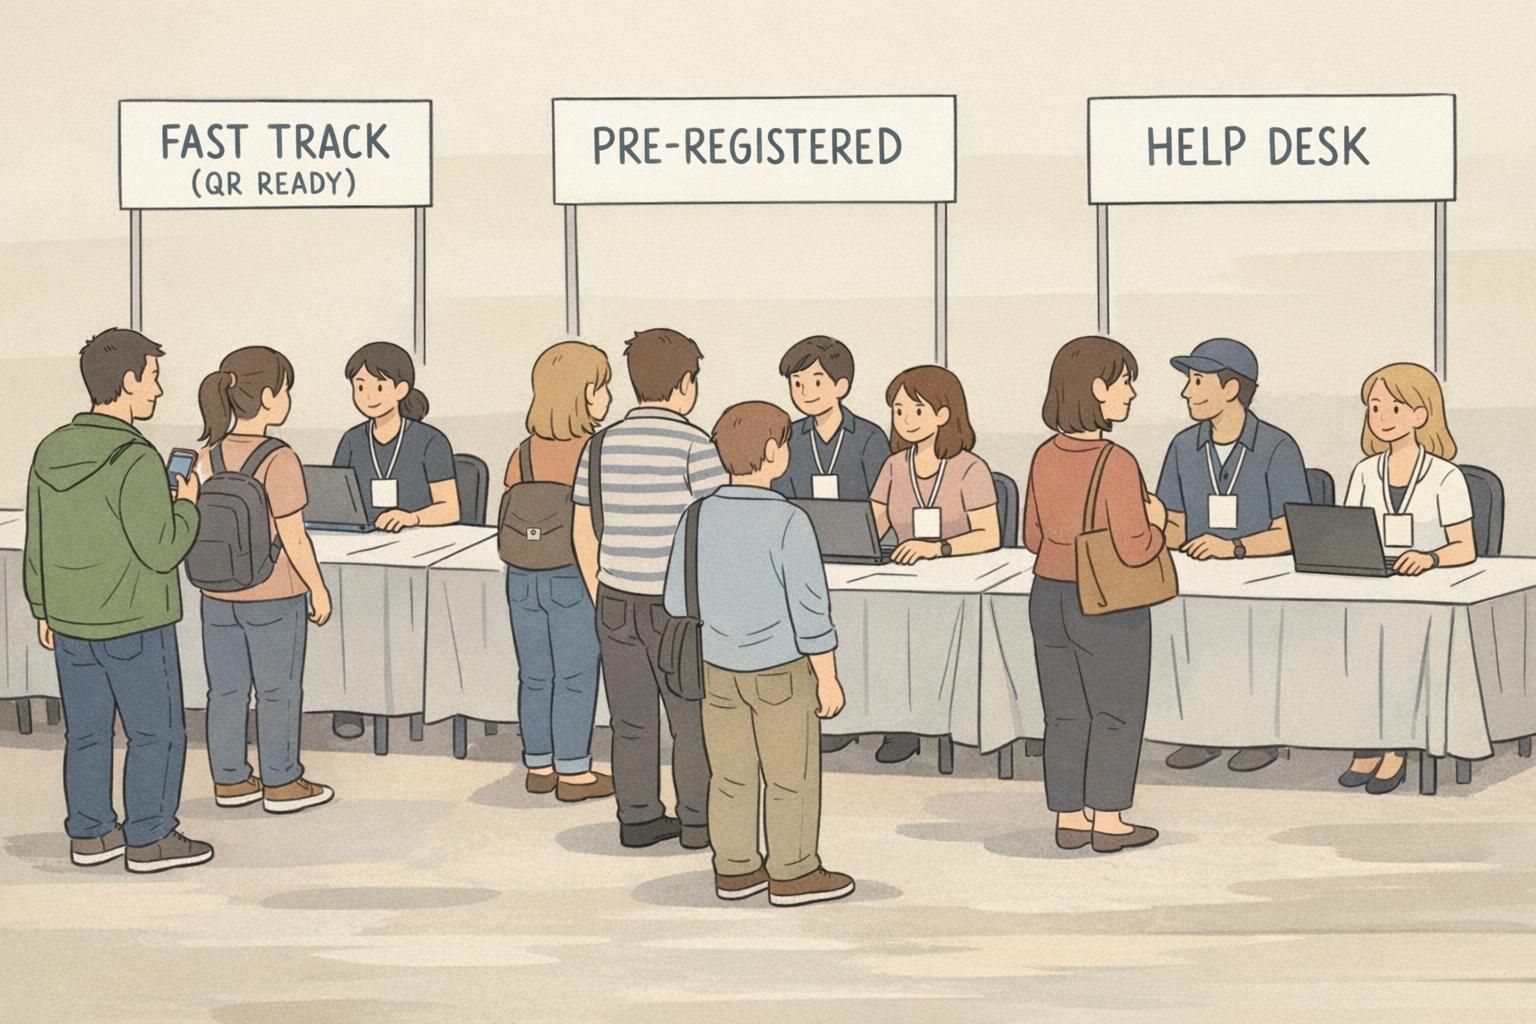
Your physical setup should match how people arrive. If everyone shows up in a tight 15–30 minute window, you need capacity and clear lane structure. If arrivals are spread out, you can prioritize simplicity. Here are three proven layout styles: U-shape hub (mid-sized events) A U-shape keeps staff close and makes it easy to share supplies, troubleshoot quickly, and shift help where needed. It’s especially useful when you have 2–4 operators and limited space. Parallel “bank teller” lanes (large peaks) Parallel stations increase throughput because multiple check-ins happen simultaneously. When lanes are consistent and equally staffed, average wait times drop and the experience feels fairer—an idea aligned with basic queueing principles where multiple servers can reduce delays when designed well (source). Fast-track split (best when many attendees are ready) If many guests have QR codes ready and pre-registration is clean, create a “FAST TRACK (QR READY)” lane. Keep a separate, clearly marked help desk for exceptions. This protects speed without sacrificing service. Whichever style you choose, build in buffer space: – About 6–8 feet before the first station so lines don’t block doors – About 3–4 feet behind staff so they can step back, grab supplies, or let people pass Also, place the fastest path closest to the entrance and push slow problem-solving stations off to the side. That single decision prevents the most common kind of clumping: attendees stopping right inside the doorway to figure out where to go.
- Use U-shape hubs for 2–4 operators and moderate arrivals
- Use parallel lanes for large peaks and predictable, repeatable check-ins
- Add a fast-track split when many attendees arrive with QR codes ready
- Protect entrances with 6–8 feet of open buffer space before lines begin
Build a Badge Pickup Station That’s Fast, Tidy, and Hard to Mess Up
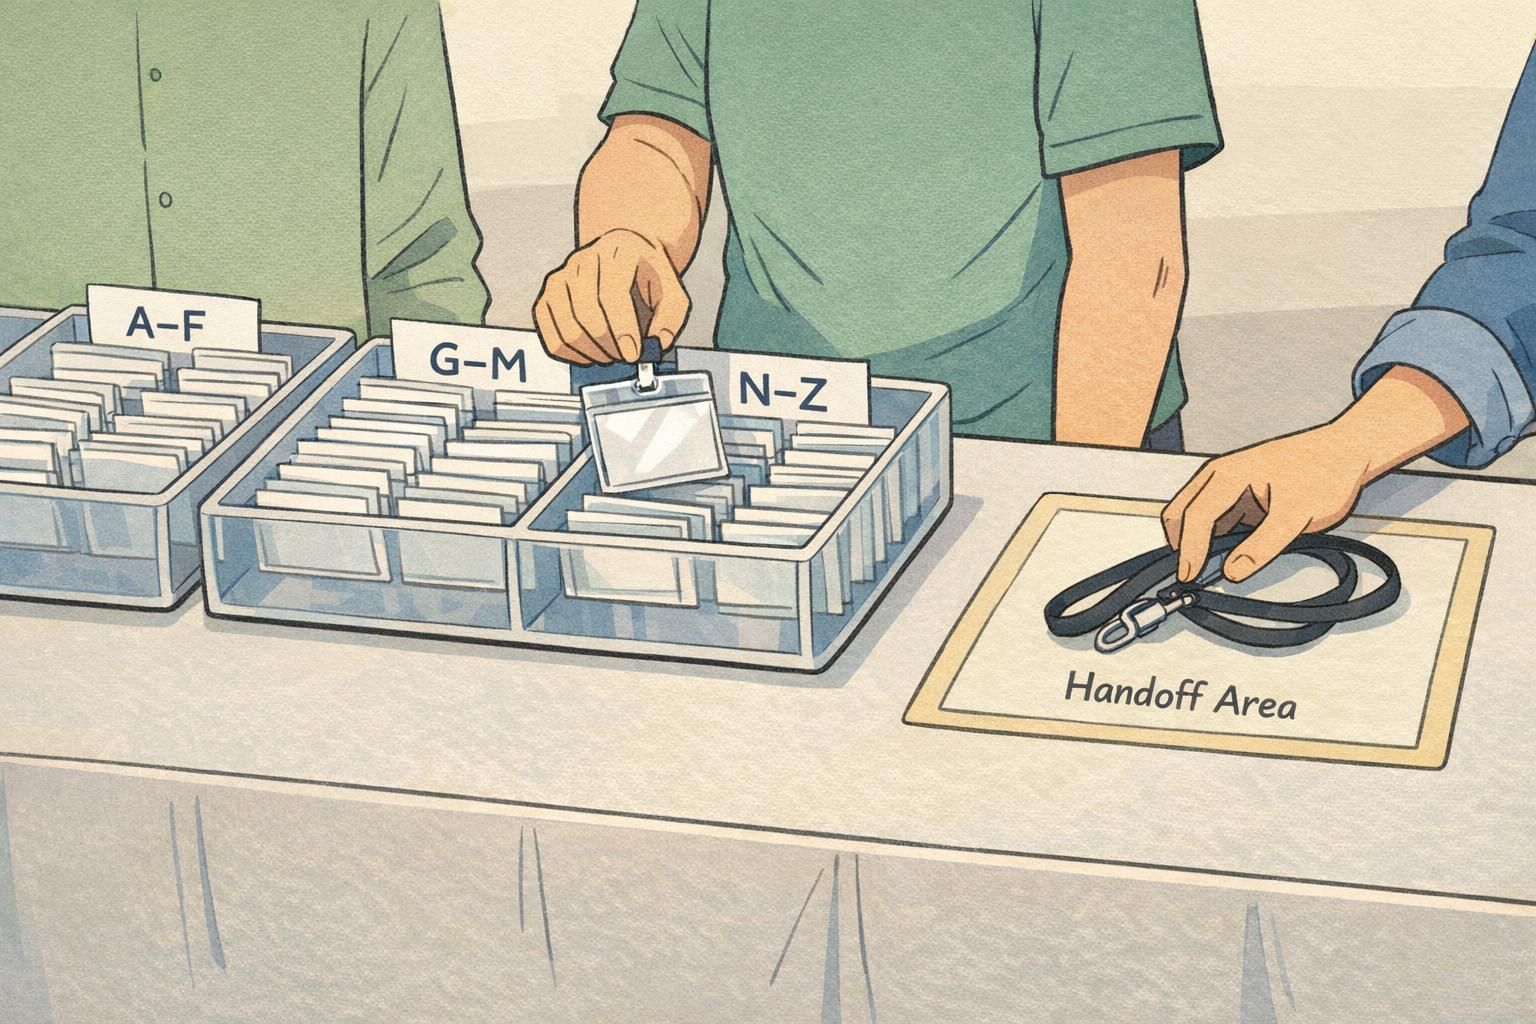
A well-designed badge pickup station lets a staff member complete a check-in without stepping away. The moment an operator has to turn around, search through piles, or walk to another table, your throughput drops—and errors climb. Set up each station as a simple left-to-right workflow: – Verification tools: tablet/laptop, printed list, and scanner (if used) – Badge access: a pre-printed badge tray area or a clearly defined printer output area – Attachment: lanyards and/or clips within arm’s reach – Handoff zone: a clean space where the finished badge is placed, oriented correctly – Exit cue: a visible “finished” direction so guests step away from the table If you’re using pre-printed badges, rigid alphabet trays with large dividers are worth the space they take. The goal isn’t just sorting—it’s preventing “re-sorting during the rush,” when stacks become messy and staff start flipping through badges one by one. Finally, keep anything that causes lingering—swag bags, tote bags, raffles, and sponsor materials—after check-in. If the table becomes a shopping-and-chat zone, your line becomes a parking lot. To support readability throughout the day, choose badge holders and attachments that keep the badge facing forward. Vertical holders and comfortable lanyards reduce flipping and bending, which helps with quick recognition and access checks later.
- Keep devices, badges, and lanyards within one arm’s reach to avoid staff leaving their station
- Use rigid alphabet trays with large dividers for pre-printed badges
- Create a clearly defined handoff zone so completed badges don’t mix with unclaimed ones
- Move swag distribution away from the check-in tables to prevent choke points
Signage That Stops Wrong Lines Before They Start
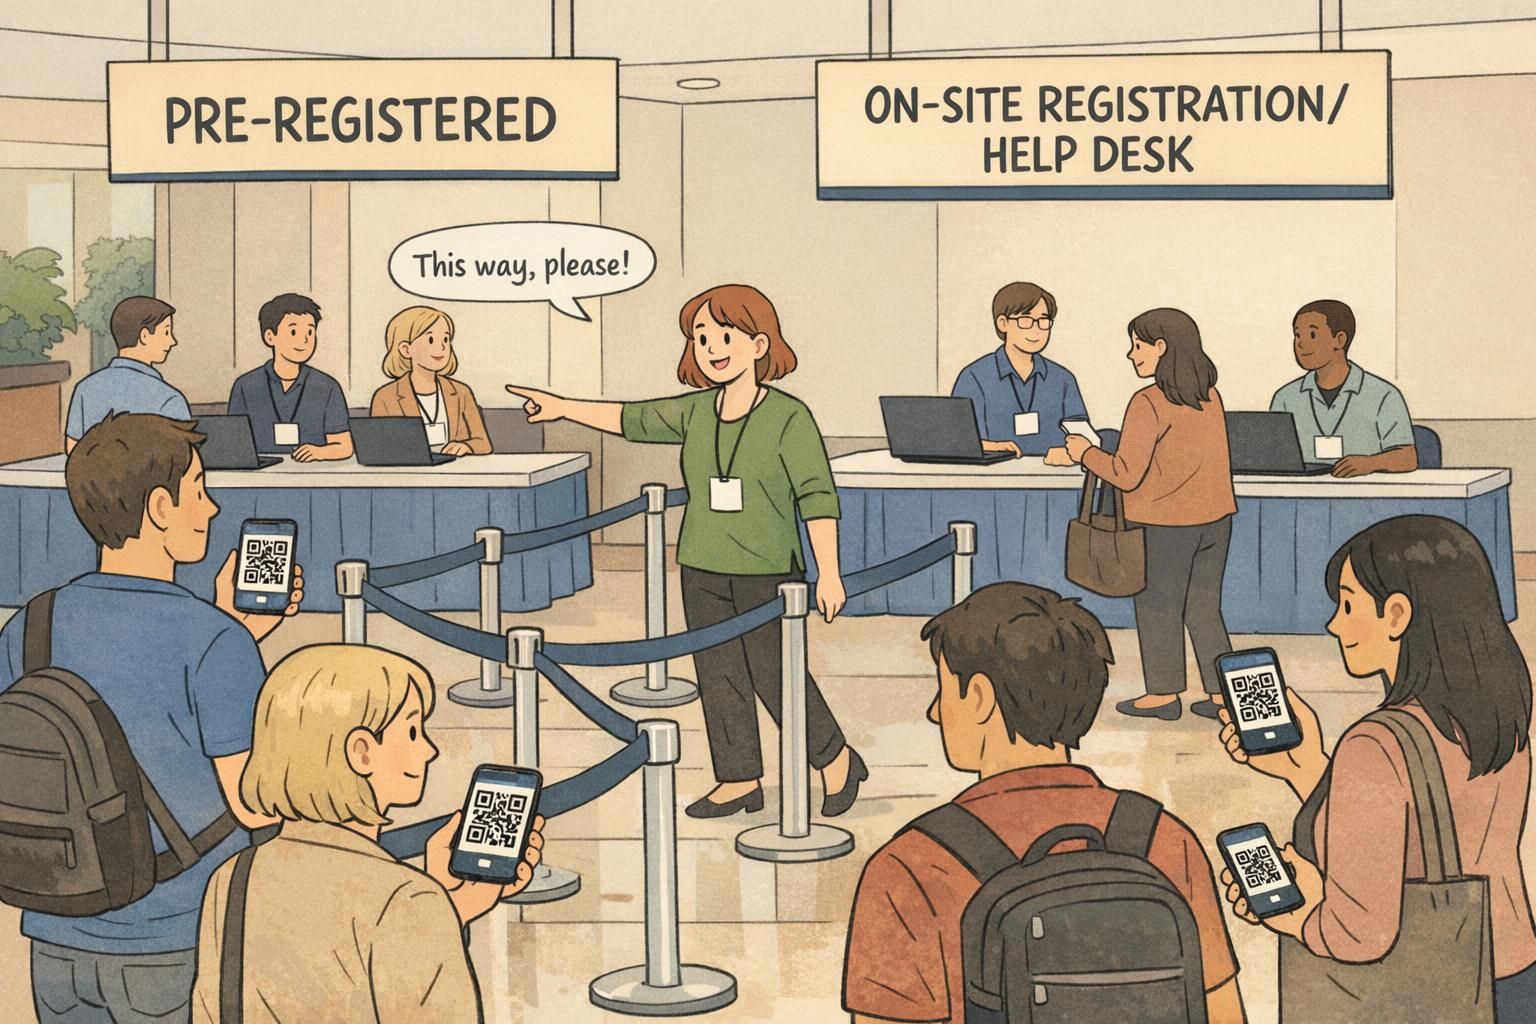
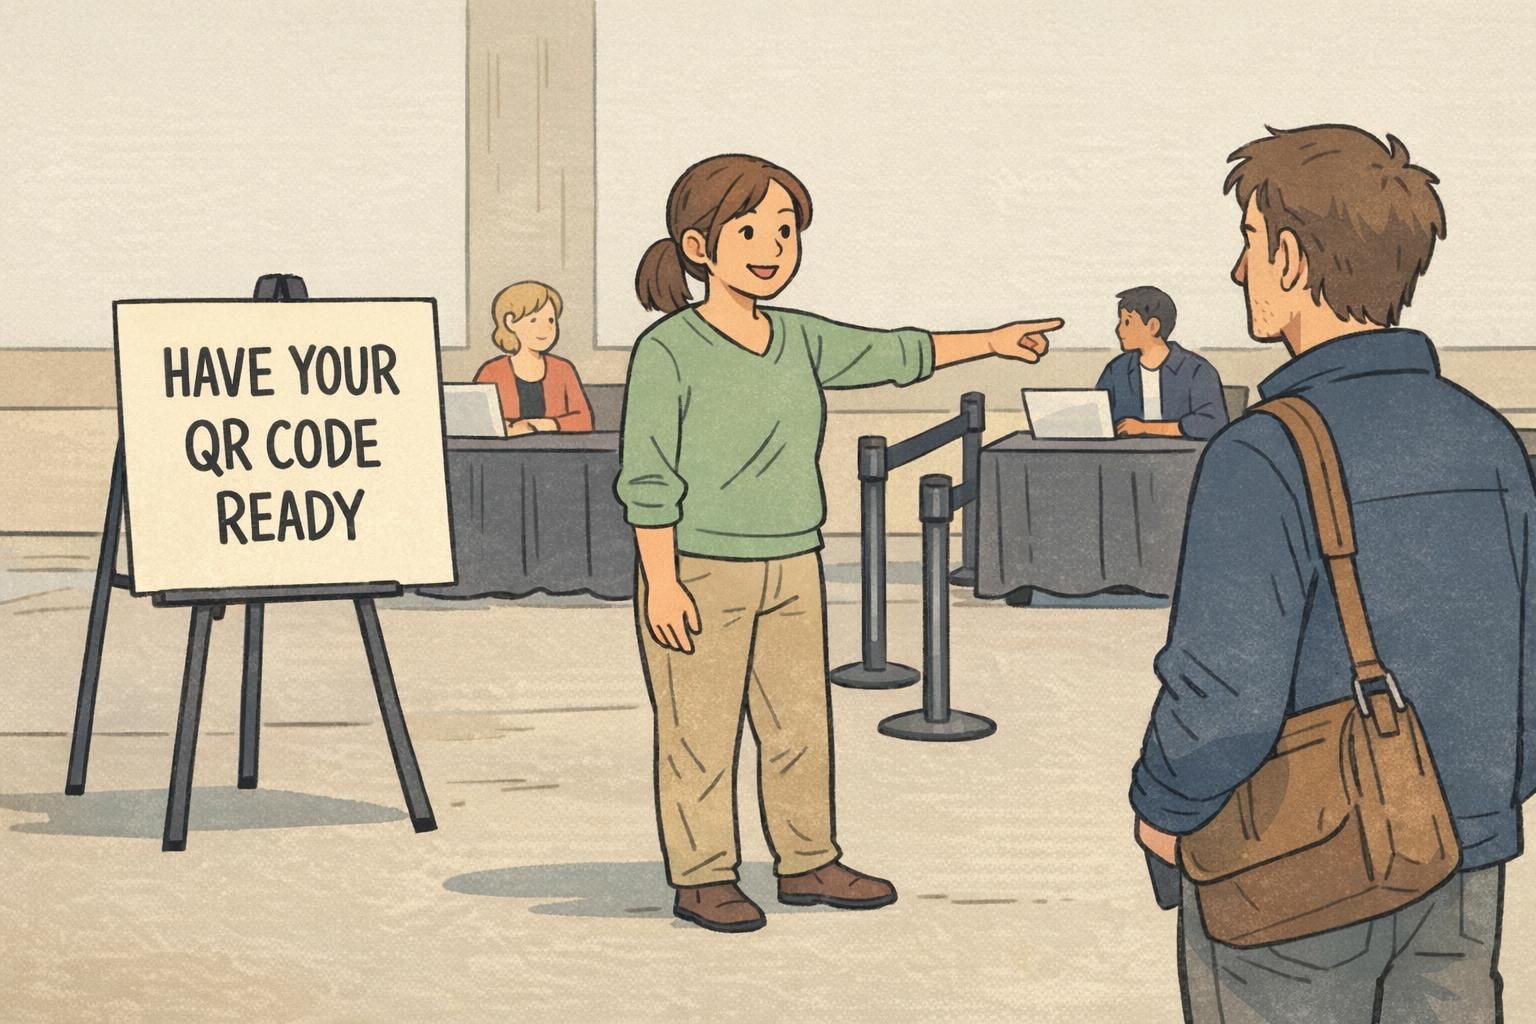
Great signage prevents the slowest kind of delay: last-second confusion. If people reach the front and realize they’re in the wrong place, they either switch lanes (disrupting both lines) or start a long conversation at the counter. Your signs should answer three questions before guests arrive at the table: – Where do I go? – Which line is mine? – What do I need ready? Use tall, simple category signs that can be read from a distance. Clear examples: – PRE-REGISTERED A–F – PRE-REGISTERED G–M – PRE-REGISTERED N–Z – ON-SITE REGISTRATION / HELP DESK Also add a “prepare now” sign 10–15 feet before the tables that prompts the next action: QR code ready, ID out, or last name ready. This reduces the on-the-spot searching that silently adds 10–20 seconds per person. One more tip: keep wording consistent between emails, the event app, and on-site signs. When the same labels appear everywhere, attendees arrive already pre-sorted in their heads.
If most attendees have QR codes ready, a QR fast track can be the simplest. If QR adoption is mixed, alphabet splits (A–F, G–M, N–Z) reduce searching and make it easy for attendees to self-sort.
Aim for visibility from the entrance or at least 15–25 feet away, so attendees can choose a lane before they join the queue.
Staffing for Speed: Greeter, Operators, Floaters, and a Real Help Desk
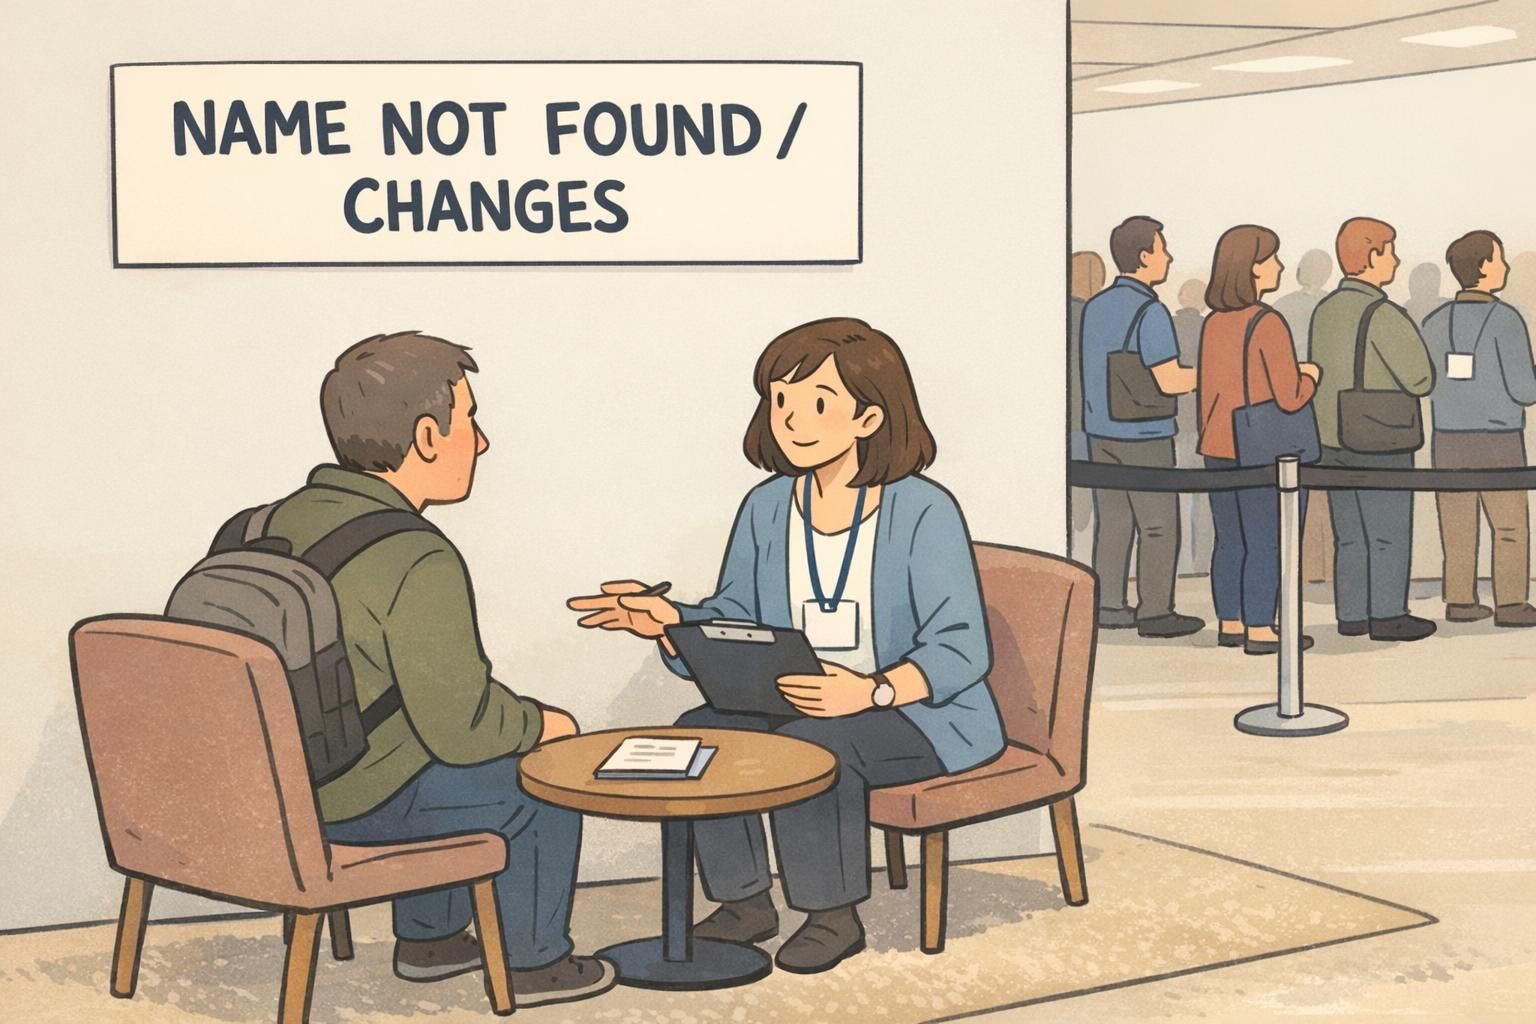
Even the best layout struggles when roles aren’t clear. The goal is to keep operators focused on the fastest, repeatable tasks while other team members absorb interruptions. A practical staffing model: Greeter (traffic director) Position one person 10–15 feet before the tables. Their job is to keep people out of the wrong line and prompt readiness (“QR code ready” / “last name ready”). This single role prevents many of the tiny delays that add up. Operators (check-in + badge handoff) Operators handle lookup/scan, quick confirmation, and badge handoff. Keep their script short and consistent so they don’t improvise under pressure. Floaters (rapid troubleshooting) Floaters handle small issues without creating a full help-desk conversation at the front. Examples: directing someone to the correct alphabet table, grabbing replacement lanyards, or finding a missing badge in the next tray. Help desk (exceptions only) Your help desk is for anything that takes more than a quick fix: name not found, major changes, payment questions, on-site registrations, special access requests. Keep it slightly off to the side so the main line stays psychologically “open” and moving. To reduce misprints and reprints, add one consistent confirmation step before handing over the badge. For example: “Can you confirm your name spelling and organization?” If your badges include pronouns or roles, confirm those fields too. Consistency beats speed when it prevents a reprint later.
“Our biggest improvement wasn’t adding more tables—it was adding a greeter and a real help desk. Once exceptions stopped happening at the main counter, the line kept moving and reprints dropped.” – Event Operations Lead
- Greeter prevents wrong-line joins and prompts QR/ID readiness
- Operators focus on the fastest repeatable check-ins
- Floaters resolve small issues without stopping the main counter
- Help desk handles any request that would otherwise stall the primary line
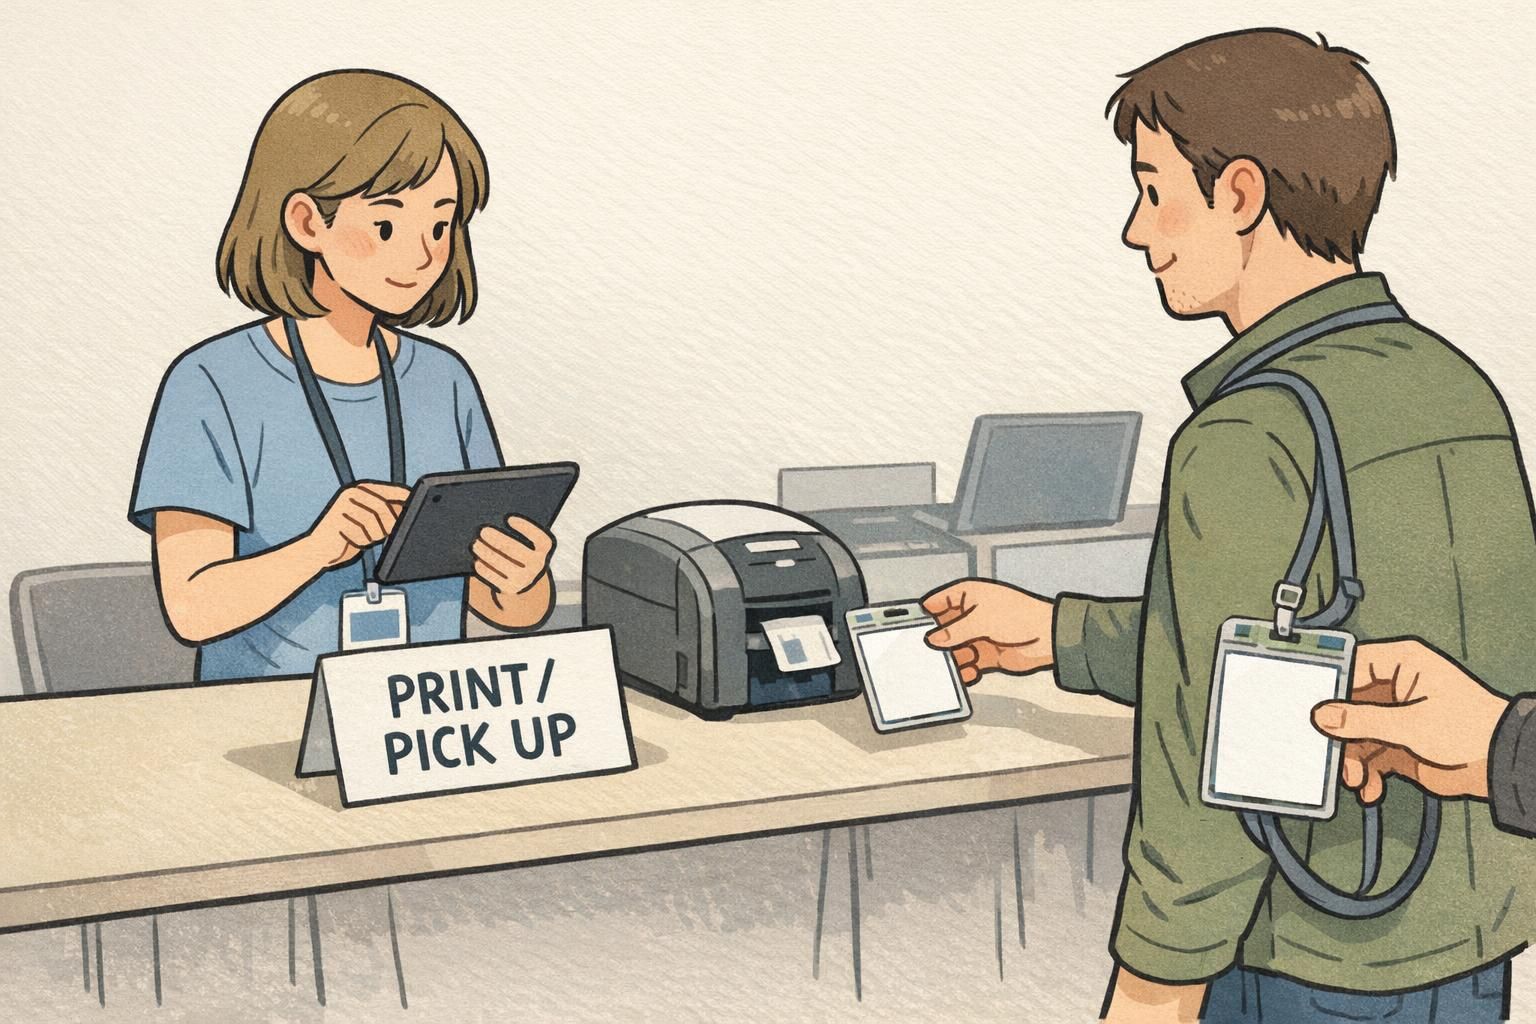
Printing and Reprint Prevention: What to Prep Before Doors Open
Misprints usually come from two things: inconsistent data and rushed confirmation. Prevent both before doors open. Start by standardizing badge templates early. Confirm that your attendee file uses consistent capitalization and that key fields (first name, last name, company/affiliation, title/role) map correctly into the template. If you’re printing on demand: – Run a full test cycle for each printer and badge stock you’ll use – Confirm alignment, margins, and how the holder affects the visible area – Define a reprint workflow so errors don’t stop the line (for example, one person prints while another verifies) If you’re using pre-printed badges: – Double-check alphabetical sorting and divider labels – Bring a small contingency kit: a few blank badges plus a marker for rare edge cases while a corrected badge is produced The key is to keep reprints from becoming the center of attention at the main station. Treat reprints as a separate mini-process so the primary registration flow remains predictable.
Rushing the confirmation step when the line feels long. A quick, consistent name-and-organization confirmation prevents many errors without adding much time.
Ideally, no. Handle reprints at a side station or help desk so the main line stays fast and consistent.
Materials That Make Check-In Easier (Badges, Holders, and Event-Friendly Accessories)
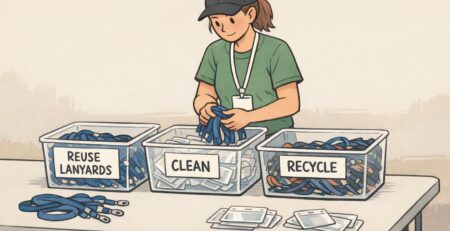
Materials won’t fix a broken layout—but the right materials reduce friction once your setup is strong. For events, aim for badges and accessories that are: – Durable enough to stay readable all day (no bending or smudging) – Easy to attach quickly at the table (lanyards, clips, or a pre-assembled holder) – Consistent in size so pre-printed badges, on-demand prints, and replacements all fit the same holders Extra holders and lanyards should live at a side table so replacements don’t interrupt operators. This is also a smart place to store badge buddies if you use them to identify roles (like STAFF, SPEAKER, VIP) without changing the main badge design. If you’re planning new inventory for an upcoming event, you can review options like custom event badges and choose a size and format you can standardize across pre-printed, print-on-demand, and reprint workflows.
- Standardize one badge size to simplify pre-printing, on-demand printing, and replacements
- Use holders and attachments that keep badges facing forward and readable
- Keep extra lanyards and holders at a side table for fast replacement
- Use badge buddies for role visibility without creating new badge templates
Two Example Floor Plans You Can Copy (200–300 Guests vs. 800+ Peak Arrivals)
Below are two templates you can adapt. The details matter less than the principle: protect the fast path, label it clearly, and move slow tasks away from it. Example A: 200–300 guests (steady arrivals) Use two pre-registered tables split by alphabet (A–M and N–Z). Add one on-site registration/help desk table offset to the side—not in the main traffic channel. Place a greeter 10–15 feet ahead of the tables to direct attendees before they commit to a line. How it flows: – Entrance → Greeter → Choose A–M or N–Z → Check-in + badge handoff → Exit path – If an issue arises → redirected to Help Desk table Example B: 800+ guests with a tight arrival window (peak surge) Use a single serpentine queue feeding 6–12 parallel check-in stations (depending on space and staffing). Add a clearly labeled problem-resolution area staffed separately. With peaks, this setup helps distribute load across operators and reduces the frustration of “choosing the wrong line.” How it flows: – Entrance → Greeter → Serpentine queue → Next available operator → Badge handoff → Exit path – Exceptions exit the main lane to Problem Resolution In both cases: – Keep the fastest lane(s) closest to the entrance – Put help desk/problem resolution farther away and clearly labeled – Maintain buffer space so lines don’t block doors, elevators, or main walkways If you walk the path like an attendee—entrance to exit—and every step feels obvious, your event check in table area will stay calm even when arrivals spike.
The best layouts don’t rely on people asking questions. They guide attendees with space, signage, and a flow that keeps exceptions from stopping the main line.