Visitor badge types: the main formats
Choosing between visitor badge types starts with a practical question: what does this visit require? A short appointment, a weeklong contractor assignment, and a busy conference need clear identification, but they do not necessarily need the same badge. The right format balances convenience, reuse, visibility, and any access controls the facility requires.
The main choices are adhesive stickers, reusable holders with printed inserts, and durable plastic cards. Printed inserts are the changeable information layer inside a holder, rather than a separate access technology. A plastic card can provide visible identification alone or serve as an access-enabled credential when configured for a compatible system.
- Adhesive sticker badges: Convenient for short, one-time visits because they attach directly to clothing and do not require a holder to be returned.
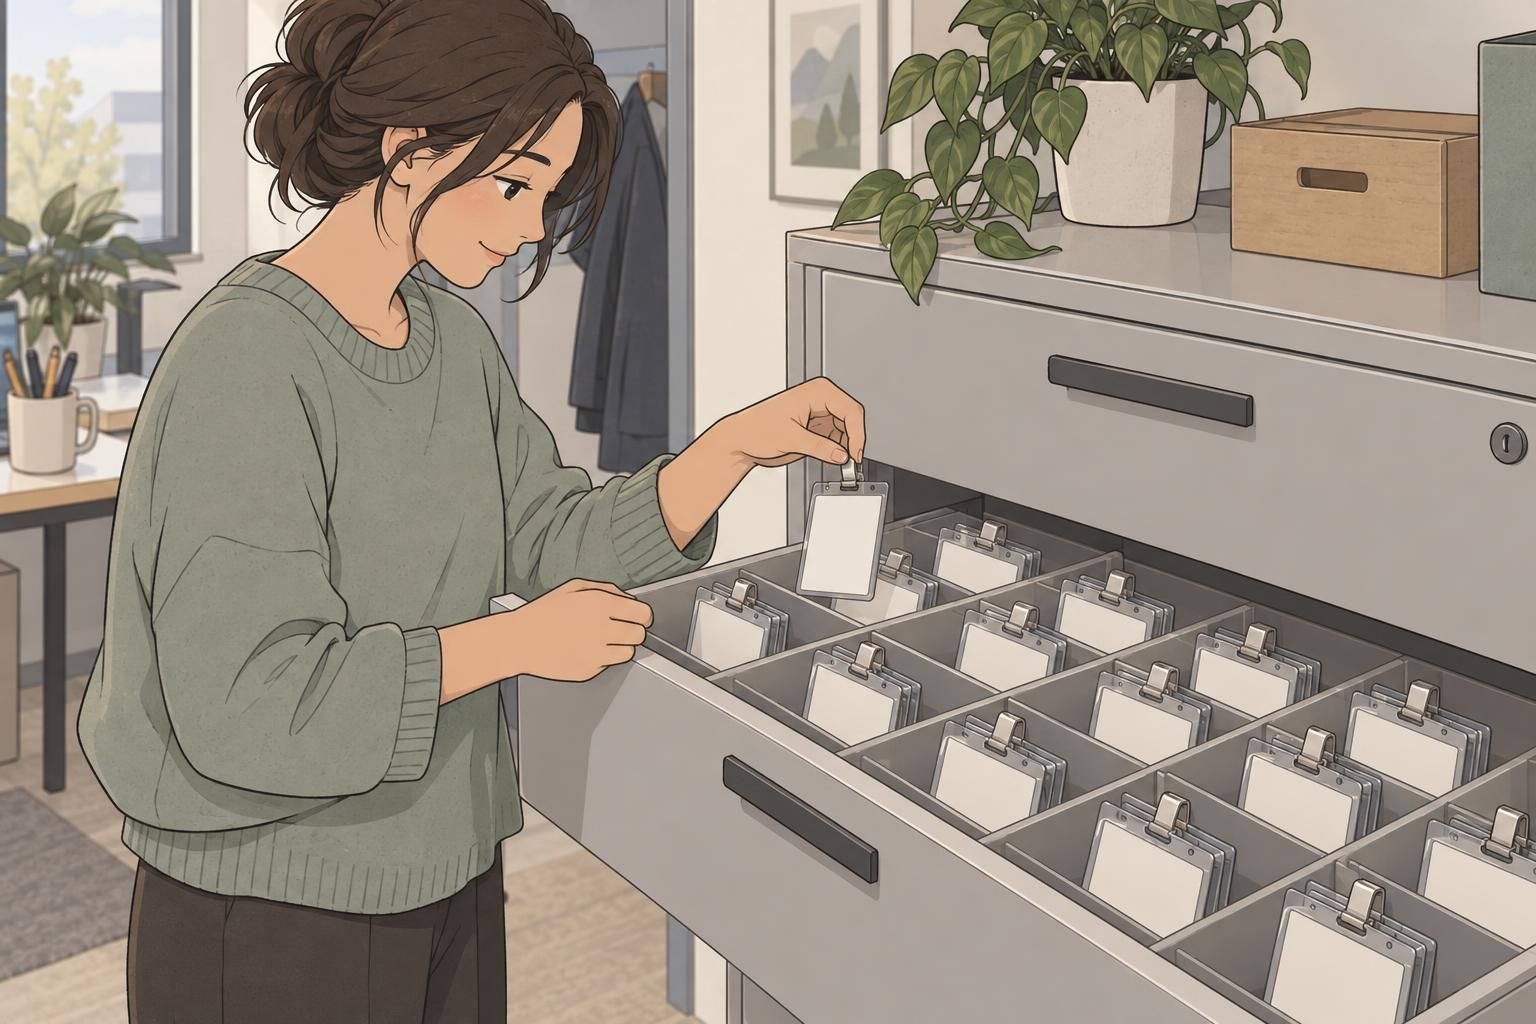
- Reusable holders with printed inserts: Useful for recurring reception needs. Staff replace the visitor-specific insert while keeping the holder available for another visit.
- Durable plastic cards: A practical choice for repeated handling, multi-day visits, or access-enabled credentials when the facility’s system supports them.
Digital passes and self-expiring badges offer additional options. Digital passes can support a visitor check-in process, while self-expiring badges provide a visible indication that their validity period has ended. Neither format should be assumed to grant or revoke door access unless the facility’s system specifically supports that function.

When a temporary ID badge fits a short or returning visit
A temporary ID badge identifies someone for a limited period rather than as a permanent member of staff. That period might be a single interview, an afternoon vendor appointment, or several days of work on a defined project. Temporary describes the credential’s validity, not necessarily its material: both a paper insert and a plastic card can serve this purpose.
For a one-time guest, a sticker showing the visitor’s name, host, and date may provide the identification the visit requires. For a contractor returning throughout a project, a reusable holder or durable card may be more practical. The badge should still make its authorized period clear, and returning visitors should follow the facility’s check-in and approval process.
A guest badge should show the host or department when staff need to know who is responsible for the visit. Include an expiration time when same-day validity is too broad. Add permitted-area or escort information when those conditions apply, so employees do not have to infer permissions from the badge’s appearance.
Choose a visitor badge by security level and access needs
Start with the areas the visitor needs to reach, the visit’s duration, and the facility’s risk level. Then decide whether the badge needs to identify the person, control access, or do both. This distinction matters more than whether the badge looks substantial: a rigid plastic card is not automatically an electronic access credential.
- Visible identification: For an escorted meeting in an approved area, a clearly labeled sticker or printed insert may fit the identification task.
- More defined identification: Where staff need to confirm who is wearing the badge, a visitor photo can help connect the displayed identity to the person.
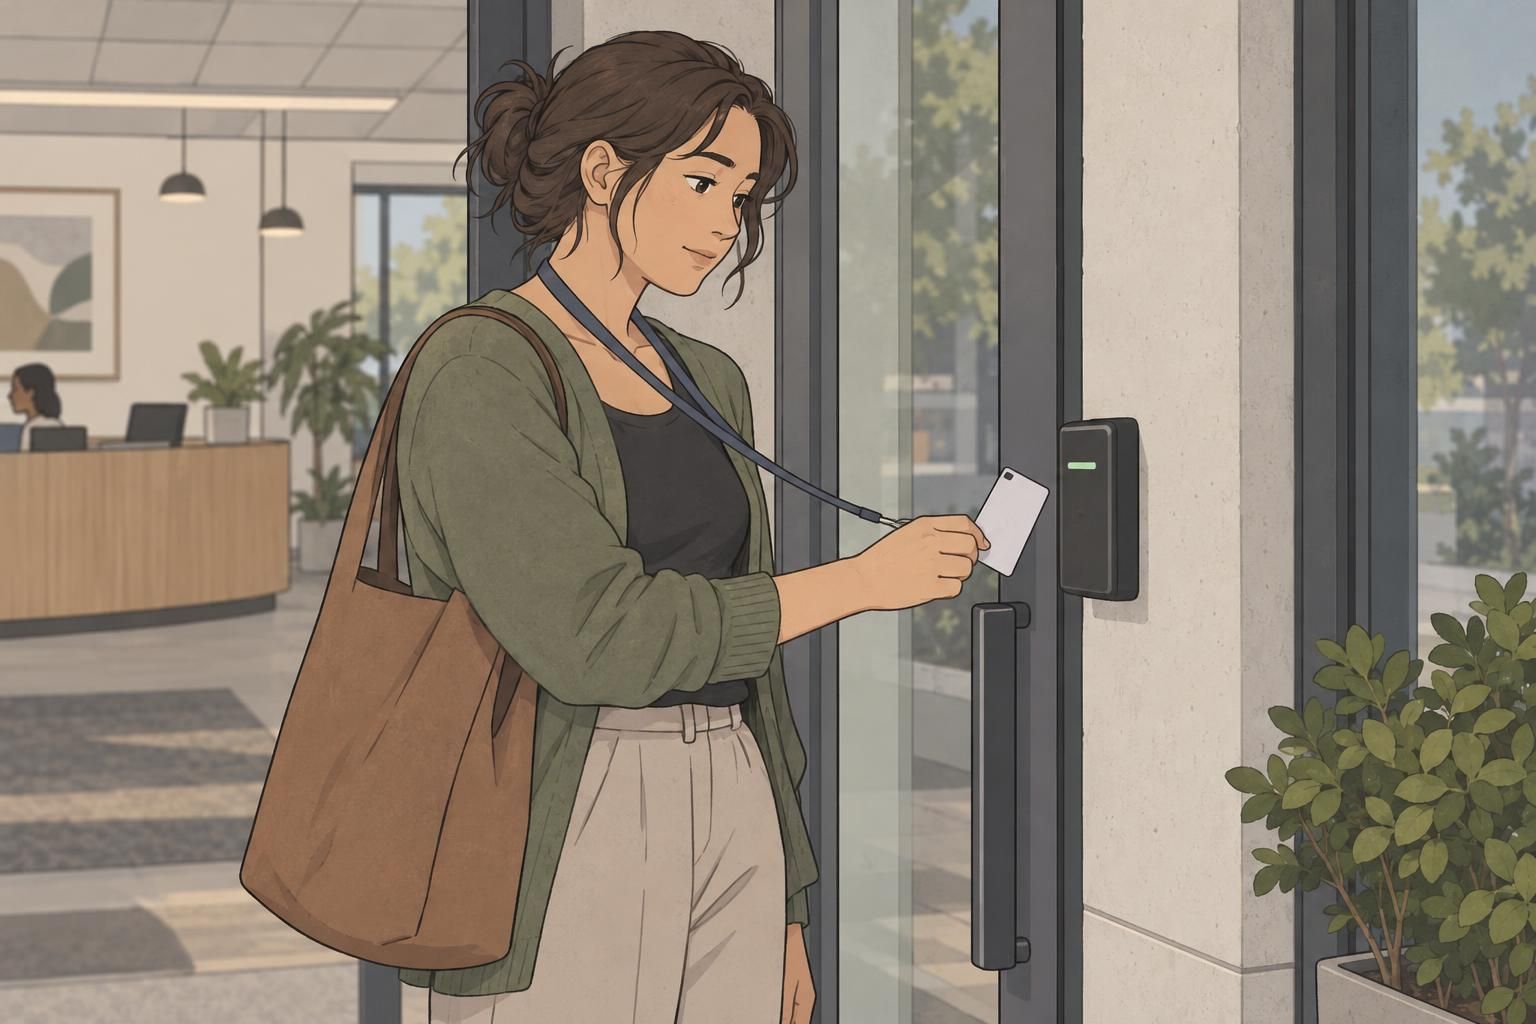
- Access-enabled identification: When visitors need approved independent entry, use a compatible credential with permissions limited to the necessary areas and validity period.
A longer visit should not automatically mean broader access. A contractor working for several days may need only one approved work area, while a short service visit may require an escort. Make expiration and escort indicators easy to recognize, and ensure printed instructions agree with the permissions recorded in the access system.
Visible identification helps staff recognize an authorized visitor. Electronic access permissions determine where an access-enabled credential works. Plan both together when a visit requires them.
Match badge format to visitor traffic
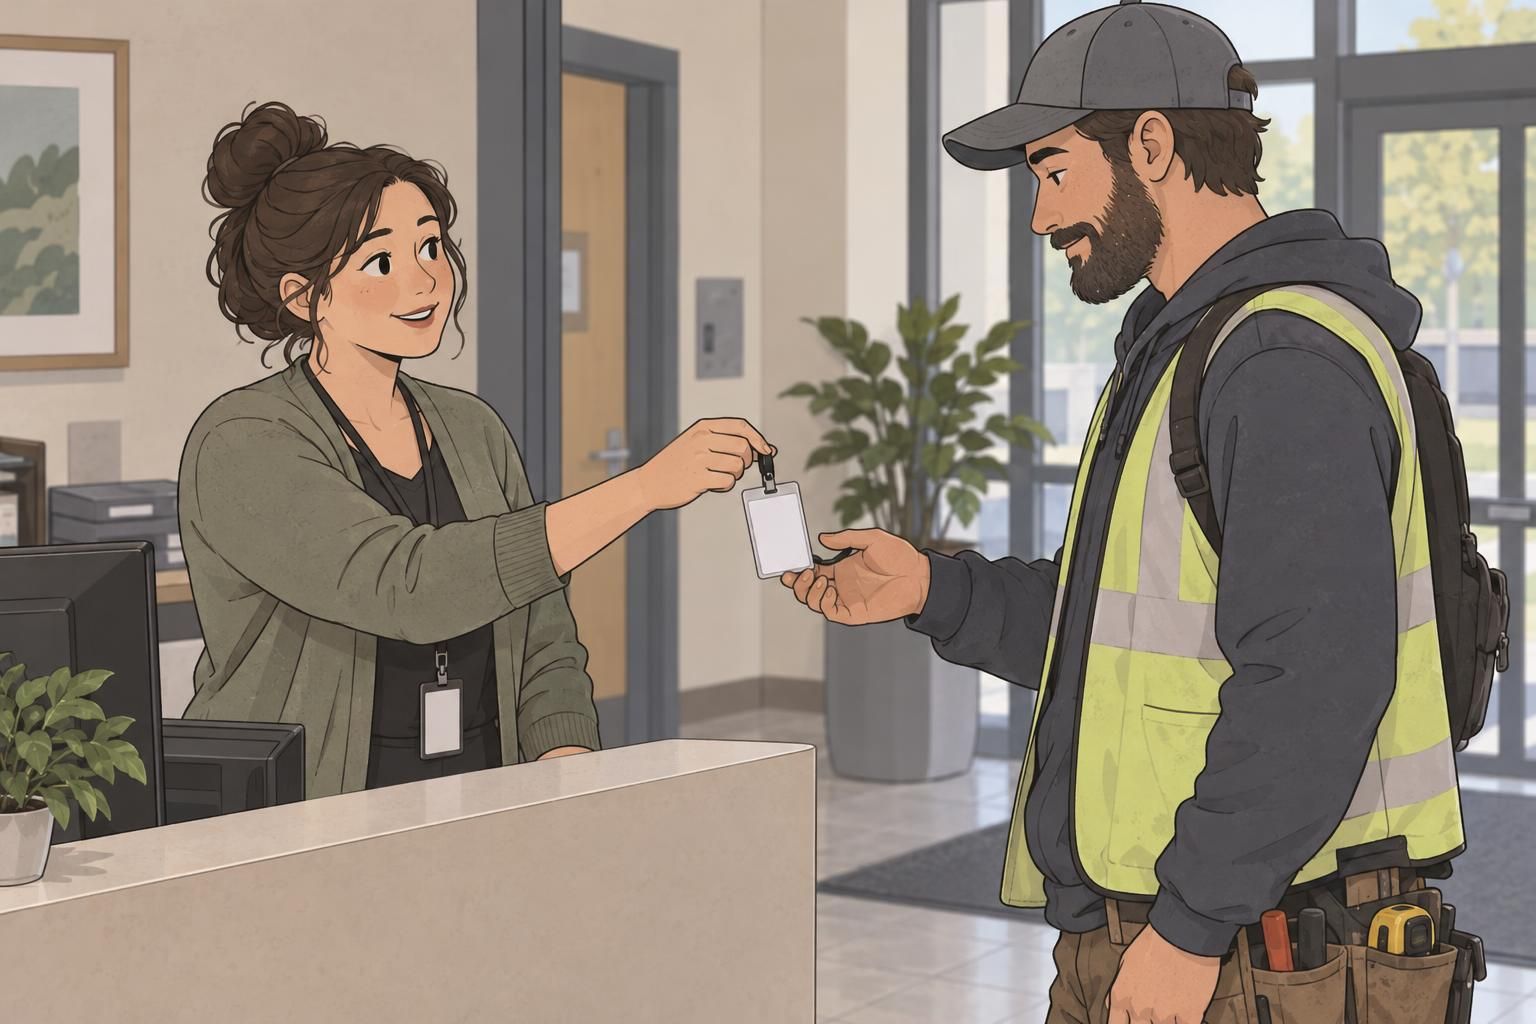
Visitor badge types also affect the work at reception. A format that suits occasional appointments may create unnecessary handling during a large event. Consider how many visitors arrive, whether arrivals cluster together, and how staff will issue and collect identification.
- Low-volume reception desks: Stickers offer a straightforward option for occasional one-time guests. Reusable holders are useful when visits are longer or a consistent display format is preferred.
- Steady daily visits: Printed inserts and reusable holders provide a repeatable routine. Staff can update each visitor’s details without replacing the entire holder.
- High-volume events: On-demand printing can produce individualized badges as people arrive. Digital passes can support check-in where the process accepts them, alongside visible badges when needed.
Plan the full handling cycle, not just issuance. Stickers avoid holder collection, while reusable formats need a return point and a way to separate returned items from ready-to-issue supplies. For busy arrivals, a consistent template helps staff enter the required information without redesigning each badge.
What information to include on a visitor badge
A useful guest badge answers the questions employees are most likely to have: who is this person, whom are they visiting, and is the badge still valid? Keep the layout readable and prioritize information that supports the visit. The badge does not need to display every detail held in the visitor record.
- Visitor name: Make the person’s name easy to find.
- Host or department: Identify the person or team responsible for the visit.
- Visitor category: Use a clear label such as guest, vendor, or contractor.
- Date or expiration time: Show the authorized period without ambiguity.
- Company affiliation: Include it when it helps staff understand the visitor’s role.
- Permitted area and escort status: Display these when the visit has specific restrictions.
- Photo, QR code, or unique number: Add these when the identification or recordkeeping process calls for them.
For visits needing closer identification, a photo can help staff recognize the badge holder. A QR code or unique number can connect the physical badge to a visitor record when supported by the process. Guidance on visitor photos, hosts, expiration, permitted areas, escort status, and record-linked badges is available from this source.
Keep record lookup separate from access permission. A code that retrieves a visitor record does not necessarily unlock a door. Likewise, an escort label communicates a condition of the visit; staff still need to follow the facility’s escort procedure.

Use printed inserts and clear role identification
Printed inserts make reusable visitor cards easy to update. Reception staff can print the current visitor’s name, host, date, and category, then place the insert into a clear holder. At the next visit, the information can be replaced without discarding the holder.
Use a consistent layout so employees know where to look for key details. Keep category labels distinct and meaningful: guest, vendor, and contractor should describe the visit rather than imply permissions that have not been approved. If colors help distinguish categories, retain written labels so the meaning remains clear.
Badge buddies can serve as companion identification items where additional role visibility is useful. For example, a clearly labeled contractor badge buddy can supplement the main credential. It should not obscure the visitor’s name, expiration, photo, or any code needed for the check-in process.

Set a consistent expiration, return, and recordkeeping process
Every temporary ID badge needs a clear end point. For a short appointment, that may be the end of the visit or a stated time. For a multi-day assignment, show the approved date range and define whether the visitor must check in each day. An extended project should trigger an approval review rather than an assumed extension.
- At issue: Confirm host approval, record the visit, and assign the correct validity period and permissions.
- At departure: Record checkout and collect reusable holders or cards according to the facility’s procedure.
- For access-enabled credentials: Deactivate permissions when authorization ends, whether or not the physical card has been returned.
- For lost or changed credentials: Replace the badge, update the record, and disable the previous credential where applicable.
The best choice among visitor badge types is the one that fits both the visit and the process around it. Clear identification, current information, host approval, visitor logs, and appropriate access procedures work together. Matching those elements makes badges useful from the first reception greeting through final checkout.