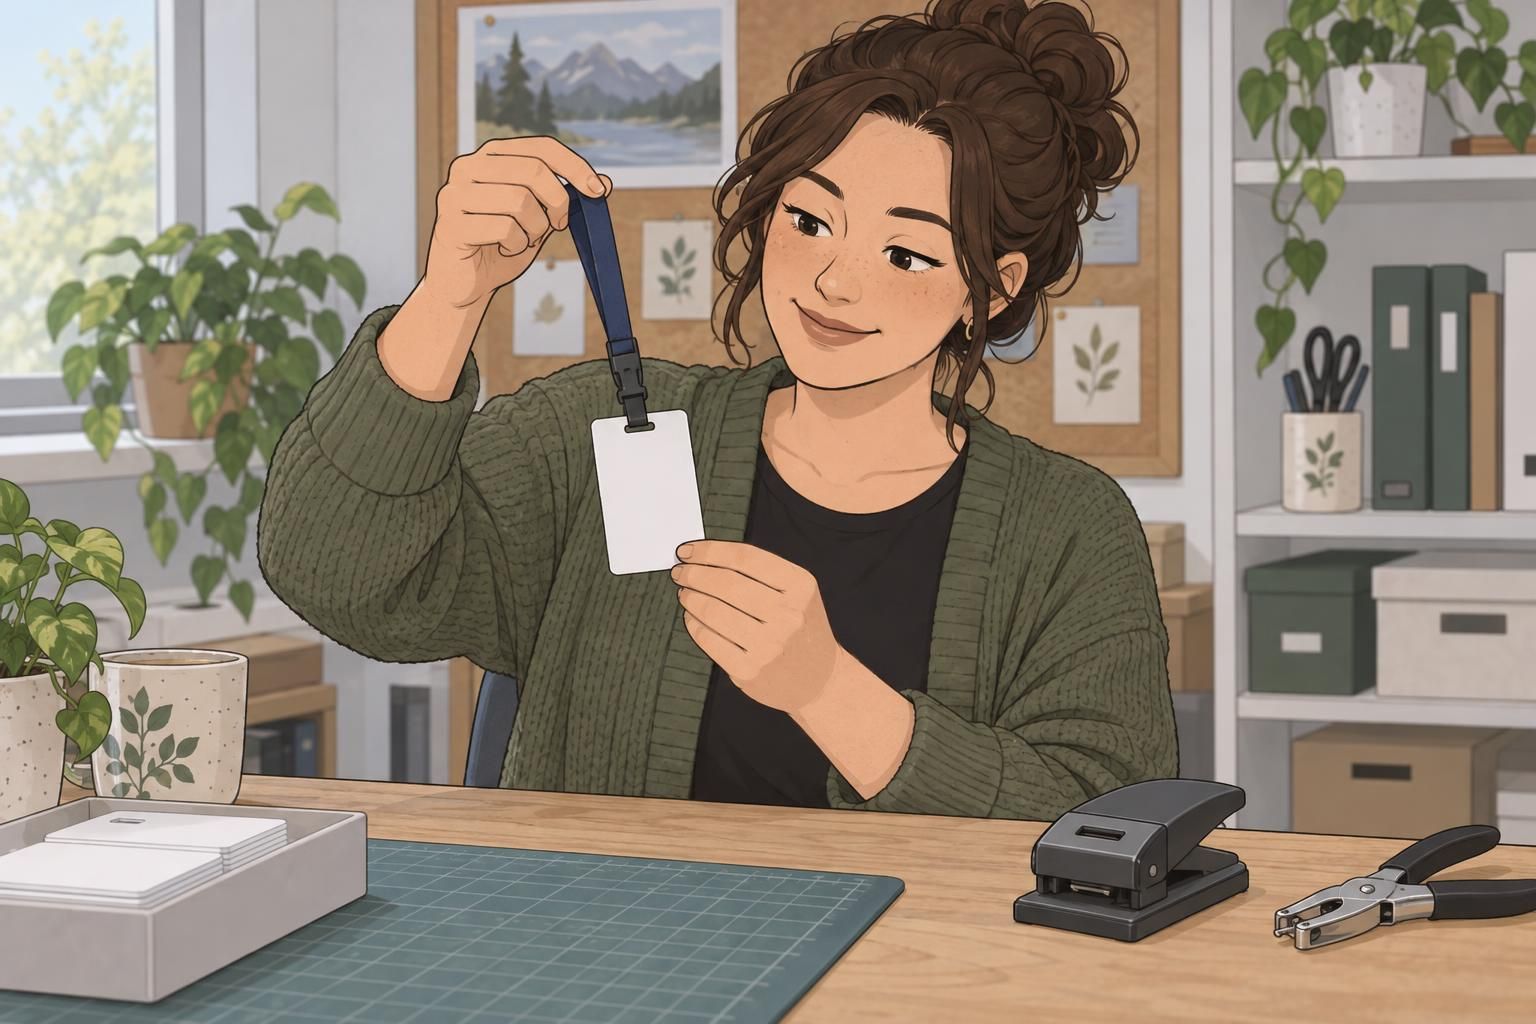
What a slot punch and round-hole punch do
A slot punch creates a rounded rectangular opening in a badge, while a round hole punch creates a circular opening. That difference determines how the attachment passes through the card, where it rests, and how much room it has to move. Choosing between them starts with the connector you plan to use—not simply whether the badge is paper or plastic.
A slot is typically suited to a compatible lanyard connector or flat strap clip. Its elongated shape provides room for the connector’s width without requiring an equally large opening in every direction. A round hole is often a better match for a pin shaft, ring, or small hook, provided the opening accommodates that particular attachment.
Neither opening is automatically the better choice for every badge. A neatly cut slot can still be unsuitable if the connector does not pass through it comfortably. Likewise, a clean circular hole will not solve a mismatch with a wide, flat connector. The goal is a compatible opening that lets the badge hang as intended during daily wear.
Choose the opening around the attachment first. Then confirm that the punch can cut the badge material and thickness cleanly.
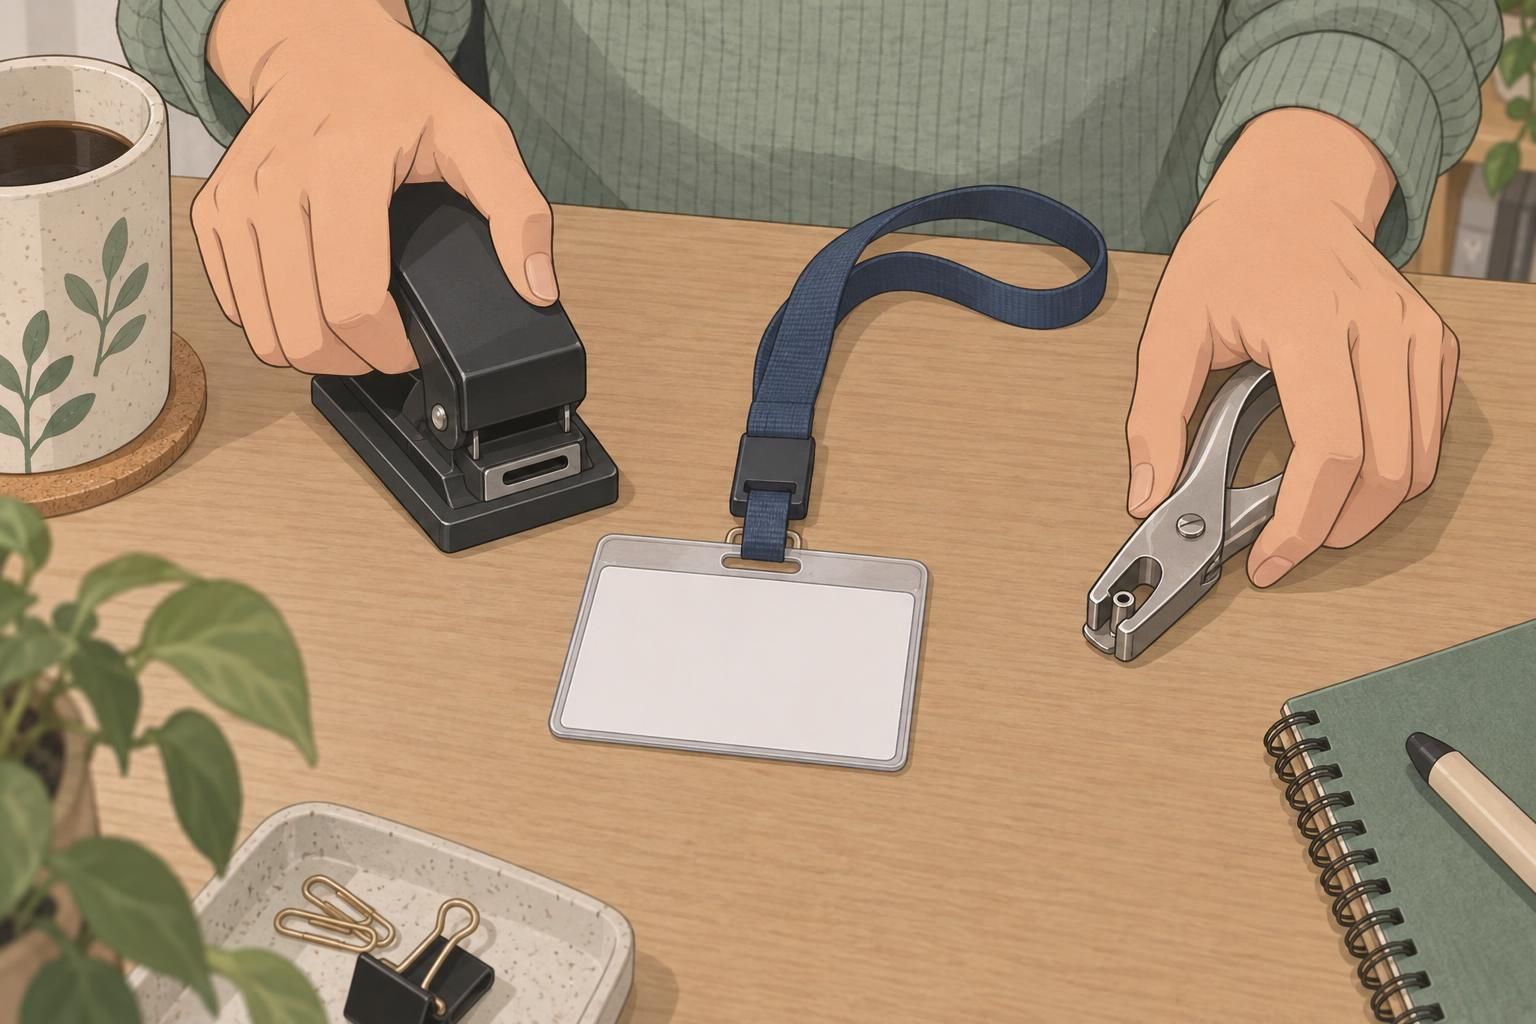
Round hole punch or slot punch: Match the opening to the attachment
Before choosing a tool, compare the connector’s width and thickness with the opening it produces. Look at the part that actually passes through the badge, rather than the overall size of the lanyard or clip. A connector may appear narrow from one angle but still be too thick to pass comfortably through a particular opening.
- For a flat lanyard connector or strap clip, check whether a slot provides enough width and clearance.
- For a pin shaft, ring, or narrow hook, check whether a round hole accommodates the part that passes through the card.
- Test the actual attachment on a sample badge rather than relying on appearance alone.
- Once attached, check whether the connector sits comfortably without excessive movement.
A lanyard slot should accept its compatible connector without forcing it through the card. At the same time, unnecessary clearance can allow more shifting than you want. The same principle applies to a circular opening: it needs enough room for the hardware, but making it larger is not automatically an improvement.
This sample check is especially useful when an attachment or badge material changes. A punch that worked well for a previous batch may not produce the right fit for the next combination.

Consider orientation and how the badge will hang
Opening shape influences how a badge moves once attached. A horizontal slot can help the badge hang predictably when paired with a compatible flat connector. A round hole allows the attachment to pivot more freely. That freedom may suit the connection, but it is worth checking how the badge settles during ordinary wear.
Decide whether the finished badge should sit vertically or horizontally before punching it. Then consider where the connector will rest within the opening. A horizontal slot describes the direction of the cut, not necessarily the orientation of the badge: a vertically worn card can still have a horizontal slot centered near its top edge.
Try the sample with the intended attachment and let it hang naturally. Check whether it rests in the intended orientation and whether the connector shifts noticeably within the opening. This is more useful than judging the punched card while it lies flat on a table.
For repeat work, an edge or centering guide can help keep placement consistent. Establish the position on a successful sample first, then use that reference for the remaining cards. Consistent placement helps avoid a batch in which otherwise matching badges hang differently.
Protect card longevity with careful placement
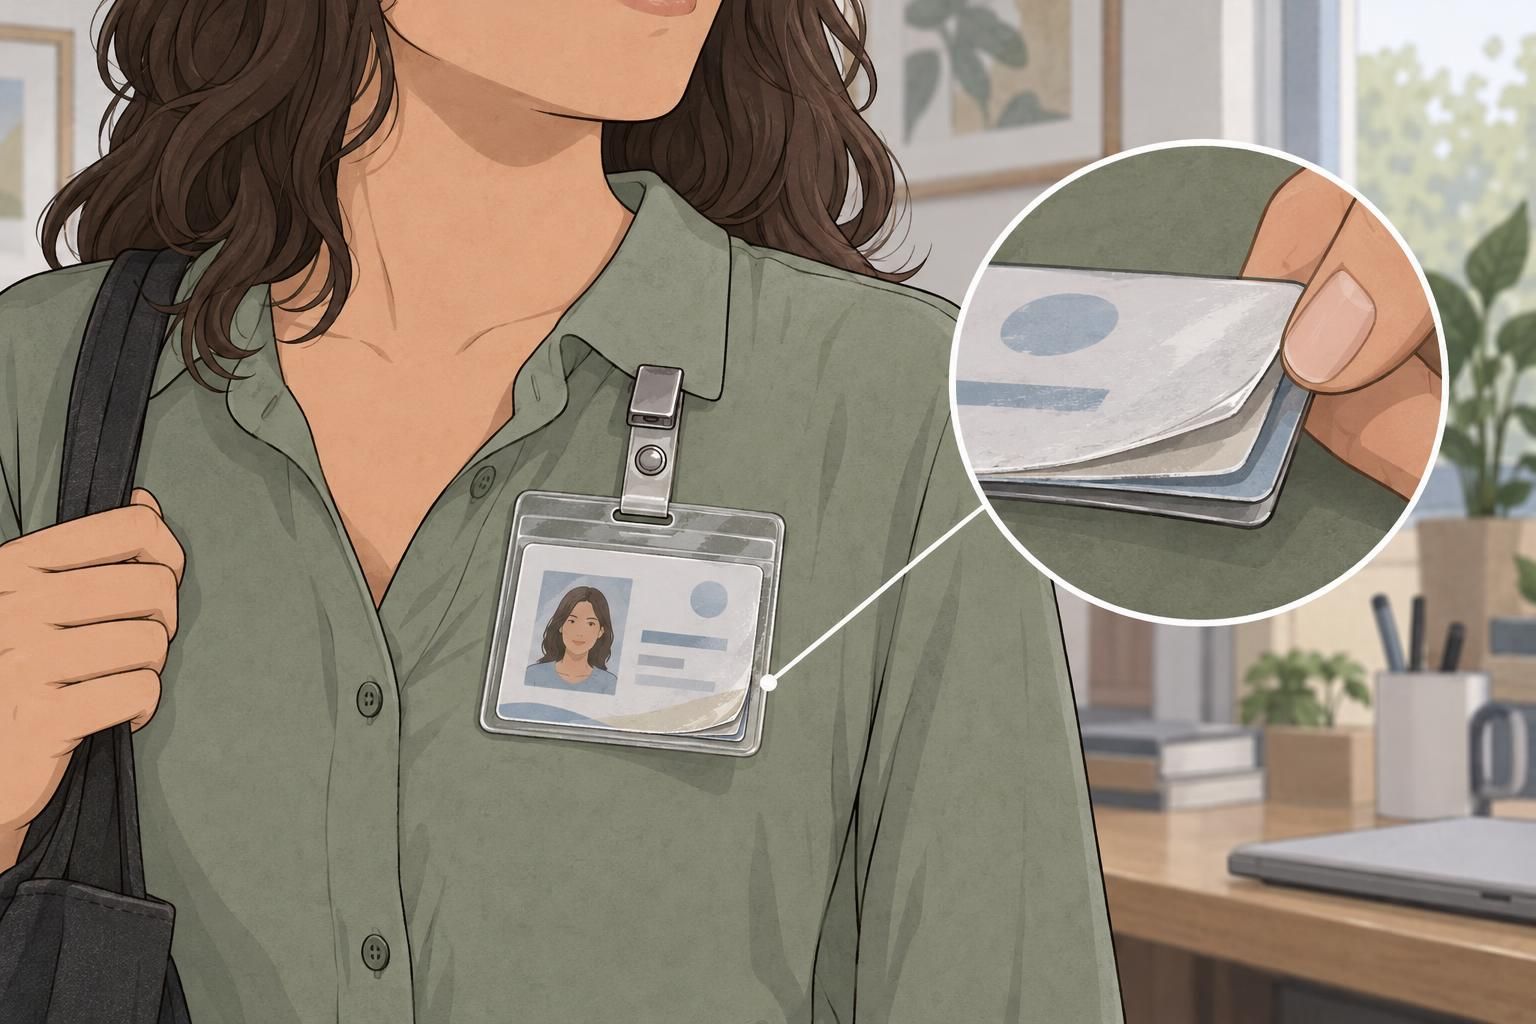
Both the opening’s shape and its distance from the card edge affect durability. A slot that is too wide or positioned too close to the edge can weaken the remaining material. A round hole also needs careful sizing: too small, and the attachment may not fit; too large, and the connection may allow pull-through.
There is no single placement measurement supplied here that applies to every badge. The practical choice depends on the exact card stock, opening, and attachment used together. Instead of copying a position from an unrelated card, make a sample with the materials intended for the finished batch.
- Check the intended opening position before cutting, including the space between the opening and the card edge.
- Punch a sample using the exact badge material and attachment combination.
- Attach the badge and check its fit and hanging position.
- After use, inspect the sample for tearing or changes around the opening.
Pay attention to the result over use, not just immediately after punching. An opening can look tidy at first yet show tearing once the attachment has moved against it. If the sample does not hold up, revisit the opening size, placement, or hardware fit before processing the rest.
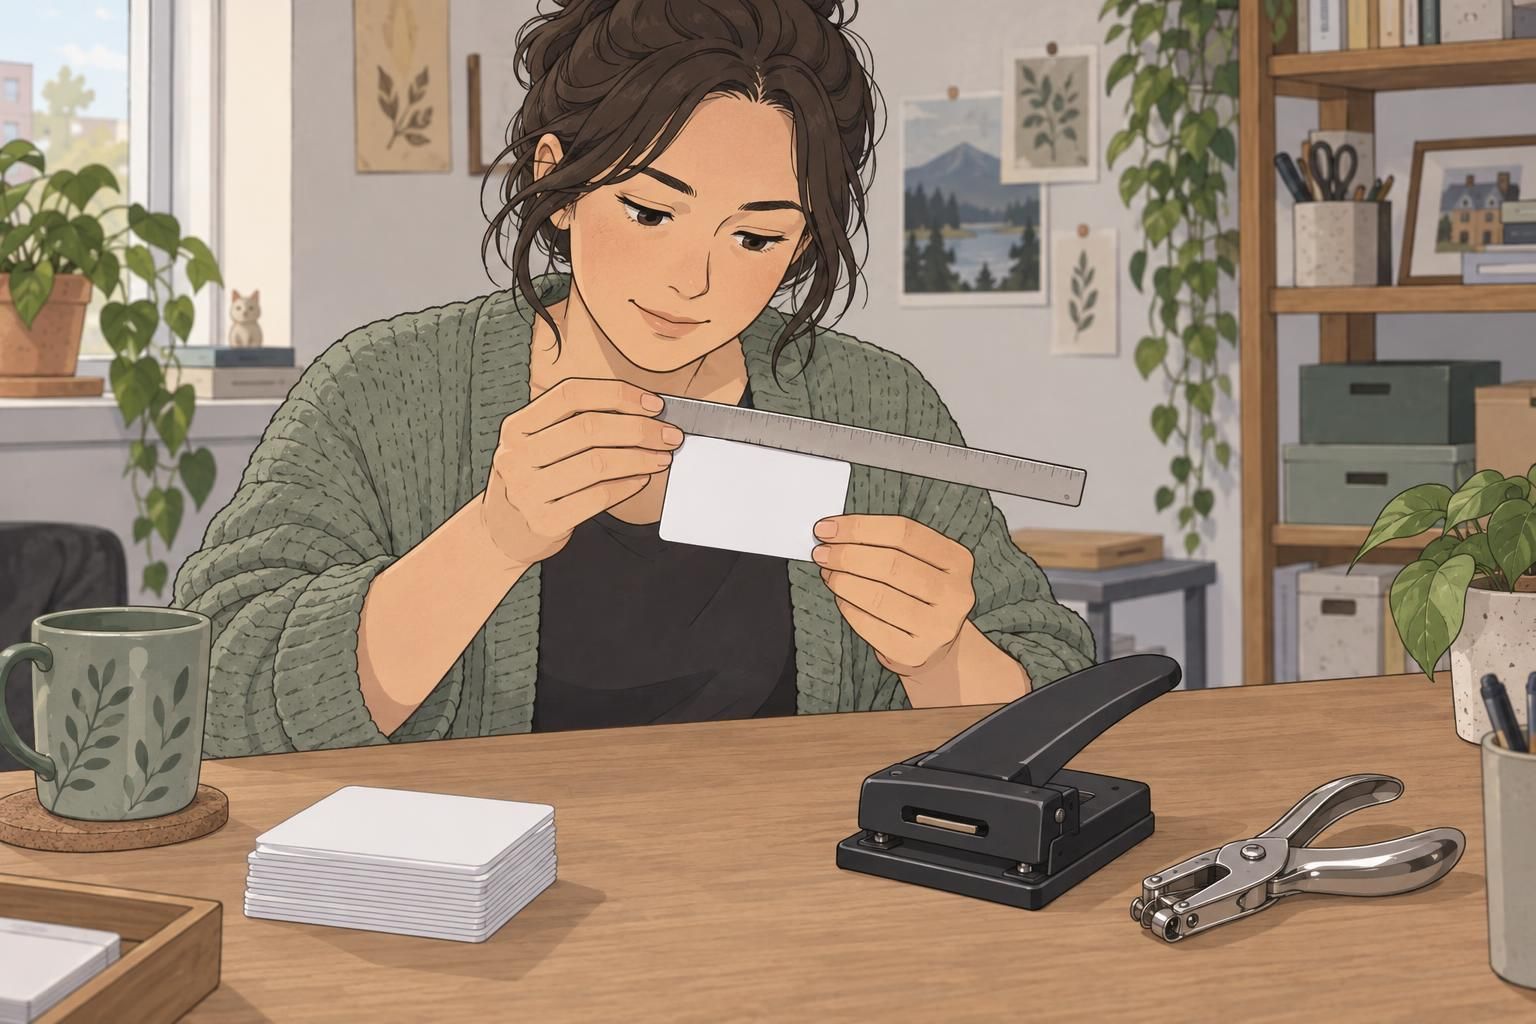
Choose punch options for the badge material and batch size
Once you know the opening shape and placement, check the tool’s material and thickness rating. A punch intended for paper may not cut plastic cleanly. Choosing a slot punch or round hole punch by opening shape alone leaves out an important part of the decision: whether it can produce a clean result in your actual badge stock.
For occasional cards or small batches, a compatible handheld model may be sufficient. For larger runs, a guided tabletop model may help maintain placement from one card to the next. The useful distinction is not simply handheld versus tabletop, but how well the tool supports the material and repeatability your work requires.
When comparing badge punch options, look for an edge or centering guide if consistent positioning is a priority. Guided slot punches are a product-category option worth considering for repeat placement; the All Things Identification collection provides relevant examples (source). Treat those product features as shopping guidance, not as an independent technical standard.
Confirm the setup on a sample before starting a run. A guide helps repeat a position, but it cannot determine whether that position suits your connector or leaves enough material near the edge.
Use badge hole types to make a practical selection
The simplest way to compare badge hole types is to work from the connection outward. Start with what must pass through the card, then choose the opening, placement, and tool that suit it. This keeps the decision focused on fit, daily wear, and a repeatable result rather than on the appearance of the hole alone.
- Identify the attachment and measure the connector’s width and thickness.
- Choose a slot for a compatible flat connector, or a round opening for a compatible pin, ring, or hook.
- Confirm that the punch is rated for the badge material and thickness.
- Set the opening position for the intended badge orientation and edge spacing.
- Punch and wear-test a sample, then inspect it before processing the batch.
For a lanyard or flat clip connection, a slot punch is often the practical starting point. For a narrow attachment that benefits from a circular opening, a round hole punch may be the better fit. In either case, the sample should confirm that the badge hangs as intended without excessive movement or signs of tearing.
The right opening is the one that fits the attachment, supports the intended orientation, and holds up in the actual card material. Test that combination once before repeating it across a batch.