Why badge hole placement affects durability
Good badge hole placement helps an ID card stay intact and hang the way it was designed to be read. The opening may be small, but it changes how pulling and twisting forces move through the badge. Its location deserves the same attention as the card layout and attachment.
When a lanyard or clip pulls on a badge, the material around the opening carries that load. A cut close to an edge leaves a narrow strip to resist the pull. An off-center attachment can also make the card tilt, while twisting concentrates stress around the opening. Rough cuts or existing weak points can make those problems worse.
Placement alone does not determine the result. Badge stock, laminate, opening shape, and attachment all work together. A location that performs well on one card may not work equally well on a thinner, more brittle, or differently finished badge. The useful question is not simply, “Where should the hole go?” It is, “Will this opening, in this material, support this attachment during everyday use?”
Treat the hole as part of the badge design, not a finishing detail. Plan its position before cutting, then confirm that the completed badge stays intact, hangs straight, and remains easy to read.
Choose center or end slot punch placement
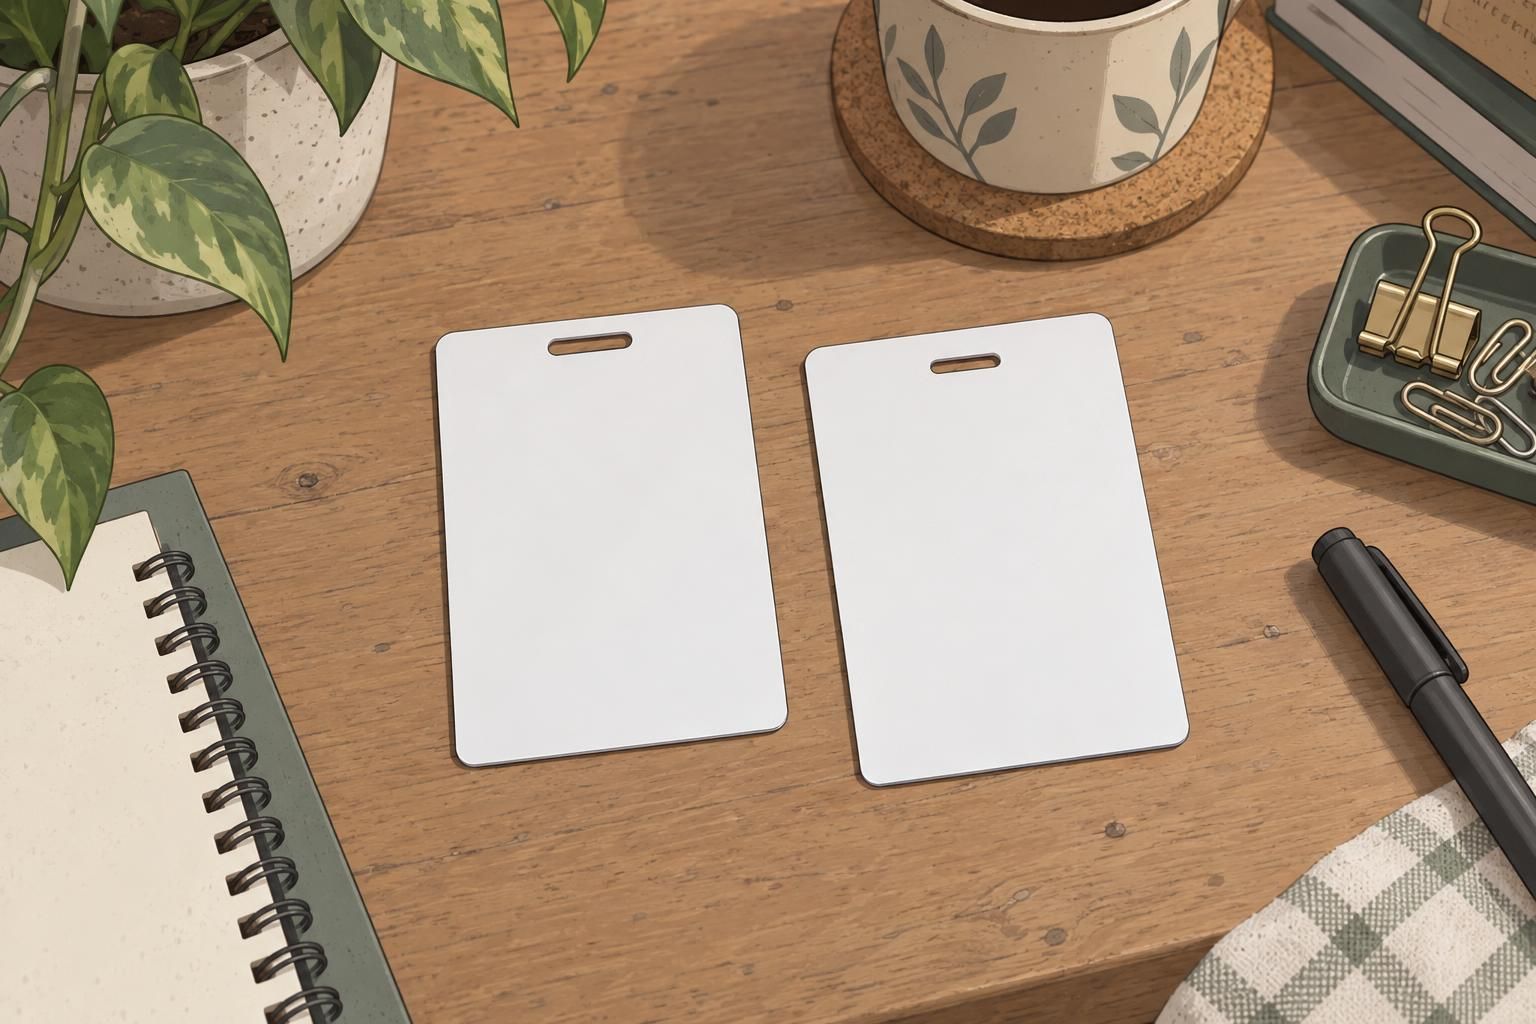
A centered opening near the intended top edge is a practical starting point when a badge needs to hang level from a single attachment. Keeping the attachment near the middle helps balance the card. This is different from punching through the center of the card face: the opening still belongs in a planned attachment area near the top.
End placement moves the opening toward one side of that top edge. It may suit a particular clip or wearing arrangement, but the badge can hang at an angle because its weight is no longer balanced beneath the attachment. It also brings the cut closer to a side edge, so check the material remaining both above and beside the opening.
Slot punch placement should follow the attachment’s shape and movement. A slot may accommodate some clips or lanyard fittings better than a round hole, but a wider opening still needs sufficient surrounding material. Neither a centered slot nor an end slot is automatically stronger; the complete arrangement matters.
- Choose a straight, supported area that allows the attachment to sit properly.
- Keep the opening away from corners, folds, seams, and other weak points.
- Check the nearest edge around the entire opening, including both ends of a slot.
- Try the actual attachment before committing to a batch.
Set a safe edge margin and protect the card
The edge margin is the material between the boundary of the opening and the nearest outside edge of the badge. Measure from the cut itself, not from the hole’s center. A narrow strip is more vulnerable to pulling out or tearing because less material remains to carry the attachment’s load.
A margin of 1.5–2 times the material thickness can be a practical starting point for evaluation, but it is not a universal badge specification or a guaranteed safe minimum. This sheet-metal design source supports the general principle that openings need sufficient material between the cut and an edge. Its guidance comes from a different material context and should not be transferred directly to badge stock.
That distinction matters especially for thin cards: a thickness-based calculation can produce a very small margin without demonstrating that the badge will withstand daily handling. Brittle stock, laminated constructions, and frequently used badges also require testing on the actual finished material. Do not assume that a clean-looking opening proves the margin is adequate.
Badge durability depends on edge distance, material, and expected use together. Evaluate the proposed margin on a finished sample, and leave more material or reconsider the attachment arrangement if the area shows damage during testing.

Align the hole with vertical vs horizontal ID orientation
Decide which edge is the top before marking the punch location. For a portrait badge, that is usually a short edge; for a landscape badge, it is usually a long edge. The vertical vs horizontal ID decision therefore changes where the opening belongs, even when the same card stock and attachment are used.
Check the completed design in its intended wearing position. The photo, name, and other identification details should read correctly when the attachment supports the badge. A hole placed for portrait use will not necessarily support a landscape layout properly. Turning the artwork without moving the punch location can leave the finished card hanging sideways.
Consistent badge hole placement helps badges hang predictably across a batch. A visibly asymmetric layout, such as a clearly defined photo and name area, also makes the intended top easier to recognize. These choices help prevent orientation mistakes, but they do not guarantee that a badge cannot rotate or flip; attachment movement still matters.
- Identify the intended top edge on the production layout.
- Use a template, registration mark, or punch guide to repeat the position.
- Check alignment against the finished card edges rather than estimating by eye.
- Hang a sample and confirm that the design reads correctly before punching the remaining badges.

Match the punch and attachment to the badge
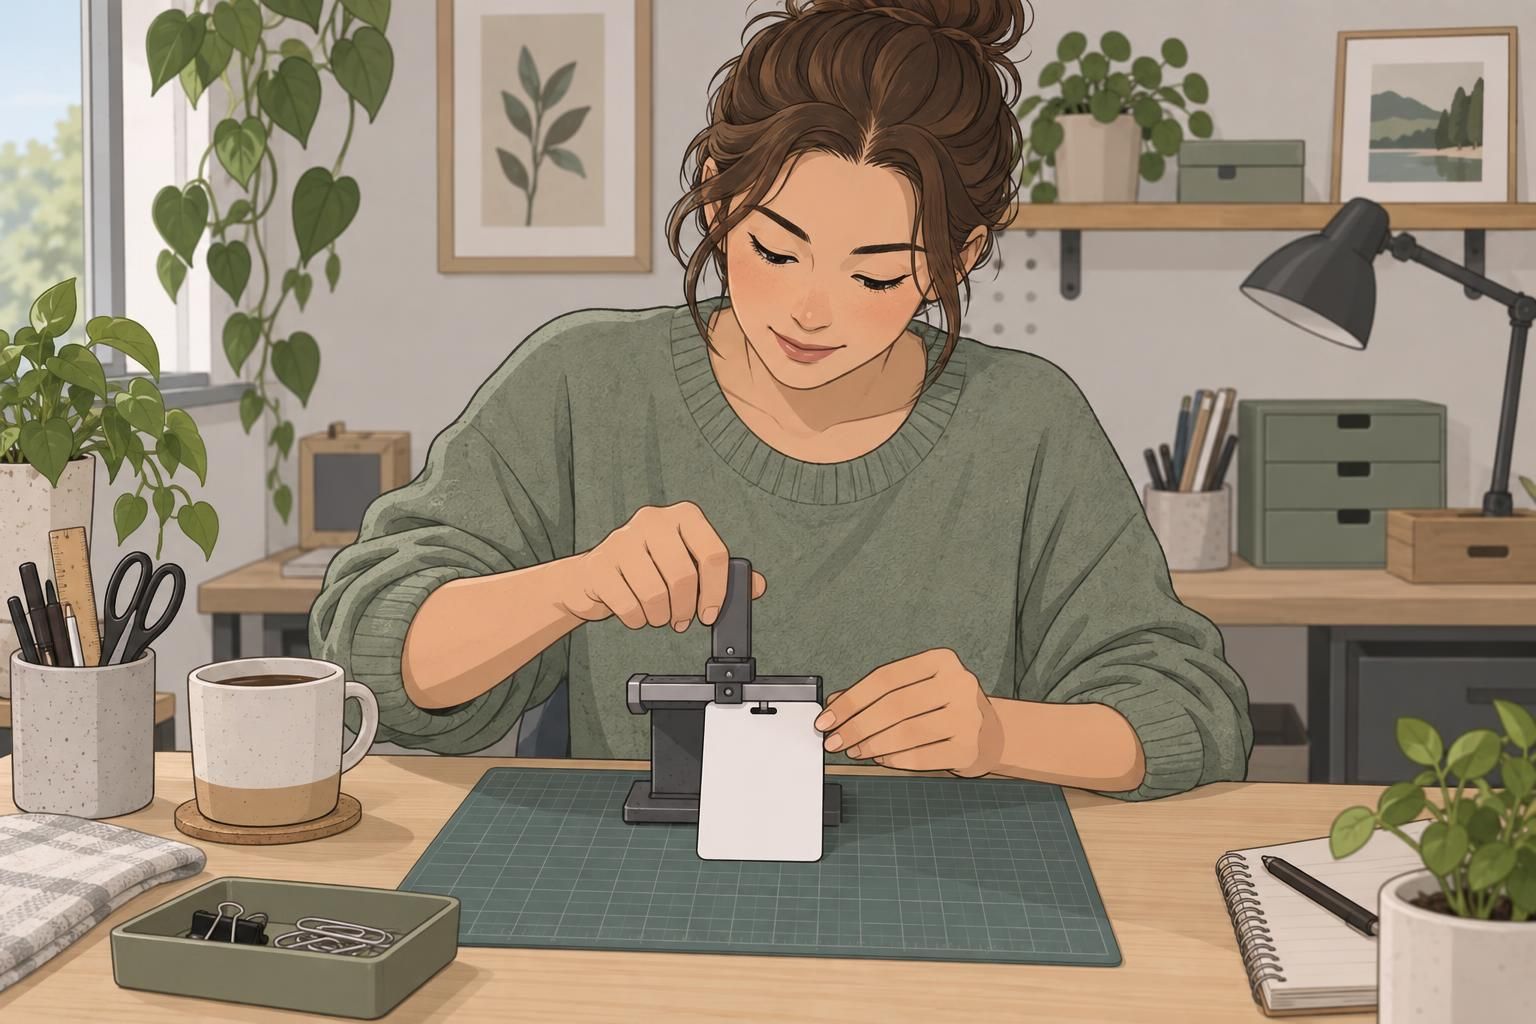
Use a sharp, properly aligned punch that is compatible with the badge material and finished thickness. Support the card during cutting so it does not shift or bend unnecessarily. A well-planned location can still become a weak point if the tool leaves a ragged edge, distorts the opening, or damages the surrounding material.
Plan slot punch placement around the actual clip, lanyard, holder, or other fitting—not just a picture of it. Check that the attachment passes through the opening and sits as intended without forcing or distorting the card. Also confirm how it moves once the badge is hanging; a fitting that twists against the opening can change how the card behaves.
If the badge will sit inside a holder, assess the whole assembly before deciding whether the card itself needs punching. The relevant attachment point may be on the holder. For a directly attached badge, check that the opening leaves the identification area readable and retains adequate material around every side.
Make one complete sample before producing many badges. Use the intended stock, finished laminate, punch, and attachment so the trial reflects the arrangement people will actually wear.

Inspect and test finished badges
Inspect the opening after punching, then check it again after testing. Look for cracks, jagged edges, whitening around the cut, separated laminate layers, and visible deformation. Compare samples for inconsistent placement, particularly where an opening has drifted closer to an edge.
Test sample badges with the finished laminate and intended attachment. Pull, twist, and flex them in ways that reflect expected handling, watching the area around the opening. Check whether the badge hangs level, turns sideways, or repeatedly flips. A sample that looks tidy on the worktable may behave differently once attached and worn.
- Inspect the cut and surrounding material before testing.
- Attach the finished badge and check its resting orientation.
- Apply representative pulling, twisting, and flexing movements.
- Reinspect for damage and adjust placement or the attachment arrangement if needed.
- Repeat the test after changing stock, laminate, punch settings, or attachments.
For RFID cards, confirm that the planned punch location avoids the antenna before cutting. Do not assume that an apparently blank area is safe. Verify reading performance after punching as well as checking the physical condition of the card.
Reliable badge hole placement comes from treating balance, edge margin, material, and attachment as one decision. A repeatable setup and a tested sample help keep workplace identification intact, correctly oriented, and ready for everyday use.