
Start with the purpose of a visitor badge
A visitor badge template should answer three practical questions: Who is this person? Is their pass current? Where are they permitted to go? A useful badge makes those answers easy to find without turning a small printed pass into a complete visitor record. Start with the information staff need to recognize and assist someone during the visit.
The badge and the visitor log serve different purposes. The badge provides visible identification, while a secure visitor log holds detailed contact information, approvals, and visit records. A badge ID can connect the physical pass to its check-in record without displaying everything in that record. This separation supports a practical balance between identification and privacy; see this visitor badge source.
Before adding a field, ask whether a staff member needs to read it on the badge. A host name may help someone direct a visitor. A personal phone number usually belongs in the secure record instead. That distinction keeps the badge useful while limiting unnecessary exposure.

The essential fields for a visitor badge template
For many offices, a minimum useful template includes six fields. Together, they establish visitor status, identify the person and host, show when the pass is current, and provide a reference to the visit record. Give each field a clear label rather than expecting staff to interpret an unlabeled name, number, or time.
- VISITOR label: Make the person’s visitor status immediately recognizable.
- Visitor’s name: Display it prominently so staff can read it quickly.
- Host: Identify the person the visitor is meeting.
- Issue date: Show which day the badge was issued.
- Expiration time: State when the pass is no longer current, using a clear label such as VALID UNTIL.
- Badge ID: Provide a reference that connects the printed pass to the secure check-in record.
Keep the name and VISITOR label prominent, with the expiration information easy to locate nearby. The host and badge ID can occupy supporting positions without becoming difficult to read. An issue date and expiration time should work together: a time alone does not tell staff whether the badge was issued today or on a previous day.
A clear badge is not the same as a detailed record. Put recognition and validity information on the pass; keep the fuller visit history in the secure visitor log.
Optional guest badge fields to add when useful
Optional guest badge fields should solve a specific operational problem. Adding every available field can make the essential details harder to find. Consider how staff actually use the badge, then include only the additional information that helps them recognize, direct, or assist the visitor.
- Company or affiliation: Useful when the organization a guest represents helps distinguish the visit.
- Destination or access zone: Helpful when staff need to know which area the visitor is permitted to enter.
- Photo: Appropriate when the organization’s policy calls for a visual identity reference on the pass.
- Return instructions: A short direction, such as RETURN TO RECEPTION, can tell visitors what to do with the badge when leaving.
For example, a site with restricted areas may benefit from a clearly named destination. A low-risk office may need only the visitor’s name, host, and validity details alongside the standard identification fields. Neither setting needs unrelated information simply because space is available. Review each optional field against the purpose of the visit and the organization’s policies.

What to leave off the visible badge
A visitor badge is meant to be seen, so its contents should be appropriate for people nearby to read. Personal contact details and sensitive explanations for a visit do not help most staff identify or direct a guest. Keep that information in the secure visitor record when it needs to be collected.
- Leave personal phone numbers, email addresses, and home addresses off the visible pass.
- Do not print sensitive reasons for the visit.
- Never include passwords or door codes.
- Keep detailed access instructions off the badge; use a concise destination or access-zone label when needed.
Apply the same restraint to QR codes. Treat a code as an identifier or a controlled lookup key, not as a place to expose personal information. Moving unnecessary details into a scannable code does not make them appropriate badge content. The visible layout and any encoded information should follow the same privacy-minded approach.
Make the visitor badge design readable and uncluttered
Good visitor badge design establishes a clear reading order. Staff should notice the visitor status and name first, then find the expiration information without searching. Use clear type, strong contrast, and a simple arrangement. Supporting details should remain readable, but they should not compete with the information people need most often.
Keep the organization’s logo secondary. A large logo or decorative background can consume space needed for a longer name or a clear validity line. When the layout feels crowded, reconsider optional fields before shrinking all the text. Removing an unnecessary line often preserves clarity better than squeezing every detail into the same space.
Color coding can support recognition, but pair it with text. If a color identifies a visitor category or permitted area, write that category or area on the badge as well. Staff should not have to remember a color key to understand the pass. Review a printed sample to check whether the name, status, and expiration still stand out.
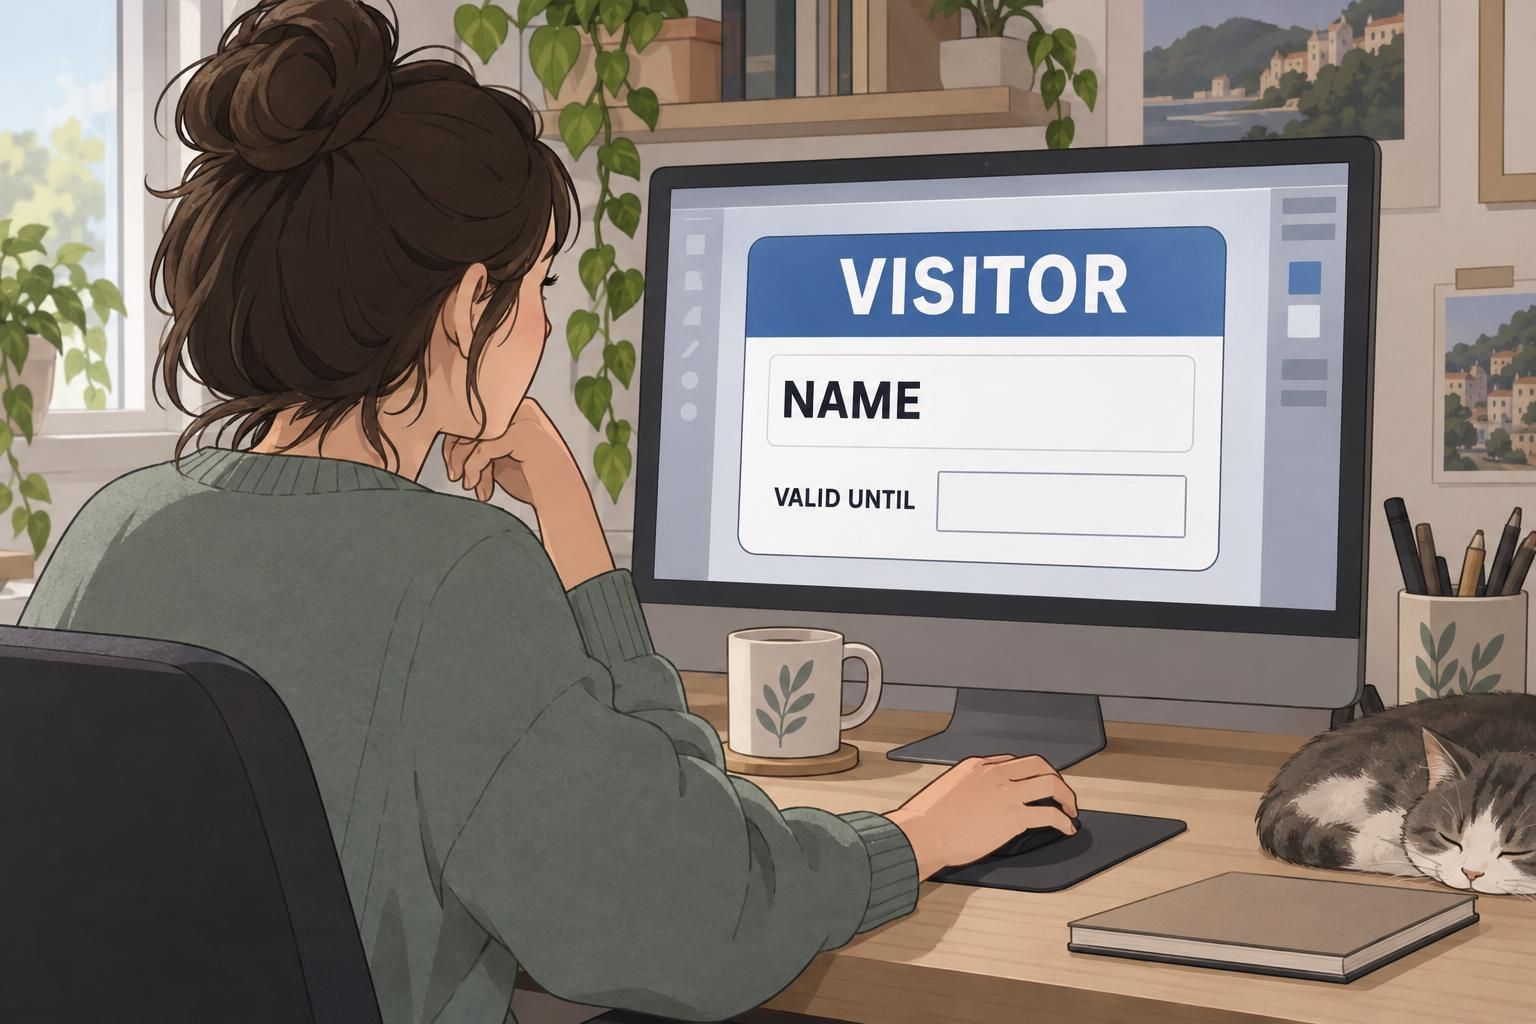
Adapt a reusable template to visitor types
A reusable visitor badge template can provide a consistent foundation without forcing every visitor category into an identical set of fields. Visitors, contractors, and delivery personnel may need different supporting details. Keep the overall layout familiar, then adjust the category label and optional information to suit the setting.
For instance, a guest meeting a host may need the host’s name prominently displayed, while a contractor’s badge may also benefit from a destination or access-zone field. The goal is not to build one crowded master badge. It is to maintain a recognizable format while displaying information relevant to each category.
Review the template alongside organizational policies. Decide when photos are appropriate and establish how visitor records will be retained. These decisions belong in the visitor process, not in improvised choices made during each check-in. A consistent template works best when staff also understand which fields to complete and which details belong only in the secure log.
A practical baseline visitor badge template
The following example combines the essential fields with a few clearly identified additions. The company line is optional, while the issue time and return instruction provide extra context. Keep the logo small enough that the visitor’s name, status, and validity information remain the focus.
- Organization logo: [Small logo]
- Status: VISITOR
- Name: MAYA CHEN
- Company, if needed: [Company or affiliation]
- Host: JORDAN LEE
- Issued: NOVEMBER 4, 2026, 10:00 AM
- Valid until: NOVEMBER 4, 2026, 4:00 PM
- Badge ID: 104
- Return instruction: RETURN TO RECEPTION
A low-risk office can start with the essential fields and leave out the optional company line. Add a destination, photo, or other detail only when it serves a clear operational purpose. Before reusing the template, check that staff can quickly find the visitor’s name, identify the host, and determine whether the pass is current.
The best baseline is a focused one: identify the visitor, show the pass’s validity, and connect it to the secure record. Add useful context without letting it crowd out those essentials.