What platen press lamination does
A credit-card style badge starts as separate materials, not a single finished piece of plastic. Platen press lamination brings those materials together, bonding printed and protective layers into a unified PVC sheet. That sheet is then cut into individual cards with the firm, smooth construction people recognize from everyday identification cards.
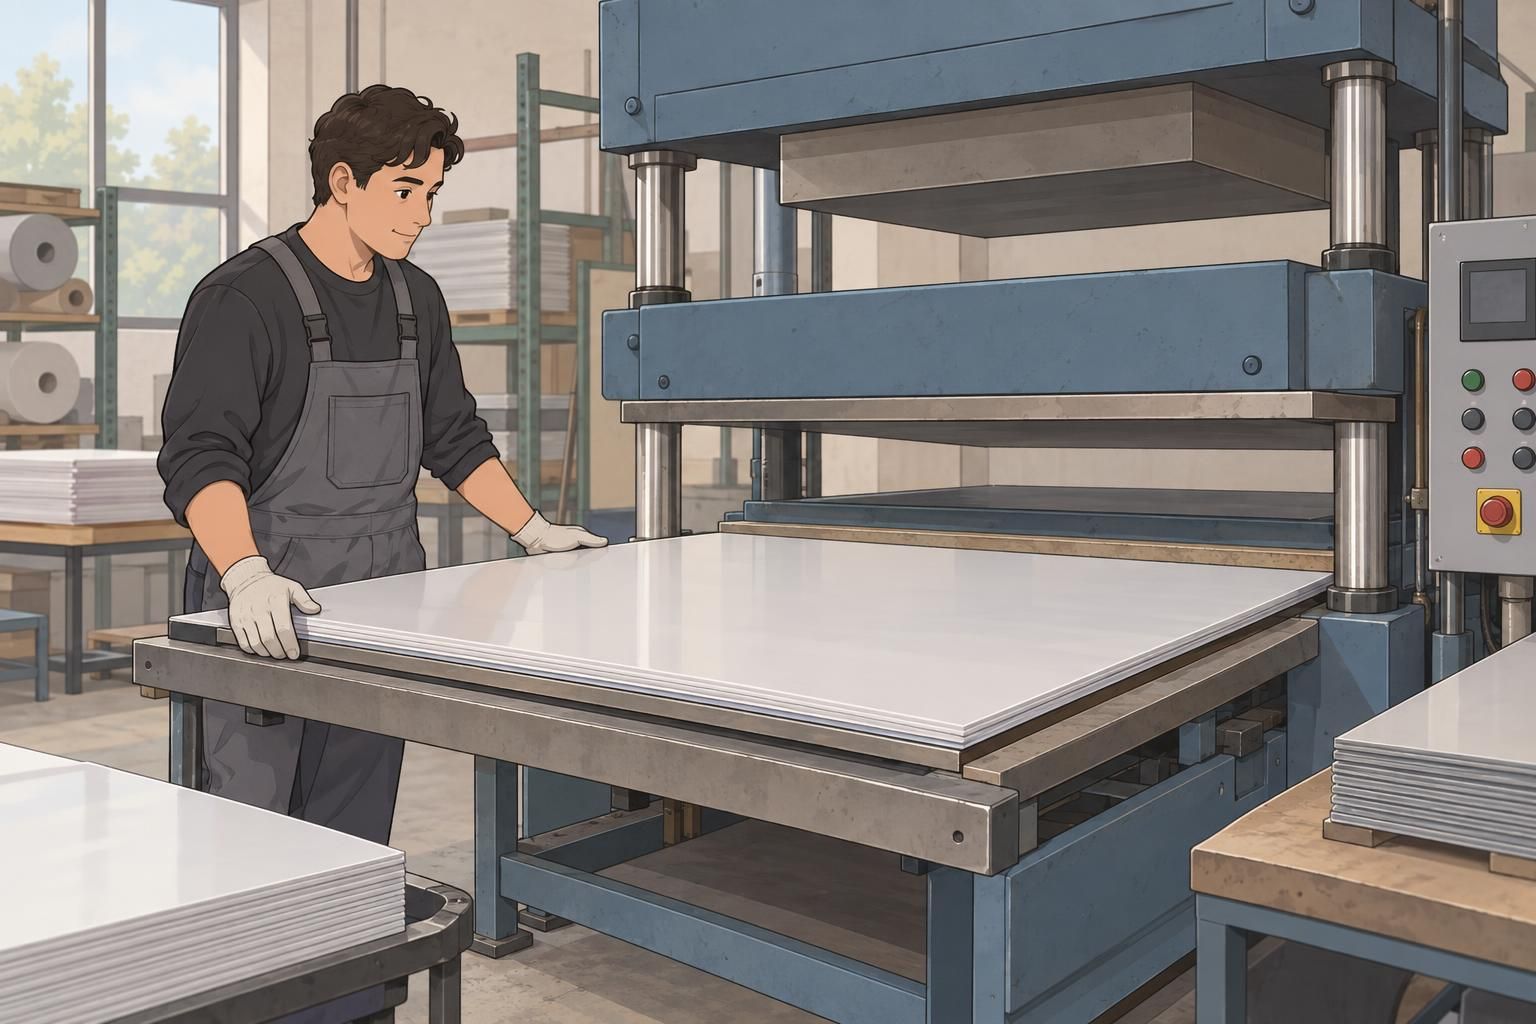
The word “platen” refers to the flat pressing surfaces that compress the layered sheets. Heat allows the compatible bonding materials to soften, while pressure brings the layers into close contact. Cooling while the stack remains compressed helps stabilize the finished laminate before it moves to cutting and finishing.
This sequence connects PVC fusing with the broader work of ID card manufacturing. The printing establishes the appearance, the pressing creates the bonded construction, and the finishing establishes the card’s shape. Each stage contributes to the result: a badge that looks organized, feels substantial, and carries its design within a layered structure.
Printing and preparing the PVC layers
Preparation begins with PVC or composite-PVC core sheets and the graphics intended for the finished badges. Depending on the construction, the design may be printed on the core or prepared as a separate printed layer. Clear overlay films are placed over the artwork to form a protective outer layer.
These materials must work together during pressing. An ink that looks good immediately after printing is not necessarily suitable for the heat-and-pressure stage. The core, printed graphics, overlays, and any bonding materials need to be compatible with the intended process so they can become a consistent laminate.
- Prepare the core sheets that provide the badge’s central structure.
- Print or prepare the graphics in the positions intended for the finished cards.
- Select clear overlays and bonding materials suited to the sheet construction.
- Check that the prepared layers are clean and ready for alignment.
Careful preparation gives the next stages a reliable starting point. Pressing can consolidate a suitable stack, but it cannot correct artwork that was prepared in the wrong position or make incompatible materials perform as intended.

Registering the layers before pressing
Registration means aligning the layers so that their artwork and features occupy the correct positions in the finished cards. Before pressing, the core, printed layers, and clear overlays are brought together in their intended order. Any suitable functional components must also be positioned within the planned construction.
Think of a sheet containing several badge designs. Each design needs to line up with the area that will eventually be cut into a card. If a printed layer shifts relative to the core or cutting position, a border may look uneven or an important design element may sit too close to an edge.
Accurate registration therefore connects printing with finishing. It is not enough for the layers to look aligned as a loose stack; their positions must suit the final card layout. Taking care here helps platen press lamination preserve the intended arrangement rather than permanently bonding a misaligned design.
Alignment happens before bonding. Once the layers form a unified sheet, cutting defines the card edges but does not reposition the artwork inside them.
Heat and pressure: how PVC fusing works
The aligned stack is placed between flat platens for the heating and compression stage. As heat reaches the layered materials, the compatible bonding material softens. Pressure holds the surfaces together and consolidates the stack, allowing the separate layers to form a unified laminate.
In practical terms, PVC fusing is the transition from a collection of prepared sheets to a bonded construction. The goal is not simply to warm the plastic or squeeze it flat. Heat and pressure must work together so the layers bond consistently while preserving the intended appearance and structure.
Exact temperature, pressure, and dwell time depend on the materials and equipment. A setting suitable for one stack should not be treated as a universal recipe for another. The overall sequence of sheet collation, platen heating and compression, cooling under pressure, and die-cutting is described in this source.
For readers comparing badge constructions, the important point is the relationship between the stages. Pressing establishes the bond, but the laminate still needs controlled cooling and finishing before it becomes a usable card.
Cooling under pressure and checking the laminate
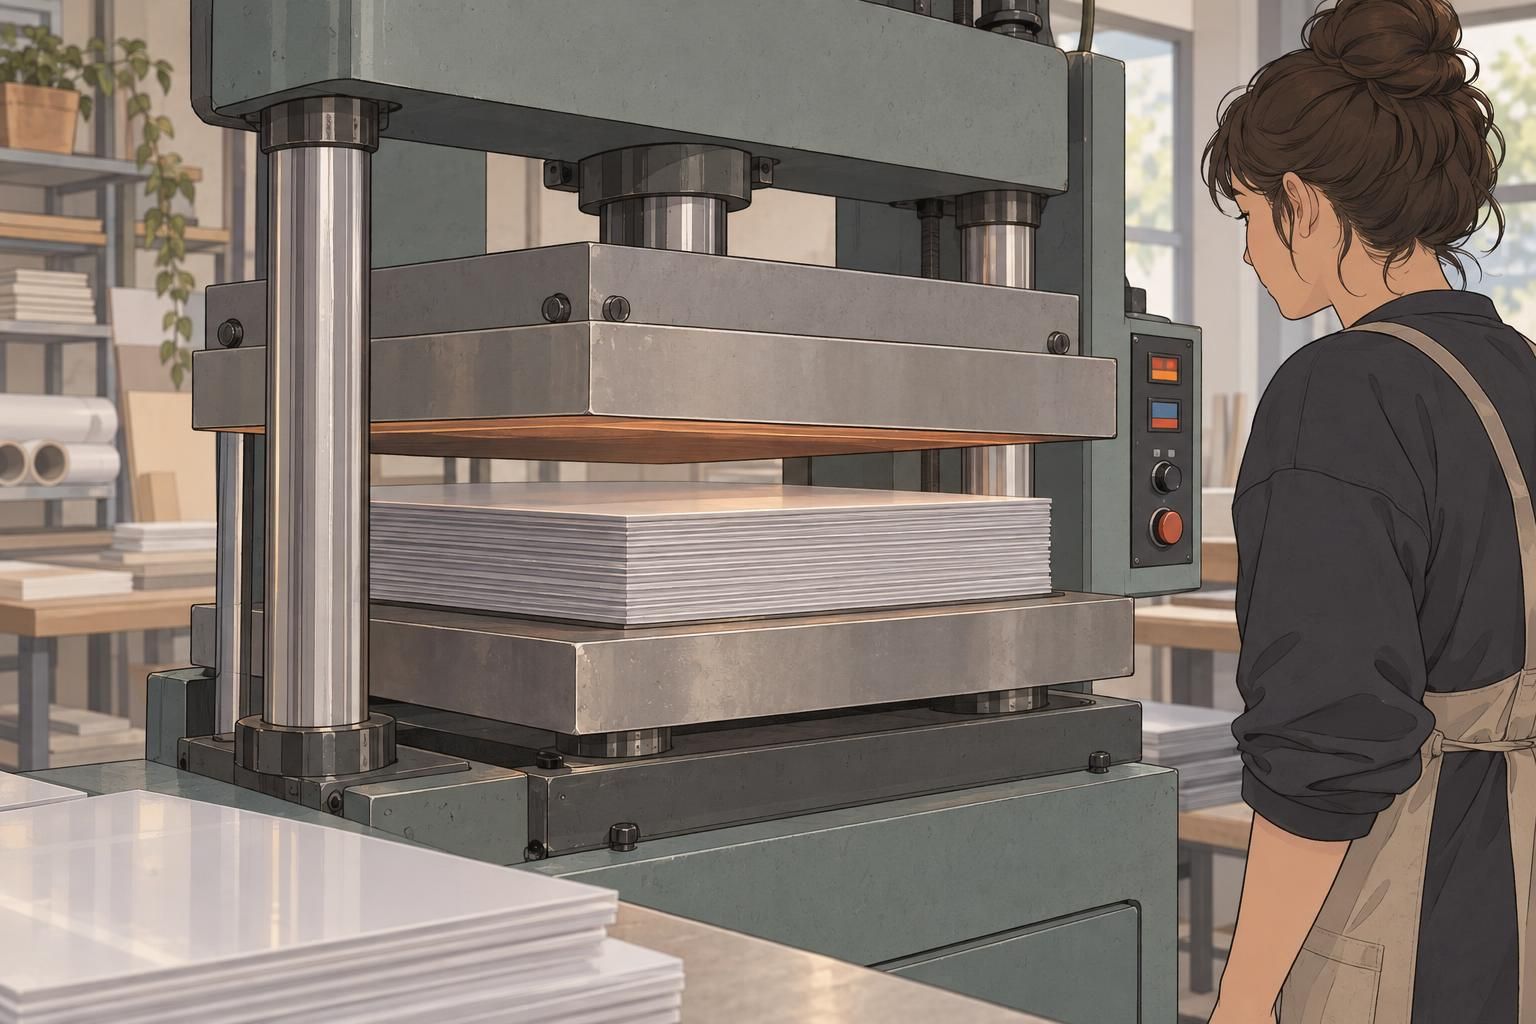
After heating and compression, the stack is cooled while it remains under pressure. This gives the layers time to stabilize as the softened bonding material sets. Keeping the construction compressed during this transition helps maintain the intended flat, consolidated form.
Cooling is therefore part of the bonding process, not just a pause before handling. The sheet needs to reach a stable condition before it can move confidently into trimming and cutting. As with heating, the appropriate cooling conditions depend on the particular construction and equipment.
- Flatness: Does the cooled sheet lie evenly rather than showing obvious distortion?
- Surface condition: Are the outer faces clean, smooth, and consistent?
- Bond consistency: Do the layers appear securely joined without visible separation?
- Appearance: Has the printed design retained its intended alignment and presentation?
These checks focus on the result rather than prescribing machine settings. A laminated sheet should be assessed as a complete construction: its surface, shape, and bonding all matter to the quality of the cards cut from it.
Trimming sheets and rounding card corners
Once the bonded sheet has cooled and passed the relevant checks, it can be trimmed and die-cut or punched into individual cards. Cutting turns the larger laminate into usable badge shapes, following the positions established during artwork preparation and registration.
Rounded corners are part of the finished card shape. Depending on the finishing method, they may be formed during the main cutting operation or completed as a separate step. Any specified holes or slots are also included in the finishing plan so the badge has the required attachment features.
A common size is the CR80 card format, approximately 85.60 × 53.98 mm. Those dimensions describe the card’s face size; finished thickness depends on the chosen construction. Two cards can share the same footprint while having a different feel because their materials and layer thicknesses differ.
Finishing completes the connection between the printed sheet and the individual badge. Clean edges, consistent corners, and correctly positioned cuts help the laminated construction become a practical identification product.

Why laminated cards have a sturdier feel
The familiar credit-card feel comes from the construction as a whole. Instead of remaining separate sheets, the layers are bonded into one consolidated card. Combined with the finished thickness, that unified structure contributes to a firm feel, while the outer overlays provide a smooth surface over the printed design.
This helps explain why platen press lamination is relevant to professional ID cards. The method brings the graphics, core, and protective surfaces together in a format suited to everyday identification. The result is both a visual object and a physical item that people handle and carry.
A sturdy feel should not be confused with unlimited durability. Performance still depends on material choice, design, and use. Finished thickness alone does not tell the whole story, and neither does a smooth surface. Consistent bonding and suitable materials remain important parts of the final construction.
The credit-card style feel is a combined result of bonded layers, finished thickness, smooth outer surfaces, and cleanly finished edges—not simply the card’s dimensions.
From card construction to choosing professional ID cards
Understanding ID card manufacturing makes it easier to connect design choices with the finished badge. Printing determines what people see. Registration keeps that design in position. Heating, compression, and cooling establish the laminate, while cutting and corner finishing define the card people ultimately handle.
When exploring BadgeZoo’s ID badge options, consider the artwork, card format, finished thickness, and any required attachment openings as related decisions. BadgeZoo offers finishes including gloss, matte/silk, and frosted; the appropriate choice depends on the appearance your organization wants. A finish is one part of the overall specification, rather than a substitute for considering the construction.
The central idea is straightforward: platen press lamination turns carefully prepared layers into a cohesive card, and finishing turns that card construction into a practical badge. Knowing the sequence helps organizations ask clearer questions and choose professional ID cards with an appearance and feel suited to their identification needs.