A practical photo checklist for small ID cards: photo ID tips
The most useful photo ID tips start before you open a badge template: steady the camera, check focus, light the face evenly, and leave room for the final crop. A portrait that looks acceptable on a phone screen still needs to work in the small space available on an ID card. The goal is a clear, recognizable face—not simply an image file with large dimensions.
Think of capture, editing, and printing as connected steps. A careful crop cannot fix a blurred face, and a high-resolution file cannot remove glare across someone’s glasses. Checking the original portrait before placing it in the layout helps you catch problems while they are still straightforward to correct.
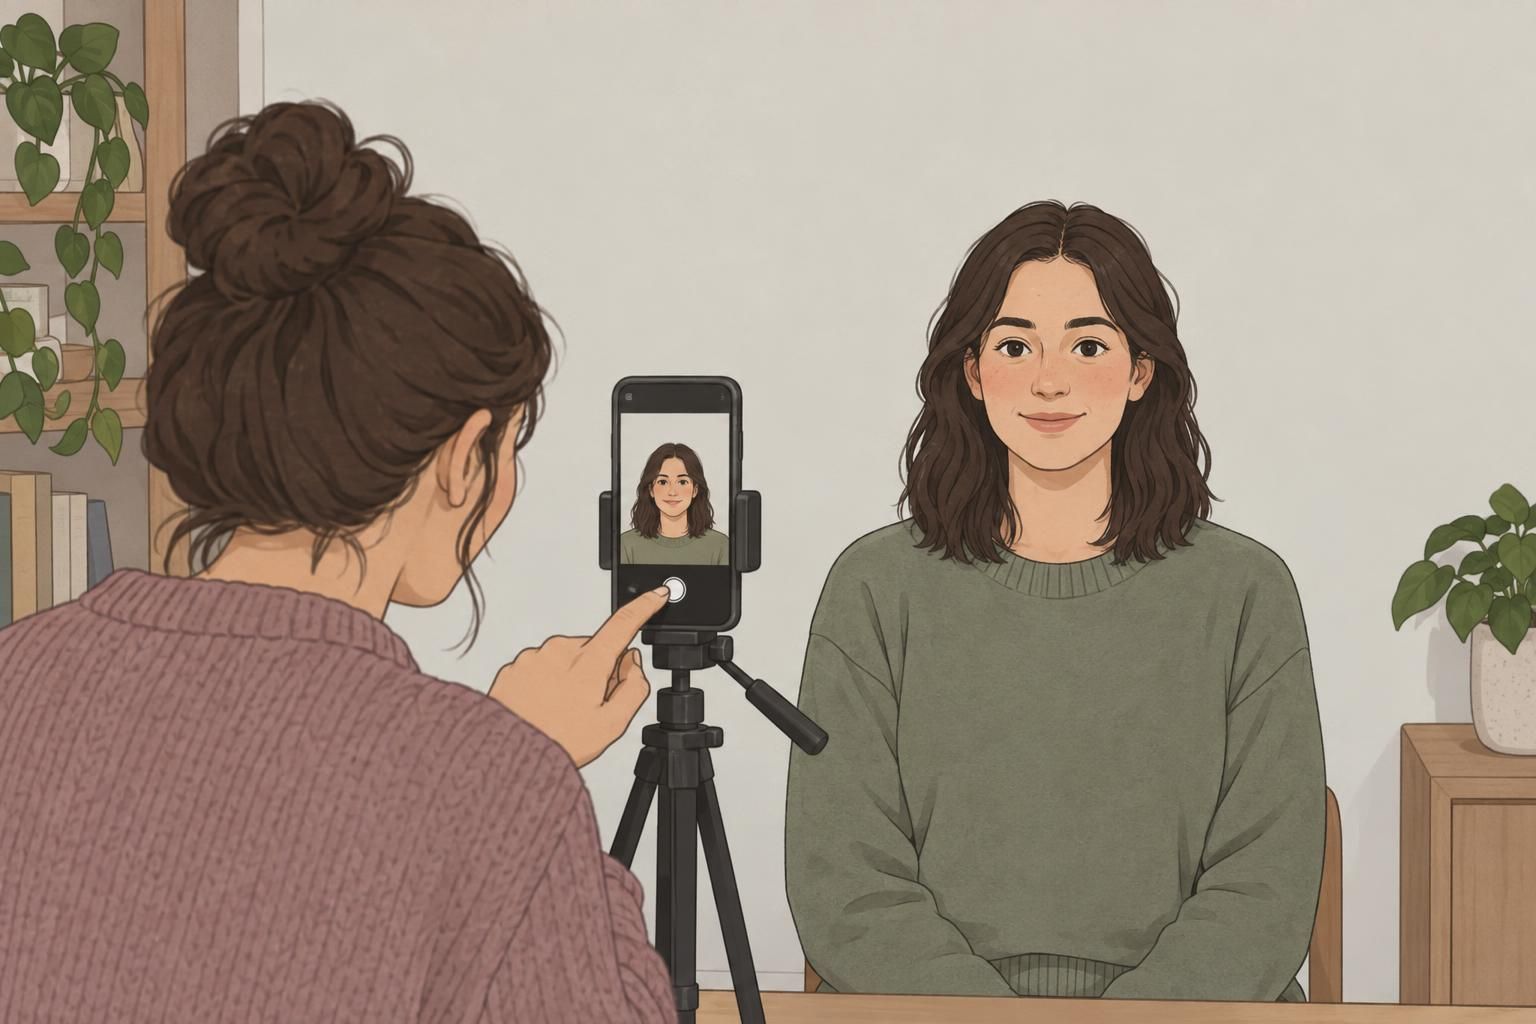
- Steady the camera: use a stable support and keep the camera still while taking the photo.
- Check focus: make sure the face is sharp rather than relying on how the small preview looks.
- Balance the light: look for harsh shadows, strong backlighting, and reflections on glasses.
- Simplify the background: choose a plain, neutral surface behind the person.
- Allow for cropping: center the face and shoulders, with a little space above the head.
- Check image detail: confirm that the original has enough pixels for the intended printed photo size.
- Review the result: inspect the image closely, then check it again in the badge layout.
Start with a clear original. Increasing pixel dimensions later cannot recover facial detail that was lost through blur or poor focus.
Set up even lighting and a plain photo background
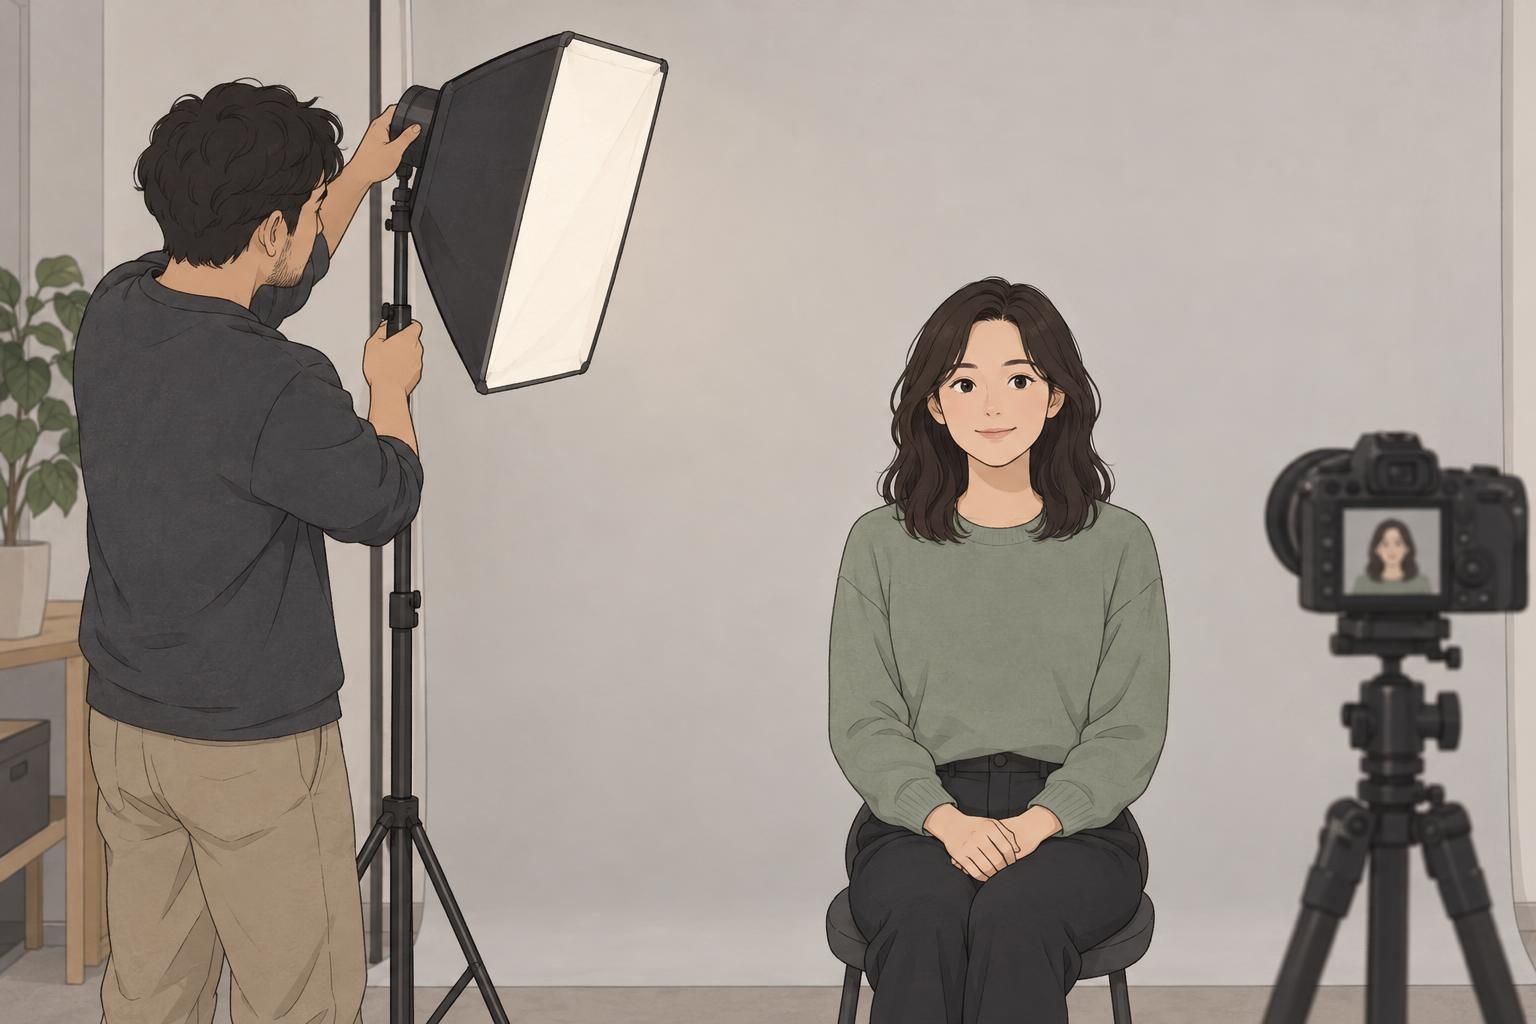
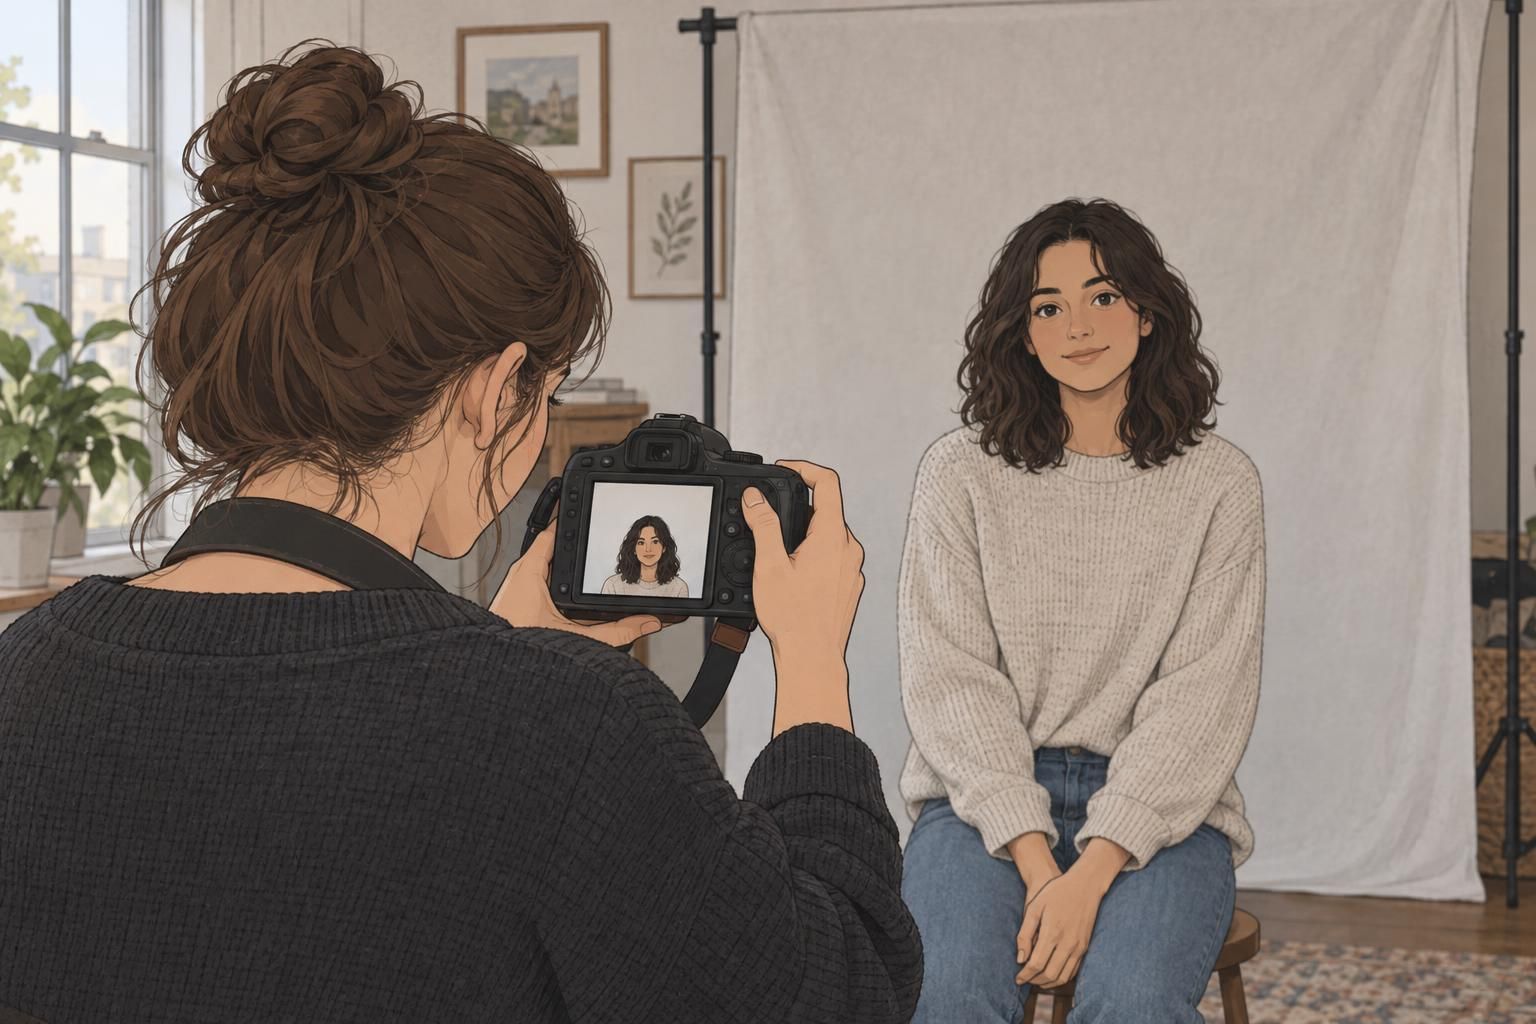
Choose a plain, neutral photo background that keeps attention on the person’s face. Before taking the picture, look at the whole frame rather than just the subject. A background that appears simple in person may still contain shadows or distracting details in the photograph. Keep the setup straightforward so the portrait remains easy to read when reduced to badge size.
Have the person face the camera and check that light reaches the face evenly. Avoid strong light from behind the subject, which can leave the face looking too dark. If one side of the face has a harsh shadow, adjust the lighting before continuing. The aim is balanced illumination, not a dramatic portrait with strong contrasts.
Glasses deserve a separate check. Look closely for reflections that obscure the eyes, then adjust the light and take another photo if necessary. Review the new image rather than assuming the adjustment worked. These small checks support sharp badge photos by preserving visible facial detail instead of leaving problems for the editing stage.
Frame the face and leave room to crop
Position the camera around eye level and center the person’s face and shoulders. Leave a little space above the head rather than framing tightly against it. At the same time, avoid placing the person so far away that the face occupies only a small part of the image. You need enough facial detail and enough surrounding space to make the final crop.
A plain, neutral background, a centered face, and room for cropping provide a practical starting point for a usable ID portrait. These recommendations align with the photo guidance in this source. Check the issuing system’s requirements before settling on the final framing.
Leave the final crop until the badge layout is set. The portrait area may require a different shape from the original camera image, and a little extra space gives you flexibility. Once the layout is available, crop so the head is large enough to identify clearly without cutting it off. Centering during capture makes this adjustment easier, but it does not replace checking the finished placement.
Choose image dimensions and DPI for ID cards
Follow the card printer or issuing system’s specifications first. When considering DPI for ID cards, distinguish the image’s pixel dimensions from the physical size of its portrait area. The useful question is whether the selected photo contains enough pixels for the space it will occupy on the printed card—not whether the file simply looks large on a monitor.
As a practical starting point, prepare the photo at about 300 pixels per inch at its final printed size. A portrait measuring 1 × 1.5 inches would therefore need about 300 × 450 pixels. This calculation applies to the photo area, not automatically to the dimensions of the entire ID card.
- Find the final printed width and height of the portrait area.
- Multiply each measurement in inches by 300 for a practical starting pixel size.
- Check the dimensions of the image after cropping, not just those of the original file.
- Use the printer or issuing system’s requirements if they specify different dimensions.
Pixel count and sharpness are related, but they are not interchangeable. An image can meet the suggested dimensions and still have an out-of-focus face. Enlarging a small or blurred original does not restore missing detail. Keep the clearest suitable original available, then prepare it for the actual portrait space.
Edit carefully to keep sharp badge photos
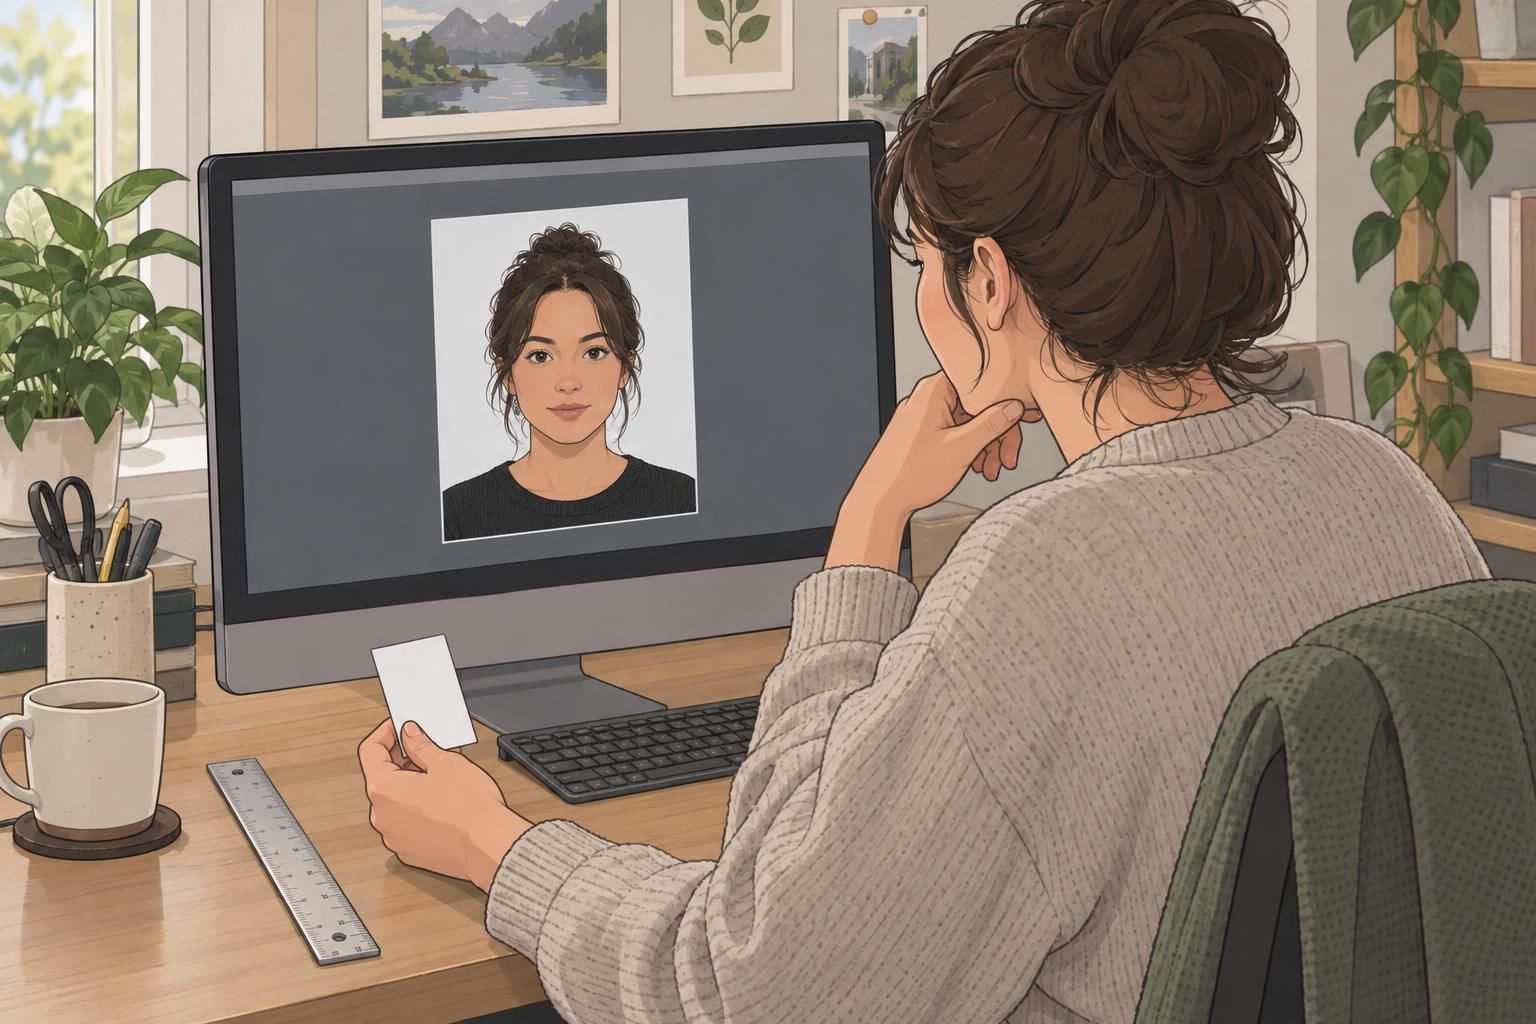
Editing should prepare a clear portrait for its intended space. Crop to the required aspect ratio without stretching the image to fill the frame. If the portrait does not fit, adjust the crop rather than changing the face’s proportions. Check that the resulting image still leaves the head comfortably positioned and large enough for identification.
Avoid enlarging a small or soft original to make it appear ready for printing. Instead, return to a clearer original or retake the photo when needed. These photo ID tips are most effective when applied at capture: correcting the lighting or focus before editing is more useful than trying to compensate for missing detail afterward.
Save a high-quality image file and avoid repeatedly resaving JPEGs. Inspect the prepared portrait at 100% magnification for blur, harsh shadows, and compression artifacts. This close view helps reveal image problems, but it is only one part of the review. You still need to see how the portrait looks at its intended size in the layout.
For sharp badge photos, check both detail and fit: inspect the file at 100% magnification, then review the portrait at its actual printed size.
Check the photo in the ID badge layout
Place the selected portrait in the intended badge layout and check its crop, orientation, and size. Confirm that the face remains centered and recognizable within the available space. A clear original can still look poorly framed if the layout crops it differently from what you expected, so review the placed image rather than relying only on the separate photo file.
Print a test card and examine the face at actual viewing size. This final step connects the capture checklist to ID card printing: you can see whether even lighting, careful focus, and the chosen crop have carried through to the physical badge. If the result is unclear, compare it with the prepared image before deciding what to adjust.
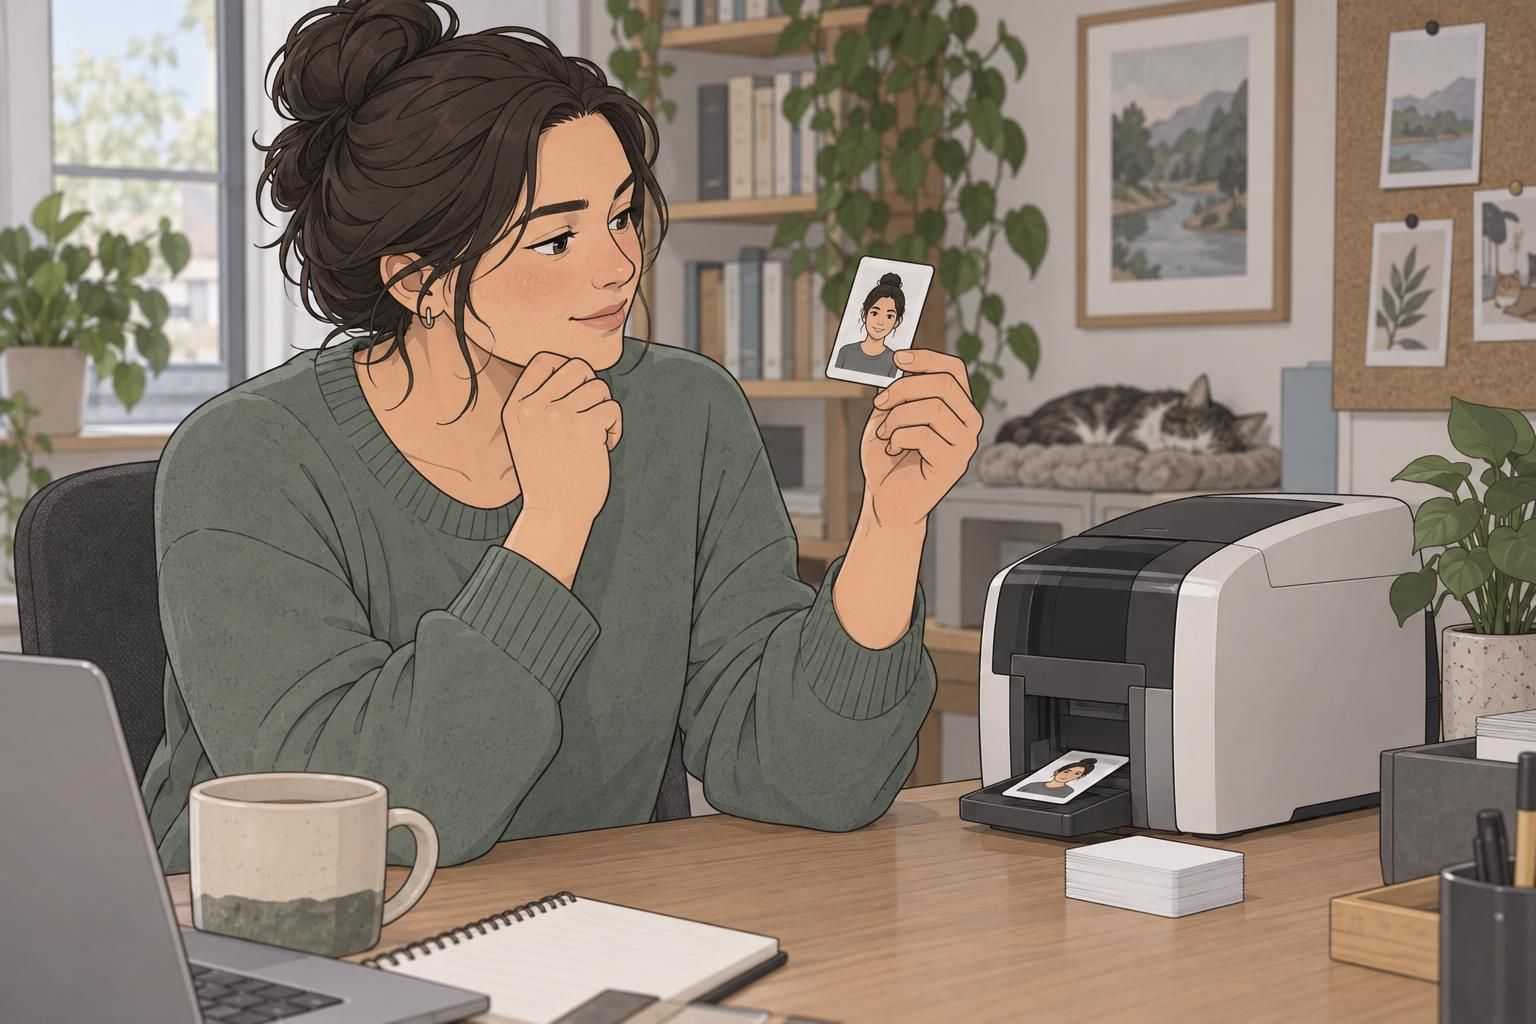
Matching printer settings to the card and maintaining the printer can also help preserve clarity. Treat those checks as part of the process, alongside the portrait itself. The strongest routine is simple and repeatable: capture a focused, evenly lit face; prepare the image without stretching it; and approve the result on a test card before continuing.