Employee Badge Complaints: Fixing Comfort and Privacy Issues Without Losing Security
Why Employee Badge Complaints Happen (and Why Badges Still Matter)
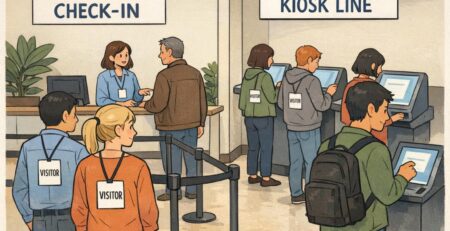
Employee badge complaints usually show up when a credential program is doing its job—badges are worn every day, in real conditions, by people with different roles and comfort needs. The friction is often practical: a lanyard that scratches, a clip that pulls a shirt collar, a badge that swings into a countertop, glare that makes the name unreadable at the front entrance, or concerns about how much personal information is visible. The solution isn’t to abandon identification. In most workplaces, badges help coworkers and visitors quickly confirm who’s who, support visitor management, and reduce awkward interactions (“Are you staff?”). They also support safety and orderly access to spaces where it matters. When badges are comfortable, readable, and respectful of employee preferences, adoption improves—and security becomes easier to maintain without constant reminders. This guide breaks down the most common sources of resistance and practical adjustments that reduce daily annoyance, strengthen trust, and keep the program professional.
The goal isn’t “more rules.” It’s fewer points of friction so badges get worn consistently, stay readable, and feel respectful.
Diagnose the Top Comfort Problems: Lanyards, Clips, Weight, and Skin Sensitivity
Most badge comfort issues come down to ergonomics and repetitive motion. Something that seems minor in a conference room—lanyard texture, clip tension, holder thickness—can become a daily irritant after eight hours of movement, bending, reaching, and interacting with the public. Start by diagnosing complaints with a quick, structured approach. You’ll get better answers than “badges are annoying,” and you’ll avoid guessing at fixes that don’t match the job.
- Segment feedback by role: front desk, clinical, warehouse, manufacturing floor, events, field staff.
- Segment by wear style: neck (lanyard), chest (clip), beltline (retractable reel), pocket (clip/holder).
- Ask for the specific failure moment: rubbing/itching, snagging on equipment, swinging into surfaces, twisting so the photo faces inward, or glare under lights.
- Note environment constraints: PPE requirements, clean-room or clinical hygiene, machinery/entanglement risks, frequent bending/lifting, outdoor sun at entrances.
Then run small trials rather than a full program change. A short trial reduces cost and makes it easier to choose solutions that actually reduce discomfort.
- Test 2–3 attachment options with a small group for one workweek.
- Try lighter holders or simpler assemblies to reduce badge weight and bounce.
- Where appropriate, consider breakaway lanyards to reduce tugging and improve safety.
- Agree on basic placement guidelines (for example, centered on the chest or on the upper torso) so the badge stays visible without constant adjustment.
Workplace practices should also align with applicable safety requirements and regulations. If you’re evaluating wear styles for different environments, OSHA provides a starting point for checking relevant rules and responsibilities: source.
Improve Badge Comfort With Smarter Wear Options (Without Constant Reprints)
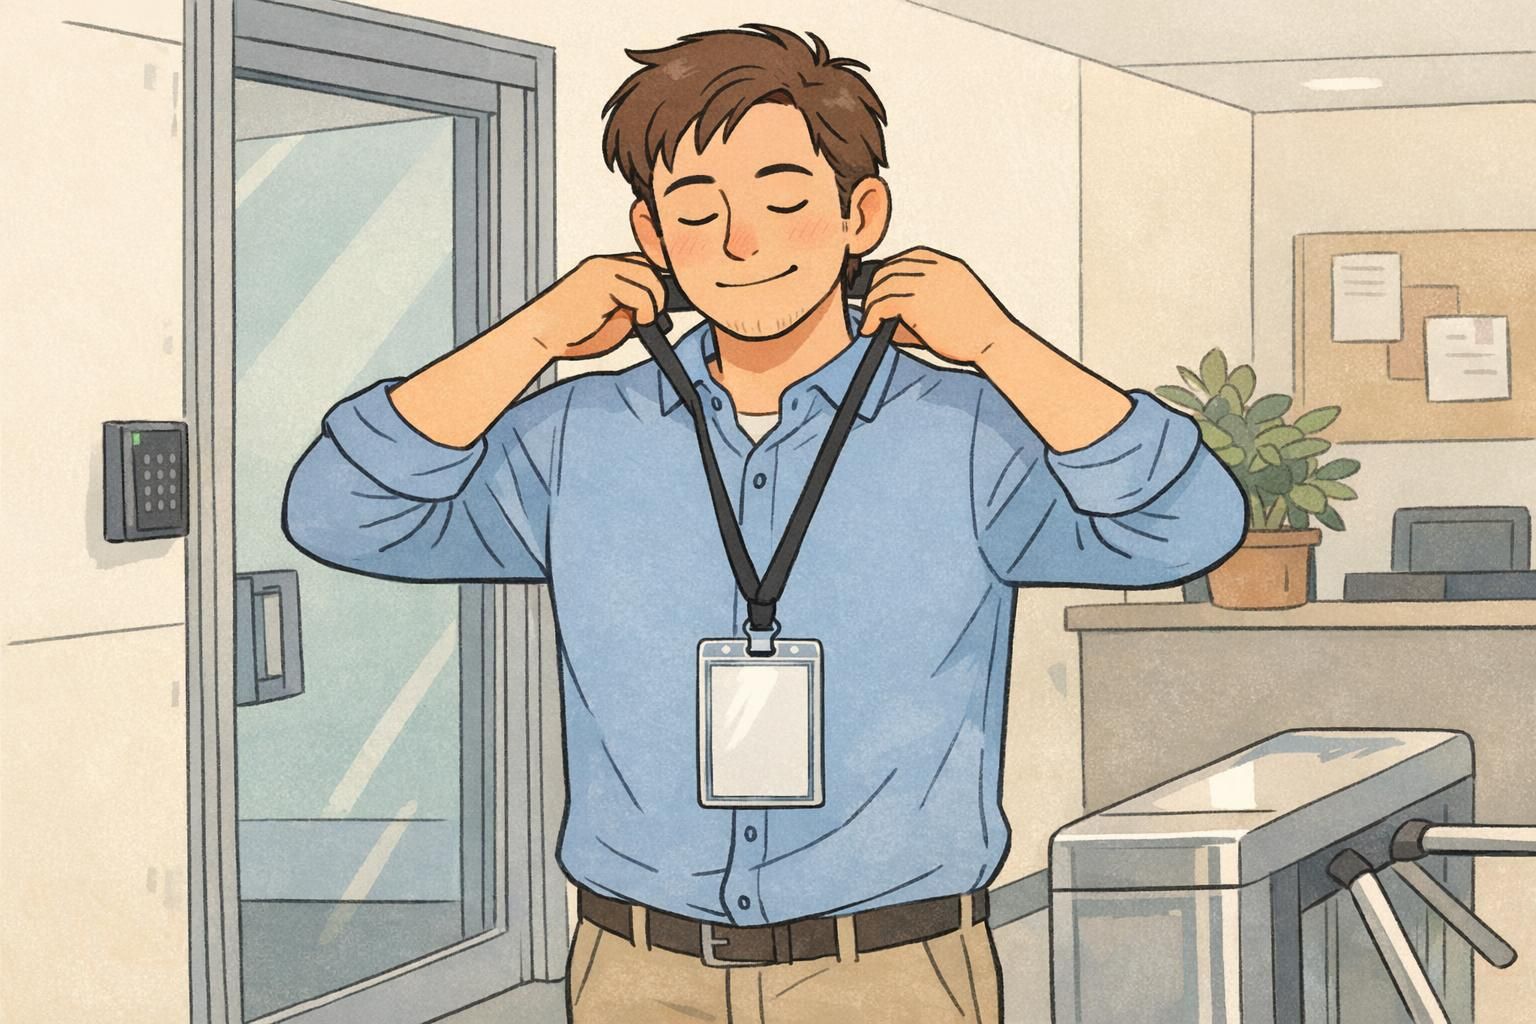
A simple way to improve badge comfort is to let employees choose from a short, approved list of wear options—within policy. Many organizations find that compliance rises when people can pick what fits their body, uniform, and tasks without changing the badge design itself. The key is to keep the program compatible: one consistent card size, predictable slot placement, and holders that match those standards. That consistency reduces twisting, snagging, and “my badge doesn’t fit this holder” frustration.
- Lanyard: good for visibility and quick checks; consider softer fabrics for all-day wear.
- Retractable reel: useful for frequent tapping/scanning; often reduces swinging into work surfaces.
- Clip/combination clip: can feel lighter and cooler than a lanyard, especially in warm environments.
- Vertical vs. horizontal holders: choose the orientation that keeps the name and photo facing outward most naturally.
You can improve comfort without redesigning your entire credential program by standardizing a few compatible accessories and allowing controlled choice.

Reduce Glare and Readability Issues: Lighting, Lamination, and Photo Placement
Glare is a surprisingly common driver of pushback, especially for front entrances, lobbies, outdoor check-in, and any space with strong overhead lighting. If a badge reflects light like a mirror, coworkers and visitors can’t read it at a conversational distance—so the employee feels there’s no point wearing it. Improving readability helps security checks and everyday courtesy. When people can quickly see a photo and name, interactions become smoother (“Thanks, Maya”) and identification feels less like a burden.
- Test a matte or anti-glare finish (or anti-glare holders) in the brightest areas of your site.
- Increase name font size so it’s readable from a normal standing distance.
- Place the name and photo where they’re least likely to be covered by clips, hair, or jacket lapels.
- Keep the layout uncluttered so the important elements stand out instantly.

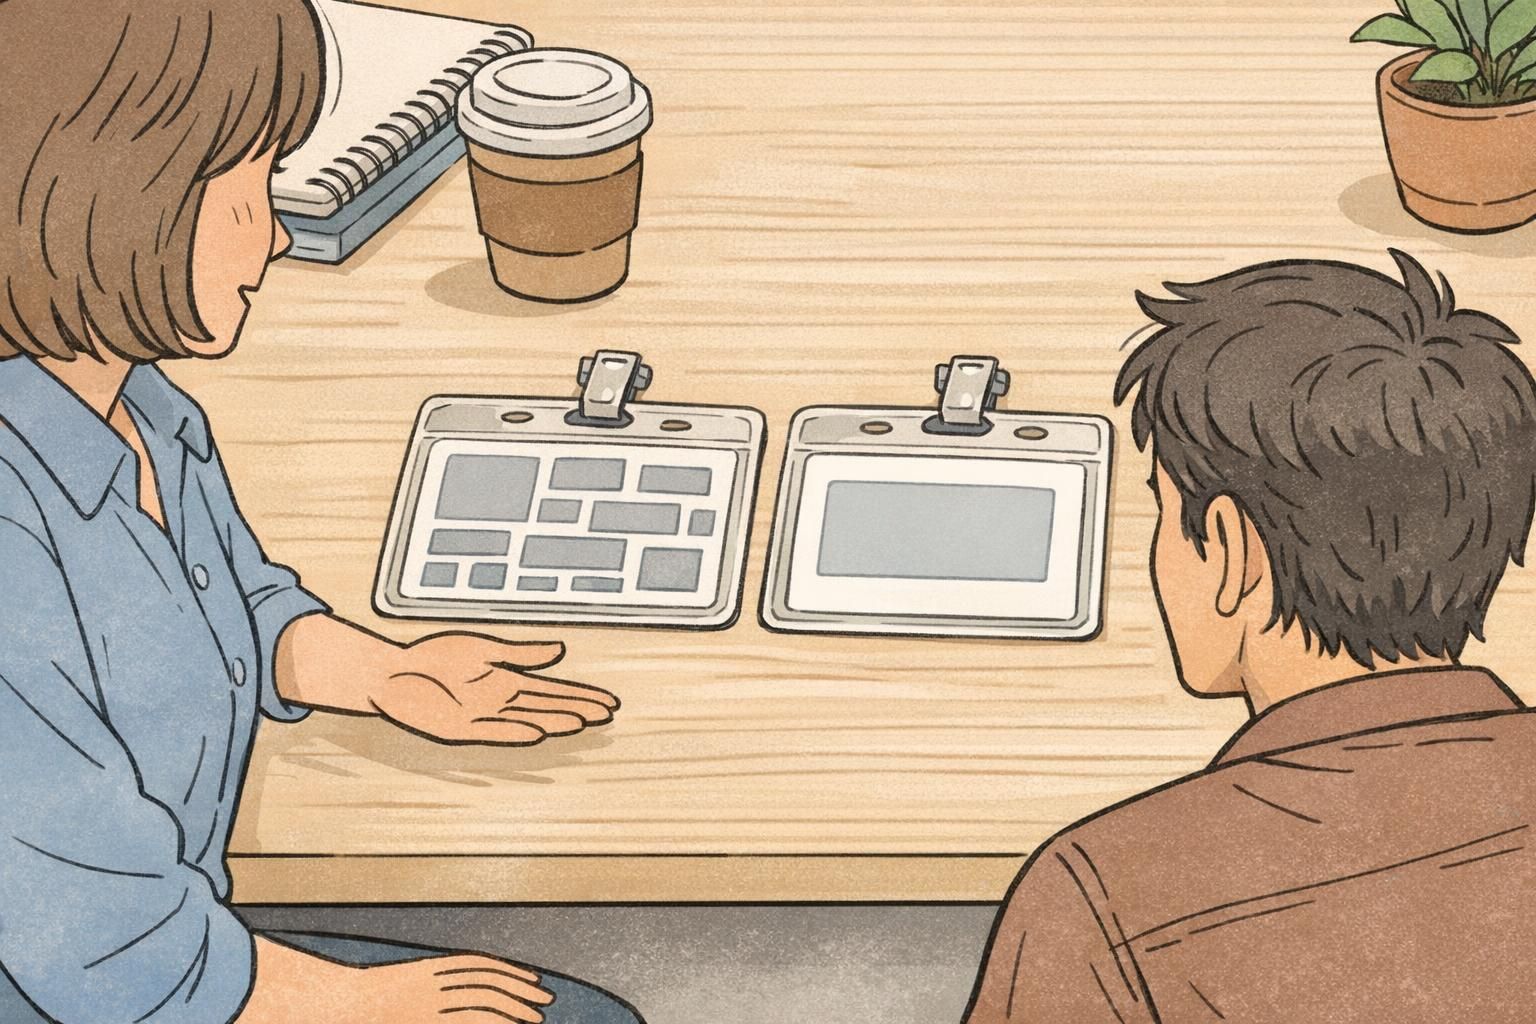
Badge Privacy: Show What’s Needed, Hide What’s Not
Badge privacy concerns tend to cluster around one question: “Why does everyone need to see that?” Employees may be uncomfortable with a full legal name, detailed department information, employee ID numbers, or scannable codes being visible to customers or passersby. A practical fix is a “minimum necessary” approach: put only what someone needs for a quick, respectful identification on the front, and move sensitive details elsewhere. This reduces employee badge complaints without weakening the program—because security and systems can still rely on encoded data or back-of-card information.
- Front of badge (public-facing): photo, preferred name (where policy allows), and a simple role label (for example, “Staff” or “Visitor Services”).
- Back of badge: employee number, internal department codes, or other operational details used by supervisors or internal processes.
- Machine-readable data: place barcodes/QR codes where they’re used intentionally (for authorized systems) and not positioned to be casually scanned by the public.
Privacy can also be role-based. Public-facing staff often benefit from simpler front layouts, while staff in restricted areas may need clearer internal identifiers for safety and access workflows. The goal is consistency within a role group, not a one-size-fits-all badge that exposes more than it needs to.
Not necessarily. Many workplaces can keep front-facing identification simple (photo and preferred name) while using barcodes, QR, or encoded data for authorized systems and access checks.
If an ID number isn’t needed for day-to-day human identification, it’s often better placed on the back or stored in a system that’s only used by authorized staff.
Handling “Tracking” Fears Calmly: What to Communicate About Access Badges
Some badge programs include RFID/proximity features for doors, timeclocks, or secure printing. Even when the intent is straightforward access control, employees may worry the badge enables monitoring beyond what’s necessary. The most effective response is calm, plain-language communication that matches your actual policy. When expectations are clear, concerns tend to de-escalate—and you avoid inconsistent “hallway explanations” that erode trust.
- State what the badge is used for (for example: door access, timeclock, or secure printing).
- State what it is not used for, consistent with policy.
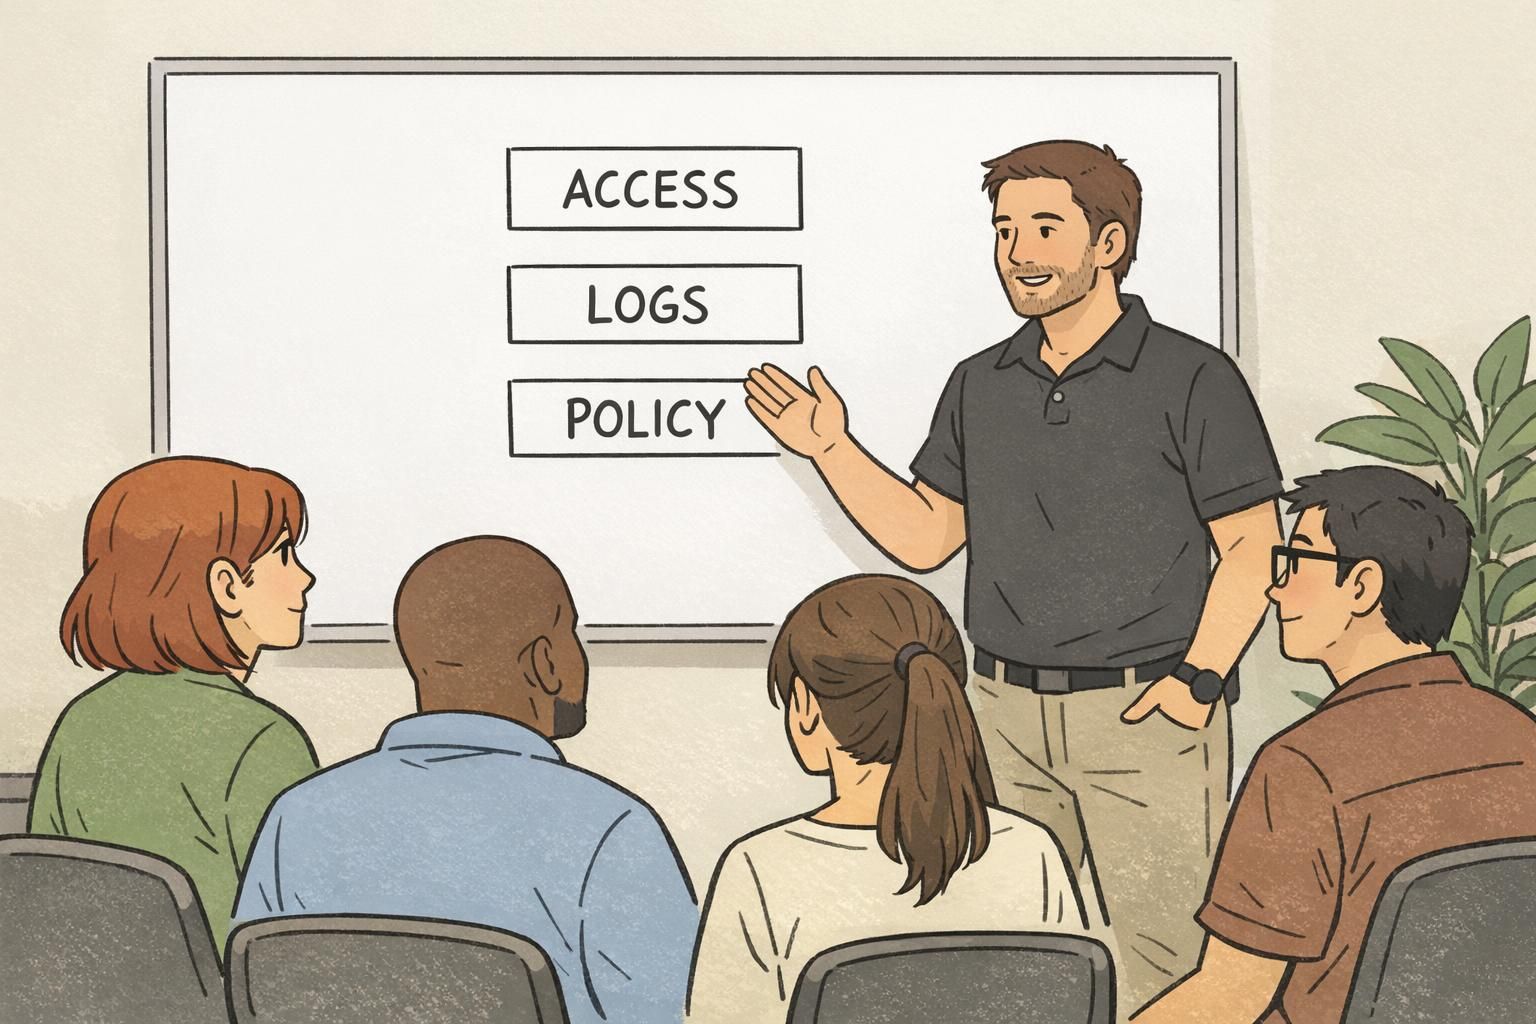
- Document who can access access logs, why they can access them, and how incidents are handled.
- Set a clear retention expectation for logs, aligned with internal policy and applicable law.
“When we explained what the access badge does—and who can see logs—questions dropped off. People weren’t trying to fight security; they wanted clarity.” – Operations Manager
Design Tweaks That Boost Adoption: Preferred Names, Pronouns, and Role Clarity
Not all employee badge complaints are about the physical badge. Sometimes the resistance is social: the badge doesn’t reflect how someone is addressed, or it creates awkward moments with customers and coworkers. Thoughtful design choices can improve adoption while keeping templates consistent and professional. A simple, uncluttered layout also reduces visual noise, which helps both readability and comfort (people stop fiddling with a badge that’s hard to interpret).
- Preferred first name (where policy allows): reduces daily friction and improves customer interactions.
- Pronouns (optional, policy-driven): can support respectful communication, especially in public-facing settings.
- Role clarity for customer-facing teams: simple role labels can prevent misunderstandings and repetitive questions.
- Template consistency by location or role: reduces confusion while still allowing approved personalization.
A short review cycle—HR, security, and operations together—helps keep changes practical, consistent, and not stuck in limbo.
Products That Help: Custom ID Badges and Holders Built for Daily Wear
If the same issues keep resurfacing—bent cards, scratched photos, glare, broken clips—it may be time to standardize better materials and accessories that are designed for daily wear. This isn’t about making badges “fancier.” It’s about making them more stable, readable, and comfortable so people actually keep them on. In practice, it helps to choose a durable card and then match it with holders and attachments that fit the environment: Office and front desk: prioritize readability, glare reduction, and a holder that keeps the badge facing outward. Healthcare and clinical areas: choose holders that are easy to clean and attachments that don’t interfere with movement. Manufacturing and warehouse: prioritize secure attachments and wear styles that reduce snagging. Events and temporary teams: prioritize quick distribution, clear identification, and easy replacement. If you’re refreshing your physical credential, you can explore custom plastic ID badges designed for consistent everyday use. BadgeZoo offers multiple finishes, including matte/silk options that can help reduce glare in bright areas.
A Simple Rollout Plan: Pilot, Policy, and Feedback to Reduce Complaints Long-Term
Long-term improvement comes from treating badge changes like a small operational rollout rather than a one-time design project. The goal is to reduce daily friction while keeping identification reliable. A lightweight plan can be enough to noticeably improve compliance and reduce replacement requests.
- Identify the top two complaint categories (usually comfort and glare, or comfort and badge privacy).
- Pilot two wear options for one week with a small group (for example, reel vs. soft lanyard).
- Test one revised badge layout that follows a minimum-necessary approach for front-facing info.
- Track outcomes: wear compliance, number of discomfort reports, number of replacements requested, and front-desk readability feedback.
- Confirm the final standard, then publish a short “how to wear it” guide with placement examples.
Identification programs work best when they’re comfortable, readable, and respectful of privacy—without compromising security or professionalism.
Start with wear options. Allowing an approved choice (lanyard, reel, or clip) often reduces badge comfort issues immediately without changing the printed card.
Standardize one card size and slot placement, then standardize a small set of compatible holders and attachments. Most comfort improvements can happen through accessories rather than redesigns.