RFID badge care: Gotchas With Slot Punching, Laminating, and Embedded Chips
Why RFID badge care matters before you punch, laminate, or attach anything
RFID badge care is easiest when you treat every modern ID card like it has something delicate inside—because many of them do. Today’s badges may contain an embedded RFID antenna and chip, a magnetic stripe, printed security features, or layered construction that can be affected by heat, pressure, bending, and even a poorly placed hole. The tricky part is that most physical customizations feel harmless: slot punching for a lanyard, sealing the surface for durability, or switching to a different badge reel. Yet small changes can create big reliability problems—especially for access control and fast check-in, where “works every time” matters. The goal isn’t to avoid customization. It’s to customize safely and consistently so badges stay readable, look professional, and survive everyday wear without turning into intermittent “sometimes it scans” headaches.
A good default mindset: verify what technology is in the card first, then choose the gentlest method to attach and protect it.
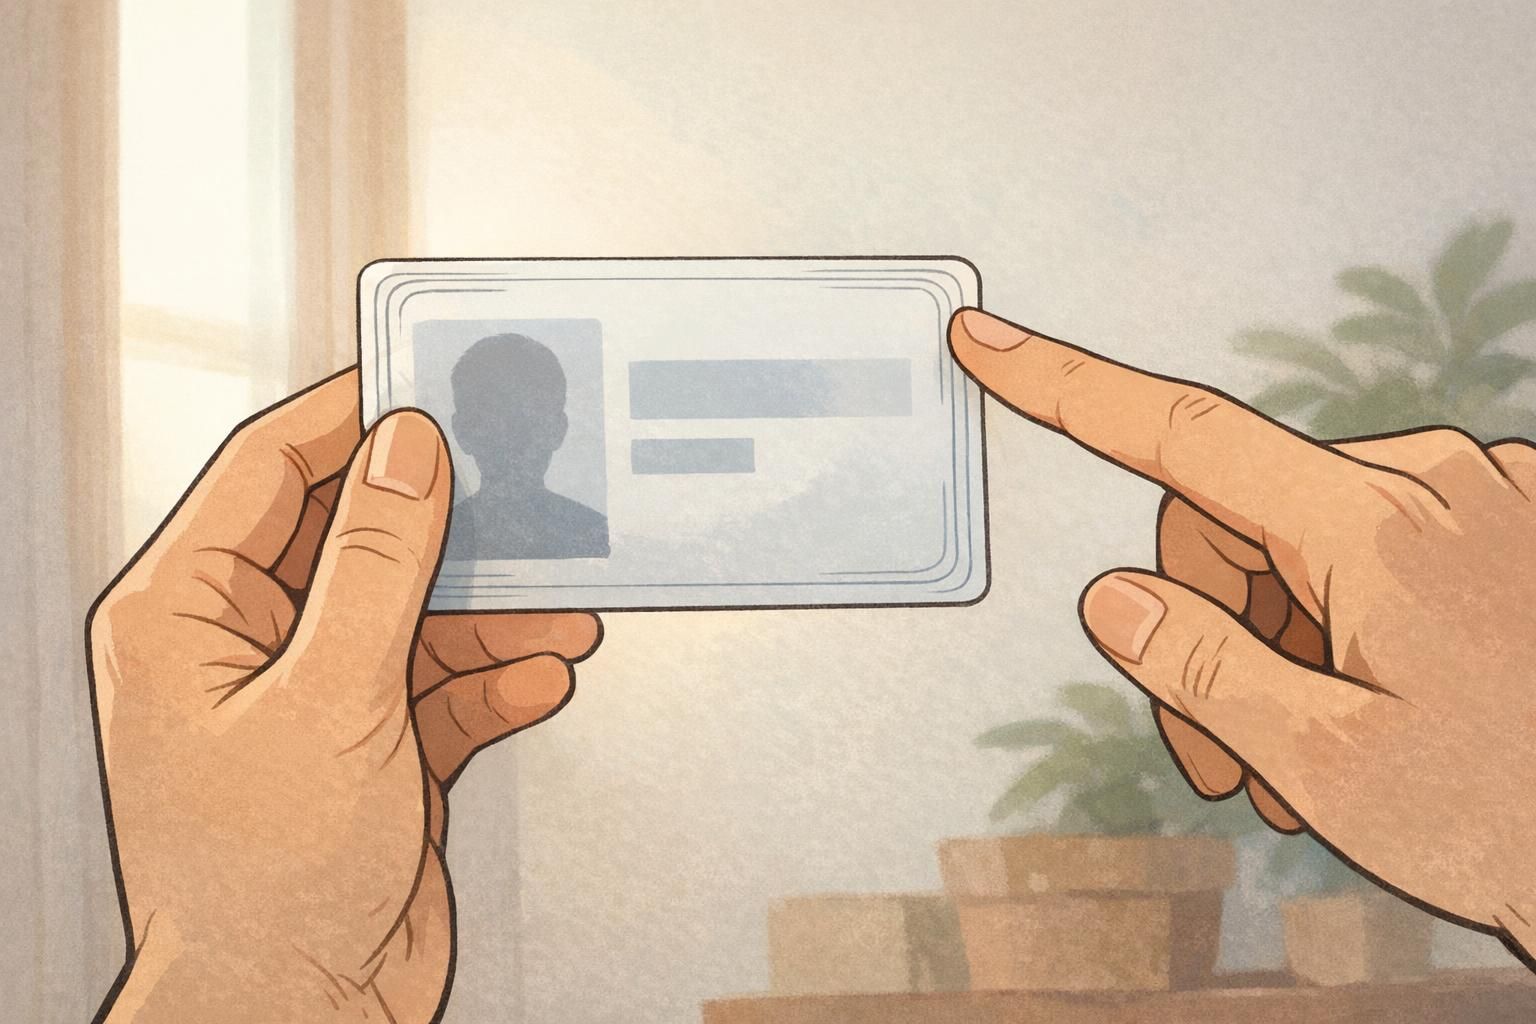
- Confirm the credential type before modifying anything (RFID/NFC, magnetic stripe, barcode/QR, or visual-only).
- Assume the antenna may run close to the perimeter—even if you can’t see a chip module.
- Test your process on one sample card before you do a whole batch.
Where the tech lives inside an ID card (so you don’t hit it by accident)
A lot of badge damage comes from a simple misunderstanding: people look for a visible “chip,” don’t see one, and assume it’s safe to punch or laminate anywhere. But many credentials hide the working parts in ways that aren’t obvious. Here’s a practical overview of what may be inside (or on) an ID card:
- Proximity/RFID access cards: Often include an antenna loop embedded inside the card body. That antenna frequently runs near edges and corners, connecting back to a tiny chip inside the layers.
- NFC-enabled cards: Similar idea to RFID; an embedded antenna loop and chip tuned for short-range reads (often with phones or NFC readers).
- Magnetic stripe cards: The stripe is the tech. Scratches, heat, and abrasion can reduce reliability; bending can also cause cracking or separation over time.
- Barcode/QR credentials: Usually printed on the surface. The risk is scuffing, glare, poor print contrast, or distortion from lamination/warping rather than internal electronics.
- Purely visual badges: Name/title/photo only. These are typically the most tolerant of punching and lamination—though you still want clean, consistent finishing.
Because antenna paths can live close to the perimeter, you can damage an RFID/NFC card even if you never touch the card’s “center.” A safe habit is to assume there’s an antenna near the edge and treat the whole border area with extra caution. If you’re not sure what you’re holding, pause and confirm the credential type with whoever manages your access system, your card supplier, or a quick test at a reader. That small step is often the difference between a smooth rollout and a pile of replacement badges.
Slot punching RFID: safe hole placement, tool choice, and common failure modes
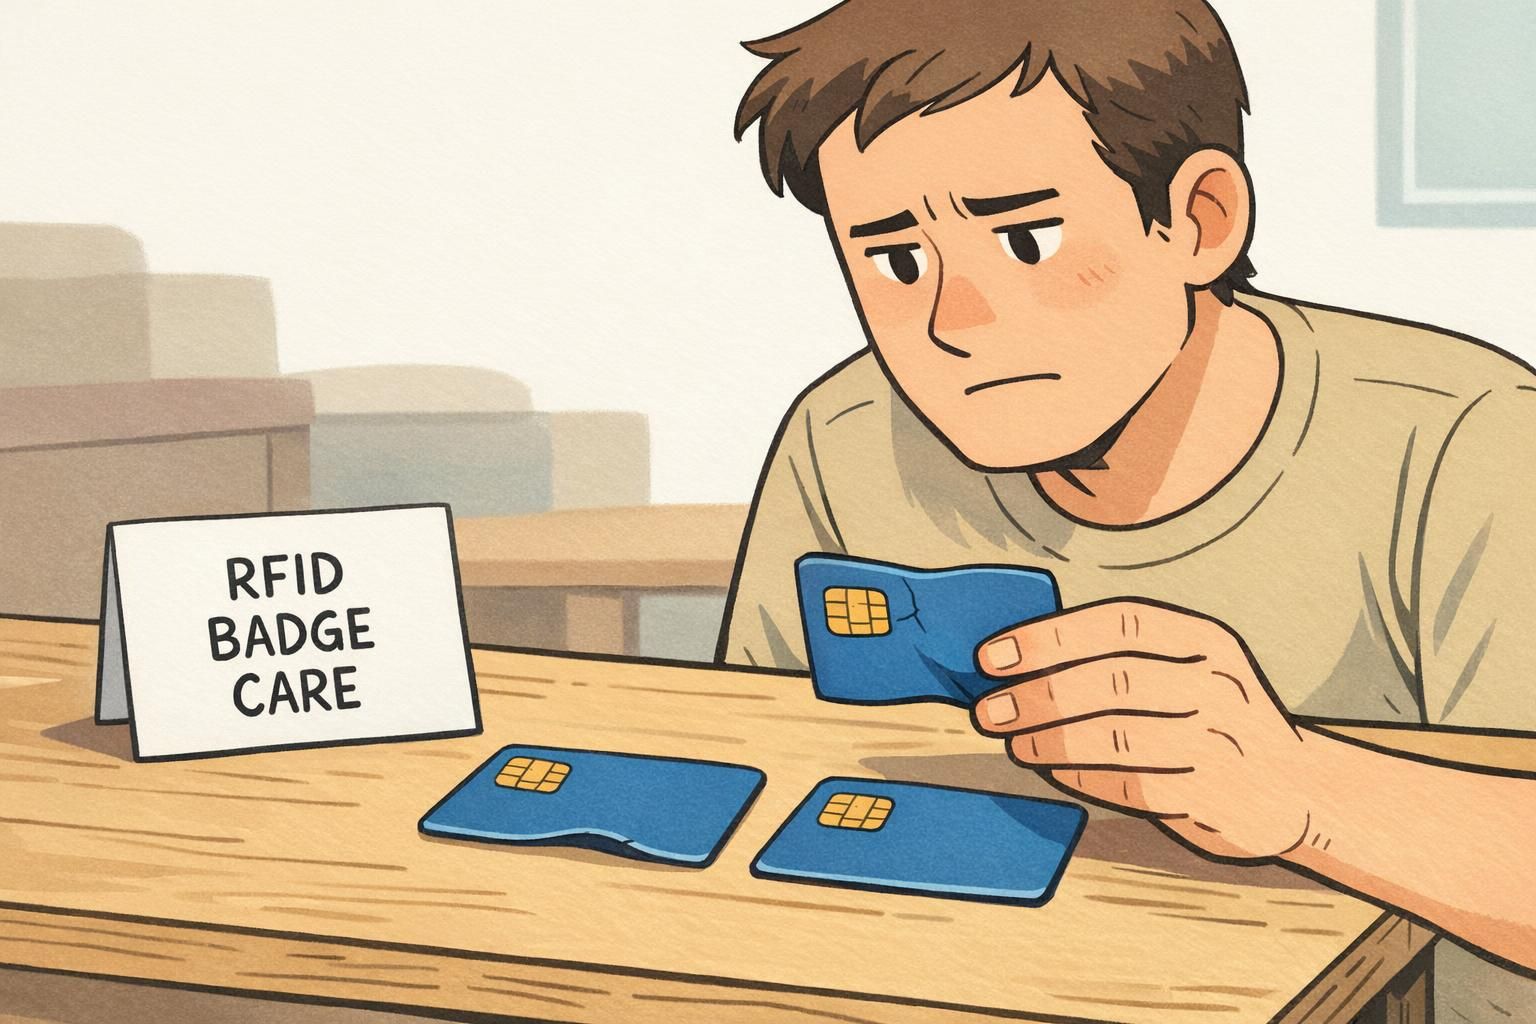
Slot punching RFID badges is one of the most common ways well-intentioned teams accidentally reduce badge reliability. The slot itself isn’t automatically “bad”—but the placement, the tool, and the card construction make a big difference. Common failure modes include:
- Cutting through an antenna path near the perimeter, causing weak reads or total failure.
- Cracking the card body from a dull punch, poor alignment, or too much force.
- Creating a stress point at the slot that later splits from repeated tugging, twisting, or bending.
- Edge whitening or micro-fractures that don’t look serious at first but worsen with daily use.
Even when a punch looks clean, any cut edge can concentrate stress in the surrounding material. As a neutral analogy, research on material edge effects shows how cutting can create localized damage and stress concentration near the cut boundary (source). That doesn’t measure RFID card failures directly, but it supports the everyday “gotcha”: a hole isn’t just a hole—how and where you cut matters. To reduce risk, focus on repeatability and gentleness:
- Use a sharp, well-aligned slot punch: Clean cuts reduce cracking and internal stress. If the punch “chews” or leaves rough edges, service or replace it.
- Avoid punching too close to edges: Give the slot enough margin so the card doesn’t tear and you’re less likely to intersect an antenna path near the perimeter.
- Standardize the slot location and orientation: Consistency reduces accidental off-placement and makes accessories fit predictably.
- Test a sample card first: Punch one, then verify it reads reliably at typical distance and orientation before you commit to a full run.
- Match procedure to badge stock: PVC and composite cards behave differently, and thicker access cards (including clamshell-style formats) may need different tools or may not be intended for slot punching at all.
If you’re punching for the first time on a new card type, treat it like a pilot: one card, one slot location, and a real-world read test before scaling up.
Laminating ID card: when heat and pressure help—and when they hurt
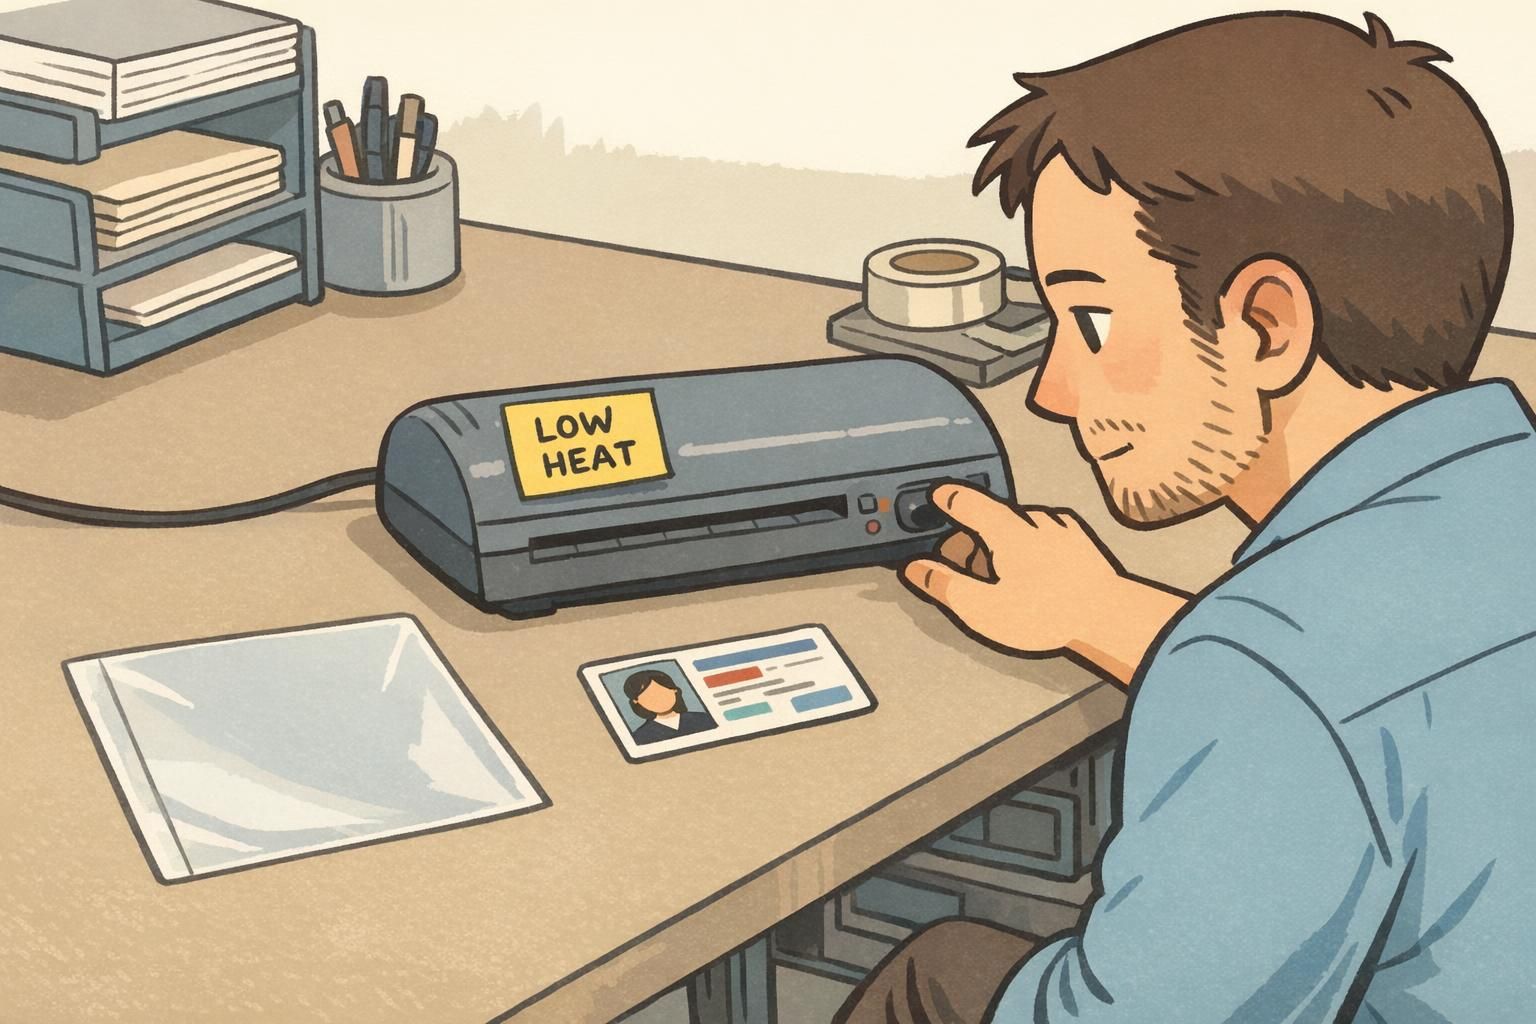
Laminating ID card surfaces can be a smart choice when you want durability, scuff resistance, and a more tamper-evident finish. A properly applied laminate or overlay can help badges stay legible and professional-looking, especially in high-contact environments. But with chip-enabled credentials, lamination is also one of the easiest ways to create hidden damage. Heat and pressure can warp the card, stress internal layers, or contribute to delamination over time. Even slight warping may not look dramatic, yet it can change how consistently a badge presents to a reader (or how well it sits in a holder).
- Confirm whether the credential is approved for lamination: Some card constructions and chip types are compatible; others are not. When in doubt, assume it may be sensitive.
- Use manufacturer-recommended temperature and dwell time: “Hotter” and “longer” isn’t better; it increases risk of warping and internal stress.
- Avoid re-laminating stressed cards: If a card is already bowed, cracked near a slot, or shows bubbling/peeling, additional heat often makes things worse.
- Consider protective overlays or a badge holder when compatibility is unknown: It’s a practical way to protect print without exposing embedded components to extra heat and pressure.
“The lamination looked fine coming out of the machine, but a week later we started seeing ‘tap twice’ behavior at the doors. Our fix was switching those badges to holders and only laminating the types we’d tested.” – Facilities coordinator
Accessories that protect (or stress) chip-enabled badges
Once the badge is issued, accessories do most of the “real work” of keeping it readable and intact. From a mechanical-stress perspective, you’re trying to prevent repeated bending, twisting, and pulling—especially around the slot area. Here’s how common attachment choices compare:
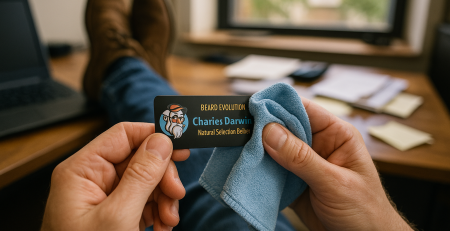
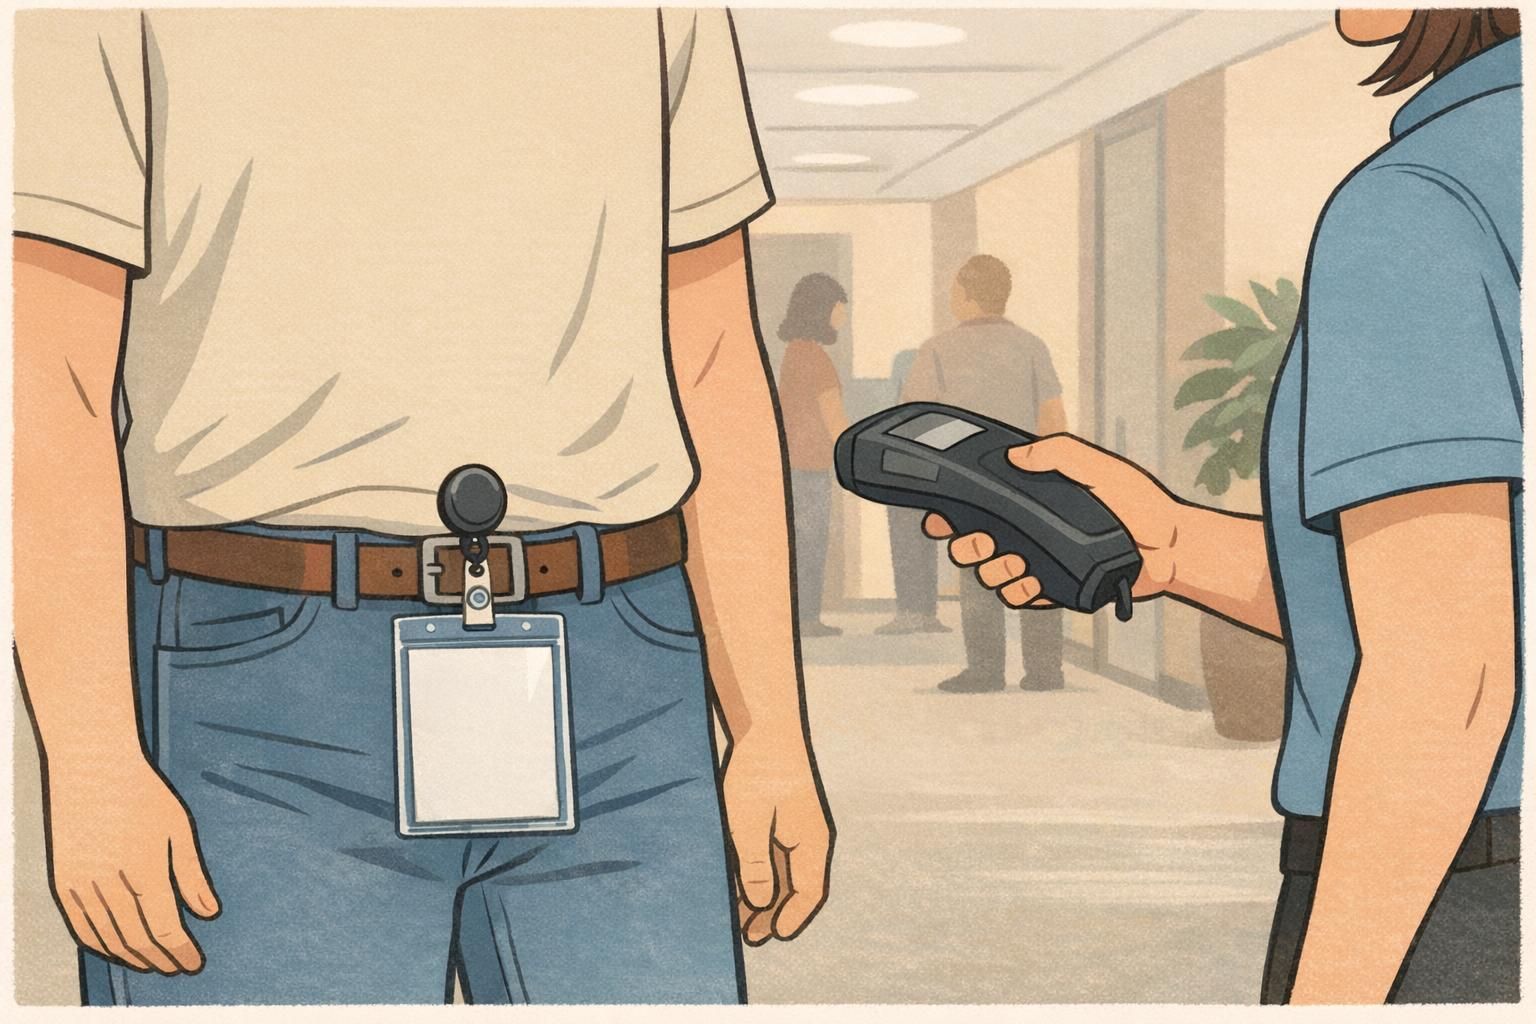
- Lanyards: Generally gentle when the badge hangs flat. The biggest risk is a badge that flips, twists, or gets sat on—especially if it’s worn low and bumps into desks or equipment.
- Badge reels: Convenient for frequent scanning, but they can introduce twisting and repeated tugging at the attachment point. This matters most when the card itself is slotted and used without reinforcement.
- Strap clips: Can be stable if the badge stays flat, but clips may concentrate force on a small area and can crease soft holders over time.
- Rigid holders: Often the best for keeping chip-enabled cards flat, reducing flex and protecting edges.
- Soft vinyl holders: Helpful for light protection, but some fit tightly and can force bending during insertion/removal; they also vary in how well they keep the card flat.
The accessory goal is simple: keep the card flat, reduce twisting, and avoid repeated flexing at the slot or corners.
- If you must slot the card itself, consider reinforced slot options or designs intended for repeated pulling.
- For frequent scans (warehouses, healthcare, events), prefer a holder-and-reel setup that keeps the badge aligned and flat.
- Avoid carrying multiple thick cards stacked behind a chip-enabled badge if it makes the badge bow or sit unevenly in the holder.
Troubleshooting: signs your badge was damaged by punching or lamination
When an access badge starts acting up, the symptoms are often consistent—even if the root cause is hidden inside the layers. If the badge was recently punched or laminated, these are common signs of stress or internal damage:
- Intermittent reads (works sometimes, fails other times)
- Shorter read range than usual
- Only reads in one orientation or at a very specific angle
- Visible cracks near the slot or corner
- Edge whitening around the punched area
- Warping or bowing (even slight)
- Bubbling, peeling, or separation between layers
A quick, practical triage can help you decide whether to adjust the process or replace the credential.
- Try a different reader: Rule out a single reader issue.
- Test orientation: Rotate the badge and note whether one direction reads more reliably.
- Inspect closely under good light: Look for stress marks around the slot, corners, and edges.
- Compare to an unmodified badge: If another badge of the same type reads easily, your modified one is a strong suspect.
- Document the settings and tools used: Note punch type, slot location, lamination temperature/dwell time, and any holder/reel used.
If a credential is compromised, replacing it quickly is often the most reliable way to restore smooth access and check-in—especially in busy facilities and events.
Safe workflow for organizations: test cards, document settings, and train staff
Organizations run into trouble when badge finishing is done “however someone did it last time.” A safe workflow makes results consistent across staff, shifts, and locations—especially when you’re issuing badges at scale or onboarding frequently. A practical, repeatable process looks like this:
- Identify the credential type: RFID/NFC, magnetic stripe, barcode/QR, or visual-only—then confirm any do-not-modify constraints.
- Run a small pilot batch: Punch and/or laminate a handful of test cards using the planned settings and accessories.
- Verify performance after finishing: Test read range, orientation tolerance, and real use (doors, time clocks, check-in scanners).
- Standardize tools and settings: Use the same punch model (kept sharp and aligned) and the same lamination settings for the same card stock.
- Create a quick reference: Document slot placement, approved holders, and which badge types should not be punched or laminated.
- Train staff on handling: Emphasize keeping cards flat, avoiding bending, and recognizing early warning signs of failure.
Not necessarily. Many teams slot punch successfully, but it should be treated as a controlled process: consistent placement, the right punch, and a read test on a sample card before doing a full batch.
A holder is often a safer default when you don’t know a card’s lamination compatibility, because it protects the surface without exposing the credential to heat and pressure.
Standardize one attachment method per badge type, document the exact slot location/settings, and train staff to test one finished sample card at a real reader.
BadgeZoo options that reduce risk: pre-slotted cards, badge holders, and event-ready setups
A lot of the risk in punching and lamination comes from doing physical modifications after cards are already made. One way to simplify your process is to choose badge formats and accessories designed around how the credential will be worn and scanned. For example, teams that want consistent attachment may prefer ordering cards designed for their preferred mounting method (so fewer last-minute alterations are needed). And for chip-enabled credentials, a quality holder can reduce bending and twisting that slowly fatigues a card. If you’re building a setup for events or daily access where keeping badges flat matters, consider using vertical ID badge holders that keep cards flat and protected. A stable holder-and-attachment combination can also make scanning quicker because the badge stays aligned and easy to present. If you’re unsure which finishing approach fits your credential type (especially for mixed environments like healthcare, warehouses, and conferences), it’s worth standardizing one tested configuration per badge type and sticking with it.
When you reduce bending, control slot placement, and avoid unnecessary heat and pressure, badges tend to stay reliable longer—especially in high-use access and event settings.