Rebranding ID Cards: A Practical Plan to Update Your ID System Without Security Gaps
Why rebranding ID cards should be part of your brand rollout plan
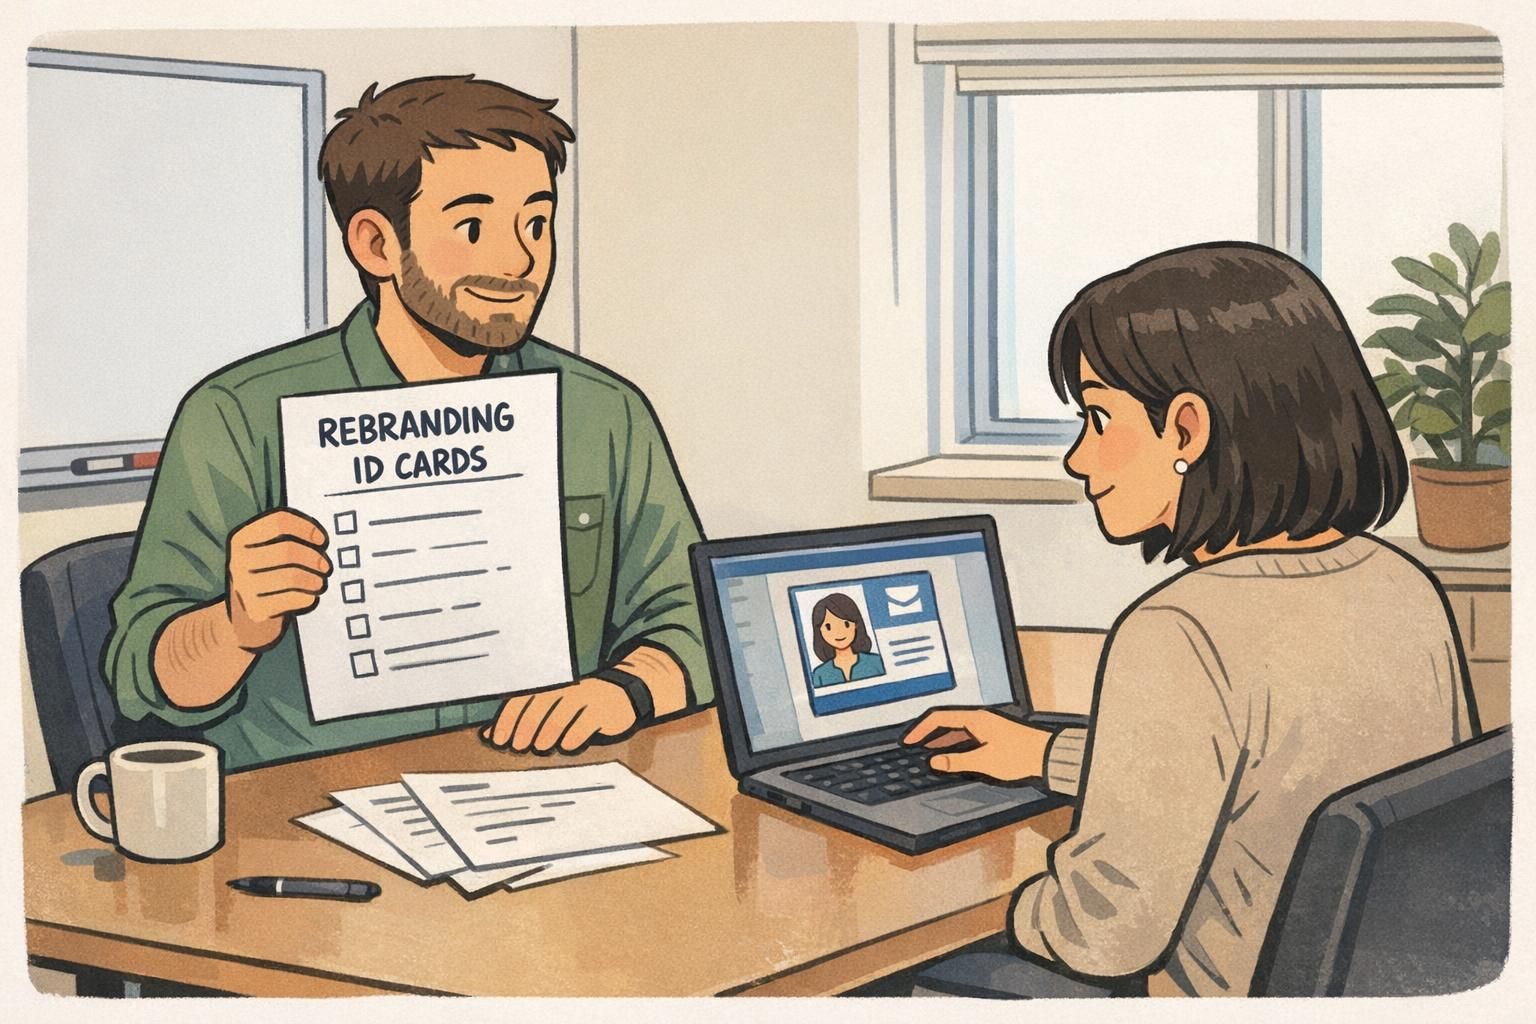
Rebranding ID cards is one of the fastest ways employees, contractors, and visitors experience a new identity in the real world. Unlike a website update or a slide deck template, a badge is worn in lobbies, hallways, job sites, and events—so mismatched logos or outdated card designs can make a rebrand feel incomplete (or even unofficial).
Just as important, an ID card is not only a brand artifact—it’s part of your security posture. If old credentials remain in circulation, a “simple design update” can unintentionally create confusion about what’s valid, who belongs where, and which access rules apply. The goal is to align timing, design, and security so the visual transition is smooth and the credential transition is controlled.
Treat badges as a day-one brand touchpoint and a controlled credential. The best re-badging plans pair design changes with secure swap, deactivation, and documented destruction of old cards.
Quick audit: what to update beyond the logo (your full ID system)
Before you design or print anything, do a quick audit of where identification shows up and how people actually use it. When organizations rebrand, the “identity system” isn’t only visual—it includes interconnected components and behaviors that need to stay aligned to prevent mixed signals and inconsistent experiences across locations and teams (source).
This is also where you uncover hidden dependencies: a visitor sticker template living at reception, an event badge design managed by marketing, a contractor badge holder color that security relies on, or a sign-in workflow in a tool owned by IT. The audit is less about paperwork and more about preventing surprises during the switchover.
- Credential types to review: employee badges, contractor badges, visitor passes, event badges, name tags, badge buddies, badge holders/lanyards
- Workflows to review: onboarding issuance, lost badge replacement, visitor check-in, event check-in, after-hours access procedures
- Systems to review: access control database fields, photo capture/storage, badge printing templates, expiration rules and re-verification cadence
- Ownership to confirm: HR (people data), Facilities (sites), Security (policy + controls), IT (systems), Brand/Marketing (visual standards)
A clean audit lets you update the full experience—not just the logo—so your rebrand looks consistent and your ID process feels intentional.

Design + data checklist for new logo badges (what to standardize)
Once you know what needs to change, standardize the rules for new logo badges so they look consistent and work reliably across locations. The key is to lock down both brand elements (how the badge looks) and operational elements (how the badge functions day to day).
Even small choices—like name format or photo background—affect professionalism and speed of recognition. Standardizing now reduces reprints later and makes it easier to onboard new staff with the same quality and clarity.
- Brand standards: logo placement, spacing, approved colors, typography, background pattern (if any), alignment with current brand guidelines
- Identity fields: first/last name format, preferred name (if used), pronouns (if used), department, role/title, location/site
- Photo standards: pose (front-facing), crop (consistent head size), background style, lighting consistency
- Credential controls: expiration date, issue date, unique ID number, and whether to include role or access level on the face
- Machine-readable elements: barcode/QR placement and size, scan tolerance, whether codes encode a unique ID vs. direct personal data
- Visual recognition aids: color-coding by role/access level, icons for teams, or a distinct layout for contractors vs. employees
- Material and durability: PVC vs. laminated approaches, scratch resistance needs, and suitability for your work environment
Only if it helps staff make quick decisions and your security team is comfortable with the visibility tradeoff. Some workplaces prefer subtle indicators (like a color bar or icon) rather than explicit access labels.
Often, yes—if you already have scanning workflows (check-in, asset checkout, timekeeping, or visitor management). Standardize what the code represents (usually a unique ID) so you’re not exposing unnecessary personal details.
“The rebrand was the easy part. The real win was standardizing photo and name formatting so every site stopped improvising.” – Facilities Operations Lead
Timing the rollout: align re-badging with communications, onboarding, and access control
A smooth transition depends on a clear timeline. Pick an “effective date” when the new badge becomes the standard, then plan a transition window that reflects your reality: multiple locations, shift workers, remote staff, and contractors who may visit only occasionally.
Coordinate early with internal communications so the exchange process is predictable. People should know (1) where to go, (2) what to bring, (3) how long it takes, and (4) what happens if they can’t make the exchange window. At the same time, coordinate with whoever manages access control so any database updates or credential mappings happen without interrupting building entry.
- Define an effective date and a realistic transition window (often longer for distributed teams).
- Align onboarding: new hires should receive only the new design once the effective date arrives.
- Schedule access control coordination: ensure credential IDs, templates, and activation steps are ready before the first swap day.
- Plan for edge cases: travel, leave, night shifts, and contractors who are not on standard HR rosters.
The best timing plan makes the brand change feel immediate, while giving security and operations enough runway to prevent access disruptions.
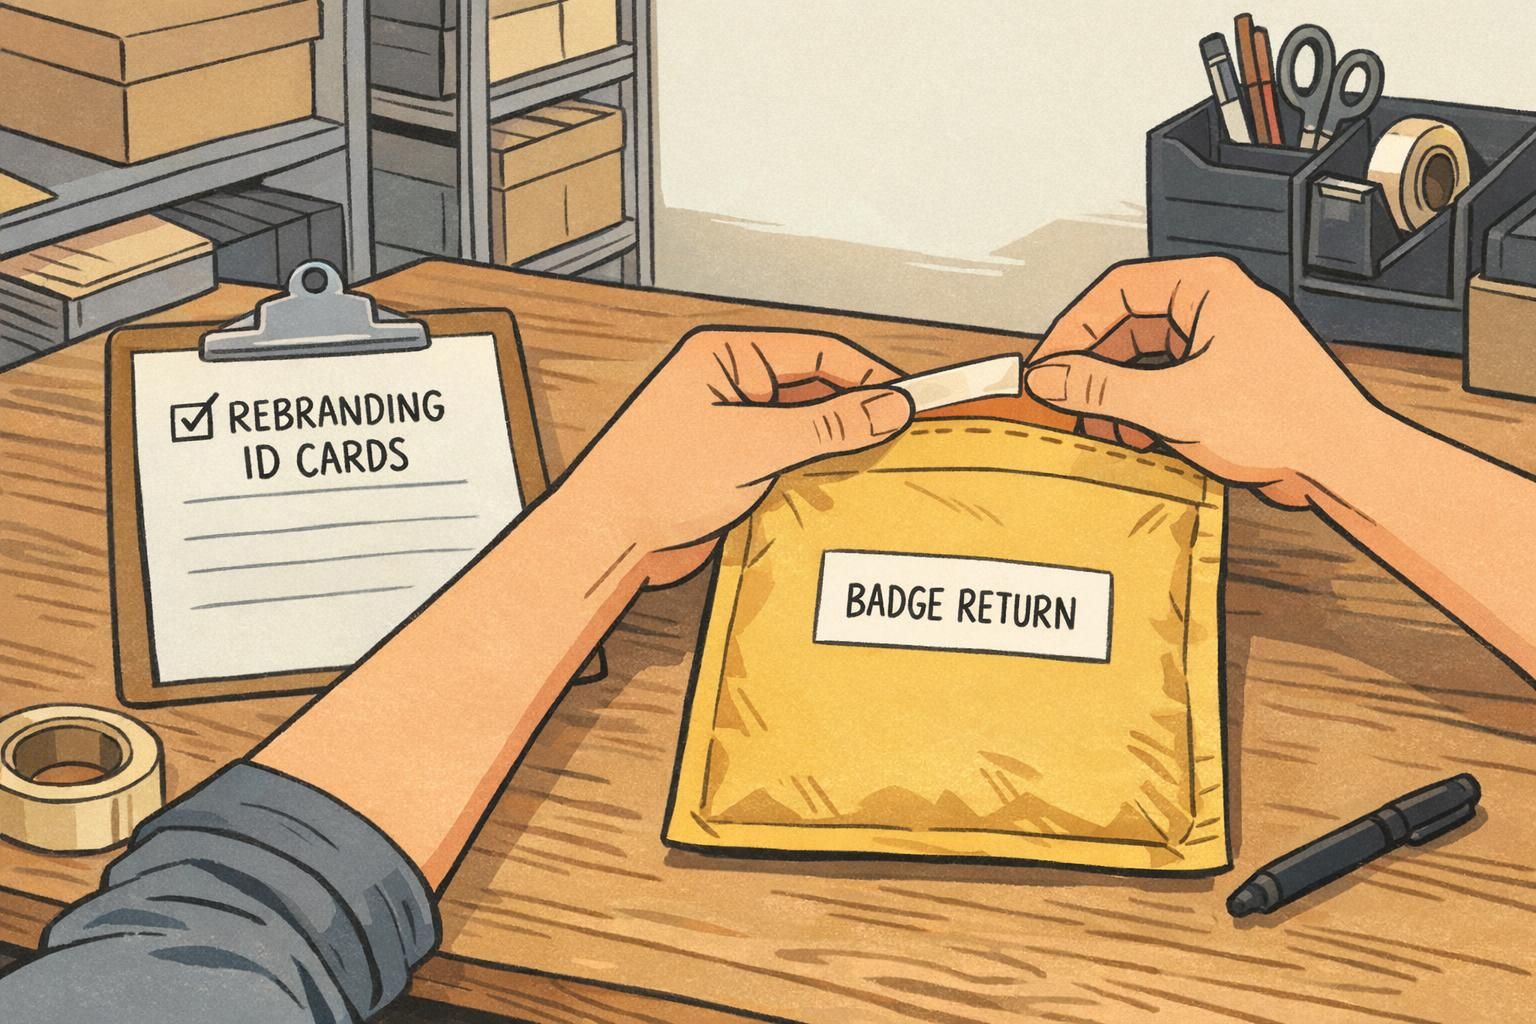
Secure collection, deactivation, and destruction of old badges
The most common security gap during a rebrand is leaving old credentials usable—either because they weren’t collected, or because they were collected but never properly deactivated. Build a controlled process that treats old badges like sensitive items, not office supplies.
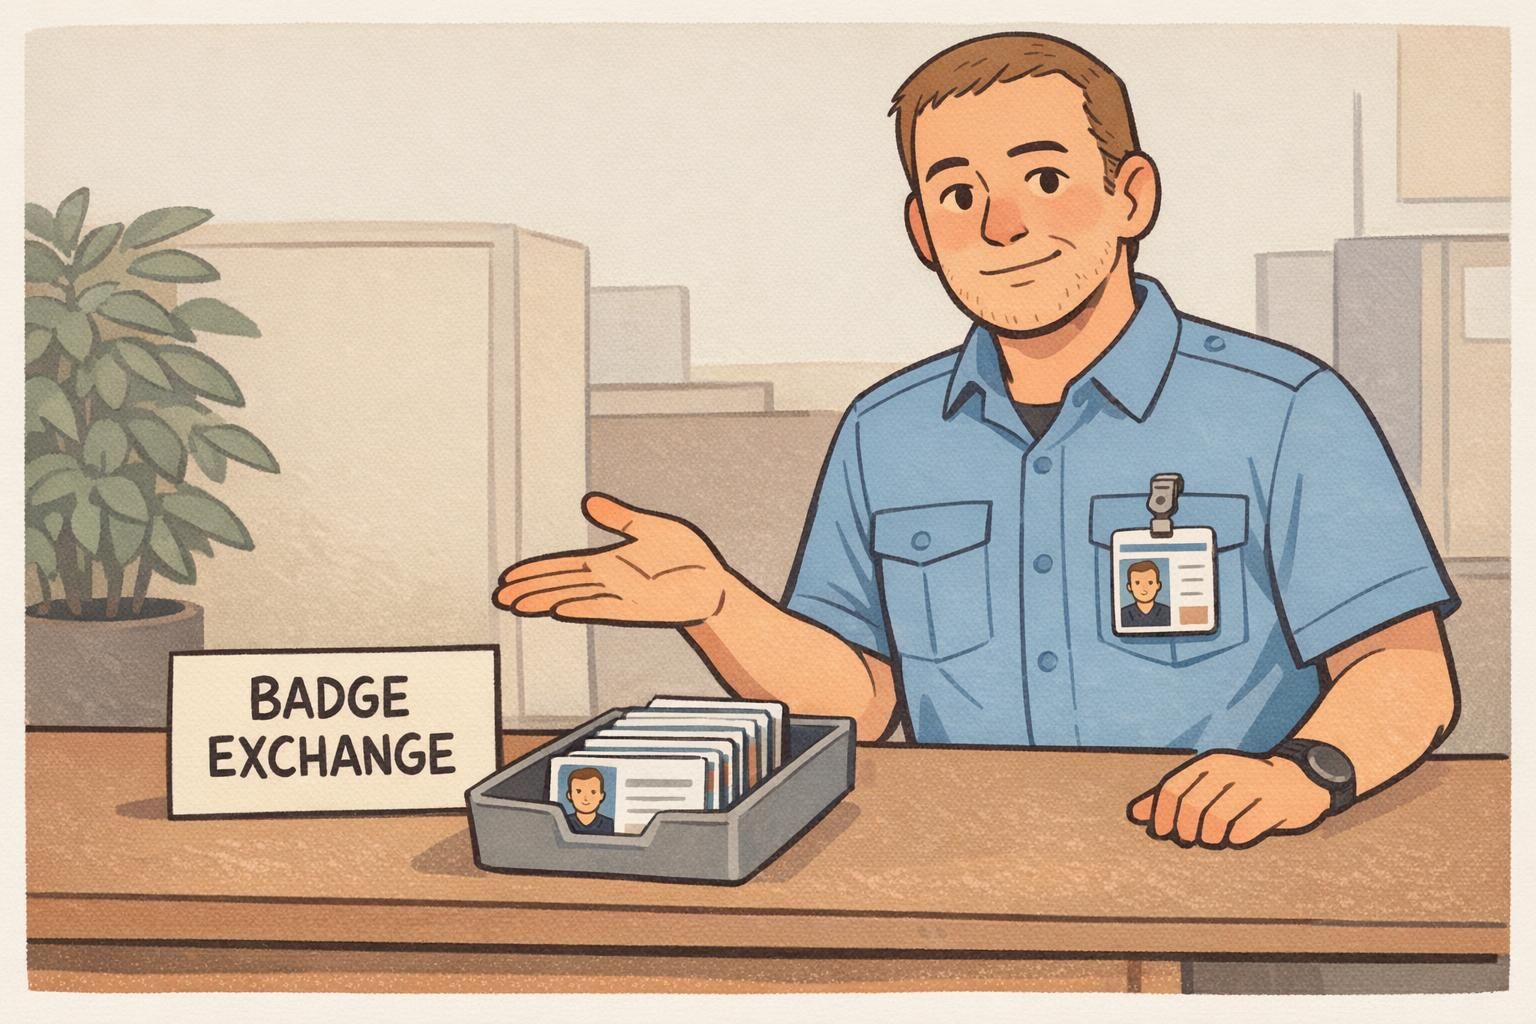
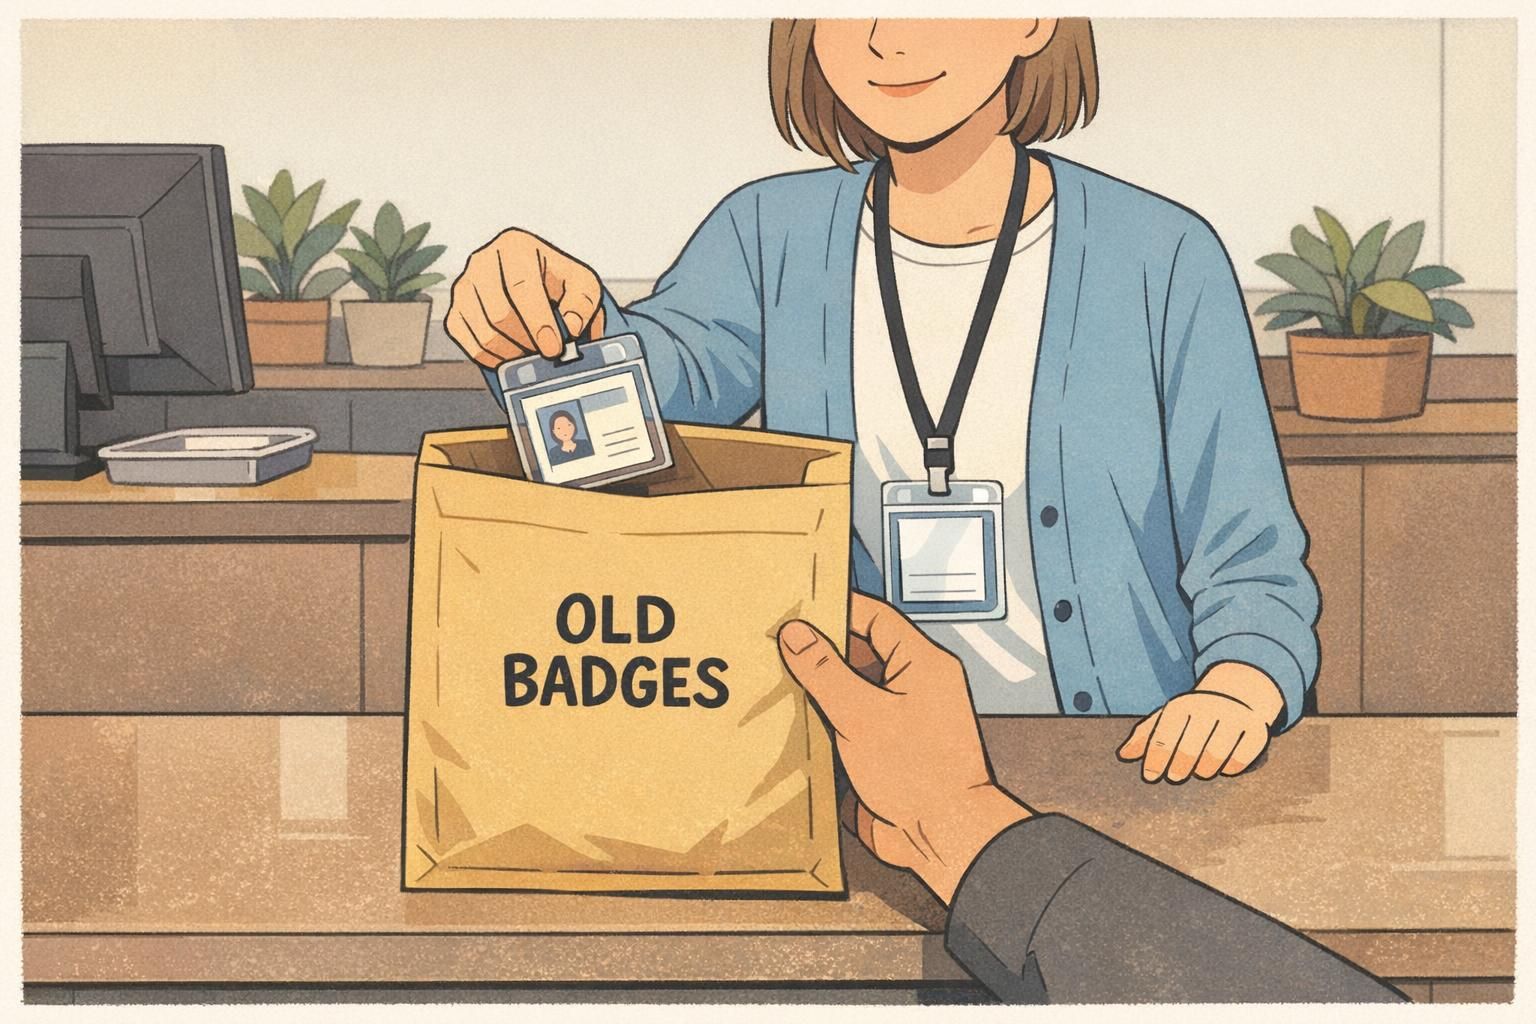
For on-site staff, the cleanest approach is an in-person swap: issue the new badge and collect the old badge in the same interaction. For remote staff, use trackable return options and define what happens when a badge isn’t returned (for example, escalation steps and confirmed deactivation timelines).
- Collection: in-person swap at issuance, or trackable return for remote staff (clear instructions and deadlines).
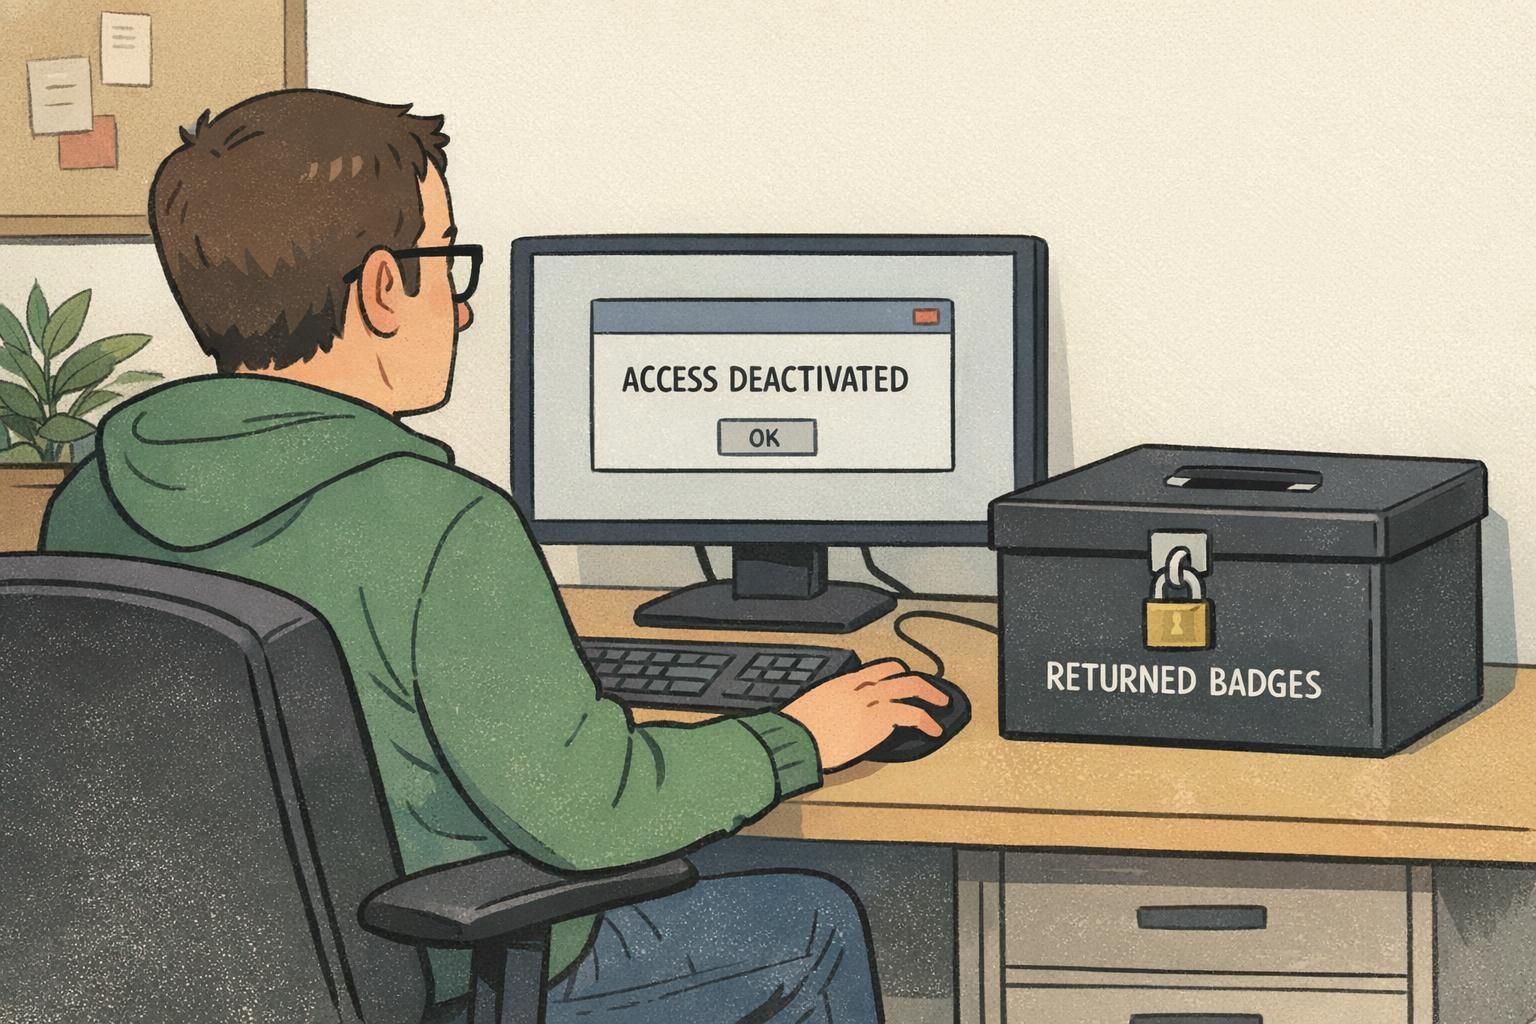
- Deactivation: promptly disable old credentials so an unreturned badge can’t be used later.
- Chain of custody: store returned badges in a locked container and limit handling to designated staff.
- Destruction: use secure methods appropriate to your environment (cut/shred on-site or an approved destruction service).
- Documentation: keep simple logs of returns, deactivation confirmation, and destruction batches for audits and compliance.
“We treated the old badges like keys: collected them, logged them, deactivated them, and destroyed them on schedule. That kept the rebrand from becoming a security exception.” – Corporate Security Manager
Security doesn’t come from the new design alone—it comes from clean swaps, fast deactivation, and documented destruction of old credentials.
How to update company badges without disrupting daily operations
To update company badges efficiently, design the rollout like an operations process—then test it. A short pilot with one department or one location helps you validate printing accuracy, photo standards, exchange timing, and any access control steps before you scale.
The biggest operational friction points are usually predictable: long pickup lines, missing photos, incorrect name formatting, and exceptions (contractors, interns, short-term staff). If you plan for those up front, the exchange feels routine instead of disruptive.
- Pilot first: run a small exchange to confirm templates, photos, and data fields are correct.
- Offer multiple pickup windows: include early/late options for shift coverage.
- Provide temporary credentials when needed: a visitor-style pass can bridge the gap if someone can’t swap immediately.
- Define escalation for missing or unreturned badges: who follows up, when deactivation occurs, and how replacements are approved.
- Include every credential category: employees, contractors, interns, volunteers, and recurring vendors should have a clear path.
Handle it like a normal lost credential: deactivate it promptly, document the incident, and issue the new badge through the same controlled process (with identity verification and approval steps your organization already uses).
Not always. Many organizations set an effective date and run a short transition window, as long as security and staff are clear on what’s valid and old credentials are being deactivated on schedule.
Choosing formats: employee ID cards vs. name tags vs. event badges
A rebrand often touches more than one format. Employee ID cards typically serve ongoing identification and, in many workplaces, access control. Name tags can be better for customer-facing roles where quick readability matters most. Event badges support short-term check-in, wayfinding, and role recognition during conferences, trainings, or multi-site meetings.
When you’re introducing new logo badges, it’s a good moment to confirm each use case and keep the experience cohesive. For example, hospitality teams may benefit from large first names, while security-focused environments may prefer minimal on-badge details with strong verification through systems and photo matching.
- Employee ID cards: best for ongoing use, consistent identification, and environments where access or verification is routine.
- Name tags: best for high-touch customer or patient interactions where readability and friendliness matter.
- Event badges: best for short-term identification, check-in efficiency, and wayfinding across rooms or zones.
- Visual systems: consider color bars, icons, or subtle markers to help staff recognize roles/access levels at a glance.
Consistency matters more than uniformity: different formats can serve different purposes while still looking like one coordinated brand.
Ordering and printing: what to prepare before you place a badge order
Most delays and reprints come from preventable input issues. Before you order, prepare a clean roster (names, titles, departments, and any unique ID numbers you use), verify photos meet your standards, and confirm you have final brand assets (logo files and color specs). Then establish proofing steps so the first printed batch matches what you approved.
If different roles or locations require different layouts (for example, contractor vs. employee, or site A vs. site B), decide that upfront so templates are consistent and scalable. It’s also smart to confirm turnaround time so your swap schedule isn’t forced to change at the last minute.
- Roster readiness: standardized names, departments, titles, and unique IDs (if used).
- Photo readiness: consistent crop, lighting, and background style per your internal standards.
- Template readiness: one approved layout per credential category (employee/contractor/visitor/event, as needed).
- Proofing plan: who approves, what “final” means, and how corrections are handled before full production.
If you’re ordering printed cards, you can review options like custom PVC ID cards and confirm the material and finish match your environment and handling needs.
Post-rollout governance: keep the new identity consistent going forward
The rollout isn’t the finish line—governance keeps your new identity from slowly drifting. Update onboarding so new hires receive the current badge design, and define a replacement policy for damaged credentials so people don’t end up with inconsistent “temporary” solutions that linger for months.
Store approved templates and brand rules in a place teams can find quickly, and clarify who can request exceptions (and under what conditions). Periodic audits—lightweight, not burdensome—help ensure badges, name tags, and event credentials continue to reflect the rebrand accurately and remain aligned with your security process.
- Onboarding standard: new hires receive the current design only, with consistent photo and data rules.
- Replacement policy: define when to reprint, how identity is verified, and how old credentials are deactivated and collected if found.
- Template library: keep final badge files, field rules, and color standards in an easy-to-access location.
- Periodic checks: spot-audit badge designs, expiration handling, and the retirement of outdated formats.
A strong rebrand stays strong when the badge process is repeatable: one set of templates, clear ownership, and routine audits that prevent old designs from creeping back in.