New Hire Badge Day-One Checklist for a Polished Onboarding Experience
Why a New Hire Badge on Day One Sets the Tone
A new hire badge issued on day one does more than display a name—it’s an immediate signal that the employee is expected, recognized, and ready to participate. When someone walks in and can be clearly identified, introductions become easier, coworkers feel more comfortable offering help, and the new employee can start building confidence right away.
That visibility also supports basic workplace clarity: who someone is, what team they’re on, and (when relevant) where they’re allowed to be. Instead of awkward “Who are you here with?” moments, a badge creates a smooth, professional first impression—especially in shared offices, multi-site organizations, or facilities where visitors and employees move through the same spaces.
Structured onboarding consistently shows benefits for newcomer integration and productivity. A badge is a small but practical part of that broader, formal welcome plan—one that helps the employee feel included while also reducing day-one friction for everyone else (source).
When badge issuance is treated as a friendly welcome step—not a security formality—it creates a consistent, polished onboarding experience across teams and locations.
Before Day One: Collect the Right Info (Fast, Consistent, Secure)
The easiest way to make day-one badge handoff feel effortless is to standardize what’s collected ahead of time. When HR, hiring managers, and operations all use the same fields, you avoid last-minute scrambling (and the uncomfortable situation where a new employee arrives and their badge isn’t ready).
Keep the intake lightweight, but consistent. The goal is not to create extra paperwork—it’s to ensure the employee shows up and immediately feels like the organization was prepared for them.
- Preferred name (and any capitalization or spacing preferences)
- Pronouns (if your workplace uses them on badges or in directories)
- Department and/or team
- Primary work location (building, site, or floor when relevant)
- Start date (helpful for coordinating printing, access, and orientation timing)
- Whether a photo is required for the role or facility
- Whether an ID number is needed (for time clocks, access control records, or internal systems)
- Whether an expiration date is required for contractors or temporary staff
Consistency matters as much as speed: every employee should receive the same level of day-one readiness, regardless of department or manager.
Photo & Layout Standards That Look Professional (Even Under Pressure)
A professional-looking badge doesn’t require a studio setup, but it does require a simple standard that everyone follows. When photos and layouts vary wildly, badges can look improvised—even if the workplace is otherwise organized.
Start with a “quick photo workflow” that’s easy to repeat. A plain background, even lighting, and a consistent crop go a long way. Aim for a head-and-shoulders framing with the face centered. If you can, pick one spot in each location (or a portable backdrop) so you’re not reinventing the process each time.
- Background: plain, neutral, and uncluttered
- Lighting: soft and even (avoid harsh overhead shadows)
- Framing: head-and-shoulders, face centered
- Expression: neutral and approachable
- Attire guidance: keep it simple—whatever your organization considers workplace-appropriate
For the badge layout, use a clear hierarchy so people can read it at a glance. In most workplaces, the name should be the largest element, followed by role or department, and then any secondary identifiers (like an employee ID number) if needed. This small design decision reduces friction in real-world interactions—coworkers shouldn’t have to lean in to confirm who someone is.
If your organization uses access control, make sure the photo and printed information match the employee record before the badge is activated. That quick cross-check helps avoid downstream confusion when the employee starts using doors, time clocks, or secure areas.
“A consistent badge photo and layout makes day one feel organized—like the employee is joining a real system, not figuring it out as they go.” – Operations Coordinator
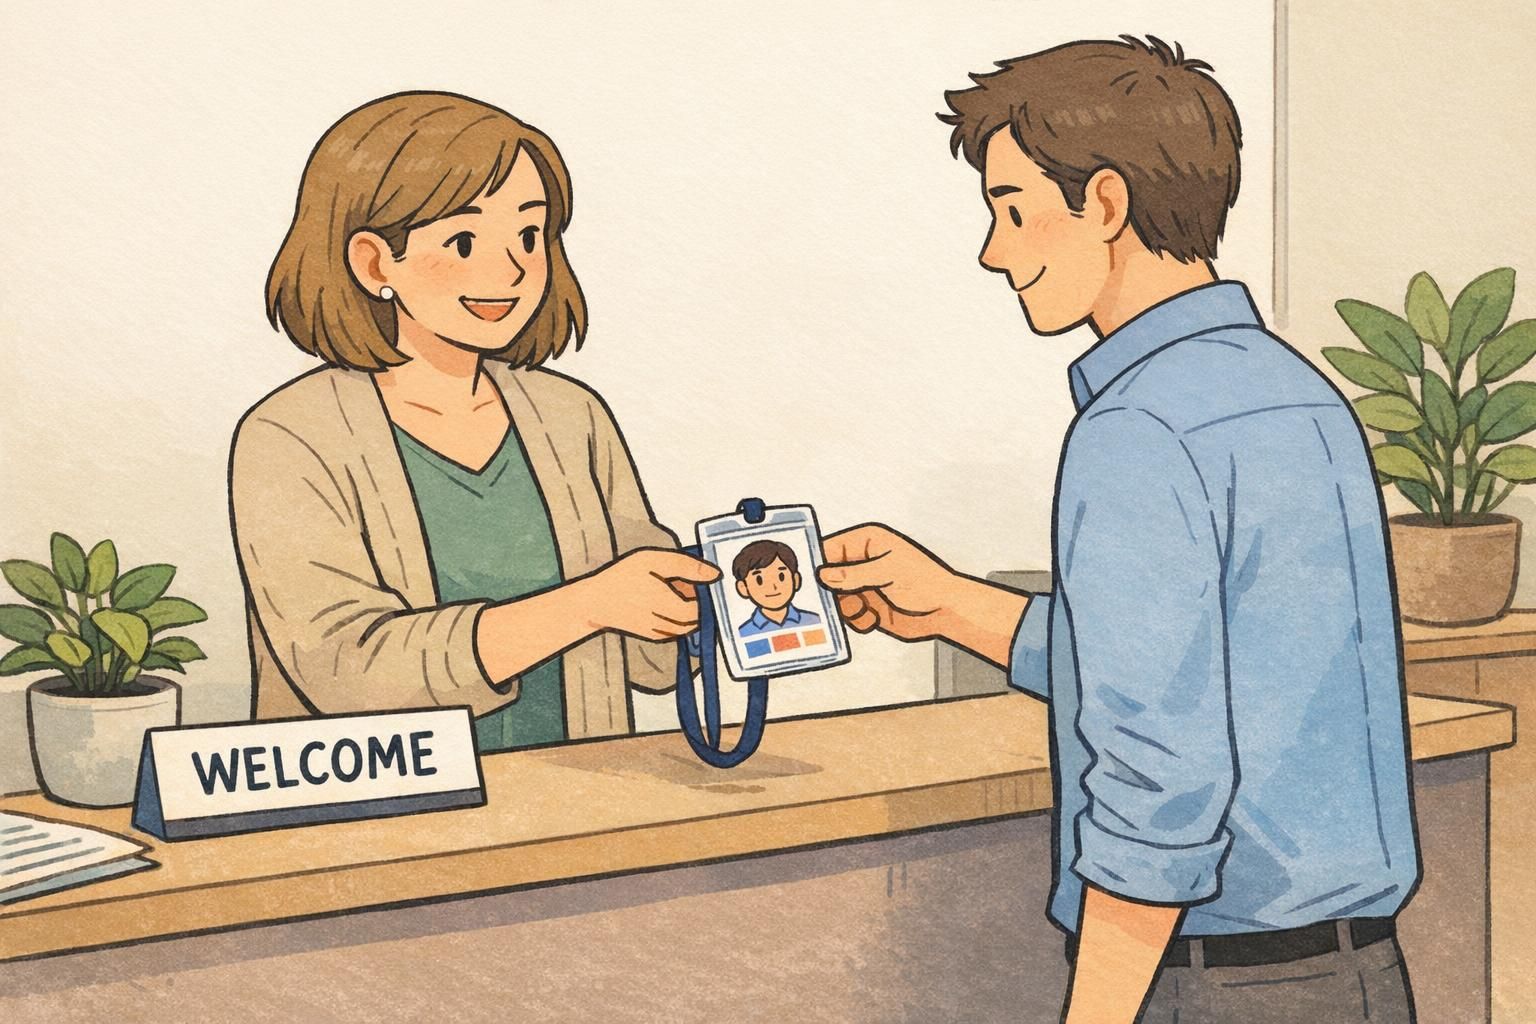
Onboarding ID Card: Print, Encode, and Verify Access on Day One
An onboarding ID card often serves two jobs at once: it’s a visible identifier for people around the workplace, and it may also function as a “key” for doors, time clocks, or role-restricted areas. Treating it as a core onboarding tool (not an afterthought) can eliminate a surprising amount of day-one stress.
The most helpful habit is to build in a quick verification step immediately after the card is issued. Print quality, correct name spelling, and photo clarity matter for the human side of identification. But if the card is also used for access control, the technical checks matter just as much.
- Print check: photo, name, department, and any identifiers are correct and readable
- Encoding/activation check (if applicable): confirm the card is properly activated in the system
- First-use test: walk with the employee to the first door/reader they’ll use and confirm it works
- Permission check: verify access levels match the role (and nothing critical is missing)
That small “first scan success” moment is an easy early win. It signals that the workplace is ready for them, and it prevents the common pattern where a new employee’s first hour is spent waiting on access fixes rather than meeting their team.
Accessories & Carry Options: Lanyards, Clips, Holders, and Comfort
Even a perfectly printed badge can become a day-to-day annoyance if it’s uncomfortable or hard to wear safely. Choosing a standard carry method helps the workplace look consistent, while offering a couple of approved options helps employees stay comfortable and compliant.
Match the carry method to the environment. Lanyards are easy to spot and work well in offices and events. Belt clips and retractable reels are often preferred in active roles where employees bend, lift, or move quickly. Clear holders add protection and can help keep printed information from fading due to wear.
- Lanyards: strong visibility and easy day-one handoff
- Belt clips: stable and practical for active roles
- Retractable badge reels: quick tap/swipe without removing the badge
- Clear vertical holders: protect the badge and keep it aligned
If your organization uses color-coding (for visitors, contractors, specific teams, or access zones), write down what each color means and keep it consistent. Color systems work best when they’re simple and applied the same way every time—especially across departments or multiple locations.
Policy Overview in 3 Minutes: Wear, Replace, Report, Respect
Badge policy training works best when it’s brief, friendly, and practical. Day one is not the time for a long lecture—it’s the time for clear expectations that help the employee feel confident about what to do.
A good policy overview covers where the badge must be worn, when it can be removed, and how to store it safely. It also explains what to do if the badge is lost or damaged, how replacements work, and who to contact for access issues. When employees know the “what” and the “who,” they’re less likely to delay reporting problems.
- Wear: where badges must be visible (and any exceptions, like certain work areas)
- Replace: how to request a replacement for damage, name changes, or updates
- Report: what to do immediately if a badge is lost (and who to notify)
- Respect: badges support identification and safety—use them appropriately and don’t share access
The goal is a smooth daily rhythm: employees know how to wear and care for badges, and the organization can maintain reliable identification and access practices.
Employee Badge Setup Workflow: A Simple Checklist for HR, IT, and Managers
On a busy onboarding day, the biggest risk is not poor intent—it’s unclear ownership. A shared employee badge setup checklist keeps the process predictable so no one has to guess who prints, who activates access, and who confirms the employee is ready to use the badge in real situations.
Keep the workflow short and aim to complete it within the first hour. That timeline helps the badge feel like part of the welcome, not a delayed task that interrupts the new hire’s first meeting or training session.
- HR: confirm preferred name and role details; verify any required fields are complete
- HR or admin: print and issue the badge (or coordinate printing if centralized)
- IT or security (if applicable): activate/encode the badge and assign access permissions
- Facilities or manager: issue the approved carry option (lanyard, reel, clip, holder) and confirm comfort/safety fit
- Manager or buddy: do a first-use walkthrough (entry point, common doors, time clock if relevant)
- New hire: confirm they know where it’s required and who to contact for access issues
“If we can get the badge printed, worn, and successfully used in the first hour, the rest of onboarding feels calmer and more focused.” – HR Generalist
Make It Feel Like a Welcome: Small Touches That Add Polish
A badge handoff is a practical moment, but it can also be a human one. When it’s paired with a brief introduction and a quick “here’s how we do things,” the new employee experiences the badge as part of being included—not as a piece of admin work.
Try connecting the badge to a simple first win. For example: walk to the entrance and let the new hire use the badge successfully, or show them how to check in for their first shift if that’s part of your process. These small moments reduce uncertainty and build confidence.
- Hand the badge over with a quick welcome and a name pronunciation check
- Introduce the employee to one or two nearby teammates right away
- Do one successful real-world use (door reader, check-in, or sign-in process)
- Provide a one-page “who to ask” list for HR, IT/access, and the direct manager
The most polished onboarding experiences feel consistent: every employee receives the same friendly cadence, the same basics, and the same readiness to start.
Badge Printing Options & When to Upgrade Materials
Badge materials and printing approaches work best when they match the workplace environment. An office with light access needs may do well with a simple printed card and holder, while hands-on roles often benefit from more durable cards and more protective carry options. For short-term needs—like events, training weeks, or temporary staffing—event-style badges can be a practical fit.
It also helps to plan for normal changes over time. Reprints happen for name changes, role changes, photo updates, lost badges, and replacements for wear. When the process is defined, those updates stay polished instead of feeling disruptive.
If you onboard in batches or your team grows quickly, a reliable printing and supply partner can help keep day-one issuance smooth. For example, custom photo ID badges can support a consistent look and photo-based identification when you want badges that clearly match your organization’s standards.
Consider upgrading when badges are exposed to heavy daily wear (active roles, frequent badge tapping, outdoor or industrial environments), or when replacements become frequent due to cracking, fading, or damage. Durability improvements are most useful when they reduce interruptions and keep identification consistently readable.
Use the same standardized fields and approval steps you use for new hires, and keep a simple replacement path: who to contact, what info is required, and how quickly the updated badge will be issued. Consistency is what keeps reprints feeling routine instead of disruptive.
The best badge program is the one that stays consistent over time—day one, day one-hundred, and during every update in between.