ID Badge Policy: How to Write Rules Employees Will Actually Follow
Start With the Purpose of Your ID Badge Policy (In Plain Language)
A good ID badge policy starts with a simple “why.” People are more likely to follow rules when they understand how those rules fit into daily work—walking in the door, greeting visitors, moving between areas, and getting help quickly when something goes wrong. At its core, badges support four everyday needs: safety (knowing who’s authorized), security (reducing unauthorized access), visitor management (making non-employees easy to spot and assist), and quick identification (so coworkers, customers, and supervisors can confirm names and roles at a glance). This policy is meant to be easy to follow and consistently applied—no guesswork, no “it depends” conversations at the door. Keep in mind: badge requirements may vary by role or work area. A front desk, warehouse, office suite, healthcare unit, school, or event floor may reasonably have different expectations based on how people move through the space and how access is controlled.
If employees can explain the purpose in one sentence, they’re more likely to follow the routine: wear it, show it, and replace it fast when there’s an issue.
Define Who Must Wear a Badge, Where, and When
Clarity is the fastest path to employee compliance. If you want your badge rules followed, define exactly who must wear a badge, where it must be worn, and when it’s required. Avoid vague phrases like “as needed” or “where applicable” unless you immediately define what that means in your workplace. Start by listing who the policy applies to (and treat this as your “default” unless an exception is documented): employees, contractors, interns, and volunteers. If visitors receive separate temporary credentials, say so in your visitor process (even a short line helps).
- Who: All employees, contractors, interns, and volunteers who are working on-site.
- Where: On premises (any company-controlled building, campus, jobsite, or event space).
- When: During all shifts while on-site, especially at entrances, in public-facing areas, and in restricted areas.
Use simple definitions so everyone interprets the policy the same way: On premises: inside any company-controlled space, including entrances, hallways, work areas, break areas, and parking/secured lots if access is controlled. Public-facing: any area where customers, patients, students, parents, vendors, or the general public may interact with staff. Restricted area: any space that requires authorization (for example, storage rooms, HR areas, controlled inventory, medication rooms, server rooms, or back-of-house work zones). If you’re unsure whether your badge is required in a specific situation, ask your supervisor or the security/reception desk before entering the area.
Simple Badge Rules Employees Can Remember
The best badge rules are short, visible, and repeatable. Keep them scannable so employees can remember them without rereading a full document. If your environment includes machinery, patient care, food service, or other safety risks, align badge wear with your safety expectations (for example, breakaway lanyards). Here are simple, one-line rules that work in most workplaces:
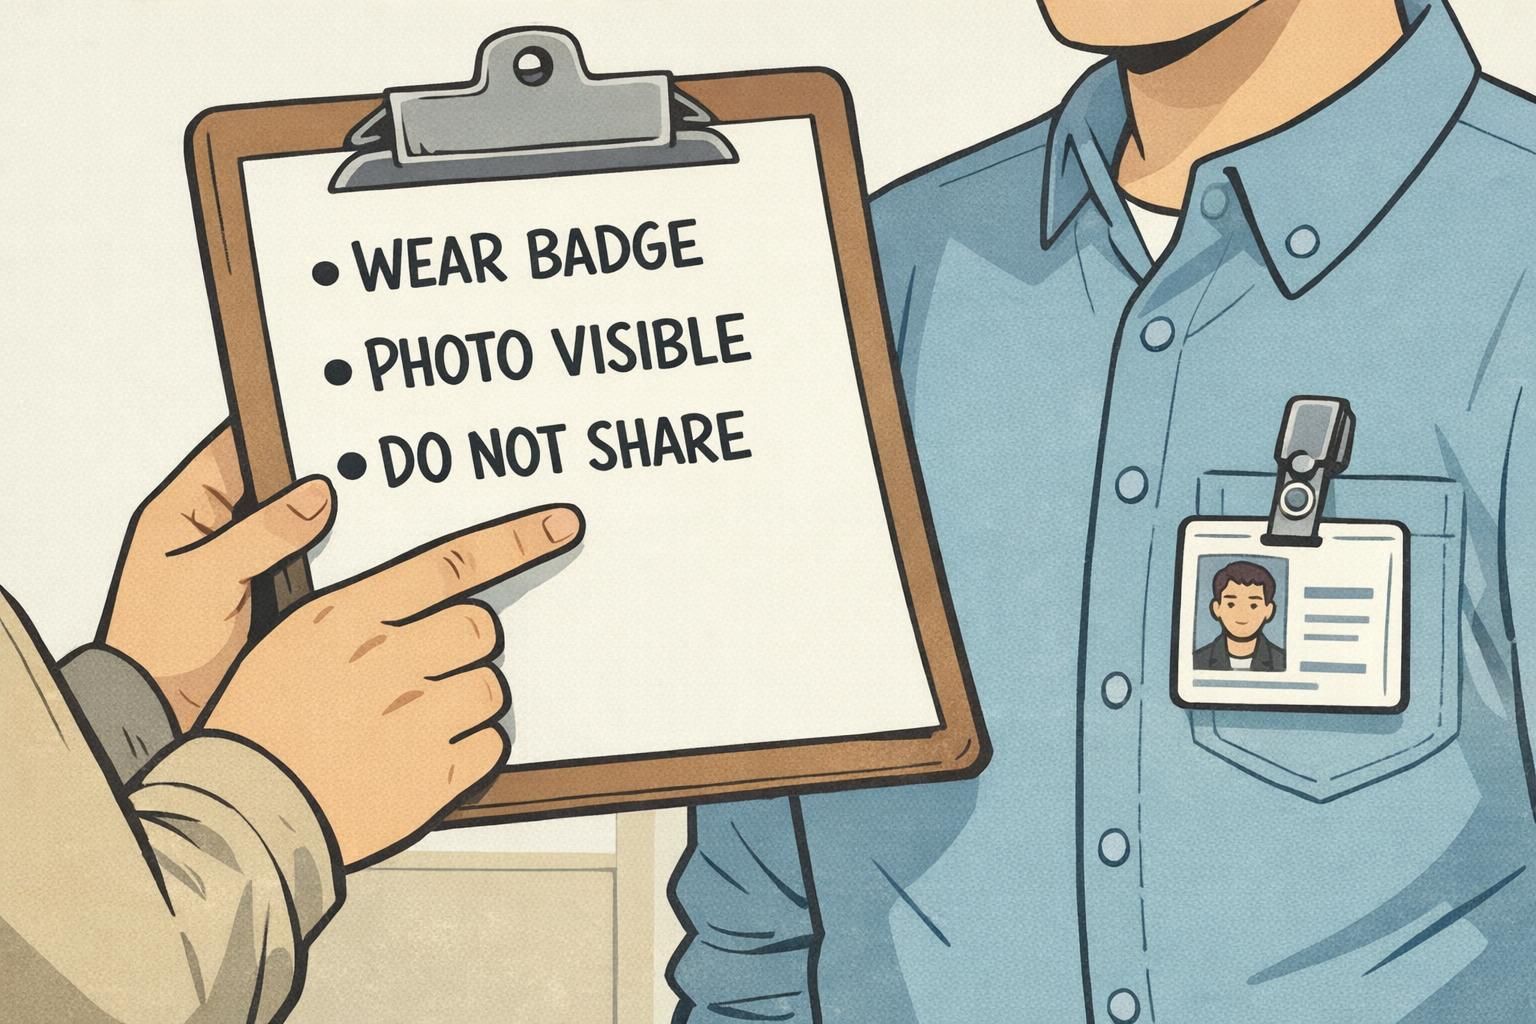
- Wear your badge above the waist while on-site.
- Keep your photo and name visible (do not flip the badge backward).
- Use an approved holder, clip, or breakaway lanyard appropriate for your work area.
- Do not share, lend, swap, or “borrow” badges—ever.
- Do not punch extra holes, cut, or alter the badge or holder.
- Do not cover the photo, name, barcode, or access features with stickers or tape.
- Remove and store badges safely when off-site (do not leave them in unattended vehicles).
- If you work hybrid/remote, you still must wear your badge when you are on-site.
Make “visible, unshared, unaltered” your three core badge rules—easy to remember and easy to enforce consistently.
What to Do When a Badge Is Forgotten (Practical, No Guessing)
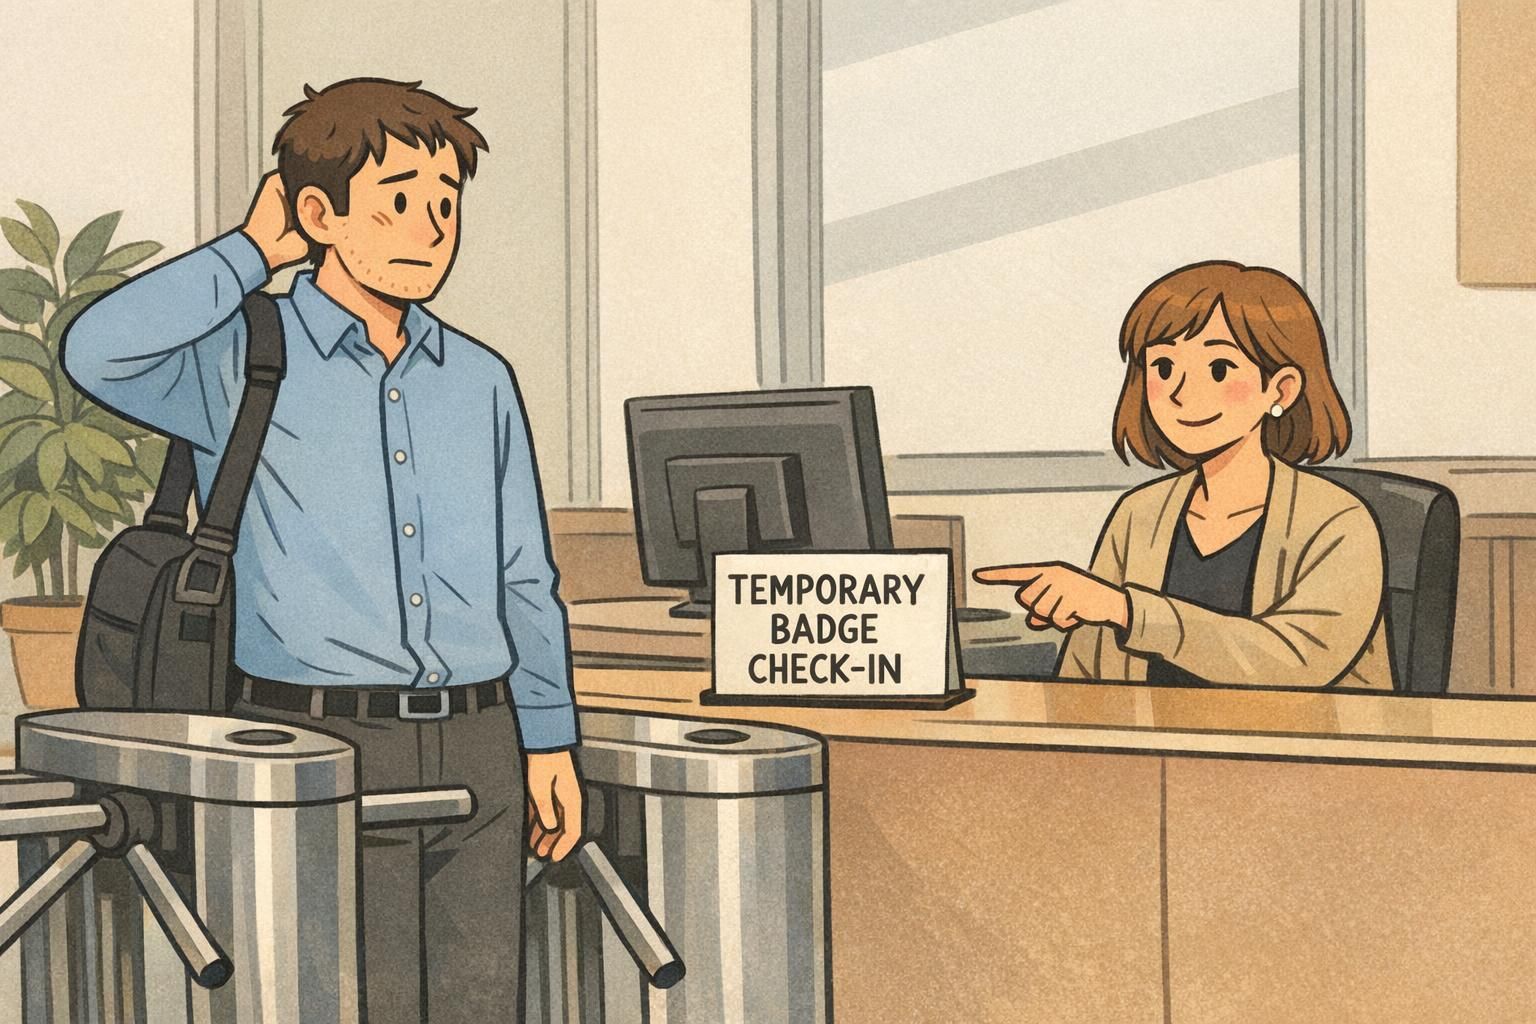
A common reason people stop following policies is friction at the moment of need. If someone forgets a badge, they shouldn’t have to improvise, call three people, or wait without direction. Your ID badge policy should spell out the exact steps so the employee can get identified quickly and get to work. Keep the tone supportive: the goal is fast resolution and safe identification, not blame.
- Step 1: Go to the reception desk or security check-in (do not tailgate through a secured door).
- Step 2: Present a standard form of identification (as required by your site process).
- Step 3: Receive a temporary badge/pass and wear it above the waist for the rest of the day.
- Step 4: Return the temporary badge before leaving the site (same day).
- Step 5: If forgotten badges become repeated, your supervisor may schedule quick coaching to prevent access delays.
Also define what happens at access points so employees don’t create workarounds: Reception/security will verify identity, issue the temporary credential, and log the issuance. If your workplace requires manager approval for temporary access, state that clearly (who approves, and how quickly it’s expected to happen).
No. If you forgot your badge, follow the temporary badge check-in steps so identification and access are handled correctly.
State a clear default, such as one day (one shift), unless your site uses a different standard for specific work areas.
Lost or Stolen Badges: Immediate Actions and Replacement Process
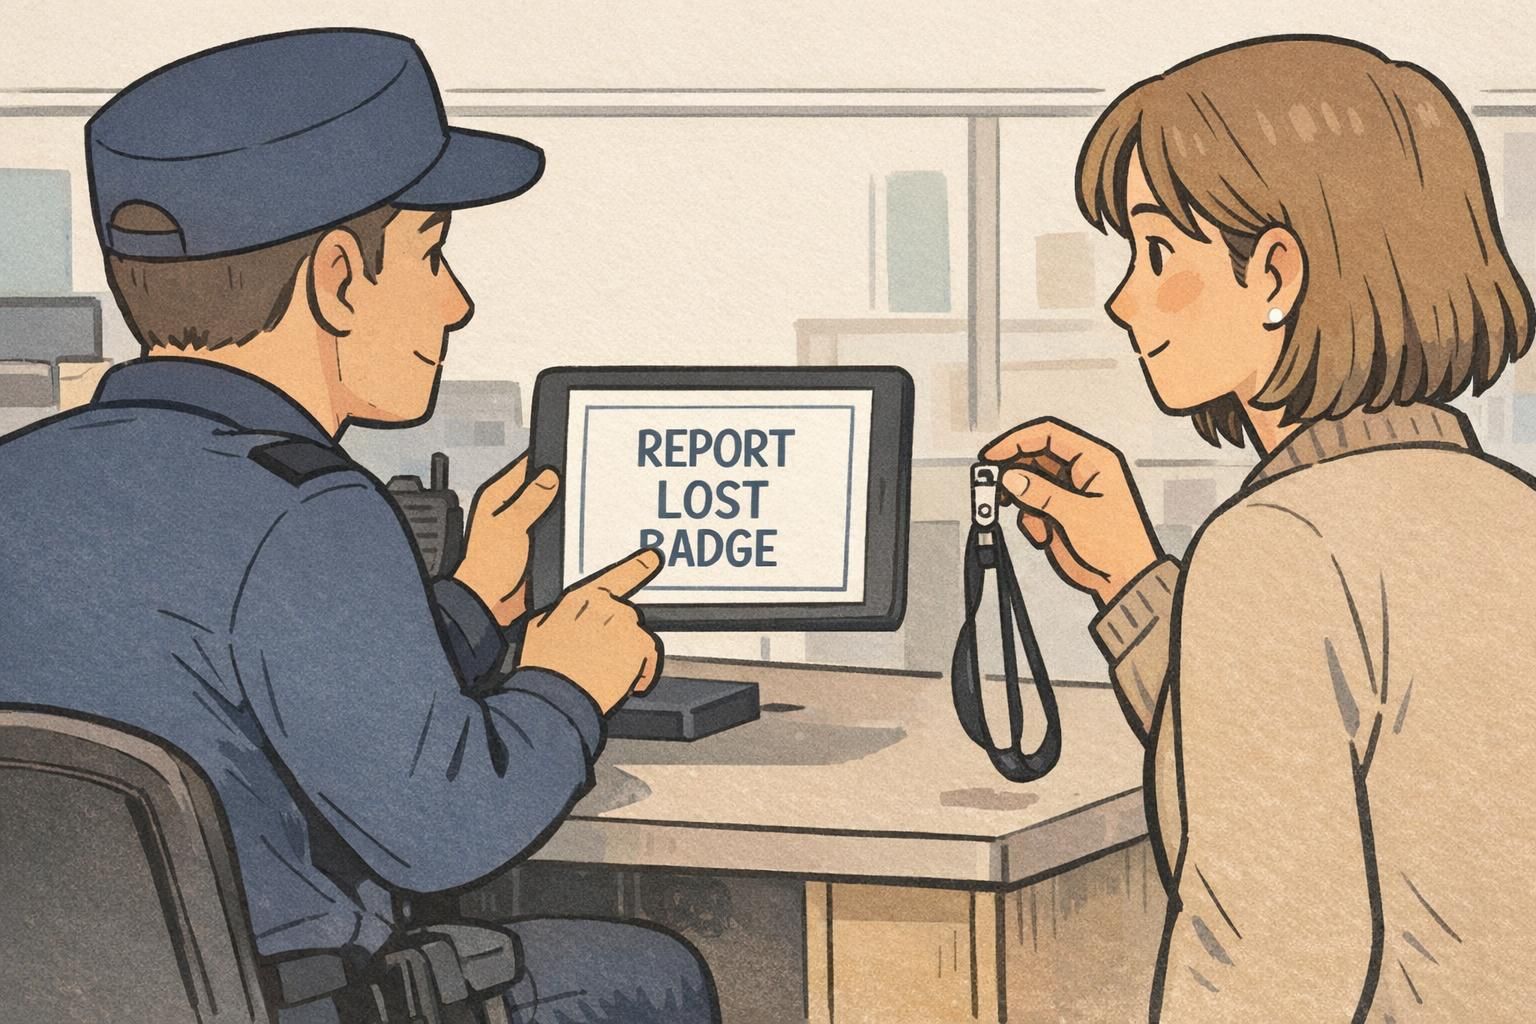
Lost or stolen credentials should be treated as time-sensitive—not because the employee is “in trouble,” but because a missing badge can be misused. Give employees a simple checklist and a predictable replacement path. If your badges control access (for example, door access or time clocks), include deactivation as an immediate step.
- Report immediately to security/reception or your supervisor (same day).
- If the badge provides access, request that access be deactivated as soon as the report is made.
- Confirm identity using your standard verification process.
- Submit a replacement request (who to contact, and what information is needed).
- Pick up the replacement at the designated location or follow your delivery process.
Include straightforward timelines, even if they’re simple: when reporting must happen (for example, immediately upon noticing) and the expected replacement turnaround (for example, within a set number of business days). If your workplace applies replacement fees for repeated losses, state when fees apply in neutral language and keep the focus on preventing misuse. Manager note: If an employee needs access while a replacement is being issued, use your standard temporary credential process rather than informal workarounds.
Damaged or Unreadable Badges: When to Replace and How to Handle It
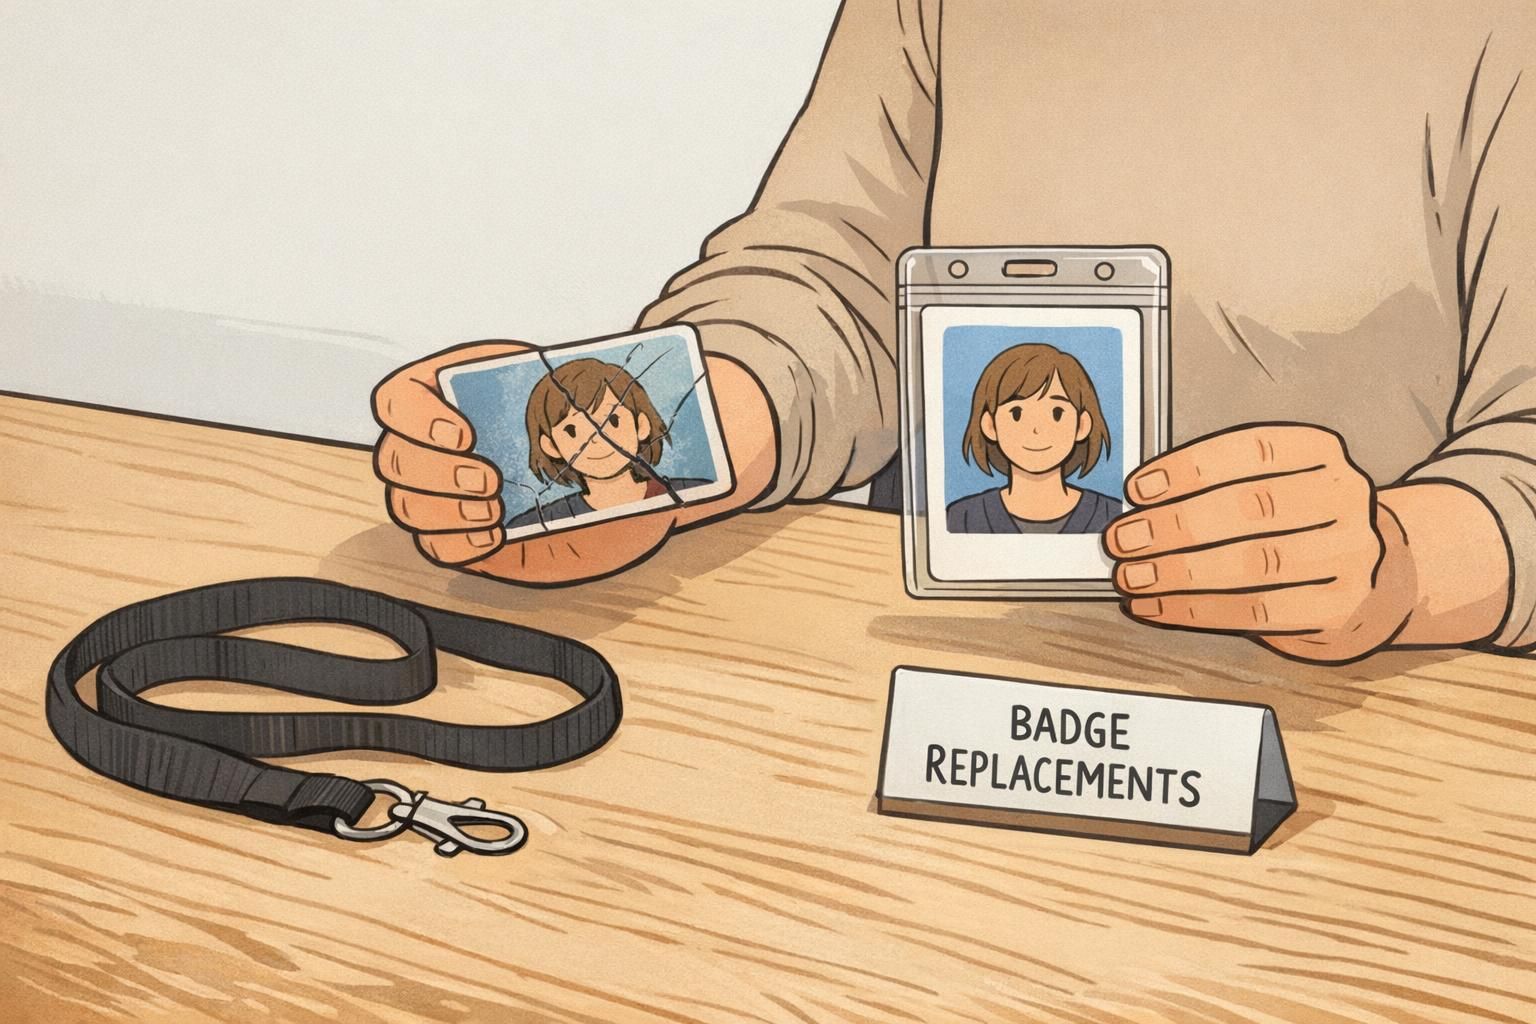
Badges are handled every day. Normal wear happens—especially in warehouses, schools, healthcare settings, and busy offices. Your policy should make replacement feel routine, not risky, so employees don’t keep using a badge that no longer identifies them clearly. Define what counts as damage so employees can self-check quickly.
- Cracked or bent card
- Peeling print or fading photo/name
- Unscannable barcode or QR code
- Broken slot or hole/attachment point
- RFID that scans inconsistently (where applicable)
- Holders or clips that no longer secure the badge
Stop using the badge and request a replacement if the photo/name is not clearly visible or if the credential doesn’t scan reliably at access points.
Make the process simple and predictable: Submit the damaged badge to the designated desk/contact (or follow your internal request system). If your process includes turning in the old badge, say so clearly. Then issue a replacement with an expected timeframe. This is also where compliance improves: when employees know they won’t be punished for normal wear-and-tear, they replace issues earlier—before a badge becomes unreadable or causes delays.
Make the Policy Easy to Follow: Training, Reminders, and Leadership Support
Even the clearest policy needs a rollout plan. Training and reminders turn a document into a habit, and leadership modeling makes the habit stick. Keep training short and specific: During onboarding, show new hires what “correct badge wear” looks like in your workplace, where to get help (reception/security), and what to do when a badge is forgotten, lost, or damaged. Then reinforce the essentials with quick refreshers—especially after badge redesigns, office moves, or access-control changes. It’s also common best practice to pair clear communication with employee involvement and ongoing awareness activities to improve understanding and adherence to workplace policies (source).
- Add a short badge check to your new-hire checklist (issue badge, confirm photo/name, show where it must be worn).
- Post a simple reminder at staff entrances (one page, big text).
- Create a brief intranet FAQ: forgotten badge steps, lost badge steps, and replacement timing.
- Ask supervisors to model the standard every day (visible badge, correct holder/lanyard, no exceptions without documentation).
“When supervisors wear badges the right way, everyone else follows—because the standard feels real, not theoretical.” – Facilities Coordinator
After rollout, invite limited feedback for a short window (for example, a week or two) to catch unclear steps—like where to pick up temporary badges or which entrances require check-in. The goal is to remove confusion without weakening the policy.
Policy Templates and Examples of Clear Language (Copy/Paste Ready)
The fastest way to improve employee compliance is to use clear, direct language that employees can recognize instantly. The examples below are designed to be copy/paste-ready and easy to place into an employee handbook, intranet page, or posted notice. Core policy lines:
- Wear your badge above the waist whenever you are on-site.
- Your badge must be visible and presented upon request.
- Do not lend your badge to anyone.
- Do not use another person’s badge for any reason.
- Do not alter your badge (no extra holes, cuts, stickers, or tape).
- If you forget your badge, check in at reception/security for a temporary badge.
- If your badge is lost or stolen, report it immediately so access can be disabled if needed.
- Replace damaged or unreadable badges as soon as the photo/name or scan reliability is affected.
Sample exception language (keeps identification standards while respecting real constraints):
- Religious attire: Employees may wear badges on an approved clip or holder that maintains visibility and does not interfere with attire requirements.
- PPE or safety constraints: If a lanyard is not permitted in a work area, employees must use an approved clip/holder that meets safety requirements while keeping the badge visible.
- Role-based requirements: Some restricted areas may require additional identification steps or temporary credentials; follow posted access instructions and supervisor/security guidance.
Keep exceptions specific, documented, and focused on maintaining visible identification—not eliminating it.
A small enforcement framework (firm, consistent, and non-punitive in tone):
- First issue: reminder and quick coaching on the correct process (how to wear, where to check in, how to request replacements).
- Repeated issues: supervisor follow-up to identify barriers (holder type, work area constraints, unclear steps) and reinforce expectations.
- Ongoing noncompliance: escalation according to standard workplace procedures, with emphasis on safety, security, and consistent application.
Tools That Support Compliance: Durable ID Badges, Holders, and On-the-Spot Replacements
If you want badge rules followed, make compliance the easy option. The best-written ID badge policy can still fail if badges are hard to read, easy to damage, or difficult to replace. Practical tools that reduce friction: Durable, easy-to-read credentials: Clear photo printing and scannable barcodes/QR codes make identification fast at a glance and at access points. Appropriate wear options: Provide holders, clips, or breakaway lanyards that match the environment (for example, breakaway lanyards in settings where snagging is a risk). Fast replacement workflow: Keep a small supply of holders/lanyards and a simple reissue process so new hires and replacements don’t become multi-day projects.
- Standardize badge layout and design across teams and locations to reduce confusion.
- Keep replacement materials on hand (holders, clips, lanyards) at the same place employees check in for temporary badges.
- Use a consistent request path for replacements so employees don’t guess who to contact.
If you’re refreshing your credential program or need consistent printing for day-to-day operations and reissues, you can review custom ID badges and choose options that match how employees actually work (for example, a design that stays readable and a format compatible with your preferred holders).