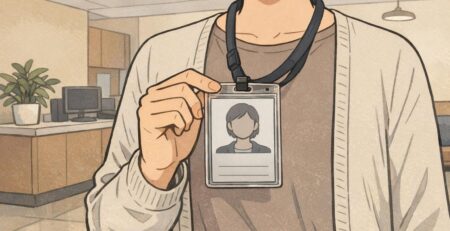
Event Check In Bottlenecks: Badge Prep That Saves Time
Why Event Check In Breaks Down (and How Badge Prep Fixes It)
Most event check in lines don’t get long because staff are slow—they get long because three different jobs collide at the same counter: confirming identity, producing or locating a badge, and solving problems (typos, unpaid tickets, wrong access level, missing records). When those tasks happen in one place, one “small” issue can pause everyone behind it.
The most reliable way to reduce delays is to shift as much work as possible to pre-event badge prep. If badges are already accurate, printed, and organized, on-site staff can focus on quick validation and a clean handoff. This is a well-known operations principle in high-volume check-in contexts: pre-registration and pre-issuing identifiers can significantly reduce average processing time compared with doing everything on arrival (source).
A smooth check-in desk isn’t about faster typing—it’s about fewer “exceptions” happening in the main line.
To plan effectively, separate what can be solved before doors open from what needs an on-site safety net. You can prevent most typos, duplicates, and formatting issues in advance. You can’t prevent every last-minute change—so the goal is to keep those changes from blocking routine badge pickups.
- Arrival surges: People show up in waves (opening keynote, lunch, after work), so even a small slowdown multiplies fast.
- Last-minute data changes: Name updates, ticket transfers, and access upgrades tend to spike right before (and during) the event.
- On-demand printing: Printing at the counter adds time and introduces new failure points (printer jams, ribbon issues, layout problems).
- Manual exceptions: Anything that requires staff to “figure it out” while the line waits (missing record, duplicate, unclear access).
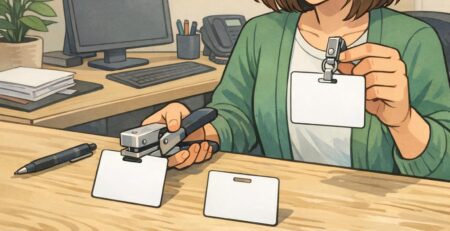
Pre-Event Badge Data Cleanup: Fewer Typos, Fewer Reprints
A surprisingly large share of check-in delays start as data issues. One typo becomes a reprint. One duplicate registration becomes a debate. One overlong company name gets truncated in a confusing way—and now the attendee thinks they’re in the wrong place.
Treat badge data cleanup like a simple production schedule with clear cutoffs. You’re not trying to be strict; you’re trying to protect the on-site experience.
- 7 days out: Lock the badge template and decide which fields will print (name, company, role, access tier, QR code). Do your first dedupe pass.
- 72 hours out: Freeze core print fields like first name/last name/company/access level for the pre-print run. Flag anything still unresolved as an exception to handle on-site.
- Day-of: Allow limited changes, but route them to the help desk or reprint station instead of the main pickup line.
Standardization prevents “surprise” problems at print time. Use consistent capitalization rules (for example, title case for names), define a badge name length limit to prevent truncation, and decide how to handle special characters so they don’t break formatting.
- Duplicate registrations: Same person registered twice under different emails or ticket types.
- Shared email addresses: Common for teams where one admin registers multiple attendees.
- Group attendees: A single company booking where last names may be unknown until later.
- Role/access mismatches: Someone registered as attendee but needs staff, vendor, speaker, or VIP access.
Freeze anything that forces a reprint when it changes: the attendee’s name, company, and access level. Optional fields (pronouns, session selections) can be handled separately if they don’t affect entry.
Decide in advance which changes justify a reprint (legal name correction, major misspelling, wrong access tier) versus what can be handled as a recorded note for post-event cleanup.
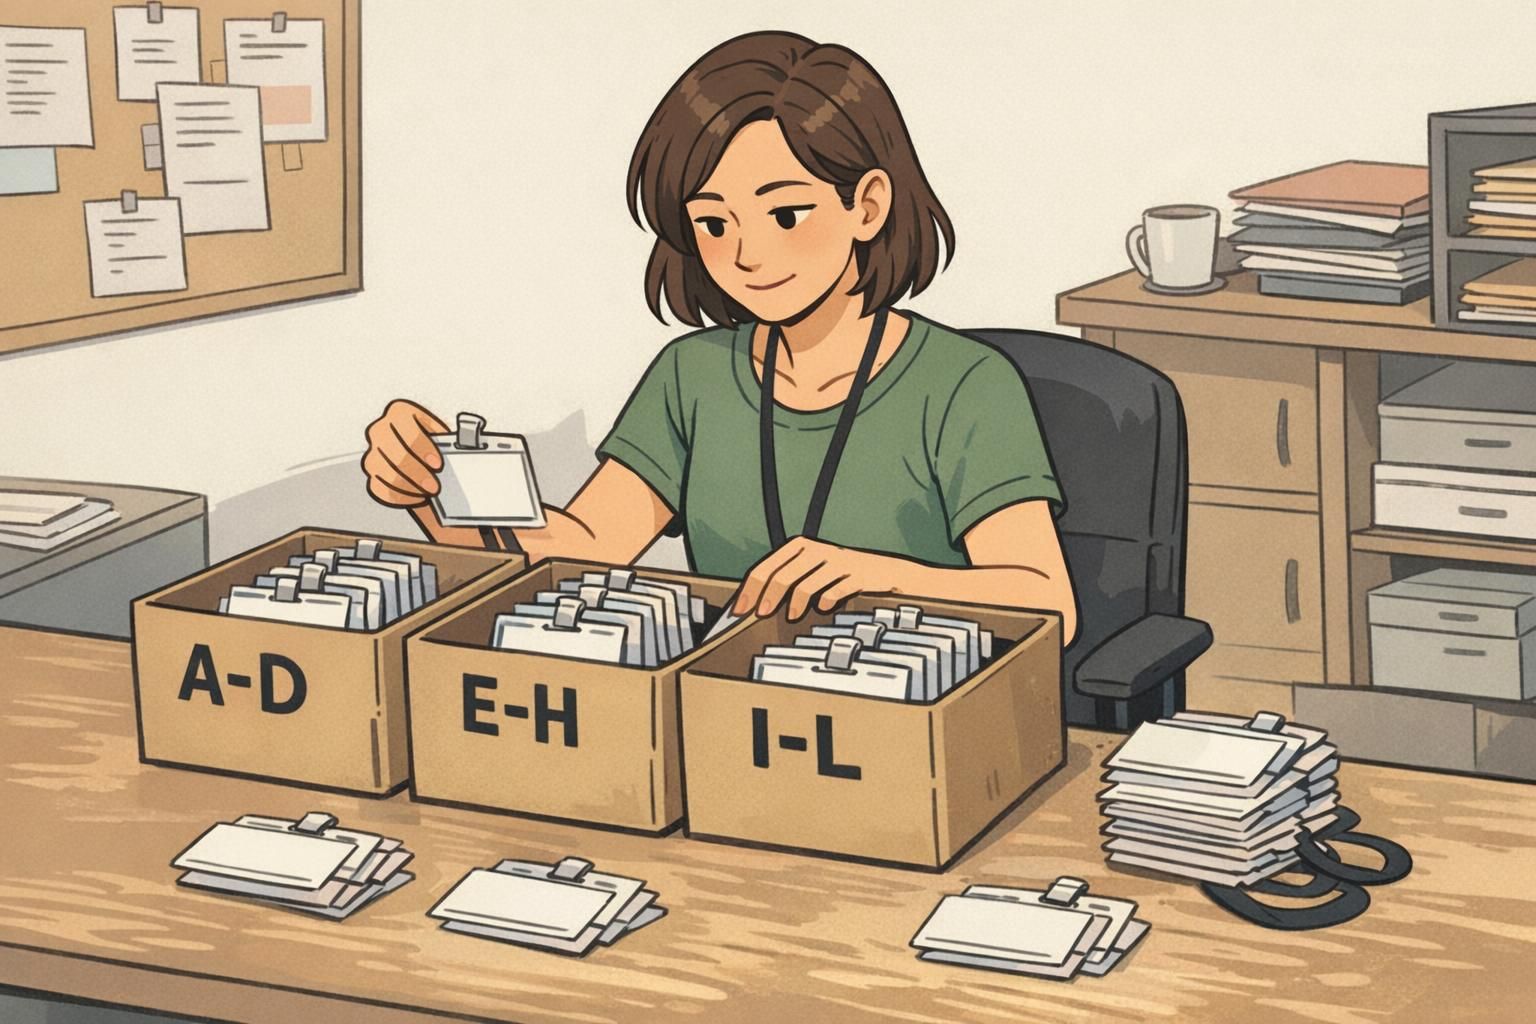
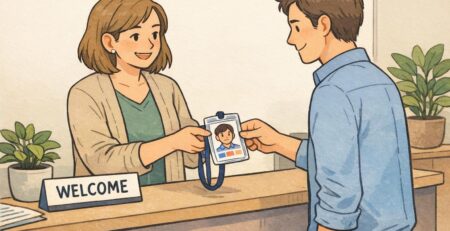
Pre Printed Badges: Sorting and Packaging for Fast Handoff
Printing early is only half the win. Pre printed badges save the most time when they’re sorted the way people actually arrive and the way staff actually search—fast, under pressure, with distractions.
Instead of leaving badges in export order, sort them into a system that makes “find and hand off” nearly automatic. The best method depends on your event size and how your check-in desk is staffed, but the principle is the same: minimize searching.
- Last-name ranges (common default): A–D, E–H, I–L, etc. Easy to understand and easy to sign.
- Ticket type or access tier: General, VIP, Exhibitor, Speaker. Helps prevent accidental swaps and reduces access mistakes.
- Company blocks (when applicable): Useful for corporate trainings or partner-heavy events where groups arrive together.
Packaging matters too. Use clearly labeled bins or folders with a consistent legend so any staffer can jump in without retraining. If someone steps away for a break, another person should be able to take over instantly and find badges without “learning the system.”
Separate sets reduce errors: keep VIP, speakers, staff, and exhibitors in their own clearly labeled stacks so a rushed handoff doesn’t become an access problem.
Finally, place a small “fix kit” near (but not in) the main pickup area so small corrections don’t halt the primary line. The main table should be for routine pickups only.
- Blank badge stock or inserts for emergency replacements
- Extra holders and lanyards
- A small set of alphabet divider cards or sticky tabs
- A pen/marker for temporary hand-corrections when appropriate
Design Choices That Keep Lines Moving (Readable, Scannable, Durable)
Badge design is an operational tool. When a badge is easy to read and easy to scan, staff ask fewer questions, attendees hesitate less, and the line keeps moving.
Start with one-glance recognition. A large first name helps staff greet the attendee confidently and reduces awkward “How do you spell that?” moments. A clear role or company line helps route people without extra conversation.
- Use high contrast: dark text on a light background is easier under lobby lighting.
- Prioritize hierarchy: big first name, then last name, then company/role, then anything else.
- Make access tiers visual: consistent color bars or simple icons reduce the need to read every line.
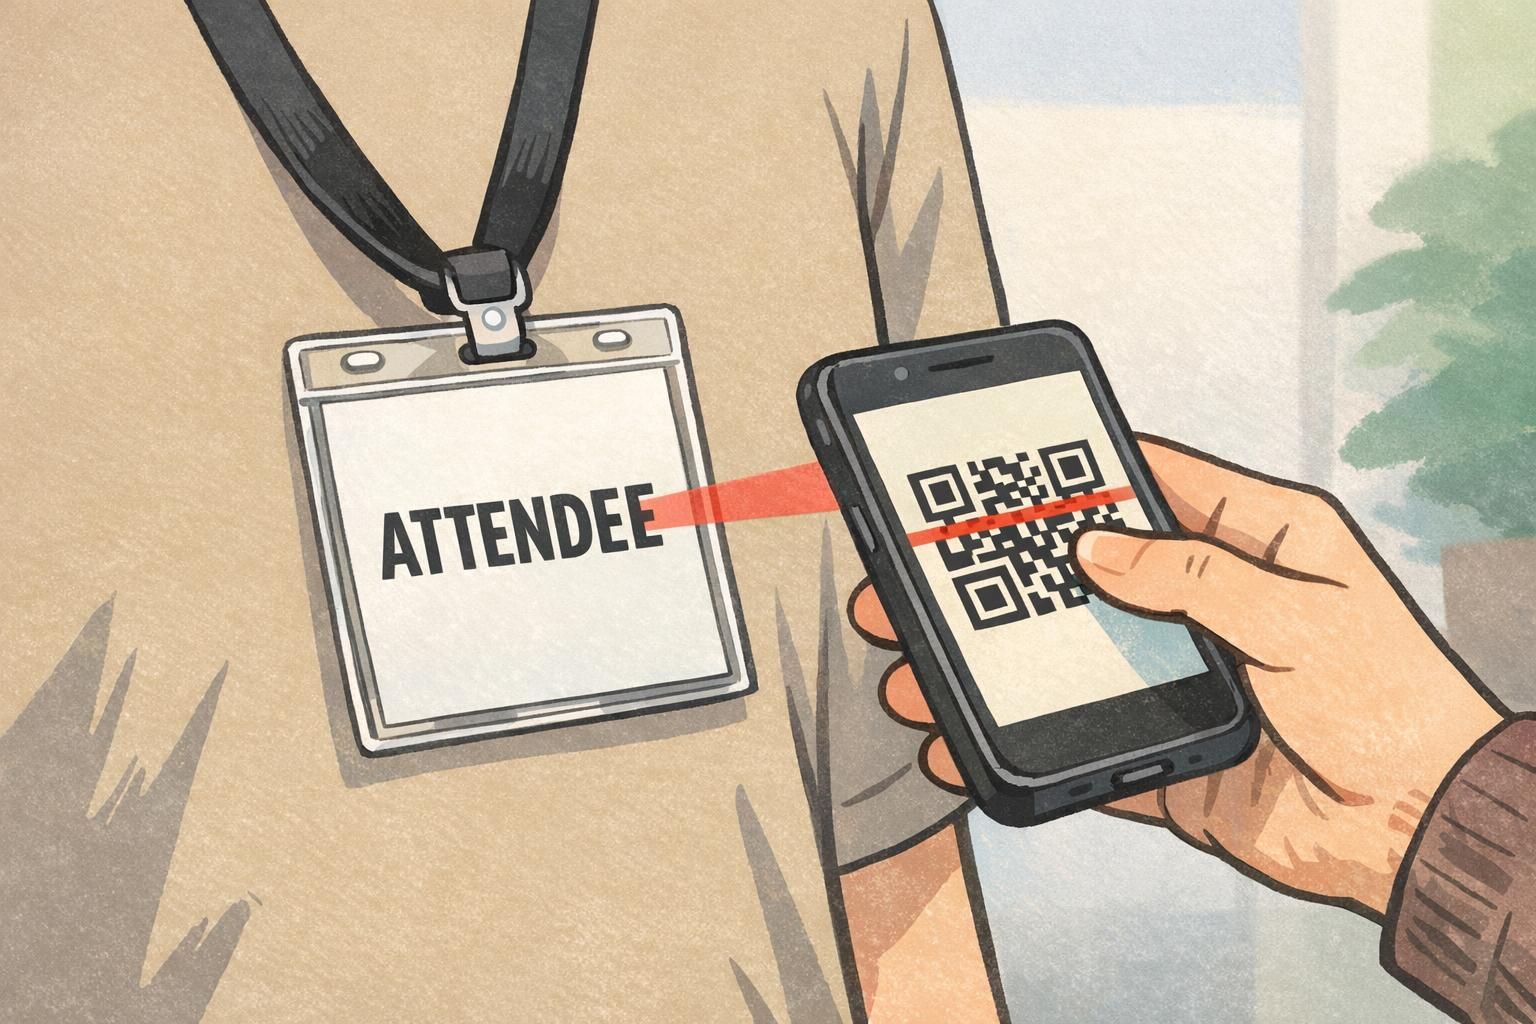
If you’re using QR codes for lookup or validation, size and place them so they scan without bending the badge. A code that’s too small or too close to the edge can slow down scanning and create a stop-start rhythm at the counter.
Durability also matters in check-in. Badges that curl, smear, or tear create friction: attendees fumble to wear them, holders crack, and scanners struggle. A sturdy badge stock and a compatible holder help badges survive the first five minutes—when most damage happens.
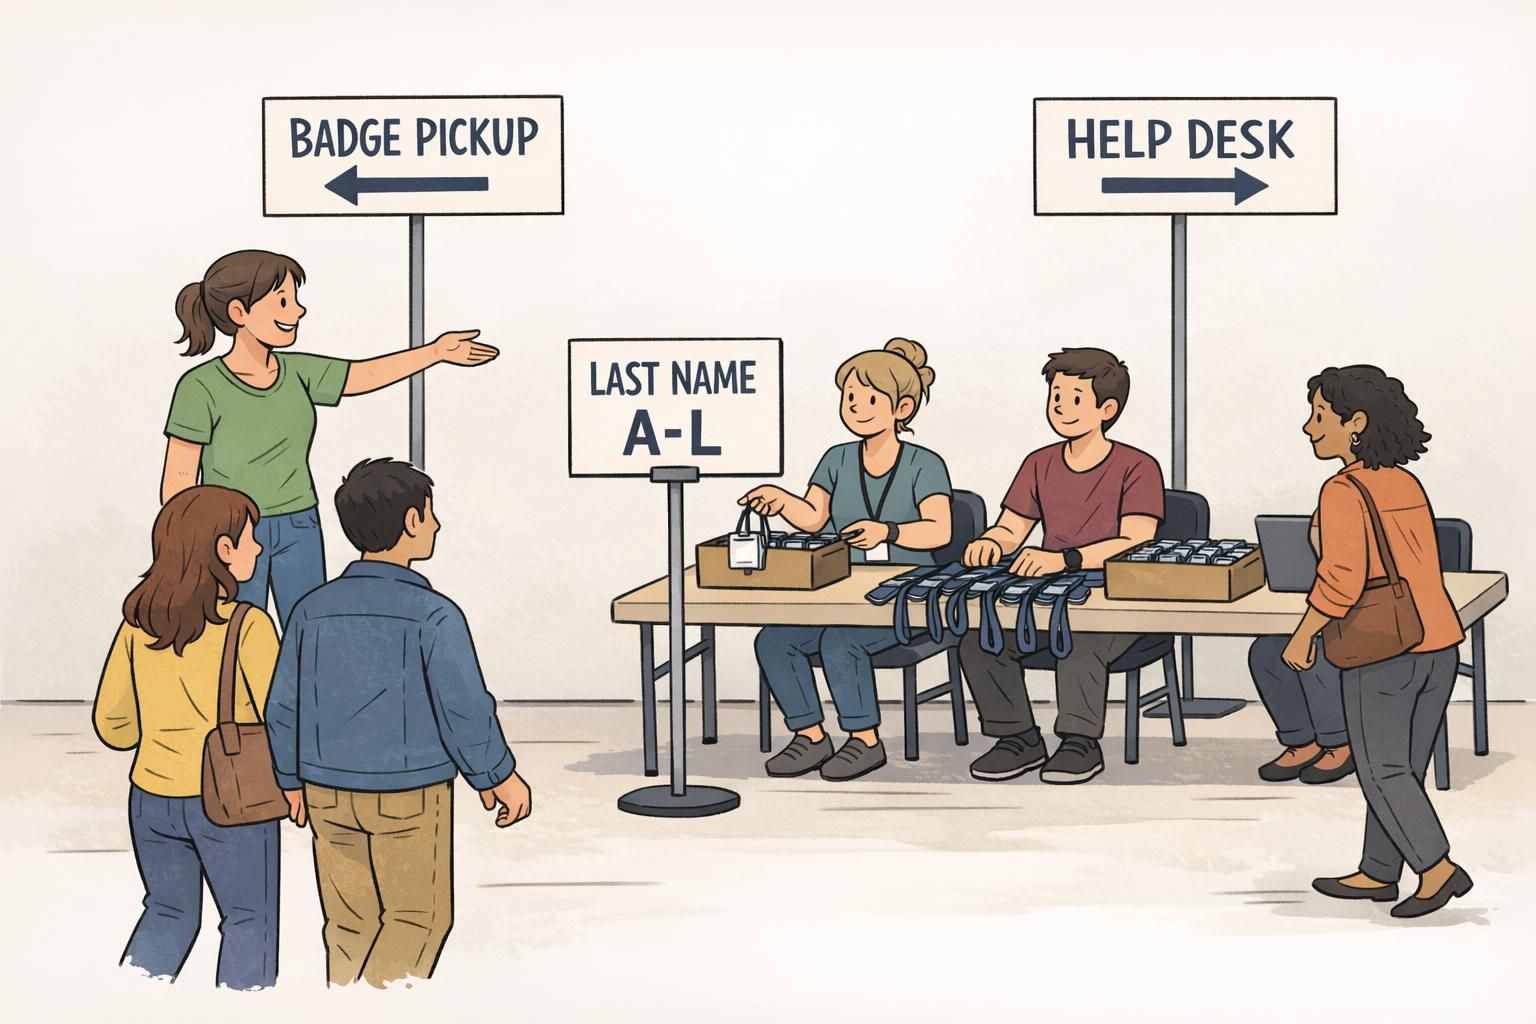
Badge Pickup Flow: Layout, Signage, and Staffing That Prevents Pileups
A good badge pickup flow keeps routine attendees moving forward while routing exceptions away from the main queue. Think of it like traffic control: clear lanes, clear signs, and a place to pull over when something needs extra time.
Start by mapping the simplest possible layout: an entry queue, a triage point, multiple pickup stations, and a separate help desk for anything that isn’t a standard handoff.
- Entry queue: One obvious line with stanchions or tape so it doesn’t sprawl.
- Triage point: A greeter who asks one question (“Last name?” or “Pickup vs. Onsite registration?”) and directs people.
- Pickup stations: Staff who only locate and hand off pre printed badges (fast, repeatable steps).
- Help desk: A separate counter for payment issues, name changes, missing records, and reprints.
Signage should be visible, plain-language, and consistent with how badges are sorted. If your bins are A–D and E–H, your signs should match exactly. This sounds small, but mismatched labels create constant micro-confusion that adds up.
“When we separated pickup from problem-solving, check-in stopped feeling like a negotiation. Most attendees were in and out in seconds, and the help desk finally had space to do careful fixes.” – Event Operations Lead
Staffing should flex with surges. During peak arrivals, assign roles instead of having everyone do everything. One person routes, several people run pickups, and one person specializes in exceptions. That keeps the fastest work from being slowed by the hardest work.
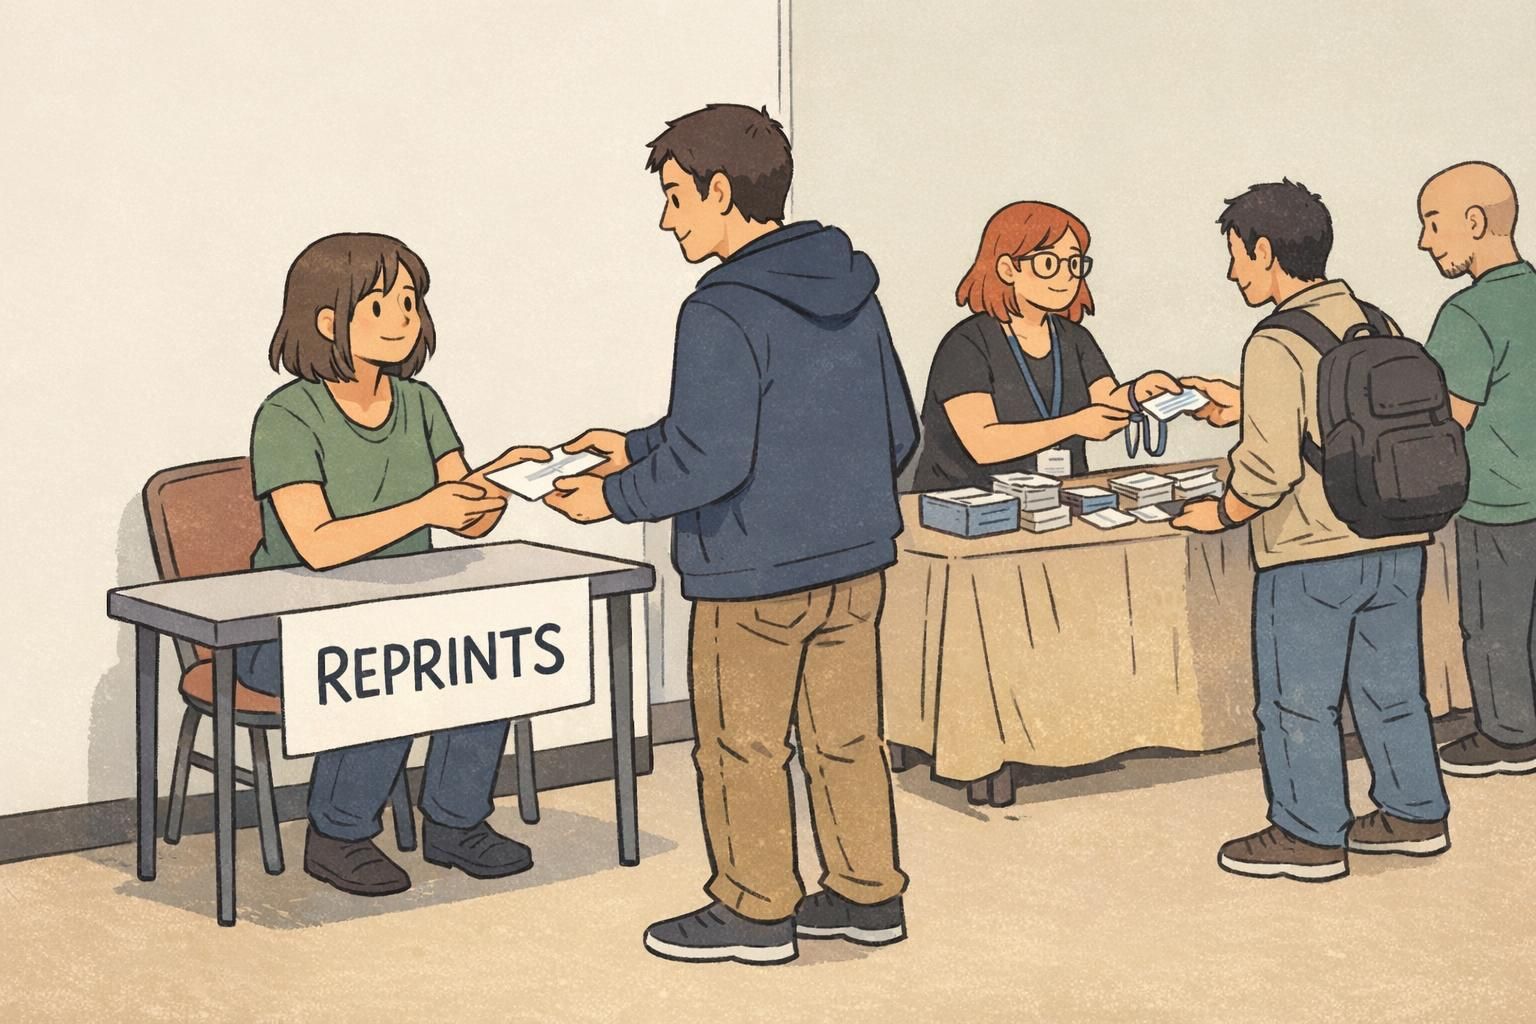
On-Site Fixes Without Derailing Check-In
No matter how clean your list is, on-site changes will happen: a spelling correction, a lost badge, an access upgrade, or a registration that didn’t sync. The goal isn’t to eliminate exceptions—it’s to process them without stalling everyone else.
Create a controlled exceptions process with rules your team can apply consistently. When staff have to improvise, fixes take longer and outcomes vary. When rules are clear, the help desk becomes calm and predictable.
- Define reprint triggers: wrong access tier, unreadable badge, major name error, replacement for a lost badge.
- Define hand-correction rules: when a minor correction can be made temporarily without compromising access control.
- Record every change: update the master list (or note it) so reporting and post-event cleanup are accurate.
- Escalation criteria: when to involve a supervisor (VIP complaints, security-related access changes, policy disputes).
Keep the printer and troubleshooting work out of the main line. A fast line depends on fast work staying separate from slow work.
If possible, set up a dedicated reprint station with its own mini-queue. That way, one complex fix doesn’t “poison” the rhythm of routine pickups.
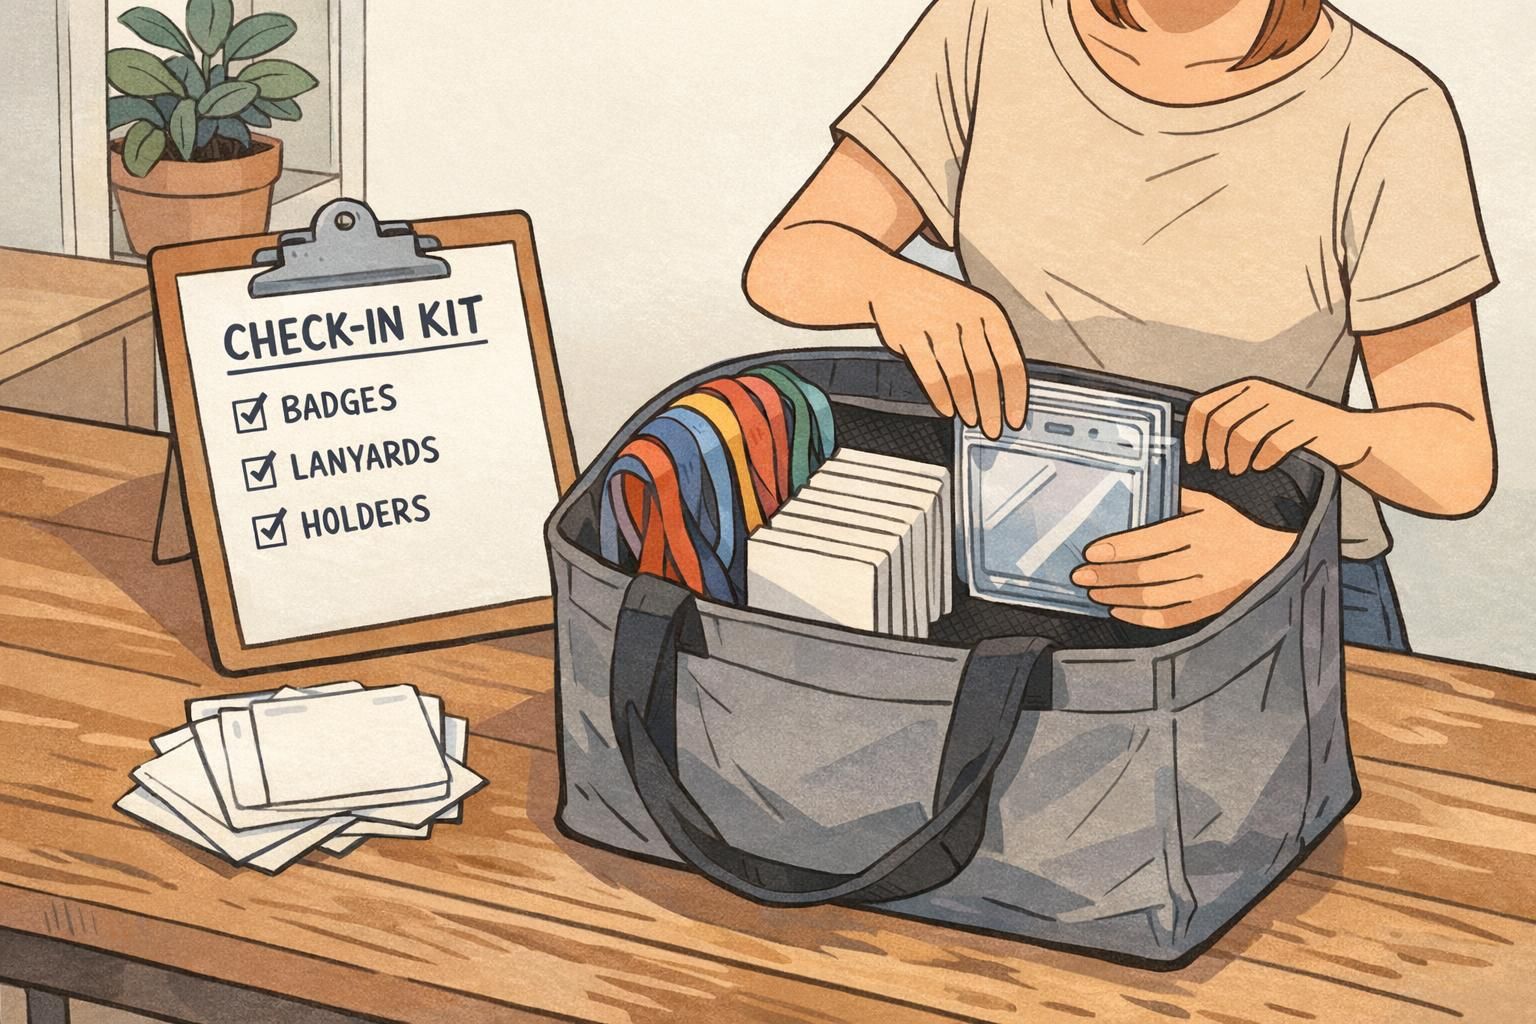
What to Stock On-Site (So Small Issues Don’t Become Big Delays)
Most day-of delays come from small, predictable issues: a lanyard breaks, a holder is missing, a badge needs replacing, a scanner cable disappears. A well-prepared supply kit keeps those moments from turning into line-stopping problems.
Build your on-site stock around the failures you’ve seen before: lost badges, damaged holders, missing attachments, and equipment hiccups. The goal is not to overpack—it’s to avoid improvising during peak arrivals.
- Extra blank badge inserts (or blank stock) for emergency replacements
- Extra holders in the same orientation/size as your primary badge
- Spare lanyards, clips, and fasteners
- A few backup pre-printed roles such as “STAFF” or “VISITOR” for urgent access needs (use only with a clear policy)
- Cleaning wipes for badges/holders and basic surface cleanup
- Power strips, labeled cables, and a simple tool kit for printer/scanner troubleshooting
Standardize on one or two holder sizes. Fewer variations at the table means fewer pauses and fewer “Does this fit?” questions.
Products That Support Faster Check-In (Badges, Holders, and Add-Ons)
The best check-in setups are consistent: one badge size, one holder style, one lanyard attachment method, and clear visual signals for access. Consistency reduces decision-making at the table and helps attendees wear badges correctly right away.
If you’re planning pre-event production, choosing a reliable badge format and compatible accessories matters as much as the design. Event badges paired with holders and lanyards that fit cleanly reduce fumbling at pickup and prevent damage during scanning.
If you use role or access indicators, consider add-ons that clarify permissions at a glance (for example, color bars or companion identifiers that make tiers obvious without extra conversation). That keeps staff focused on fast validation rather than repeated explanations.
For teams that need a consistent event badge format across multiple events, it can help to use a supplier that supports quick reorders and flexible quantities. BadgeZoo offers no minimum order quantity and most orders ship within 1–2 business days, which can be useful when attendee counts change late in the planning cycle.
If you’re planning a specific layout, you can review options for custom event badges and choose a format that matches your holders, lanyards, and scanning setup.
A Simple Pre-Event Checklist to Prevent Day-Of Chaos
The difference between a stressful check-in and a smooth one is usually a repeatable routine. A checklist turns “tribal knowledge” into a process the whole team can run, even if staff rotate between events.
- Export attendee list (assign an owner and timestamp the export).
- Run data cleanup (dedupe, standardize capitalization, confirm access tiers).
- Proof the badge template (print a small sample and check readability and QR scan success).
- Print and quality-check (spot-check for alignment, smudges, missing badges).
- Sort into labeled ranges/sets (match signage to the sorting scheme).
- Pack supplies (holders, lanyards, blanks, clips, power, cables).
- Assign station roles (greeter/triage, pickup, help desk, reprints).
- Document the exceptions policy (reprint triggers, hand-correction rules, escalation).
Before you finalize, do a quick “load test.” Time how long it takes to find and hand off 50 badges using your real setup. If it feels slow in rehearsal, it will feel much slower when arrivals surge.
- If searches take too long: increase the number of bins, tighten last-name ranges, or separate special categories (speakers/exhibitors).
- If handoffs feel clumsy: pre-attach badges to lanyards, or stage holders so staff don’t assemble on the fly.
- If exceptions keep popping up: move the help desk closer to the triage point so issues get routed earlier.
When your team knows exactly what “normal pickup” looks like—and exactly where exceptions go—lines stop feeling fragile and start feeling predictable.