Badge Durability Tips: How to Extend ID Card Life and Reduce Wear-and-Tear
Why Badge Wear-and-Tear Happens (and Why It Matters)
Badge durability tips usually start with a simple truth: most ID cards don’t fail because they’re “low quality”—they fail because everyday routines are harder on a card than people realize. A badge gets swiped, tapped, clipped, dropped, rubbed against clothing, and exposed to heat and moisture. Over time, that adds up to scratches, bent corners, edge chipping, peeling print, and cards that become hard to scan or read.
Wear-and-tear matters because badges are more than a photo. When a card becomes unreadable, it can disrupt access control at doors, slow down timekeeping, complicate visitor workflows, and create small but constant interruptions (“Try it again… angle it… the reader won’t take it”). Even if your workplace is relaxed about display, the technology behind the badge often isn’t—scanners and readers need a card that stays flat, intact, and legible.
The good news: extending badge life usually doesn’t require changing your badge program. Most improvements come from practical habits employees can adopt immediately—plus choosing accessories that prevent the most common types of damage. In the sections ahead, you’ll see how holders, reels/lanyards/clips, and basic cleaning routines work together to reduce friction and reduce badge damage across a typical workweek.
The fastest way to make a badge last longer is to reduce how often it gets bent, scraped, or exposed to heat and chemicals—without adding steps to an employee’s day.
Daily Handling Habits That Prevent Cracks, Bends, and Scratches
Small handling choices create most badge failures. Cards are thin and flexible by design, but repeated flexing (especially near the slot area) can lead to cracking. Surface scuffs can also build up quickly when badges are carried loose with items that act like sandpaper—keys, coins, metal zippers, even gritty bag pockets.
- Keep badges out of back pockets. Sitting on a card is one of the quickest ways to bend it and stress the top edge/slot area.
- Don’t bend the card to open doors or “force” a swipe. If a reader is finicky, it’s better to present the badge flat and steady than to flex the card.
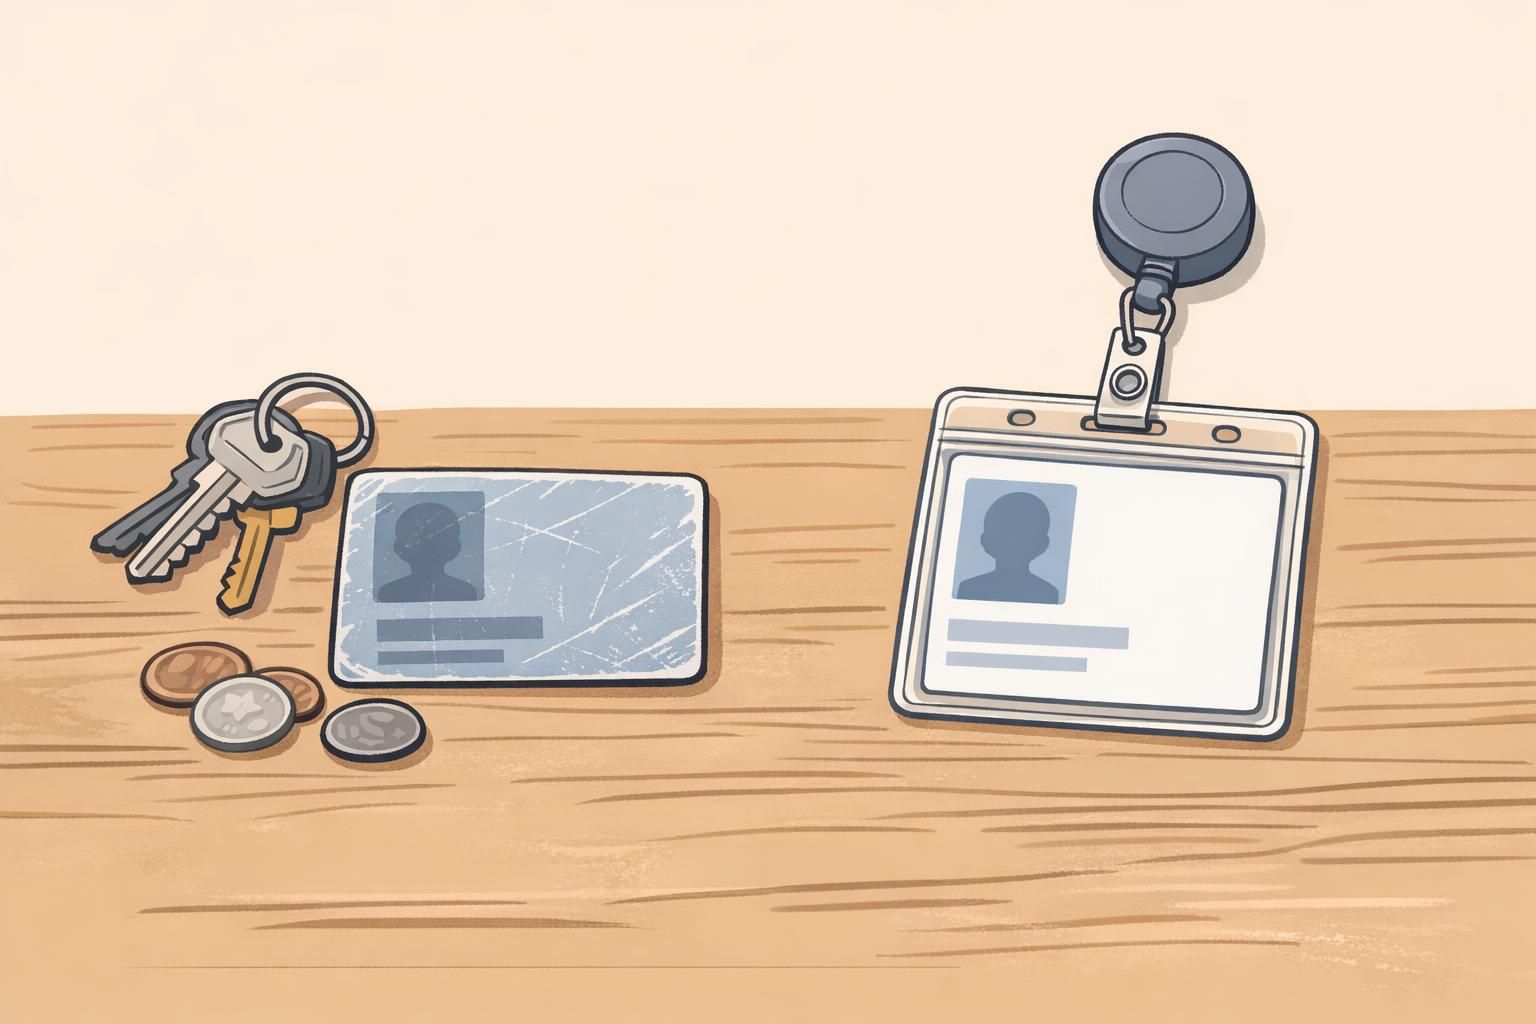
- Avoid tossing badges loose into bags with keys and coins. Those hard objects leave scratches that can interfere with barcodes and general legibility.
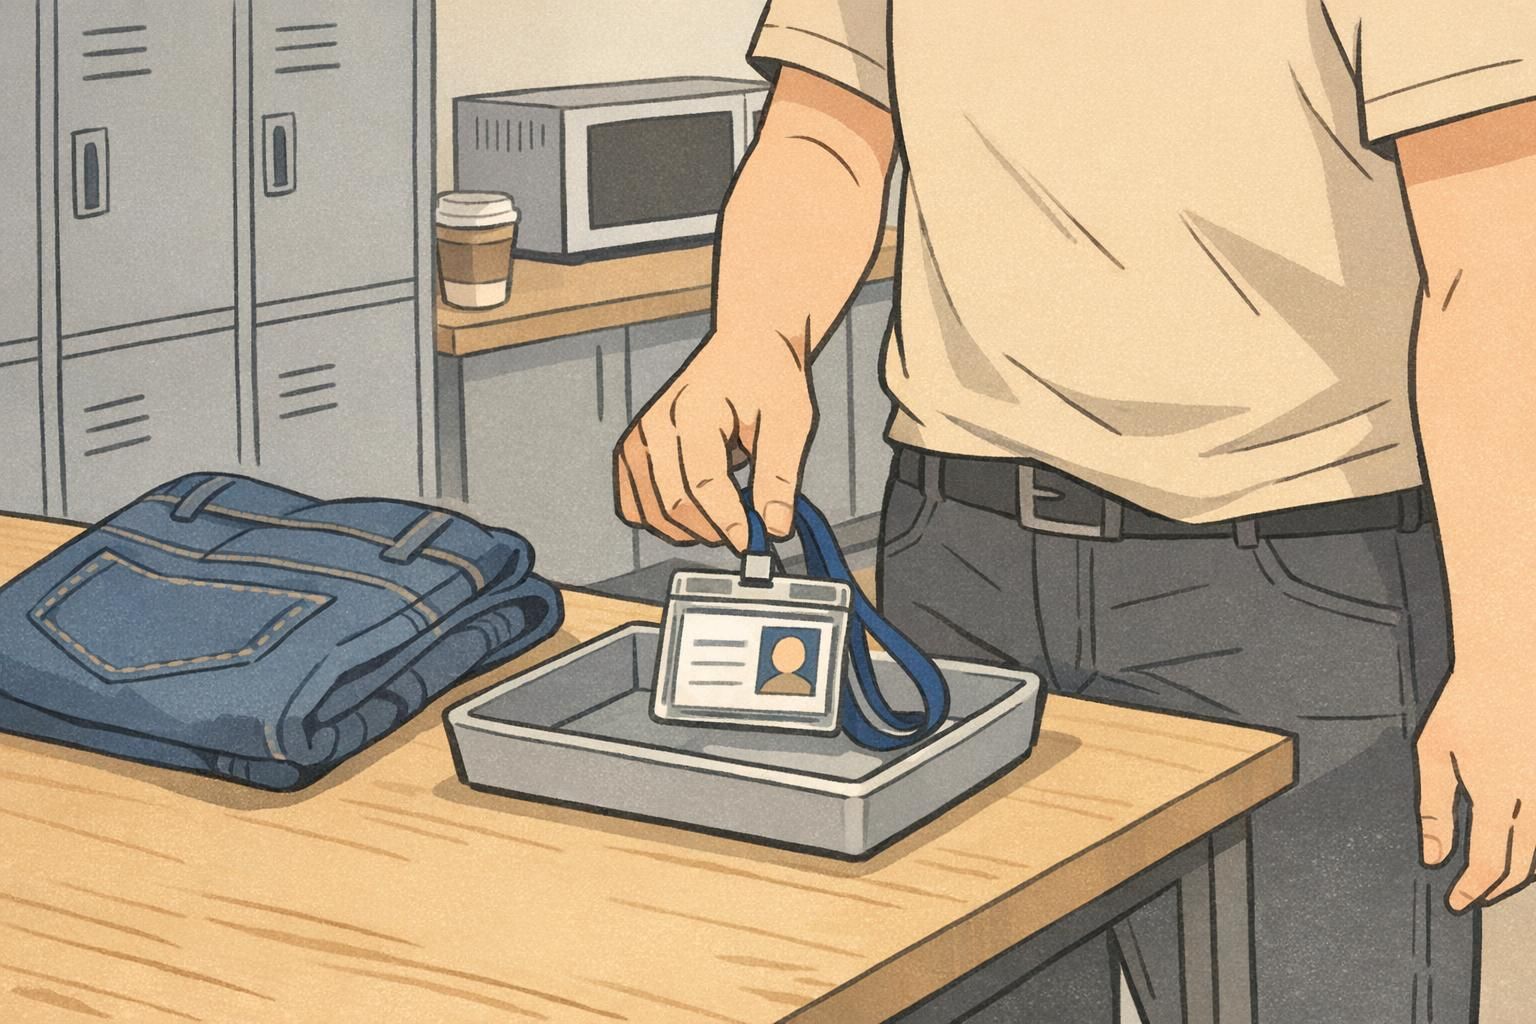
- Store the badge flat when you’re off the clock. A desk tray, wallet slot dedicated to cards, or a clean drawer prevents edge curling and surface scuffs.
- Keep badges away from heat sources (car dashboards, heaters, hot equipment). Heat can warp plastic, which can affect readability and how the card fits in holders.
“Most ‘mystery badge issues’ we see are really handling issues—bent cards, scratched surfaces, or worn slot areas from pocket carry.” – Facilities Coordinator
Protect ID Card with the Right Holder or Sleeve (and Use It Consistently)
If you want to protect ID card surfaces, a holder or sleeve is the most direct form of “insurance” against scratches, edge wear, and print abrasion. The right choice depends on how the badge is used: how often it’s scanned, whether it’s tapped on a reader, and what it might bump into during a shift.
Holders also reduce damage that doesn’t look dramatic at first—micro-scratches and scuffing that slowly haze the surface. Those tiny marks can make a barcode harder to read, make a photo less clear, or create friction when inserting the card into a reader or turnstile.
- Rigid holders: Best for heavy wear. They help keep cards flat and protect corners and edges from chipping.
- Flexible sleeves: A lightweight option that reduces surface scratches and helps keep grime off the print.
- Sealed holders: Useful in dusty, wet, or splash-prone environments where moisture and residue are common.
- Vertical vs. horizontal orientation: Choose the orientation that matches how employees present the badge at readers and how it’s displayed for quick identification.
Consistency matters more than perfection. A holder only helps if the card stays in it—so aim for accessories that employees will actually wear all day without fuss. If your team uses both scanning and visual ID checks, pick an orientation that makes the most common action effortless.
For workplaces standardizing accessories, it can help to start with a reliable “default” option (and then adjust by role). If you’re comparing options, you can review clear ID badge holders in both orientations so the badge display matches how your readers and check-in points are set up.
The best holder is the one employees will keep the card in all day—because fewer removals means fewer scratches, fewer drops, and less bending.
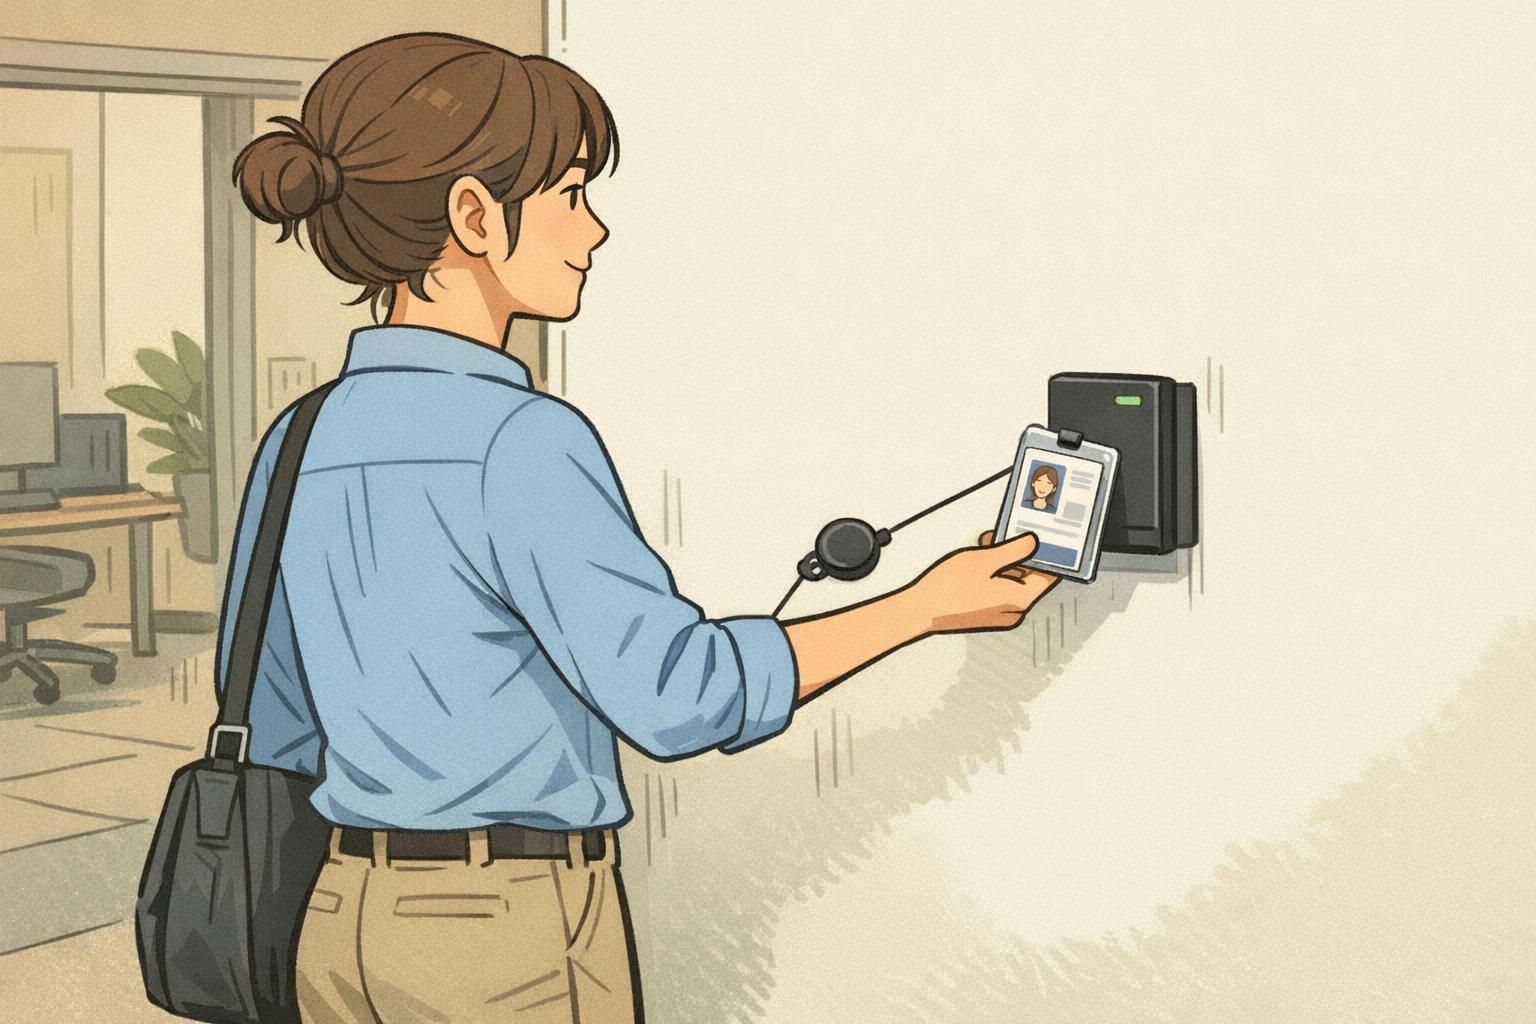
Badge Reels, Lanyards, and Clips: Which One Reduces Damage Most?
How a badge is worn affects how often it’s handled—and handling is a major driver of wear. Reels, lanyards, and clips can all work well, but each reduces badge damage in different ways depending on the environment.
- Retractable badge reels: Often the best for durability because employees can present the badge without removing it. That reduces drops, bending, and repeated rubbing against desks when a badge is set down.
- Lanyards: Great for convenience and visibility, which reduces pocket carry. The tradeoff is that the badge can swing and bump into desks, machinery, or counters unless it’s tucked in or paired with a holder that adds rigidity.
- Clips: Simple and sturdy, but they can encourage frequent removal (clip on, clip off). More removals typically mean more handling wear over time.
A practical approach is to match the attachment method to the job. If a role requires frequent scanning at doors or secure areas, a reel usually keeps the card safer because it stays attached and is presented flat. If a role is more stationary, a lanyard can be comfortable—especially when paired with a holder that reduces scuffs.
“When we moved frequent-scan roles to reels, we saw fewer cracked cards around the slot area—people weren’t yanking badges out of pockets or bending them to reach readers.” – Security Team Lead
Cleaning Without Ruining the Print: Safe, Simple Routines
Badges pick up skin oils, lotion residue, dust, and general grime—especially on the surface where thumbs naturally land. Cleaning helps maintain readability and keeps the card looking professional, but the wrong cleaner or rough wiping can create haze or damage printed areas.
A safe routine is simple: use a soft microfiber cloth, lightly dampened with mild soap-and-water. Wipe gently and dry the card fully before putting it back into a holder. This removes buildup without grinding grit into the plastic.
- Do: Use a clean microfiber cloth so you’re lifting oils and dust instead of dragging them across the surface.
- Do: Use mild soap-and-water (lightly damp, not dripping).
- Do: Dry completely before reinserting into a holder to avoid trapped moisture.
- Avoid: Abrasive wipes or rough paper towels that can create fine scratches.
- Avoid: Harsh cleaners that may haze plastic, lift print, or leave residue that affects scanners.
For most office and school settings, once a month (or as needed when the badge looks grimy) is usually enough. In dirtier or high-contact roles, a quick gentle wipe more often can help—especially if the badge is handled frequently.
Yes. If residue builds up inside a holder or sleeve, it can create haze and reduce readability. Wipe the inside surfaces of the holder with a microfiber cloth and let it dry before reinserting the card.

Environmental Hazards: Water, Chemicals, Sunlight, and Heat
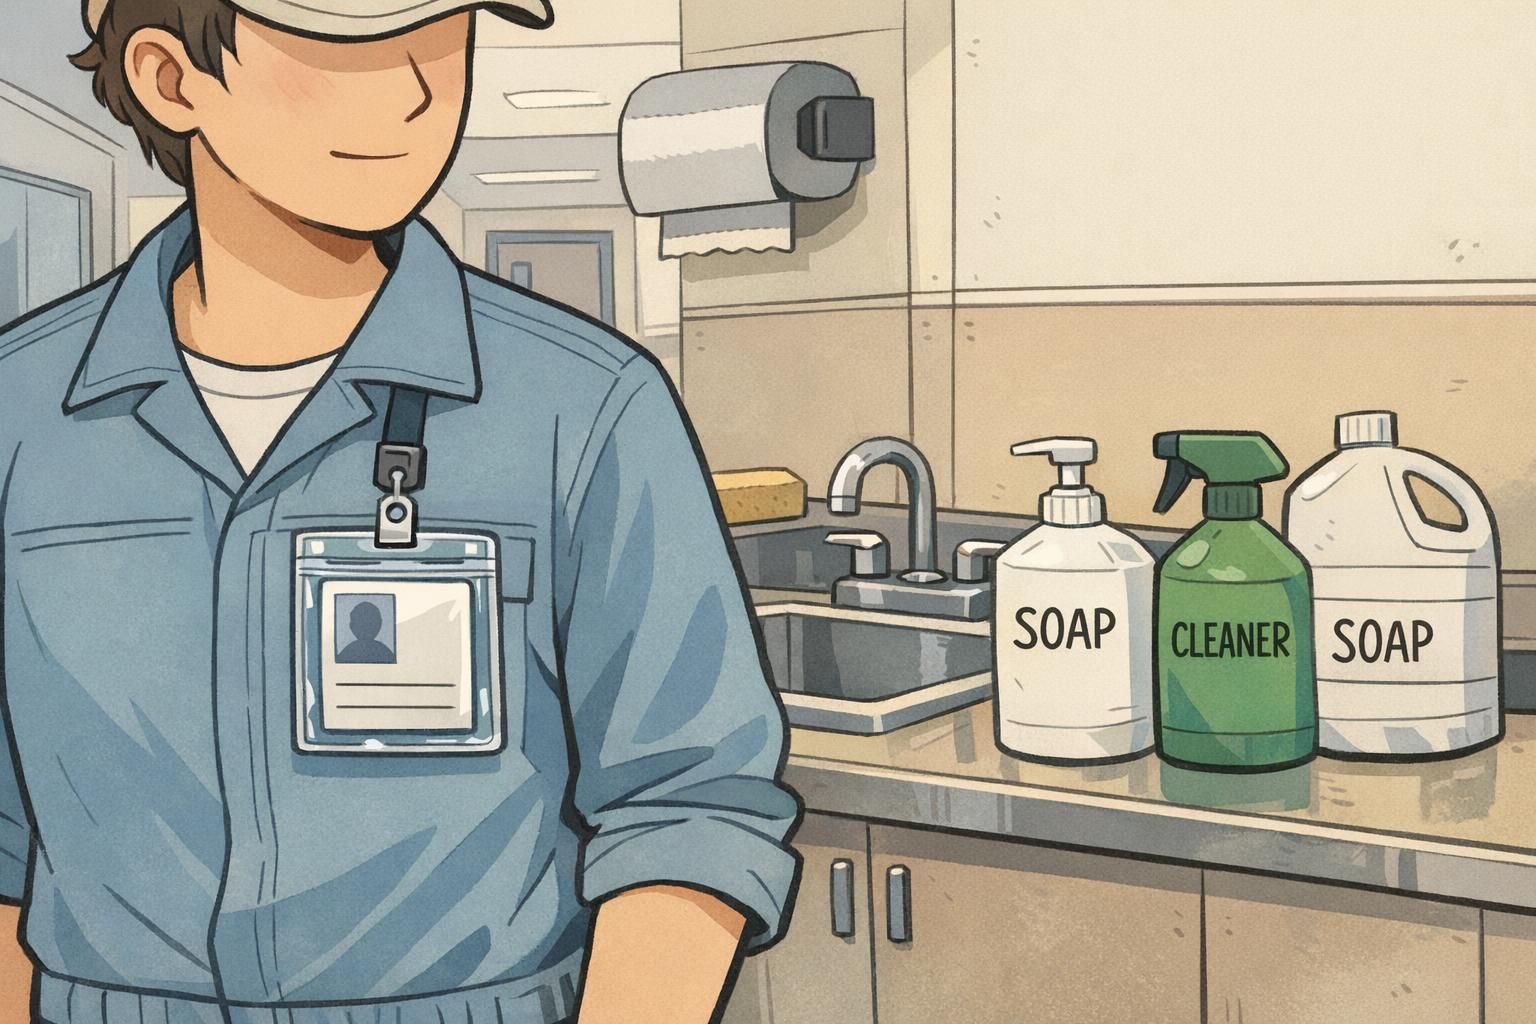
Some workplaces are simply tougher on credentials. Kitchens, warehouses, labs, maintenance areas, and outdoor roles often expose badges to moisture, cleaning chemicals, dust, UV light, and temperature swings. In these settings, a badge can look fine one day and start peeling or fading the next—especially if the card is repeatedly splashed, wiped with strong products, or left in direct sun.
Practical steps can make a noticeable difference without changing identification policies: use sealed holders where splashes are common, inspect badges more often, and encourage employees to remove badges before using strong solvents or disinfectants. Keeping the badge away from direct sunlight and heat sources (like dashboards or hot equipment) helps prevent warping and fading.
For organizations that want a neutral reference point on smart card considerations and standards-related guidance, the National Institute of Standards and Technology is a widely recognized standards body: source. While day-to-day durability depends heavily on handling and environment, aligning your accessories and habits with the realities of your workplace helps badges keep working reliably.
- Water and humidity: Use sealed holders in splash-prone areas; dry badges promptly if they get wet.
- Chemicals and disinfectants: Keep badges away from strong cleaners; avoid letting chemical residue sit on the surface.
- Sunlight/UV: Minimize direct sun exposure when possible; store badges out of windows and vehicles.
- Heat: Don’t leave badges on dashboards or near heaters; heat can warp plastic and affect how the card fits and scans.
Quick Habits Employees Can Adopt Today (1-Minute Checklist)
If you’re trying to build better badge hygiene across a team, the most effective approach is a short checklist that fits real life. The goal is to keep badges functional and readable with minimal effort—so employees don’t have to think about it after the first few days.
- Keep the badge in a holder (don’t carry the bare card).
- Attach it to a reel or lanyard so it’s not pocketed or set down.
- Never store the badge loose with keys, coins, or tools.
- Store it flat at home (tray, drawer, dedicated card slot).
- Wipe with a microfiber cloth when it looks dirty; dry fully before putting it back in the holder.
- Keep it away from heat sources like dashboards and heaters.
- If the card sticks in a reader, looks cracked, or is hard to scan, report it early.
These habits are small, but they add up quickly—especially in the first week when you’re preventing new scratches and slot stress from becoming permanent problems.
When to Replace vs. Repair: Spotting Early Failure Signs
Even with strong badge durability tips in place, every card will eventually reach a point where replacement is the safer, less frustrating option. The key is spotting early warning signs so a badge doesn’t fail unexpectedly at a door, time clock, or check-in station.
In many cases, what looks like “card failure” is actually accessory failure. A cracked holder can obscure a barcode or photo, and a cloudy sleeve can reduce scanner performance. Swapping the holder is quick and may restore readability without replacing the card itself.
- Replace the card if: cracks form near the punch/slot area, the card is visibly warped, scanning becomes unreliable due to heavy scratches, or the print/lamination starts peeling.
- Repair/refresh the setup if: the holder is cracked, cloudy, or warped; the reel is failing and causing drops; the lanyard/clip is encouraging frequent removals.
- Track common failure points: edge wear, slot tearing, and surface scratching can reveal which roles need more rigid or sealed protection.
“We started replacing worn holders before replacing cards, and it reduced interruptions—sometimes the card was fine, it just couldn’t be read through a damaged sleeve.” – Office Administrator
The goal is predictable identification: badges that scan reliably, display clearly, and don’t require constant troubleshooting. A good holder + a smart attachment method + gentle cleaning usually delivers the biggest durability gains.