Badge Approval Process: A Lightweight Design Approval Workflow to Avoid Last-Minute Surprises
Why a Badge Approval Process Prevents Last-Minute Surprises
A badge approval process is the simplest way to prevent the classic “everything looked fine until it printed” problem. Whether you’re producing employee ID cards, visitor name tags, event badges, or badge buddies, the stakes are the same: once a file becomes a physical product, small misunderstandings turn into reprints, delays, and awkward day-of workarounds.
The goal isn’t to add red tape. It’s to create clarity and speed by answering a few questions early: What exactly are we printing? Who is allowed to approve it? When is it locked? And which file version is the real one? When those are clear, the design phase is calmer and the production phase is far more predictable.
A lightweight approval workflow is less about “more steps” and more about removing confusion—especially around versions, signoff, and last-minute changes.
- Prevents mixed versions of the same badge design from circulating
- Reduces reprints caused by late edits (titles, logos, colors, access indicators)
- Keeps branding and identification consistent across departments and events
- Shortens turnaround time by making feedback specific and time-bound
Set the Single Source of Truth: One Owner, One File, One Place
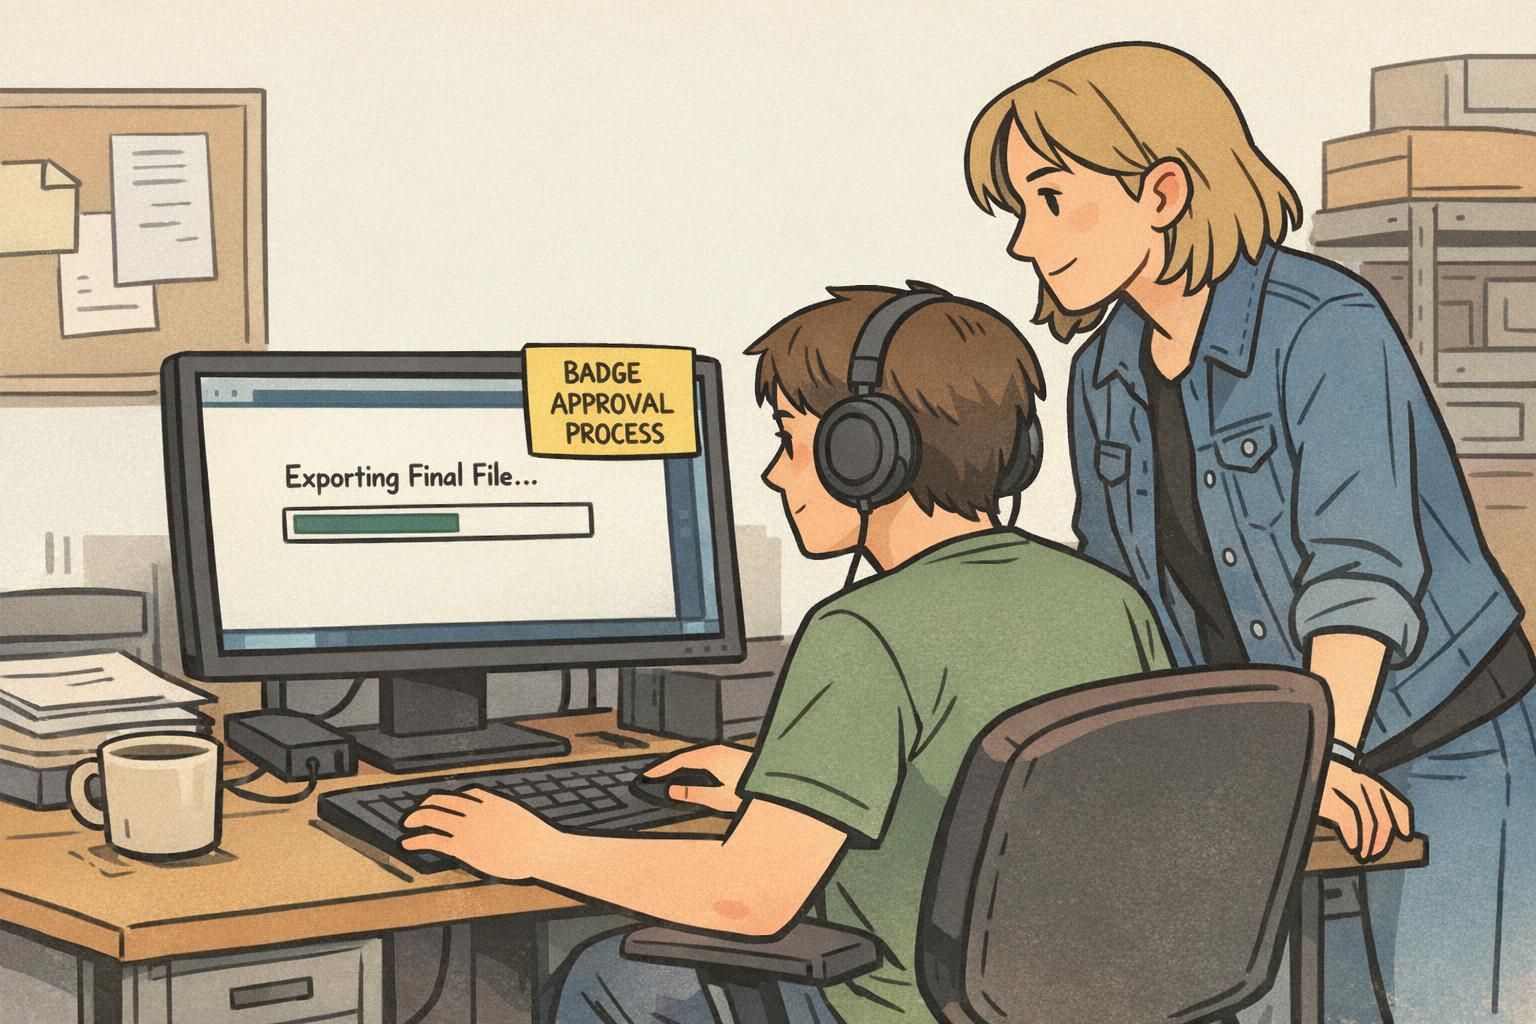
Most “badge emergencies” aren’t caused by bad design—they’re caused by version confusion. Someone approves a PDF, someone else makes a tiny change in a different file, and production receives a third version that nobody actually reviewed.
To prevent this, define a single source of truth: one clearly identified place where the official proof lives, and one owner responsible for updating it. This can be as simple as one shared folder, one project thread in a proofing tool, or one email thread with the latest PDF attached at the top. What matters is that everyone knows where to look, and only one person is “hands on the file.”
- Assign a single owner: the person accountable for updating the design and exporting proofs
- Pick one location: one folder, one proofing link, or one email thread (not all three)
- Require versioned exports: each edit becomes a new proof with a clearly named filename
- Only the owner exports the print-ready file to avoid mismatched settings or outdated art
- Simple versioning convention example:
- EventBadge_Proof_v1_2026-02-02
- EventBadge_Proof_v2_2026-02-03
- EventBadge_PrintReady_v2_2026-02-03

Define Roles and Stakeholder Signoff (So Feedback Isn’t Endless)
Badge designs attract a lot of opinions because they touch multiple needs at once: branding, readability, security cues, and practical wearability. Without clear roles, you can end up with endless “nice to have” feedback from people who aren’t responsible for the outcome—and then a last-minute escalation from someone who is.
The fix is to define stakeholder signoff in advance. Keep the signoff group small: only the people who can accept the risk, confirm requirements, or represent a department’s final decision. Everyone else can be consulted informally, but they aren’t approvers.
- Branding/Marketing approver: confirms logo usage, colors, typography, and overall brand consistency
- HR/People Ops approver: confirms name/title conventions and any policy-related fields
- Security/IT approver: confirms badge type indicators, access-level cues, and any machine-readable elements (barcodes/QR/NFC/RFID if used)
- Event Ops/Facilities approver: confirms on-site usability (holder fit, slot placement, lanyard/clip use, quick visual identification)
To keep stakeholder signoff lightweight, separate “required changes” (must fix) from “preferences” (nice to have), and set a clear response deadline.
“We cut our last-minute changes in half once we named the actual approvers and asked everyone else to send feedback through them.” – Operations Coordinator
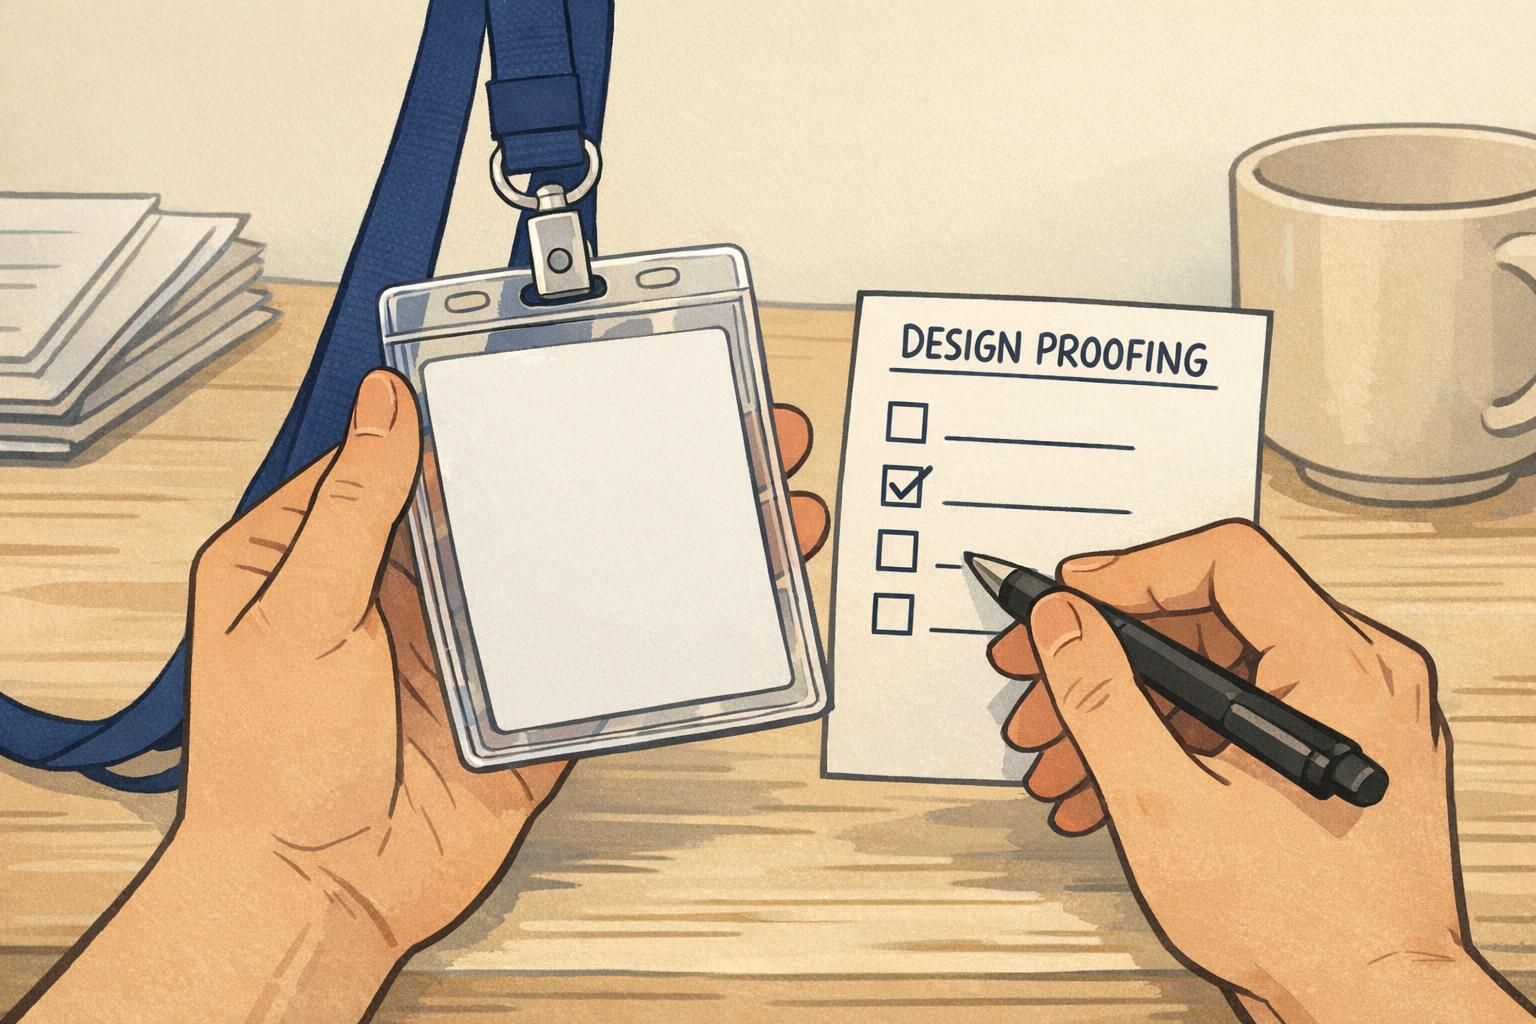
Proofing Checklist: What to Validate Before You Ask for Approval
Approvals go faster when reviewers aren’t hunting for issues. A short design proofing checklist turns vague reactions (“something feels off”) into specific, fixable items (“title is too small at arm’s length” or “QR code is too close to the edge”).
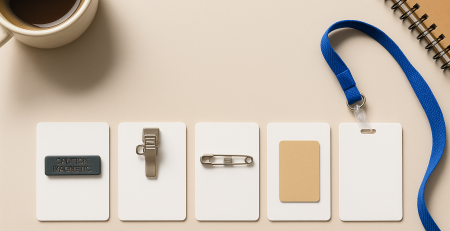
For badges, name tags, and ID cards, proofing should focus on both content accuracy and real-world usability. A badge isn’t viewed like a poster; it’s seen quickly, often through a clear holder, and usually from a few feet away.
- Names and titles: spelling, capitalization, preferred name rules, suffixes, pronouns (if used)
- Role indicators: department, attendee type, volunteer/staff markers, access level color bands
- Logo placement and sizing: clear, balanced, not crowded by variable fields
- Color expectations: readable contrast, consistent brand colors (as close as practical in print)
- Readability at arm’s length: key fields (name/role) stand out immediately
- Bleed and safe area: nothing important too close to the edge; backgrounds extend where needed
- Barcode/QR scanability: adequate quiet zone, not distorted, placed on a flat area
- Holder/slot alignment: slot location doesn’t cut into text; design looks centered in the holder
- Multiple badge types: each version clearly differentiated (e.g., staff vs. attendee vs. vendor)
When timing allows, do both: a careful on-screen review and a quick printed sample. Even a simple office print can reveal contrast and sizing problems early.
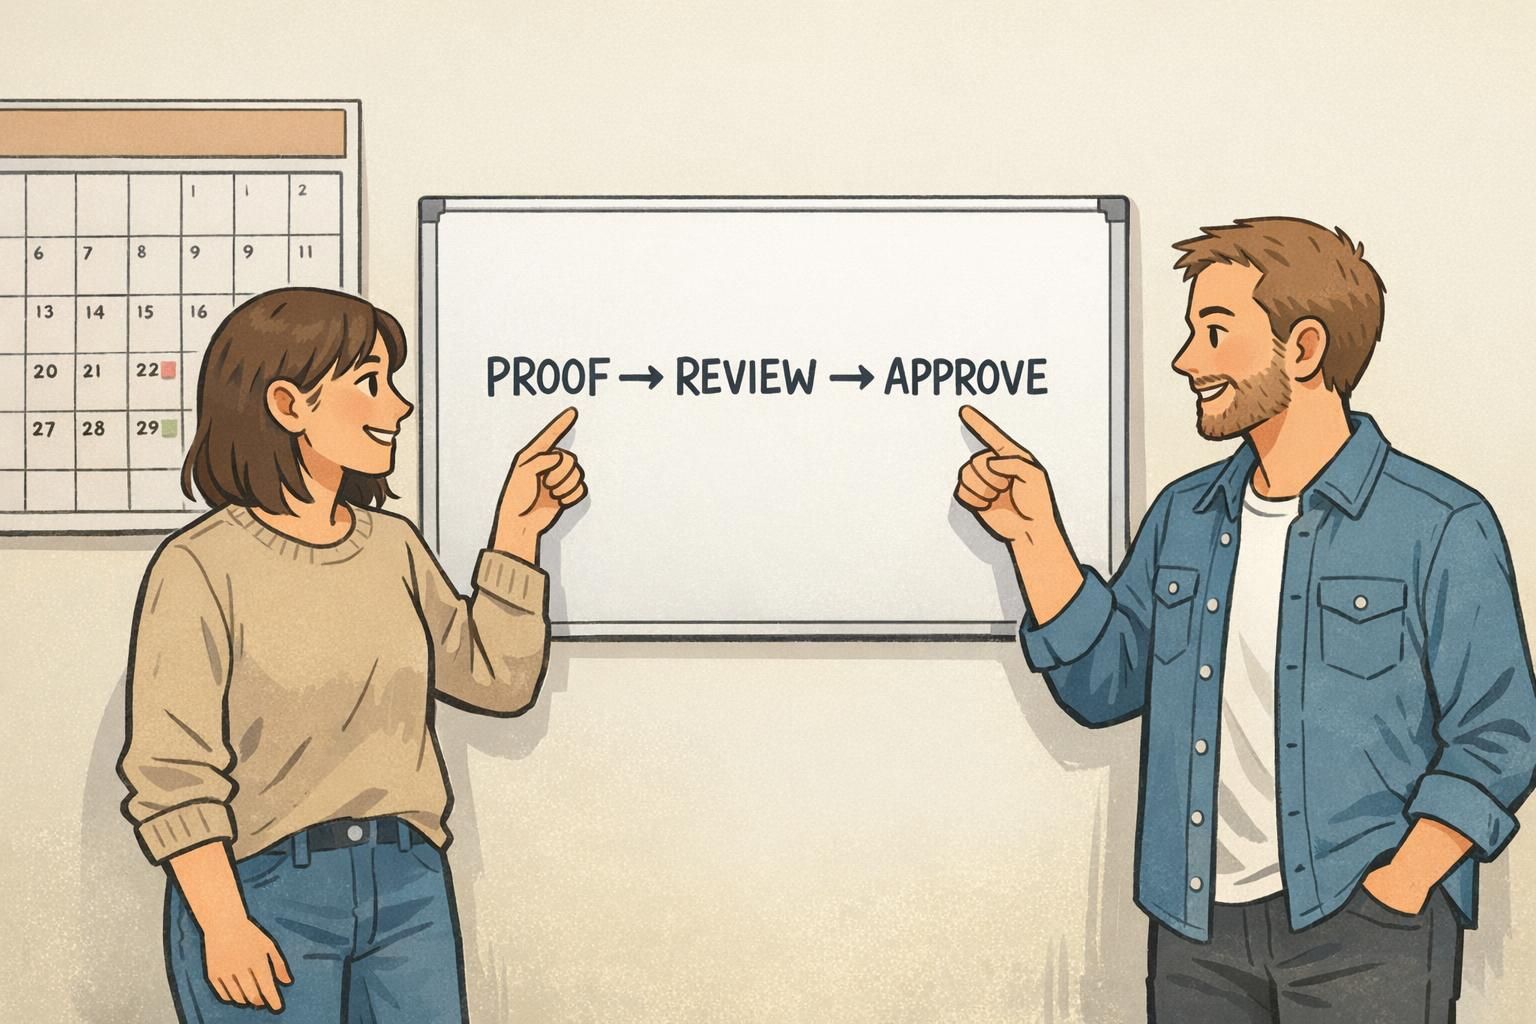
A Lightweight Design Proofing Loop (1–2 Rounds, Time-Boxed)
A clean badge approval process usually needs just one structured review round and one final confirmation round. More rounds often don’t improve quality—they just increase the chance that feedback becomes contradictory or that people start reviewing different versions.
Keep the loop lightweight by standardizing how comments are collected and by time-boxing the review window. A single comment channel also prevents reviewers from making conflicting edits in parallel.
- Round 1 (Review): owner shares Proof v1, approvers respond within 24–48 hours with consolidated feedback
- Owner updates the single source of truth and exports Proof v2
- Round 2 (Confirm): approvers verify changes were made, then give final approval
- Practical rules that keep it moving:
- Use one method for comments (one thread or one proofing tool)
- Each department sends one consolidated set of notes
- Mark notes as Required vs. Nice to have
- If your organization allows it, define when “no response” by the deadline counts as approval
If your approvals feel slow, it can help to map the steps and remove redundant handoffs—an approach aligned with value stream mapping, which focuses on reducing waste and delays in a process. Even a simple map can reveal where approvals are duplicative or where files get re-shared unnecessarily (source).
Use the 4-Eyes Principle for Print-Ready Accuracy
Even with good reviews, mistakes can slip in during the final steps—especially when exporting print-ready files or merging variable data. The 4-eyes principle is a lightweight safeguard: before production, a second person does a quick, focused check of the final proof and settings.
This is particularly helpful when you have multiple badge types (attendee vs. staff vs. vendor), badge buddies that must match roles, or variable fields like names and departments that can shift spacing unexpectedly.
- Confirm the correct version: match the approved proof number and date
- Confirm the correct template: the right badge size and layout for the holder/slot style
- Spot-check variable data: alignment, truncation, unusual characters, long names
- Verify output settings: correct dimensions and any required bleed/safe margins
- Compare against the checklist: especially readability and scannable elements
A 4-eyes check works best when it’s fast and consistent. It’s not another full review—just a final accuracy pass before anything becomes “real.”
Change Control: What Happens When Someone Requests an Update After Approval
At some point, someone will ask for a change after approval. Maybe a sponsor logo updated, a job title changed, or a security label needs to be clearer. The problem isn’t the request—it’s making “stealth edits” that create multiple versions and unclear accountability.
A lightweight change-control rule protects production without being heavy: once a proof is approved, any update must be submitted as a single request, assessed for impact, and re-approved by the same stakeholders. That keeps decisions consistent and prevents a late change from bypassing the people who originally signed off.
- Submit change as one request: what needs to change and why
- Assess impact: does it affect branding, security, readability, or badge type distinctions?
- Update the single source of truth first: new version number and date
- Re-approve with the same stakeholder signoff group
- Record the delta: what changed from the previously approved version
The most important rule: no edits outside the single source of truth. That’s how mixed versions happen—especially right before an event or a new-hire batch print.
If the change affects what someone sees (name/title, role color, logo, access indicator) or how the badge is used (slot alignment, scannable code placement), a quick re-approval prevents surprises. If it’s truly internal and doesn’t change output, document it and move on.
Route it through the same change-control rule: confirm the impact (reprint risk, delay, mismatch across badge types) and get the right approvers to confirm the new version. A fast, consistent rule is easier than an ad-hoc exception.
From Approved Proof to Production: Hand-Off Details That Reduce Reprints
A design can be perfectly approved and still print wrong if the production hand-off is vague. The best hand-off is a short “production spec” that matches the approved proof and confirms the practical details: size, slot placement, how it’s worn, and what material/finish you expect.
This is especially important when different teams are involved—one team approves the design, another team places the order, and a third team distributes badges on-site. A small spec keeps everyone aligned so the output matches the proof.
- Final dimensions: confirm the exact badge or name tag size
- Material and finish: confirm what the badge should feel and look like in real lighting
- Holder type and wear method: lanyard vs. clip, vertical vs. horizontal holder
- Slot/hole details: location and orientation so the badge hangs straight
- Variable data rules: what fields are included, capitalization conventions, truncation rules for long names
- Color expectations: any critical brand colors or role bands that must stay consistent
If you’re ordering printed products, it can help to decide these details at the same time you finalize the proof. For example, BadgeZoo offers multiple finishes (including gloss and matte/silk), and selecting the finish as part of the hand-off reduces the chance of “this isn’t what we expected” when badges arrive. If you’re exploring options for custom ID badges, having the production specs ready makes ordering and fulfillment smoother.
A clear hand-off turns approval into a predictable output: the approved proof, produced the same way every time.
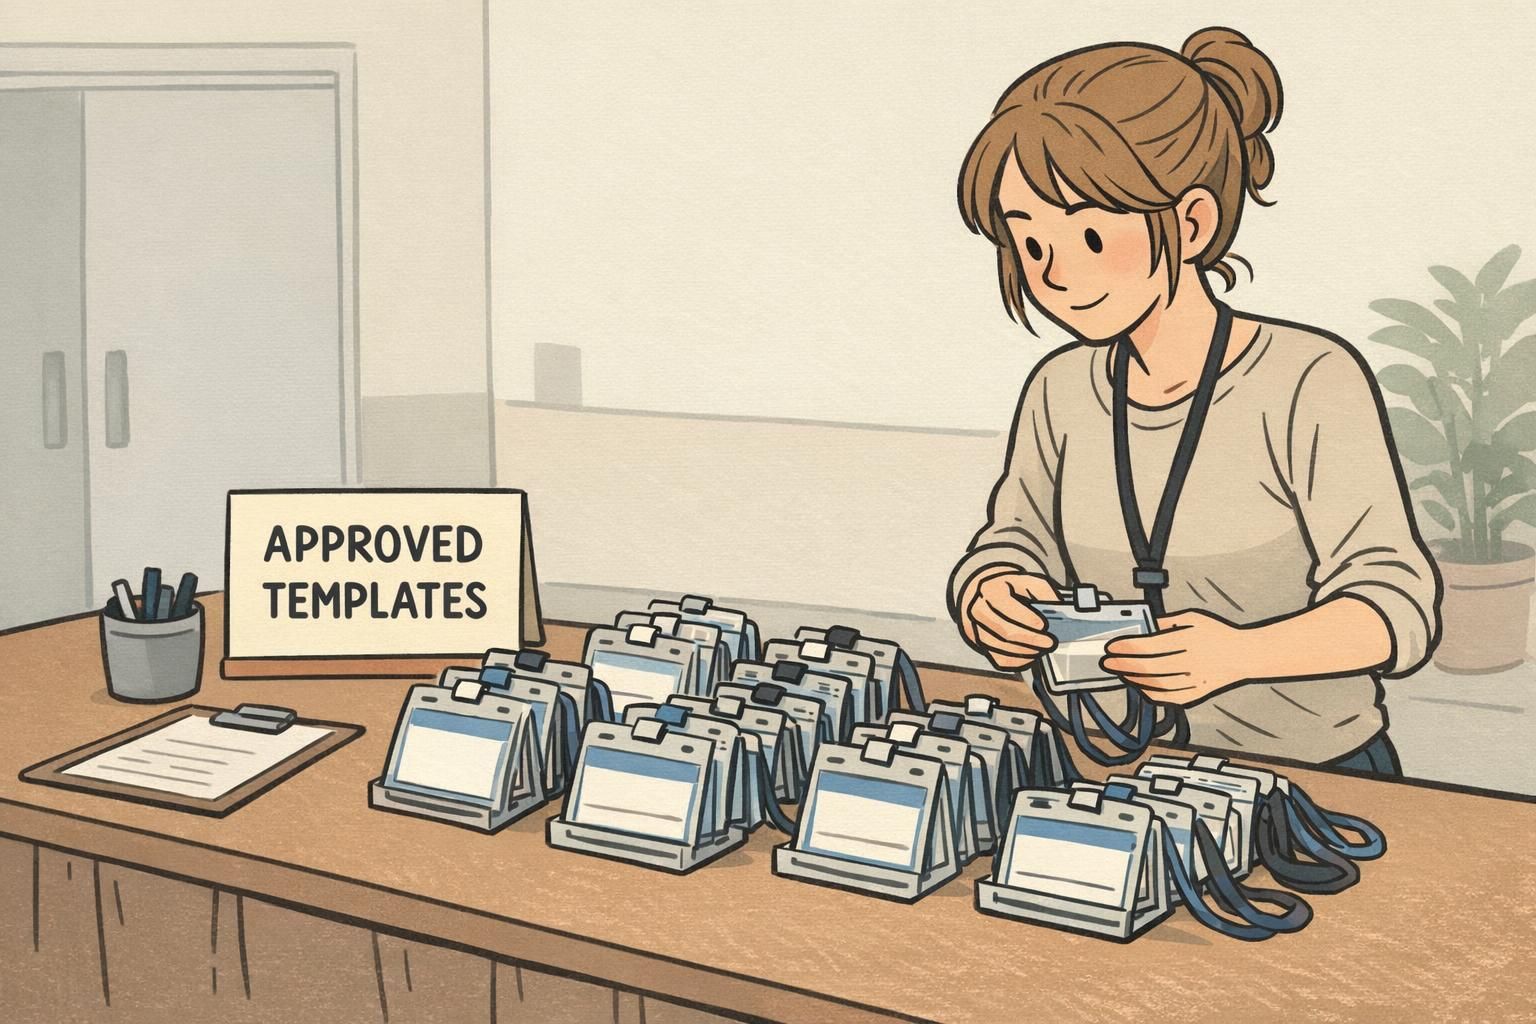
Fast Templates You Can Reuse: Event Badges, Name Tags, and Badge Buddies
One of the best ways to keep approvals lightweight is to avoid starting from scratch. Build a small template library that’s already approved for your most common use cases: event badges, staff ID cards, visitor name tags, and badge buddies for roles or access levels.
Reusable templates don’t eliminate stakeholder signoff—they reduce how often you need it. If your logo placement, name hierarchy, and role color bands are standardized, each new event or hiring cycle becomes a simple “update the variable info” workflow instead of a full design debate.
- Create 3–5 base templates: employee ID, visitor badge, event attendee badge, staff badge, vendor badge
- Standardize layout zones: logo zone, name zone, role/access zone, scannable zone
- Pre-approve role colors and labels: especially if using badge buddies for quick visual identification
- Document the “no-edit” areas: elements that should not be moved without re-approval
- Save as versioned masters: keep the single source of truth for each template
Templates lock in the proven layout decisions (readability, spacing, holder fit), so design proofing can focus on what changed—like dates, names, or attendee types—instead of re-litigating the entire layout.
Redesign when requirements change: new brand standards, a new badge holder format, new security elements, or new role/access rules. Otherwise, reuse the approved template and keep the workflow fast.