Back of badge ideas: Practical, Scannable Ways to Use the Reverse Side
Why the back of a badge is valuable space (even beyond policies)
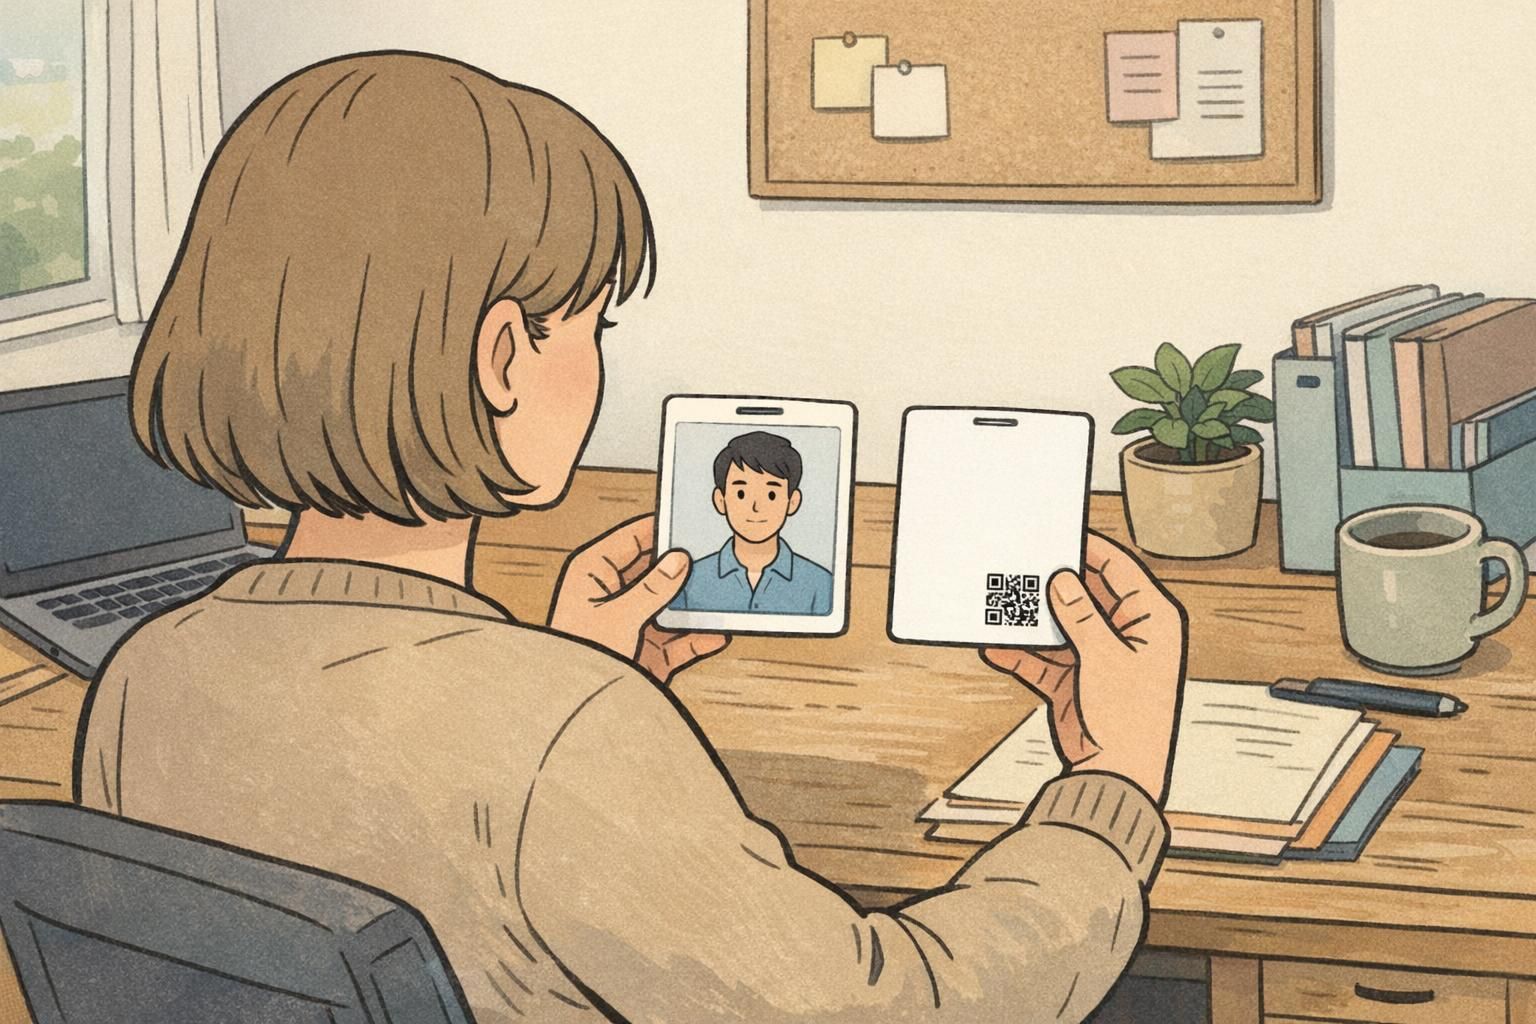
When people think about an ID badge, they usually think about the front: name, photo, role, and maybe a color bar. But the reverse side is often the most underused part of the entire credential. The best back of badge ideas add quick, scannable value without competing with the front-facing ID—so the badge still does its main job: clear identification at a glance.
In day-to-day workplaces, the back can quietly support safety, wayfinding, and consistency across teams. In events, it can reduce “Where do I go?” questions and help staff and volunteers respond faster. The key is restraint: the back works best as a quick-reference surface, not a mini handbook.
Think of the back as a “fast help” panel: the right detail, in the right moment, in two seconds or less.
Design rules for scannability: what belongs on the back (and what doesn’t)
A strong badge back design treats the reverse side like a pocket reference card. People will look at it while standing in a hallway, moving through a venue, or juggling tasks—so the layout has to work under real conditions. That means short lines, clear headings, generous spacing, and content you can find instantly.
If you’re using a double sided ID, plan both sides together. The most common mistake is squeezing the front and back until neither feels readable. Instead, prioritize what must be immediately visible (usually the front) and reserve the back for items that are valuable but not required for recognition.
- Lead with essentials: Put the most time-sensitive items at the top (e.g., emergency contact number or help desk).
- Use headings and blocks: 2–4 labeled boxes are easier to scan than one long list.
- Avoid paragraphs: If it can’t fit as a short bullet, it likely belongs elsewhere (like a policy document or QR link destination).
- Keep high contrast: Dark text on a light background tends to read best, especially under badge-holder glare.
- Plan around the clip/slot: Keep key info away from areas that will be covered by a holder’s header or a clip mechanism.
- Only print what will stay accurate: If it’s likely to change monthly, consider a QR code instead of fixed text.
Usually less than you think. Aim for a handful of items someone can locate in seconds—often 3–7 lines total, or a few compact blocks.
Yes, but test it in the actual holder. Certain holders add borders, glare, or covered areas, so the layout needs extra breathing room.
Emergency & safety info that helps without oversharing
Safety information is one of the most practical uses of the reverse side—because it’s helpful when stress is high and time is short. The goal is calm guidance that supports people in the moment, without turning the badge into a privacy risk or a cluttered instruction sheet.
In many workplaces, a small set of emergency numbers and basic steps can reduce hesitation and make responses more consistent across departments. For public-facing teams and events, a “found badge” instruction is also surprisingly useful: it helps lost badges get returned quickly while limiting unnecessary handling.
- Emergency number(s): One primary and one secondary contact (or a single internal emergency line).
- Internal extensions shortcut: A tiny block with 2–3 key numbers (e.g., Security, Facilities, IT help).
- Evacuation reminders: A short 2–3 step prompt (e.g., alert, exit, report to assembly area).
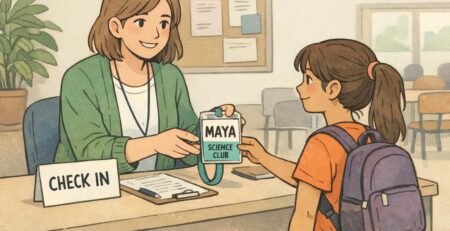
- Found badge instructions: “If found, return to [desk/location]” or a general return process.
- Role-appropriate code-response reminder: A generic, non-sensitive reminder that aligns with your environment and training.
Avoid printing personal medical details unless your organization explicitly approves it and has a clear privacy policy. For most teams, general instructions and official contact paths are the safer choice.
Quick links and QR codes: fast access to the right page
A QR code is one of the cleanest ways to expand what the back can do without sacrificing scannability. You can keep the badge back design minimal—while still offering instant access to tools people actually need. The best practice is to label the code clearly, so scanning feels intentional (not mysterious), and users know what they’re opening.
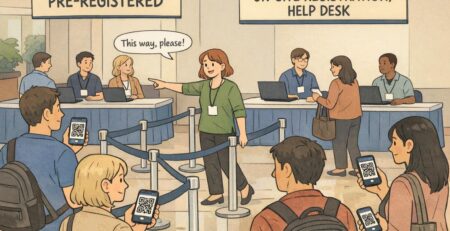
QR codes work well for both workplaces and events: a staff directory, a check-in page, an onboarding hub, a digital map, or a live schedule. To prevent “dead codes,” choose a stable destination (such as a short URL or a managed redirect) that can survive platform changes or a rebrand.
- Keep it small but scannable: Give the code a clean quiet zone (blank margin) so phones can detect it quickly.
- Add a short label: One line is enough (e.g., “Schedule” or “Help Desk Page”).
- Test real devices: Check common phone cameras under typical lighting and with the badge inside its holder.
- Prefer durable destinations: Use a link strategy that won’t change every time a tool or vendor changes.

Micro-maps and wayfinding that actually fit
Trying to fit a full map on the back of a badge usually backfires. Lines get tiny, labels become unreadable, and the result is a dense patch of ink no one uses. A micro-map is different: it’s a simplified “just enough” diagram that points people to the next right place.
Good micro-maps focus on a single zone: one hallway, one building wing, or one cluster of event rooms. If someone can orient themselves in two seconds, it’s doing its job. This is especially helpful for volunteers, floating staff, contractors, and attendees who are moving through unfamiliar spaces.
- Limit landmarks to 2–5: Pick the places people ask about most (restrooms, elevator, help desk, first aid, check-in).
- Use bold, minimal lines: Thin detail disappears behind plastic holders and glare.
- Add a tiny legend: Small icons can work better than tiny words.
- Include a simple “You are here” marker: Make orientation immediate.
- Plan for updates: If a venue layout changes, micro-maps are easier to revise in the next print run.
“The best badge maps aren’t complete—they’re just clear. If someone can find the help desk without asking, you’ve already reduced friction.” – Event Operations Lead
Role cues and service cues for smoother interactions
Not every improvement needs to be an emergency number or a QR code. Sometimes the most useful back-of-badge content is operational: a few cues that help people handle common situations consistently. This works especially well in customer-facing environments, where smooth handoffs and clear escalation paths reduce delays.
The back can support subtle reminders without turning into a script. Think of it as a confidence tool—something that helps newer team members act quickly, and helps experienced staff stay consistent during busy periods.
- Escalation steps: A simple “If X, then contact Y” chain with 2–3 levels.
- Service standards in three bullets: Short, neutral reminders (tone, safety, documentation).
- Shift cues: For rotating teams, a minimal reminder of where to check assignments or updates.
- Language-access cues: A short prompt pointing to the correct interpreter line or language support process.
- Event sponsor acknowledgement (optional): Only if it fits without harming scannability.
If a role cue requires a paragraph to explain, it’s a sign that the badge should link to a resource instead of trying to carry the full detail.
Interactive and modular uses (events, learning, and engagement)
Some teams go beyond static printing and use modular elements on the back—such as clip-on tokens, swappable backings, or standardized attachments—to support participation tracking or optional engagement activities. When designed well, these ideas keep the front focused on identification while the back supports the experience.
In classrooms, makerspaces, or training environments, a reversible or swappable back can also function as a simple progress tracker that changes with the activity. And in mixed contexts—where people may sometimes want to limit what’s visible—detachable or adaptable badge setups can help individuals manage when and how certain identity information is displayed, without replacing normal ID use (source).
- Keep it optional: The badge must still work as ID even if someone never uses the interactive feature.
- Standardize the attachment method: Consistency matters more than novelty (same clip style, same placement).
- Avoid interference with safe wear: Ensure nothing sharp, heavy, or snag-prone is added.
- Protect scannability: Don’t place attachments over QR codes or critical back-of-badge blocks.
Choosing the right format and materials for double-sided printing
Even the best layout can fail if the physical badge setup makes it hard to read. A clean double sided ID starts with choices that keep both sides crisp under daily handling: a suitable thickness, a finish that won’t muddy contrast, and a print approach that stays legible through scuffs and fingerprints.
Also consider how the badge will be worn. A card inside a holder may introduce glare or covered edges, while a clipped badge may spin and rub against clothing more often. Plan the back layout around the slot or clip area so key elements aren’t hidden in real use.
If you’re planning production for double-sided custom ID cards, BadgeZoo’s double-sided custom ID cards can be configured to match common holder styles and update cycles, so the back stays readable and practical rather than decorative.
A simple checklist before you print
Before you commit to a print run, a short review process can prevent the most common back-of-badge problems: outdated info, cramped layouts, and QR codes that don’t scan in the field. Treat the reverse side as operational content—because once it’s in people’s hands, they’ll rely on it.
- Confirm accuracy: Every number, location, and link should be correct and expected to remain stable.
- Validate approvals: Ensure the right stakeholders have reviewed it (security, HR, event ops, compliance as needed).
- Test at arm’s length: Check readability the way it will actually be viewed.
- Test in the real holder/clip: Confirm nothing critical is hidden by the slot, clip, or holder header.
- Scan QR codes under typical lighting: Try multiple phone models, angles, and distances.
- Start minimal if unsure: Print the highest-value items now and iterate with the next batch.
A common starting point is one help number, one “found badge” instruction, and one QR code to a stable resource page.
Set a rule that any new addition must replace something or move behind a QR link. Keeping a fixed number of blocks helps maintain scannability.