Extra ID Cards: How Many Spare Badges to Order (Without Overbuying)
Why extra ID cards matter (and when they save the day)
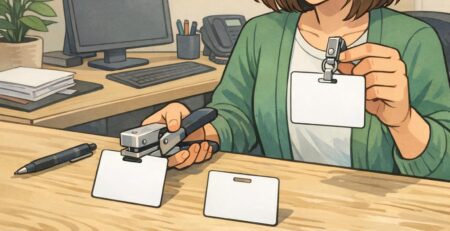
Extra ID cards are one of those small, behind-the-scenes supplies that keep a workplace running smoothly. When a new hire starts sooner than expected, a badge goes missing, or someone changes departments, having a ready-to-issue ID helps you avoid awkward gaps in identification and access workflows.
A small buffer also supports consistent workplace identification policies. Whether your environment includes visitors, patients, students, or customers, clear identification helps people quickly recognize who’s who—without improvised “temporary” solutions that don’t match your standard badge format.
Continuity is the goal: no delays, no last-minute workarounds, and a consistent, professional badge system that holds up when plans change.
- New hires and transfers: roles change faster than print cycles
- Lost or damaged cards: replacements are common in busy workplaces
- Name changes and photo updates: you’ll reissue more often than you expect
- Compliance and professionalism: consistent ID presentation matters in public-facing settings
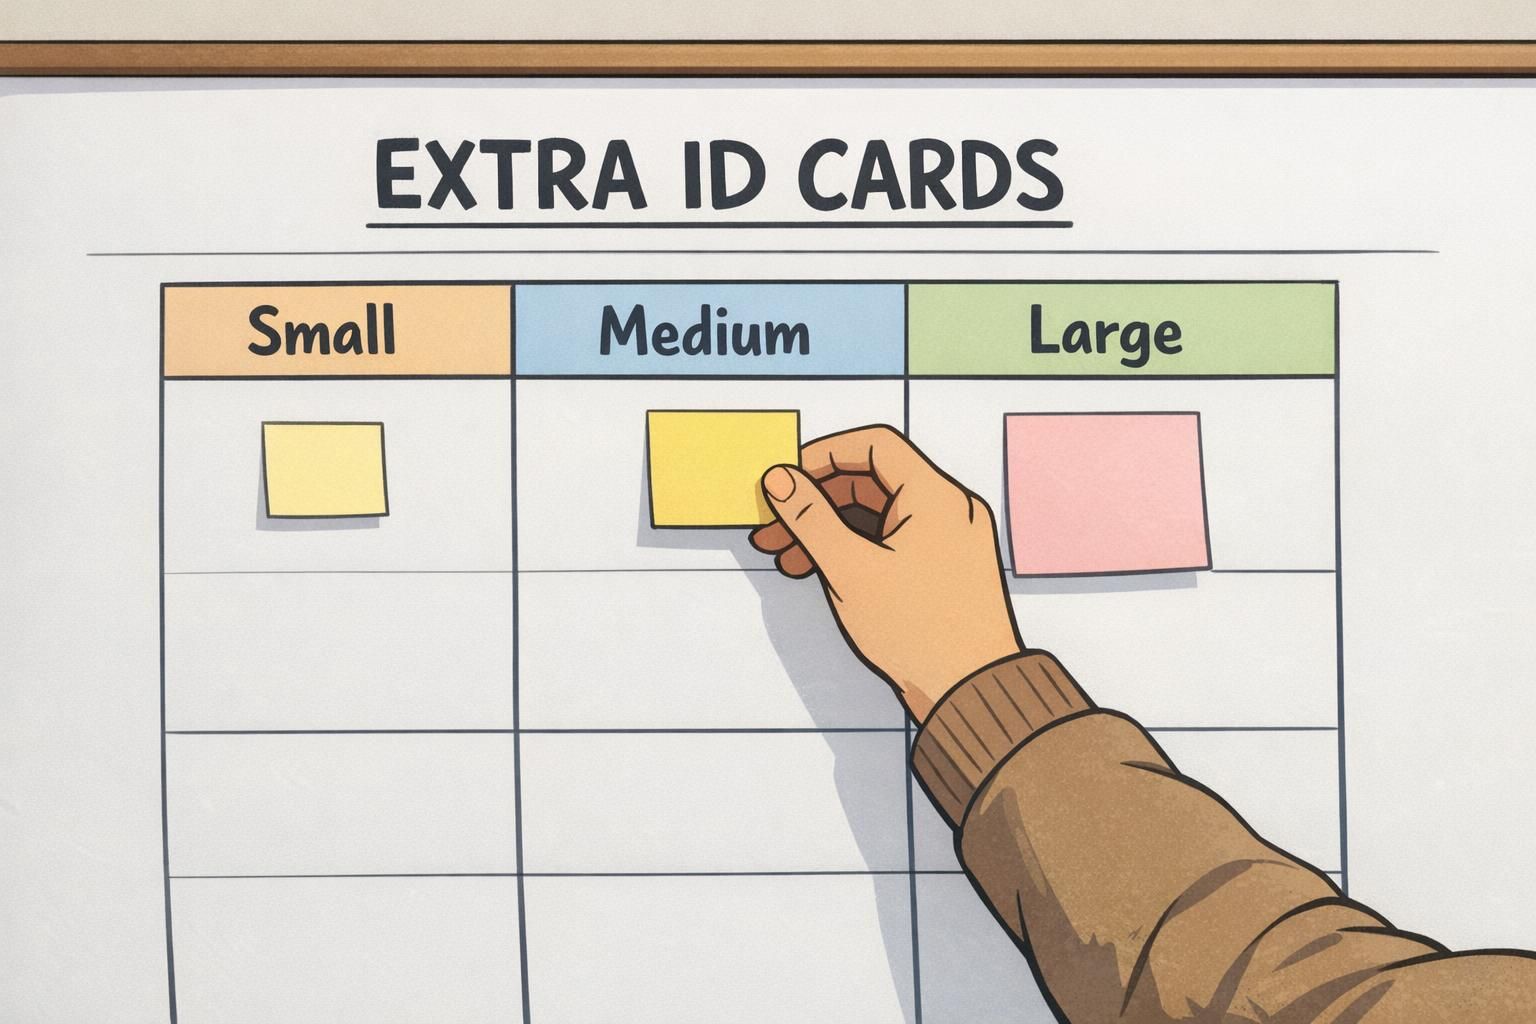
A simple percentage rule for spares (by organization size)
If you want a fast way to decide how many spares to order, a percentage-based rule works well. Start with a baseline spare rate, then scale it based on your headcount and how often your badge list changes. Many programs land somewhere in the 10–20% range for spares, then adjust up or down depending on real-world churn and how quickly you can reorder.
Organization size matters because surprises hit small teams harder. If you have 15 employees and two new hires start unexpectedly, that’s a big percentage shift. In a 1,500-person system, the same two cards barely register—and averages tend to smooth out over time.
Lead time matters too. If approvals, printing, and shipping take longer, your buffer should be bigger—because you’re covering a longer window where changes can occur.
- Small teams (1–50): often need a higher spare percentage because each change is a bigger share of the total
- Mid-size teams (51–250): can usually use a moderate spare percentage and fine-tune based on turnover
- Large teams (251+): may run lower percentages, but should plan for steady monthly reissues
A useful starting point is to pick a spare percentage, then revisit it quarterly using your actual reprint and onboarding volume.
Badge reorder planning: use turnover and lead time to pick your buffer
More accurate badge reorder planning comes from combining two inputs: (1) how many badge changes you expect, and (2) how long it takes to replace a badge from the moment you realize you need one. Expected changes include new hires, department transfers, title updates, photo refreshes, and replacement prints for lost or damaged cards.
Time-to-replace is more than shipping. It can include collecting photos, confirming names/titles, design approvals, printing, and distribution. If any of those steps slow down, your spare buffer has to cover the gap.
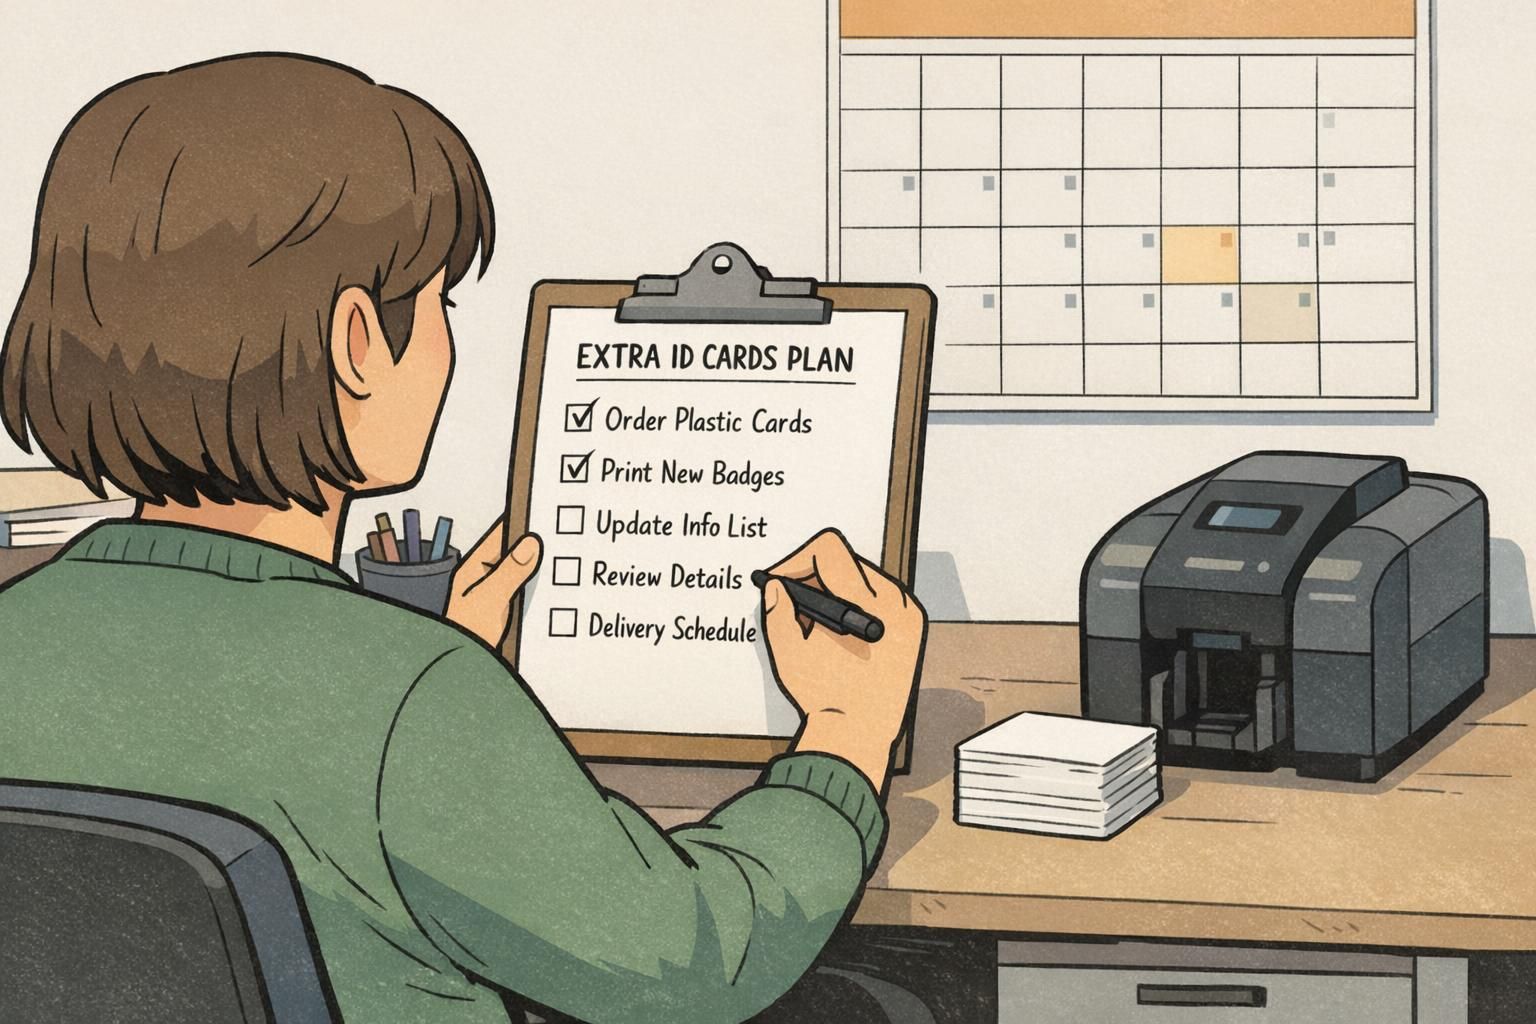
A practical method you can use without complex spreadsheets:
- Estimate monthly badge demand: average the last 3–6 months of new hires + replacements + role-change reprints
- Convert lead time to months: for example, 2 weeks is roughly 0.5 months; 4 weeks is roughly 1 month
- Base buffer = monthly badge demand × lead time (in months)
- Add a safety margin: increase the result by a small percentage if your demand is spiky or approvals are unpredictable
Whatever buffer you choose, keep your standards consistent so spares match what you issue today: the same photo style, role color bars (if you use them), access indicators (if applicable), and card layout. That way, a spare doesn’t become a “close enough” badge that looks different from everyone else’s.
Keep fewer fully printed spares and more blank cards and accessories. Then print the current layout as-needed so spares don’t become outdated.
Usually yes, but it can be smaller. Even fast reorders don’t help when someone needs identification immediately for day-one onboarding, a shift change, or a public-facing role.
Quick reference table: suggested spare percentages
Use this as a starting point, then adjust based on your actual monthly badge activity. The idea behind spares is service level: having the right badge available when it’s needed, without tying up budget in unnecessary prints.
- Small (1–50) + low turnover + fast lead time: 10–15%
- Small (1–50) + medium turnover + standard lead time: 15–25%
- Small (1–50) + high turnover + standard lead time: 20–30%
- Medium (51–250) + low turnover + fast lead time: 8–12%
- Medium (51–250) + medium turnover + standard lead time: 12–20%
- Medium (51–250) + high turnover + standard lead time: 18–25%
- Large (251+) + low turnover + fast lead time: 5–10%
- Large (251+) + medium turnover + standard lead time: 8–15%
- Large (251+) + high turnover + standard lead time: 12–20%
Lead time nudge: if your approval/print/ship cycle is slower than usual, move toward the top of the range. If it’s reliably fast, you can stay near the bottom.
Events and conferences: planning extras without wasting prints
Events behave differently than workplaces because attendance is inherently variable. Late registrations, on-site changes, lost badges, and walk-ins can all disrupt your count. The trick is to plan a clear buffer for attendee badges, while keeping a smaller (but intentional) buffer for staff and volunteer credentials.
It also helps to treat badge categories differently. “Attendee” may change constantly, while “VIP,” “Exhibitor,” and “Press” often have tighter controls or different approval flows. Planning spares by category prevents printing too many of the most expensive or most restricted badge type.
- Attendee badges: plan a larger buffer to absorb walk-ins and last-minute changes
- Staff/volunteer badges: smaller buffer, but include replacements for lost/damaged badges during the event
- Role-based categories (VIP/Exhibitor/Press): keep a controlled buffer or a rapid print path for changes
A practical option many teams use is a small batch of branded blanks (no names) for on-site assignment, paired with a consistent template so the badge still looks official. This can be especially helpful when you don’t want to waste fully personalized prints that might never get used.
Seasonal staffing, contractors, and rotating roles (how to avoid constant rush orders)
Seasonal ramps and rotating roles create predictable badge demand—just not evenly distributed. Instead of ordering based on today’s headcount, plan around peak staffing and the expected weekly onboarding volume during your busiest window. That way, you’re not stuck placing frequent small orders when the pace picks up.
For contractors and recurring temporary roles, consider whether the role returns in cycles. If the same job function appears repeatedly (for example, facilities support, event staffing, or seasonal inventory teams), you can reduce friction by standardizing the layout and keeping a ready buffer that matches your current format.
It also helps to separate what’s reusable from what’s printed. Holders, clips, and lanyards can be stocked for peaks, while printed inserts or cards can be replenished as needed. Many organizations formalize this as part of broader spare badges policies for temporary staff, so onboarding doesn’t rely on last-minute printing or inconsistent “temporary” identifiers.
- Plan to peak: base your spare count on the highest expected headcount, not the average month
- Stock reusables separately: holders/clips/lanyards often move faster than printed cards
- Standardize contractor role templates: avoid redesigning each cycle
- Track weekly onboarding volume during busy seasons to refine next year’s buffer
What to stock as spares: full badges vs components and accessories
Not every spare needs to be a fully printed name badge. In many programs, you’ll reduce waste by stocking a mix: some fully printed badges for high-priority use cases, plus blank cards and the right accessories so you can assemble what you need quickly.
Fully printed spares are most useful when the badge format is stable and the need is immediate—especially for roles that require consistent identification or access indicators. Partial kits (blank cards plus holders and clips) can be a better match for variable titles, frequent category changes, or event scenarios where you can personalize on-site.
- Keep fully printed spares when: onboarding is frequent, roles are standardized, or you need ready-to-issue credentials
- Keep blank cards when: names/titles vary often, designs change periodically, or you plan to overprint locally
- Stock accessories consistently: matching holders, clips, and lanyards prevent last-minute incompatibility issues
- Standardize the physical setup: same card size, slot punch placement, and holder orientation so badges hang correctly
Compatibility saves time: if every department uses the same card size and holder style, you can keep fewer types of spares and still cover more scenarios.
When it’s time to reorder: simple triggers that prevent stockouts
A reorder trigger prevents the most common failure mode of badge programs: realizing you’re out of spares only after someone needs a badge today. Instead of waiting until the drawer looks “low,” set a minimum on-hand threshold (your reorder point) and a target level to refill to.
A simple approach is the reorder-point idea used in many inventory settings: when you hit a minimum level (s), reorder to reach a preferred target level (S). This kind of policy is widely discussed as a practical way to reduce shortages when demand varies. source
- Step 1: Set a minimum (reorder point) that covers expected demand during your lead time
- Step 2: Set a target level you want on hand after the reorder arrives
- Step 3: When you hit the minimum, reorder enough to get back to the target
- Step 4: Track why reprints happen (new hire, replacement, role change) and adjust the minimum/target over time
“Once we set a simple reorder point for spares, we stopped treating badge requests like emergencies—and onboarding got noticeably smoother.” – Office Administrator

Choosing formats that make spares easier to use
Standardizing your badge format makes spares far easier to manage. When you keep card size, holder type, clip style, and role color coding consistent, a spare works across departments—and you avoid the common problem of having “spares” that don’t match what people actually wear.
This is also where add-ons can help. For example, badge buddies can make role identification faster without requiring a complete redesign of the primary ID badge. For events, consistent templates help you print attendee categories cleanly; for workplaces, durable employee ID badges and consistent layouts support daily identification and smoother reissues.
If you’re reviewing layouts or standardizing a format across teams, you can reference a consistent template for custom ID badges so new orders and reorders match the same core design.
- Pick one standard card size and holder type across departments where possible
- Use consistent slot punch placement so badges hang straight and fit the same clips
- Keep role identifiers consistent (colors, titles, icons) so spares don’t look “different”
- Document your current template so reorders don’t drift over time
When formats are standardized, you can keep fewer spare types while still covering more situations—new hires, replacements, events, and seasonal ramps.