Contractor ID Badge vs Employee Badges: Labeling Without Confusion
Why a Contractor ID Badge Helps Prevent Mix-Ups
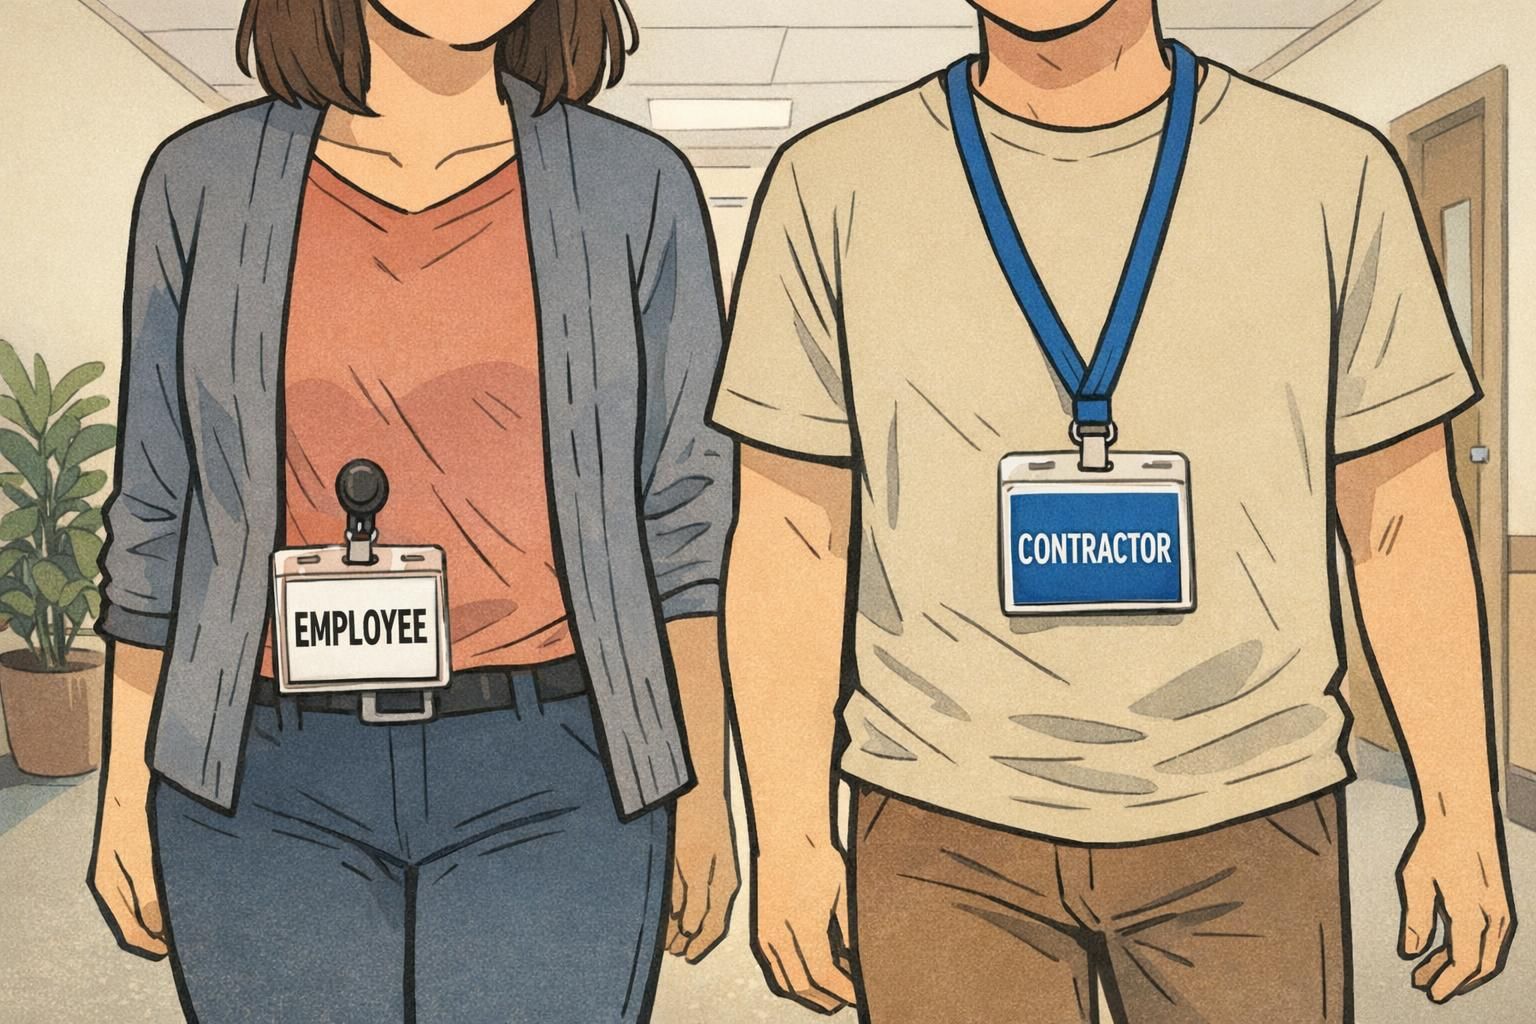
A contractor ID badge does one job extremely well: it removes uncertainty in the first few seconds of an interaction. In a busy workplace—especially one with rotating vendors, project-based crews, or short-term support teams—people make quick decisions at doors, reception desks, and shared work areas. Clear labeling helps those decisions stay accurate and consistent.
When a contractor is visibly identified, staff and security don’t have to guess whether someone is an employee, a visitor, or part of a temporary project team. That reduces awkward “Who are you here with?” conversations, prevents accidental “sure, go ahead” approvals, and supports smoother compliance routines (like escort requirements or restricted-area rules).
- Faster check-ins: reception can issue the right badge type without extra back-and-forth
- Fewer access mistakes: doors, labs, and controlled zones rely on quick, accurate decisions
- Clearer accountability: people know who to contact for project updates or onsite work questions
- Less friction for contractors: a straightforward badge reduces repeated role explanations
The goal isn’t to “single out” anyone—it’s to prevent operational errors. A consistent labeling system helps everyone move through the day with fewer interruptions.
Contractor vs Employee: What the Badge Is (and Isn’t) Communicating
Badges are an everyday communication tool. They help signal practical site expectations—where someone should go, what check-in steps apply, and who can approve certain requests—without turning worker status into a public debate.
It’s also important to keep badge labeling in the right lane. Worker classification can depend on multiple factors (including the level of control and the nature of the relationship), and it’s not something a printed card can “decide.” If you’re aligning badge language with your internal policies, it helps to coordinate with HR or compliance teams so the terms match how your organization defines them in practice. For a neutral discussion of how multi-factor classification is assessed, see this source.
- What the badge communicates: onsite status, basic role category, site rules, and access expectations
- What the badge should not claim: a definitive legal or tax classification
- What matters most: consistent terms that align with internal policy and reduce operational errors
“We label badges for clarity at the front desk and in secure areas. It’s about smooth operations—not making a legal statement.” – Facilities Coordinator
Employee Badge Types: Common Options for Different Teams and Access Levels
Most organizations end up with more than one “employee” category in day-to-day operations. That’s where employee badge types become useful: they let you distinguish teams, departments, buildings, shifts, or authorization levels while keeping a consistent design system that’s easy to recognize.
A practical approach is to keep the overall layout the same for everyone (photo placement, name position, and role line location), then differentiate with one or two strong visual cues—like a color band or a bold category label. Reception and security benefit when their eyes know exactly where to look first.
- Department-based types: IT, Facilities, Clinical, Production, Security
- Location-based types: HQ vs satellite, Building A vs Building B
- Shift-based types: Day/Evening/Night (useful in 24/7 environments)
- Authorization-based types: General Access vs Restricted Areas (paired with access control rules)
- Role-line approach (optional): a small line for “Help Desk,” “Engineer,” or “Nurse” when it supports workflow
Keep differentiation simple. If people need to study a badge to understand it, the system won’t hold up under real-world traffic.
Respectful, Clear Naming Conventions (What to Print on the Badge)
The words you print matter because they shape everyday interactions. The best naming conventions are neutral, job-relevant, and easy to act on. They should help front-line staff make correct decisions quickly—without sounding dismissive or stigmatizing.
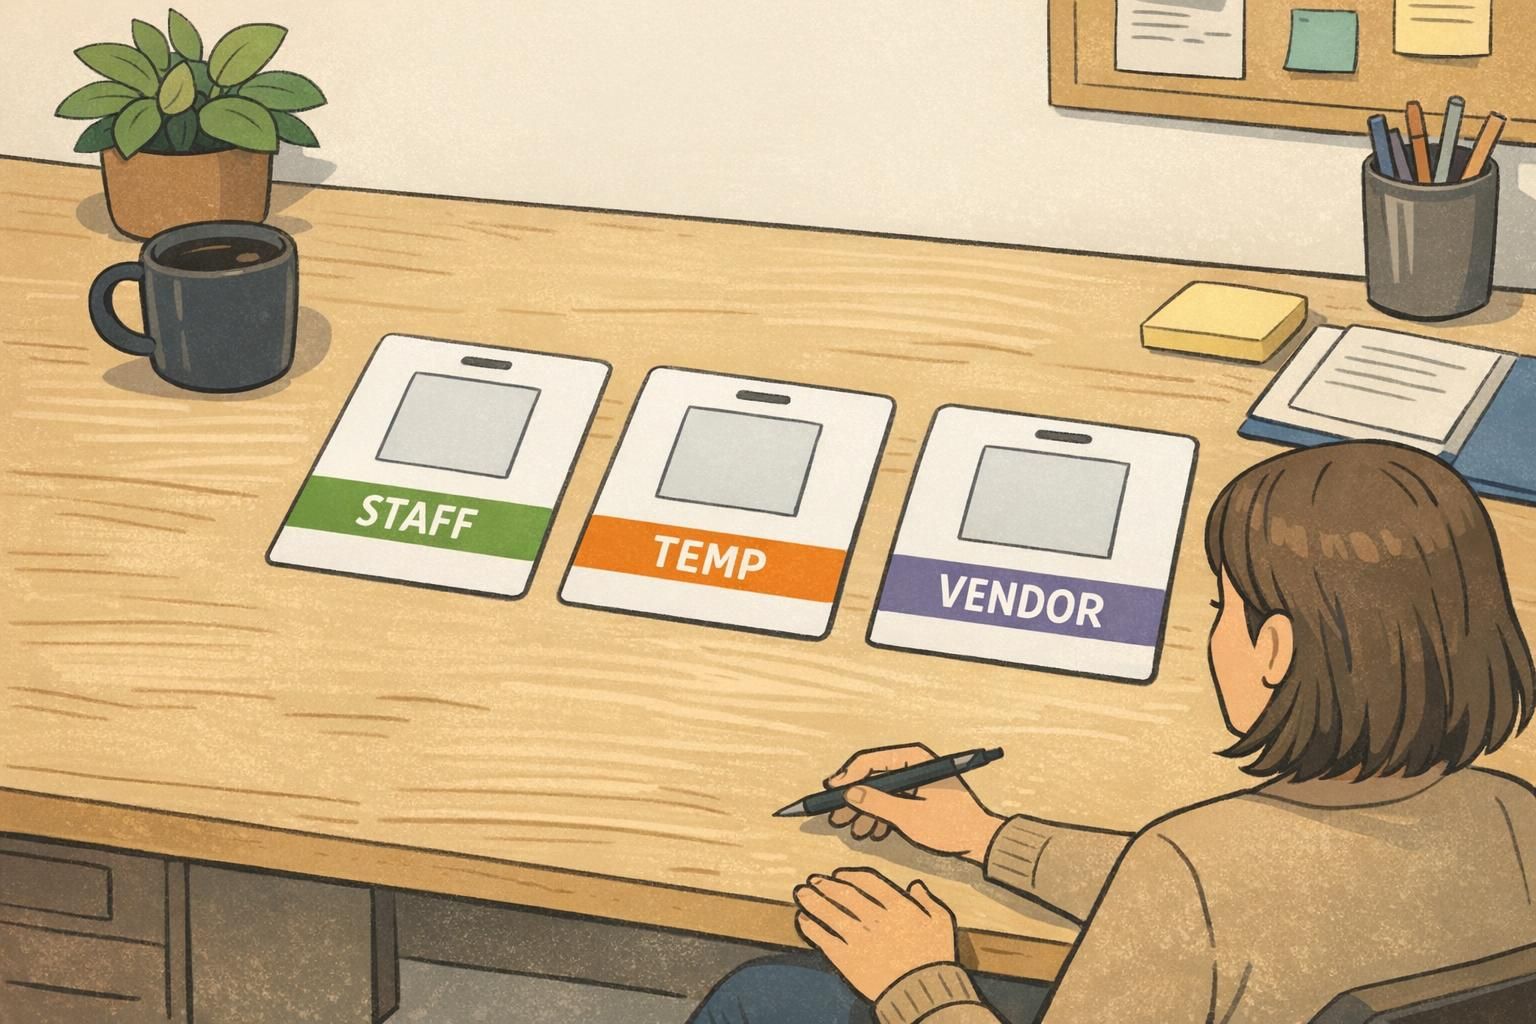
Choose labels based on how your organization actually manages access and supervision. If “TEMP” is a meaningful category in your process, use it. If you work with multiple external partners, “VENDOR” may be clearer than “CONTRACTOR” for certain roles. The key is consistency across locations and teams.
- Common, practical labels: CONTRACTOR, VENDOR, VISITOR, TEMP, INTERN, STAFF
- If you need more precision: use a category label (large) plus a project name or department (small)
- Avoid vague labels like OTHER—if it doesn’t guide a decision, it doesn’t help
- Use one term per category across all sites so staff don’t have to relearn the system
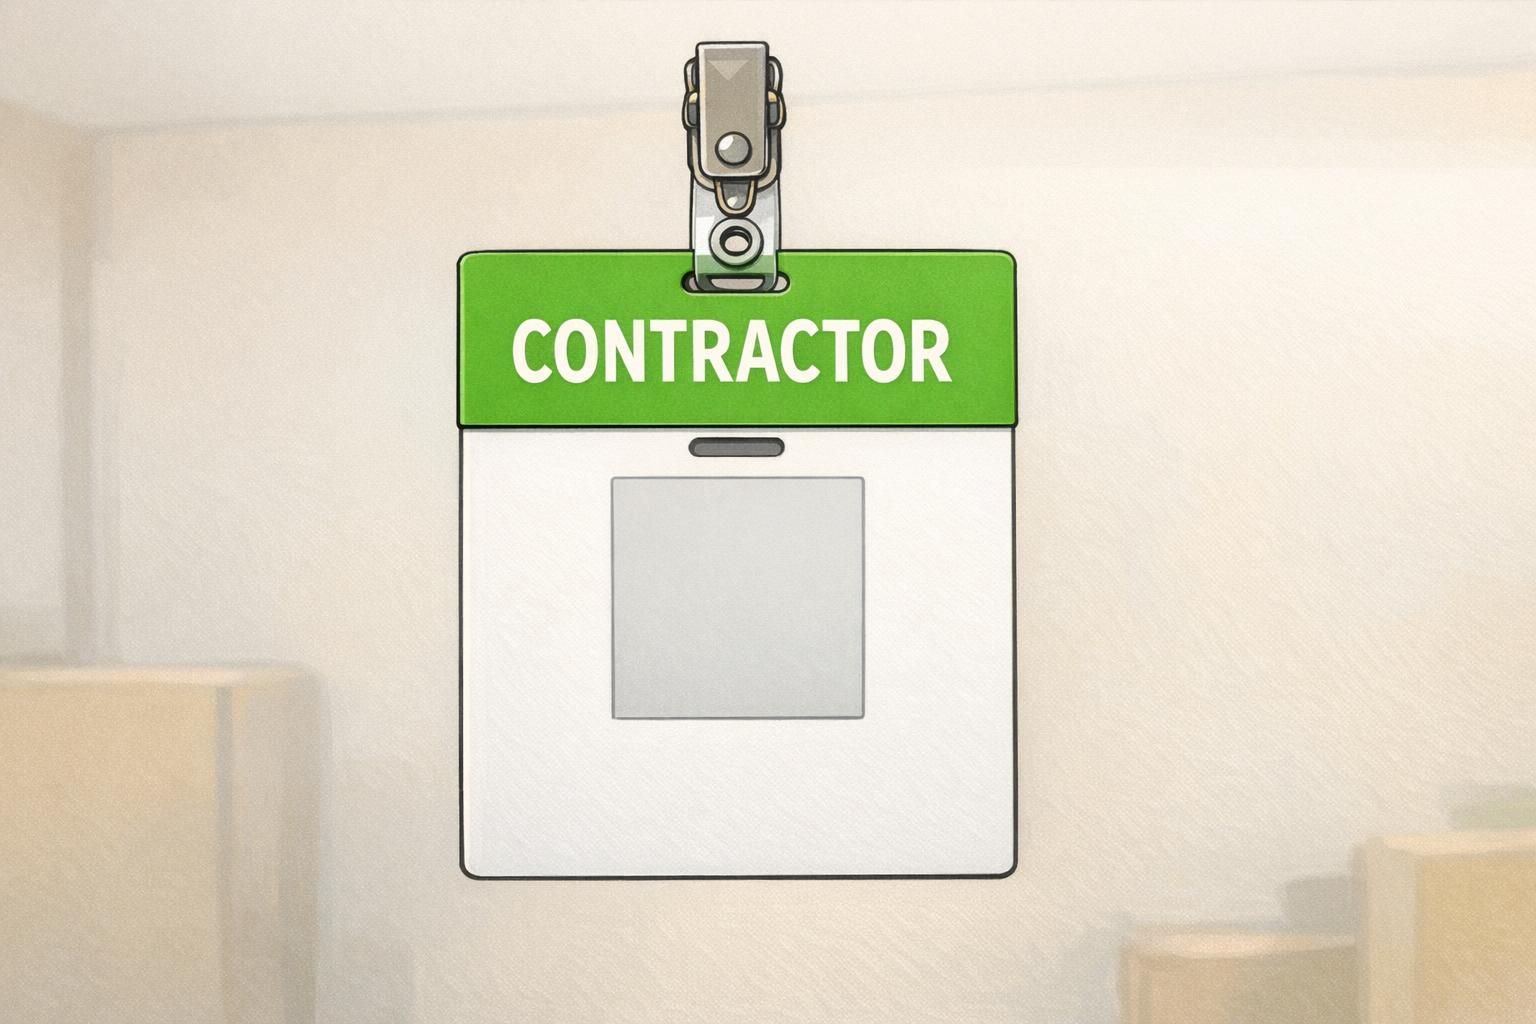
If the goal is quick onsite decision-making, a large category label like “CONTRACTOR” is usually the fastest cue. You can add the company name in a smaller line if it helps with coordination or accountability.
It doesn’t have to be. Neutral terms are most effective when they match internal policy and are applied consistently. If your culture prefers “TEMPORARY STAFF,” consider that—just keep it readable at a glance.
Visual Differentiation That Works: Color, Layout, Icons, and Expiration Cues
The most reliable badge systems use more than one cue, while still staying visually simple. A bold role label handles the “what category is this person?” question, while color and layout handle “how quickly can I confirm it?”
Start with a consistent layout across all badge categories so people build muscle memory: photo in the same place, name in the same place, role label in the same place. Then add differentiation through a color band or background field that’s easy to recognize from a few feet away.
- Color-coding: one color per category (for example, a distinct contractor color that’s not used elsewhere)
- Bold role label: large, plain sans-serif type that’s readable quickly
- Icons (optional): simple, consistent symbols (like a small wrench for contractors) without clutter
- Expiration cues: “Valid Through” or an end date for project-based access
- Holder and attachment consistency: standardized holders/lanyards can reinforce the system when appropriate
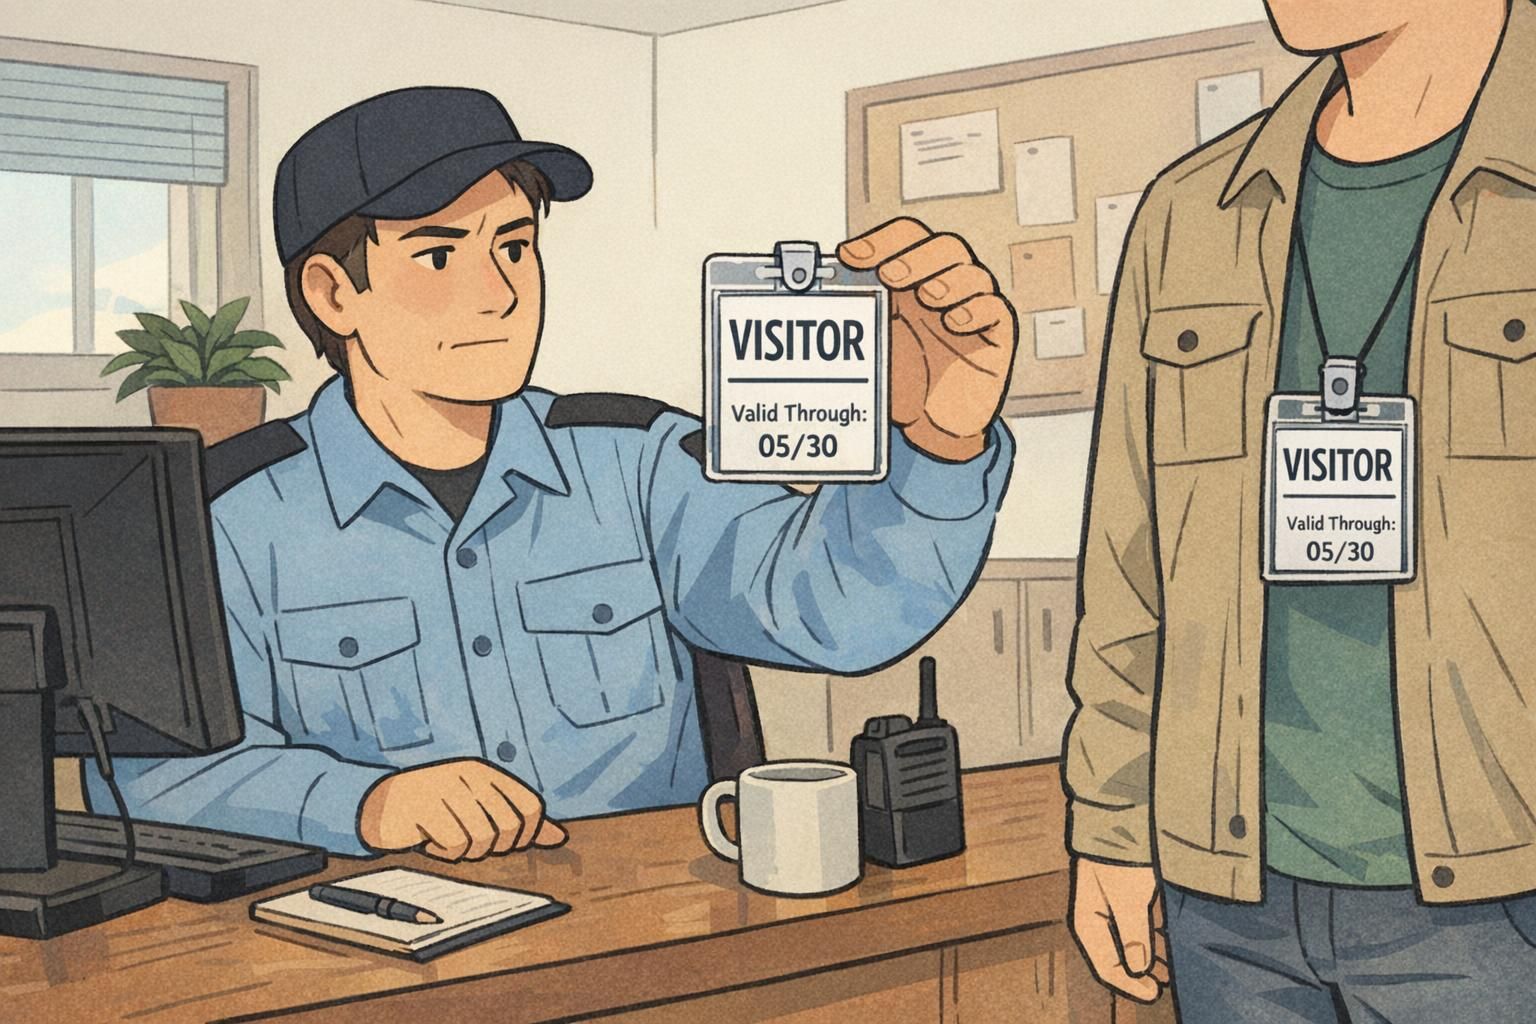
Expiration is one of the simplest ways to prevent badge confusion over time: it helps stop old, out-of-date badges from blending into daily traffic.
Designing for Real Use Cases: Security, Facilities, Healthcare, and Events
Badges aren’t worn in a vacuum—they’re used in motion, under time pressure, and often in high-traffic handoffs. Designing for real use cases means thinking about where decisions happen: the lobby, the elevator bank, the badge-controlled door, the nurse station, the loading dock, or the event check-in line.
In security-heavy environments, the goal is quick recognition and fewer exceptions. In facilities and maintenance workflows, a clear category label reduces interruptions when teams are moving between floors or work orders. In healthcare settings, clear role categories can support smoother coordination in shared spaces. And at events, visual labeling helps staff direct people correctly without slowing down the line.
- Security: prioritize legibility at a distance and consistent placement of the category label
- Facilities: emphasize category and project/zone access cues to reduce repeated explanations
- Healthcare: keep designs readable and uncluttered; consider role clarity for teamwork in shared areas
- Events: plan for fast issuance and fast sorting; use category stacks and clear lanyard/holder standards
“If the badge can’t be understood in a quick glance, it won’t work at the busiest door.” – Security Supervisor
Temporary Staff Badge Systems: Fast Setup Without Losing Consistency
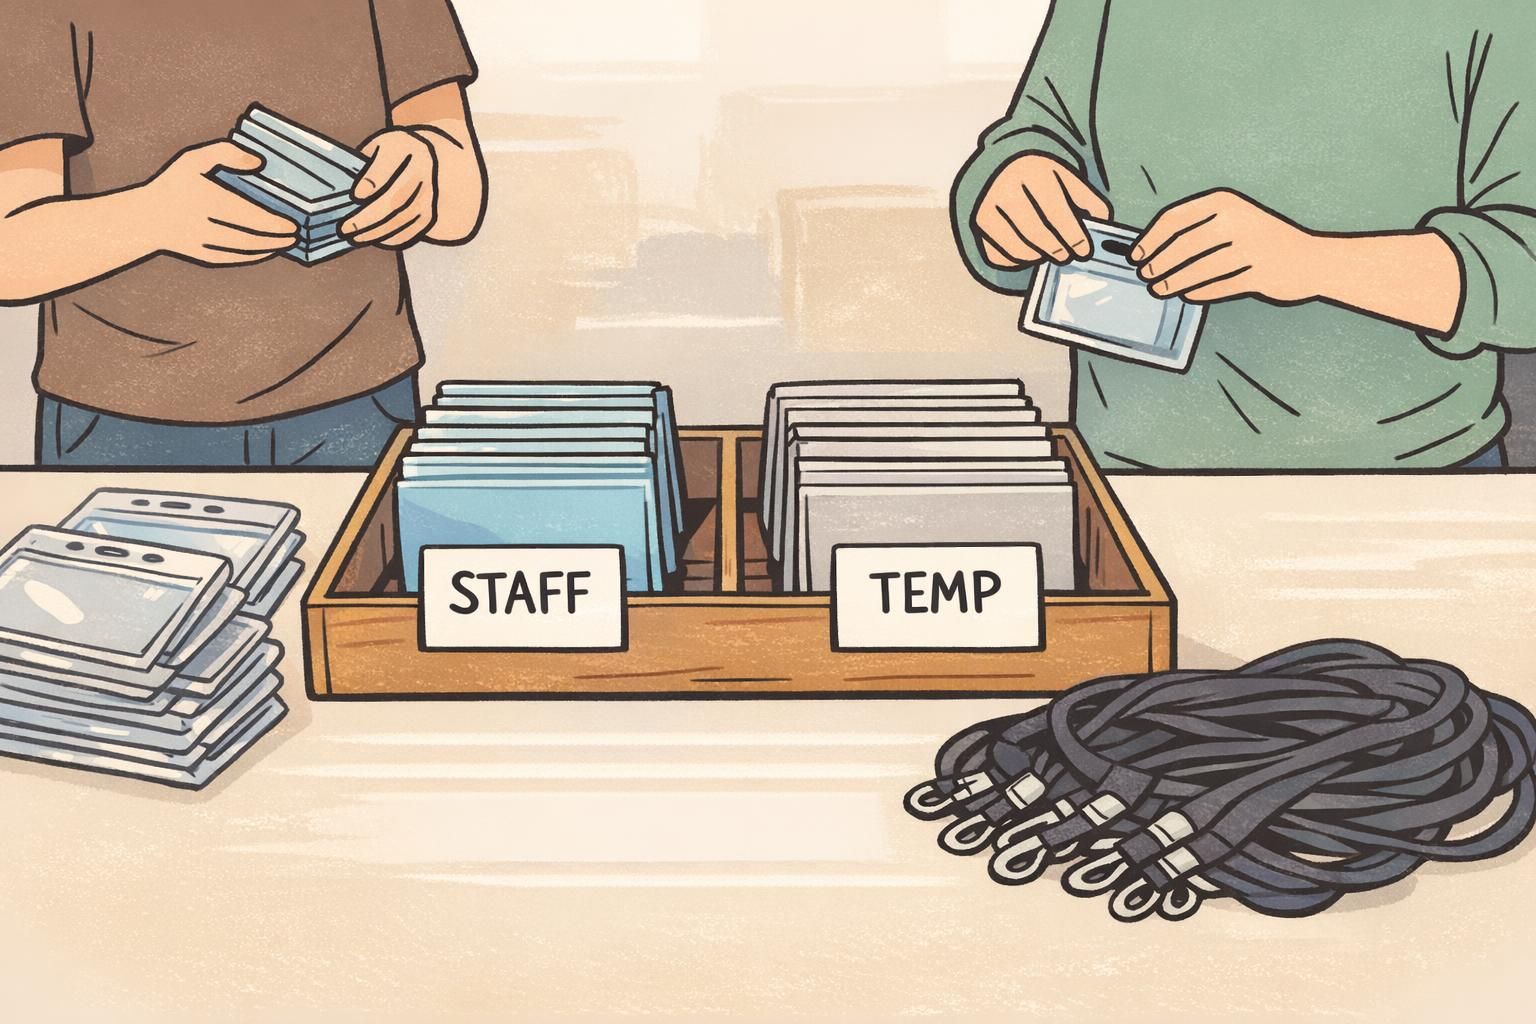
A temporary staff badge system works when it’s quick to issue, hard to misunderstand, and easy to retire. The operational risk with short-term badges isn’t the initial print—it’s what happens weeks later when an old badge is still in a wallet, a car, or a desk drawer.
A strong approach is a standardized template with a prominent status label, a photo (when appropriate for your environment), and a clear date field. That gives reception and supervisors a repeatable routine even when staffing changes weekly.
- Use a large, unmistakable category label (TEMP, CONTRACTOR, VENDOR, VISITOR)
- Add a clear date field (start date, end date, or “Valid Through”) for time-bound access
- Standardize where the photo goes so checks are consistent
- Define a simple offboarding step: badge return, deactivation, and reprint rules if someone returns
Product Alignment: Badge Templates and Add-Ons That Make Status Clear
If you want clear visual separation without redesigning every ID from scratch, one practical approach is keeping the main ID card consistent while adding a backing identifier that makes status readable from farther away. This is where a badge buddy can help: it sits behind the primary ID and provides a bold category cue while the person’s main identification stays standardized.
For example, a bright, high-contrast backing that reads “CONTRACTOR” can reduce confusion in hallways, elevators, and shared work areas—especially when people only have a second or two to verify status. And because the buddy is separate from the core ID layout, you can update categories without reworking every department’s template.
If you’re exploring this approach, BadgeZoo offers badge buddy backing cards designed to pair with a consistent ID badge layout.
A clean system often combines: a consistent main ID + one strong “status” cue (like a backing card or color band) + an expiration rule for time-bound access.
Rollout Checklist: Making the System Easy to Follow (Without Friction)
Even a great design can fail if people aren’t sure how to use it. A smooth rollout focuses on simple rules, repeatable front-desk steps, and clear ownership for exceptions. The best systems are easy to explain in one page and easy to enforce in daily routines.
- Write a one-page standard: who gets which badge, exact label text, what colors mean, and where the role label appears
- Confirm terms with HR/compliance so categories match internal policy
- Train reception and supervisors on the “quick glance” cues: label location, color meaning, and expiration fields
- Set a reprint process: when it’s allowed, who approves it, and how old badges are invalidated
- Set a deactivation/retirement step for contractors and temporary staff at the end of a project or shift
- Review periodically: adjust categories when staffing models change (more vendors, more hybrid teams, new sites)
Start small—only the categories people need to act on quickly (often STAFF, CONTRACTOR/VENDOR, VISITOR, and TEMP). You can add more later if there’s a consistent operational reason.
Inconsistent application: labels that change by location, designs that look too similar, or expired badges that remain in circulation. Clear rules and retirement steps usually solve it.
If people can’t explain the badge categories in a sentence or two, simplify. Clarity beats complexity—especially at reception and controlled doors.