Where to Wear ID Badge: Chest, Belt, or Pocket Placement That Works
Why where to wear ID badge affects recognition and scanning
Deciding where to wear ID badge is more than a comfort choice. Placement affects how quickly people can recognize you, how consistently your information stays readable, and how reliably your badge can be scanned at doors, check-in desks, and secure areas.
If your ID sits in the same visible spot every day, coworkers and visitors learn where to look. If it swings, flips, or gets covered by a jacket, hair, or bag strap, you’ll spend more time adjusting it and repeating basic introductions—plus scanners may fail on the first attempt.
Good placement supports two outcomes at once: fast face-to-name recognition and predictable scanning. The best choice is usually the one that keeps the card upright, front-facing, and easy to reach without interfering with your job.
- Recognition: Can someone read your name and photo at conversational distance without asking you to move your badge?
- Scanning: Can you tap/swipe/scan without twisting the card or pulling it out from clothing?
- Consistency: Does the badge end up in the same place after you sit, bend, reach, or put on outerwear?
Badge placement basics: visibility, orientation, and scan distance
Most badge placement problems come down to three basics: visibility, orientation, and scan distance. If your ID is covered, turned sideways, or held too far from the reader, your system may not read it reliably—and people may not notice it quickly.
For visible identification, the goal is simple: keep the front of the ID facing outward and upright. A badge that frequently rotates or flips creates friction in day-to-day interactions, especially in busy environments where people don’t have time to wait for you to straighten the card.
Scanning needs vary by organization. Some setups require a quick swipe; others need a barcode or QR code to be seen clearly; and proximity-based systems often read at short range. Your badge placement should match what you do most often during the day: being recognized, being scanned, or both.
- Barcode or QR scanning: Works best when the badge stays flat and unobstructed so the code is easy to aim at a scanner.
- Magnetic stripe swipe: Works best when the card can be pulled in a straight path through a reader without bending or twisting.
- Proximity tap or short-range read: Works best when you can bring the badge close to the reader predictably (often easier with reels or stable clips).
- Everyday movement: Bending and reaching can flip a loose badge; outer layers can cover it; and bag straps or radios can block it.
Pick one consistent location and keep the ID upright and front-facing. Consistency reduces both “I can’t read your badge” moments and scanning retries.
Yes. A badge can be clearly visible to people but still awkward to scan if it’s too high, too low, or blocked by clothing or gear when you approach a reader.
Chest placement: the default for face-to-name recognition
For many workplaces, chest placement is the most natural option because it aligns with where people look during conversation. In patient rooms, classrooms, front desks, and event entrances, an upper-torso badge is usually the quickest way to make your name and photo easy to find.
Chest placement also makes it easier for staff and visitors to confirm they’re speaking to the right person without stepping closer than necessary. If your workplace values clear introductions and frequent interpersonal interaction, chest-level is often the best starting point.
- Aim for upper torso: high enough to be seen, low enough to avoid collar/hair coverage.
- Keep it centered or slightly off-center: choose a spot that doesn’t get blocked by jacket lapels or bag straps.
- Reduce swing: use a stable clip and a holder that keeps the card flat and vertical.
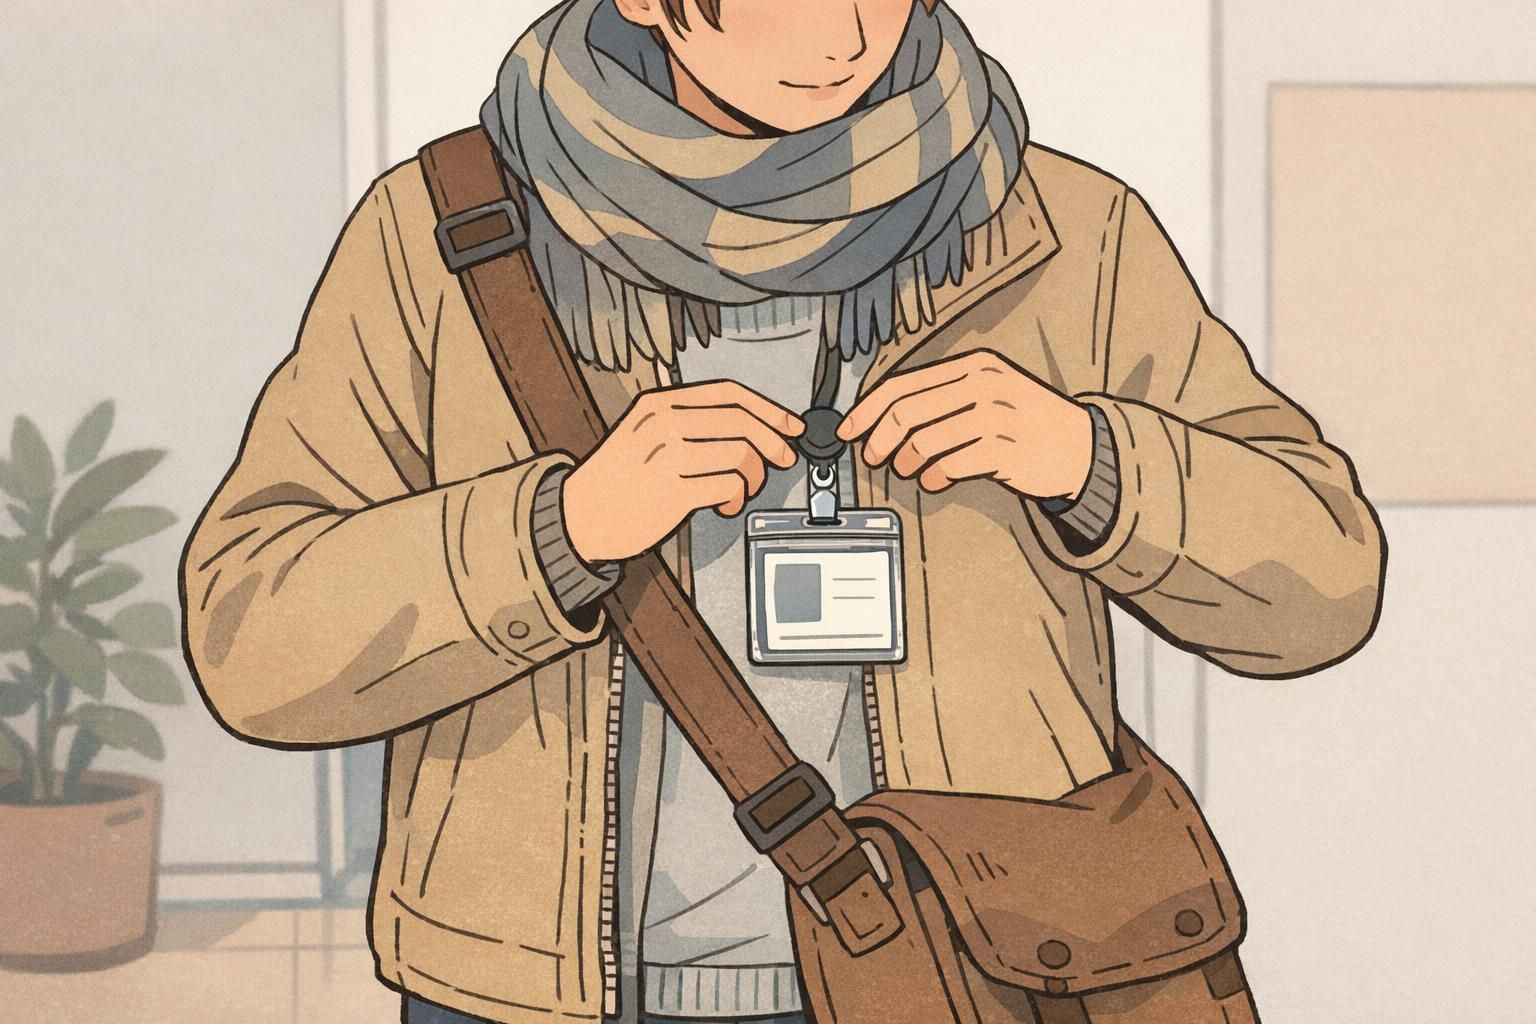
- Check outerwear: when you add a cardigan, jacket, lab coat, or vest, move the badge to the outermost layer so it stays visible.
“The best badge placement is the one that doesn’t require a second introduction. If someone can read it while you’re talking, you’ve done it right.” – Operations Supervisor

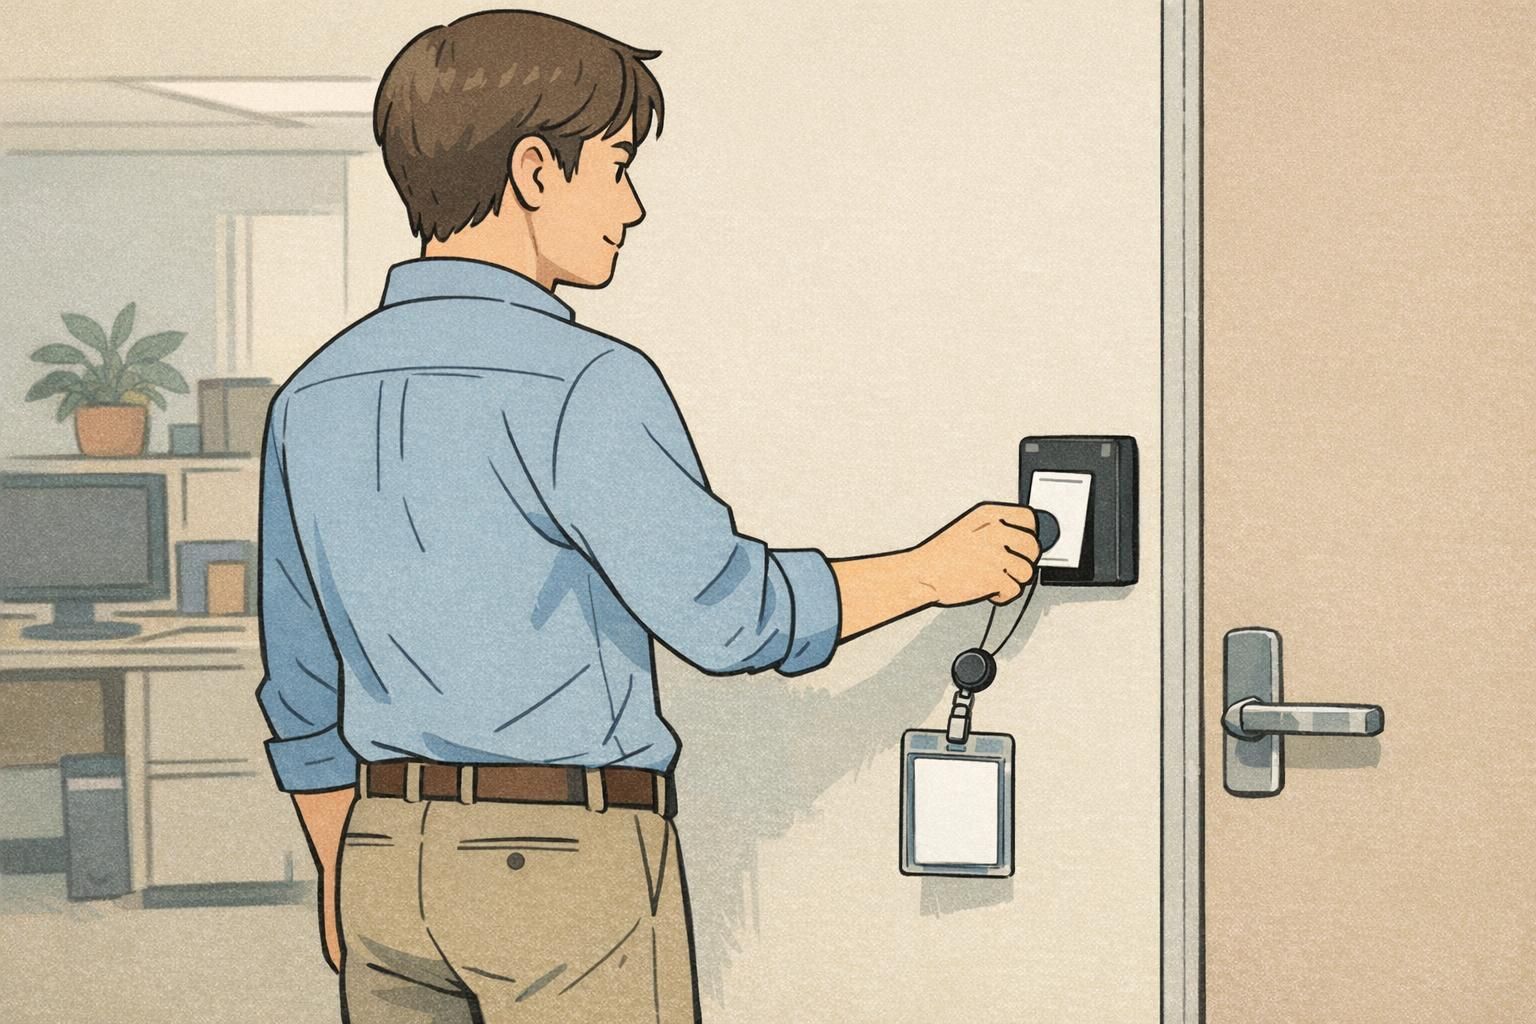
Belt and waist placement: when hands-free access matters
Belt and waist placement can be a strong choice when you scan often and need quick, one-handed access. If your day involves frequent door access or time clocks, having your badge at the belt line may reduce reaching and keep your workflow moving.
The trade-off is visible identification. Badges at the waist are easier to miss at conversational distance, and they’re more likely to rotate inward—especially if clipped to a soft waistband, a loose pocket seam, or clothing that shifts as you walk.
To make waist placement work, prioritize stability and repeatability. The more predictable the badge location and orientation, the fewer “hold on, it flipped” interruptions you’ll have at readers.
- Choose a consistent spot: for example, front-right belt line each day, rather than moving between belt loops.
- Avoid blocking layers: aprons, tool belts, and equipment harnesses can cover a waist badge unexpectedly.
- Keep it outward-facing: use a holder/clip combination that resists twisting when you turn or sit.
- Plan for bending: if you frequently kneel or lift, test whether the badge gets pinned under clothing or gear.
Pocket and clip-on options: convenient, but easy to hide
Pocket placement is popular because it can feel less intrusive—especially for roles that move constantly or work in tight spaces. But pockets also make it easy for an ID to disappear: it can slide down, tilt at an angle, or be partially tucked inside the pocket edge.
If your workplace relies on quick visual confirmation, pocket placement often creates extra friction. You may find yourself pulling the badge up repeatedly for security doors, visitor questions, or supervisor checks.
Pocket solutions tend to work best in low-public-contact environments where scanning is occasional and face-to-name recognition isn’t a constant need. When you do choose pocket placement, the goal is to keep the card high enough to be seen and stable enough not to rotate.
- Clip to a firm pocket edge: soft fabric can droop and angle the badge away from view.
- Keep the card high: avoid letting the holder sit deep in the pocket opening.
- Check visibility in motion: walk, sit, and bend to see if the badge disappears or flips inward.
- Have a “scan plan”: if you regularly use readers, make sure you can bring the badge to the reader without pulling it out.
If you keep getting asked, “Where’s your badge?” pocket placement is usually the reason. It’s comfortable, but it’s the easiest to unintentionally hide.
Role-based recommendations by environment (healthcare, events, offices, schools, warehouses)
The best badge placement depends on what your role needs most: immediate recognition, repeatable scanning, or safe wear around PPE and equipment. Policies also vary across organizations, so treat these as practical starting points and align them with your workplace rules.
A helpful way to decide is to follow your most common “badge moments.” If you’re constantly interacting with the public, prioritize visible identification at conversational distance. If you scan 20 times a day, prioritize fast, predictable access. If you work around moving machinery or safety gear, make sure badge accessories don’t introduce hazards. OSHA has addressed that clothing and accessories should not interfere with workplace safety considerations, which is a useful reminder when balancing visibility with snag risk and PPE needs (source).
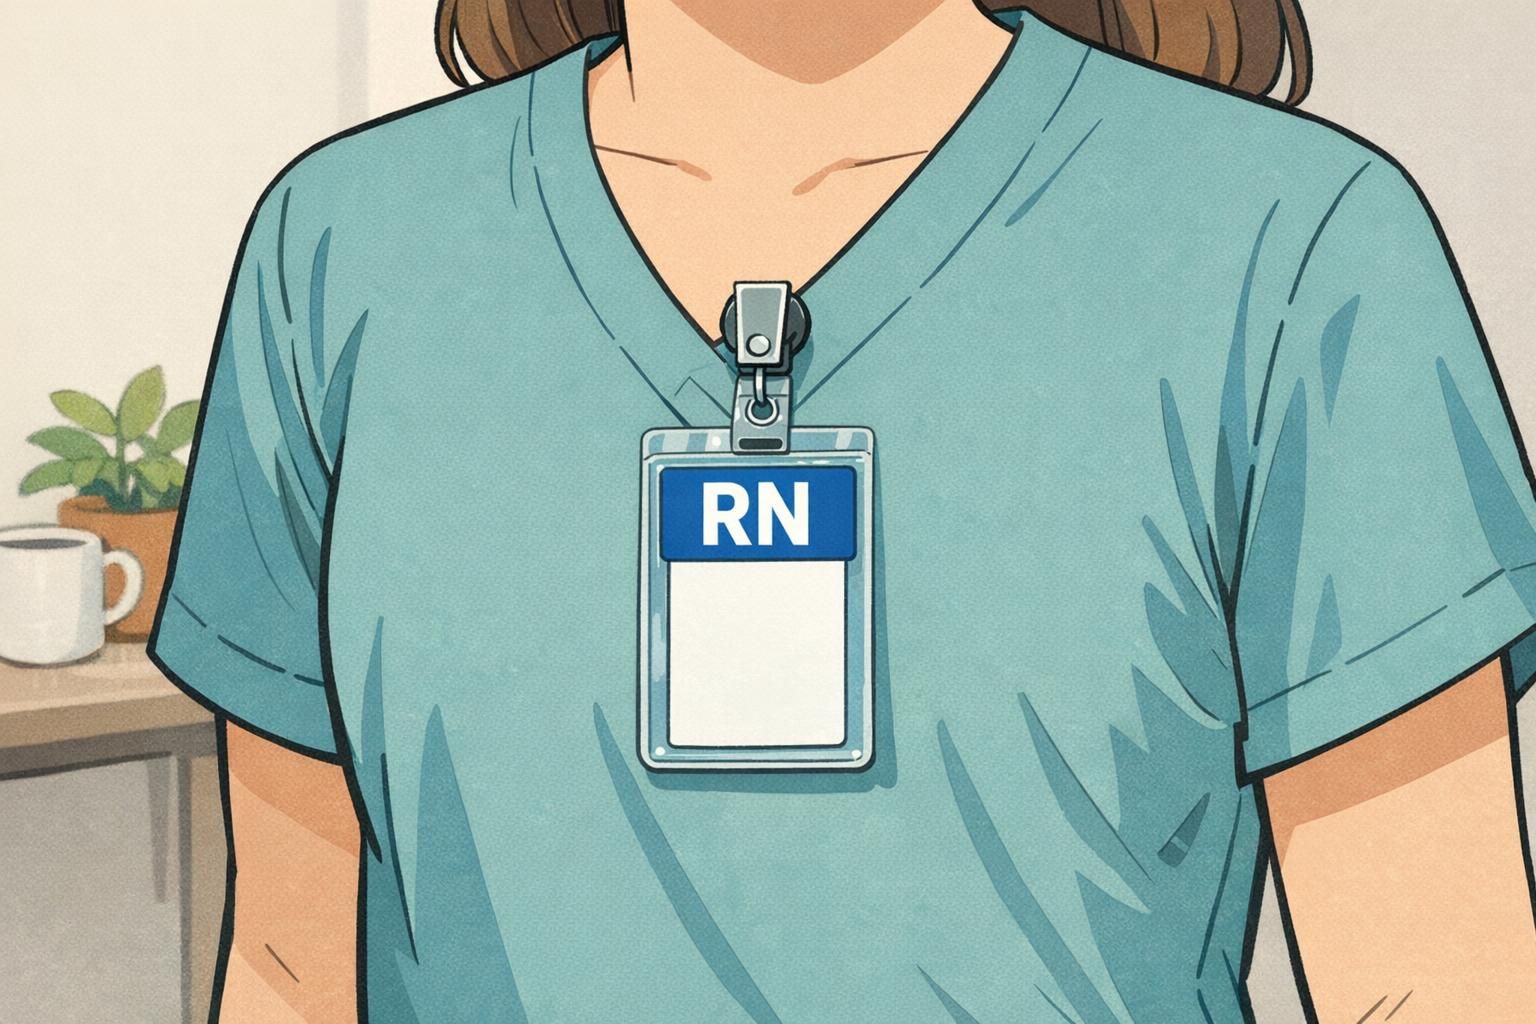
- Healthcare (clinicians, nurses, techs): Chest placement is often strongest for quick recognition in patient-facing settings. Choose a stable holder that stays upright under movement; if PPE or isolation gowns are common, plan how the badge stays visible on the outer layer.
- Healthcare (front desk, admissions): Upper-torso placement supports fast check-in and reduces repeated identity questions. Keep the front clear so names and photos are readable across a counter.
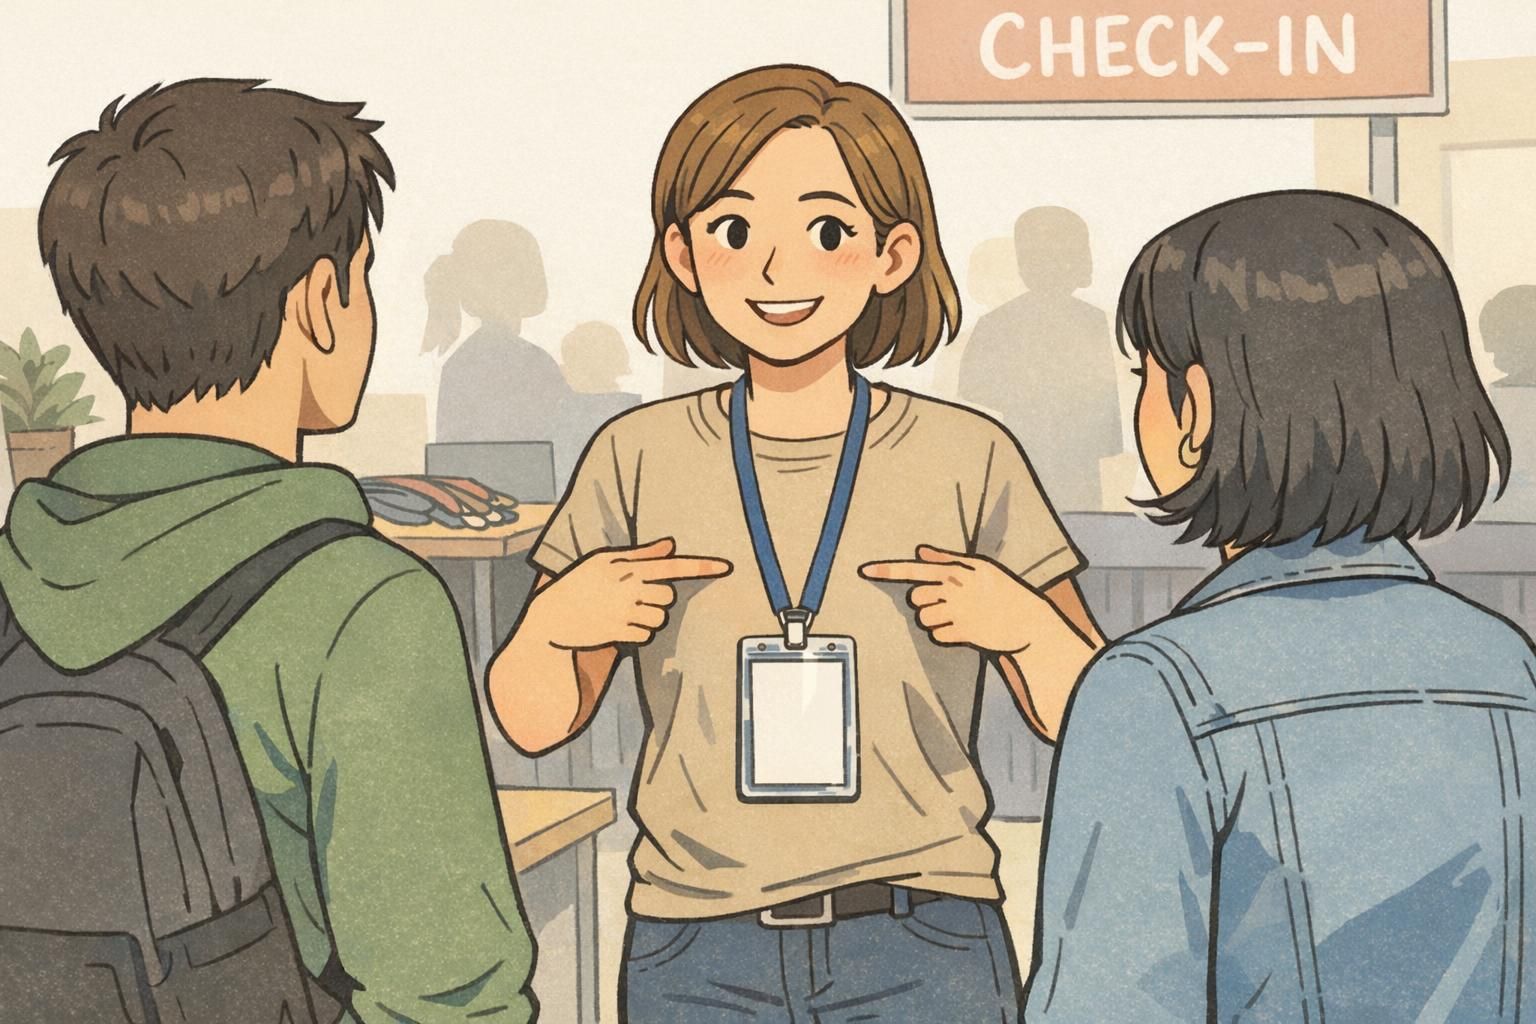
- Events (staff, volunteers, security): High-visibility chest placement or a centered lanyard helps attendees find help quickly. Prioritize a badge that stays front-facing while walking and talking.
- Offices (mixed interaction + access control): Chest placement works well for everyday identification; belt-line with a reel can be efficient if door access is frequent.
- Schools (teachers, administration): Chest-level placement supports quick recognition by students, parents, and visitors. Consider how cardigans, lanyards, and classroom movement affect readability.
- Warehouses/manufacturing: Waist placement can be practical for frequent access control, but snag reduction and stable attachment matter. Avoid placements that interfere with PPE, tools, or equipment harnesses.
Uniform and dress-code pitfalls that block visible identification
Most badge issues aren’t caused by the badge itself—they’re caused by what happens after you clip it on. Outerwear, uniform layers, and everyday accessories can block or distort the card, making it harder to read and harder to scan.
A good habit is to do a quick “badge check” when you start your shift and whenever you add a layer (jacket, vest, lab coat) or gear (bag, radio, apron). Small adjustments can dramatically improve badge placement without changing your uniform.
- Wearing the badge under outer layers: cardigans, hoodies, lab coats, and jackets can hide identification unless the badge moves to the outermost layer.
- Hair, scarf, or lanyard overlap: long hair or scarves can cover names and photos, especially on chest placement.
- Bag straps and radio straps: a strap across the chest can block the ID and cause the holder to tilt.
- Unstable fabric: clipping to thin fabric that droops can turn a readable badge into a downward-facing one.
- Orientation problems: upside-down cards, flipped holders, and constant rotation reduce both readability and scan success.
- Worn or overly glossy sleeves/holders: glare and scuffs can make photos and codes harder to see in bright areas.
If your badge keeps flipping or vanishing, don’t assume you chose the wrong location. Often, the fix is moving the clip point to firmer fabric or changing how outerwear and straps sit over the badge.
Accessories that improve stability: holders, clips, and badge buddies
The easiest way to improve badge placement is to improve stability. If your ID stays flat and upright, both scanning and visible identification get easier—without you having to think about it throughout the day.
Accessories can also reduce wear and tear. A clear holder helps protect the card surface and can prevent edges from bending. The right clip can keep your badge from twisting. And for busy environments where role clarity matters, a badge buddy can add quick context at a glance.
- Rigid or semi-rigid holders: help the badge stay flat and front-facing, especially useful for chest placement and for barcode/QR visibility.
- Stronger clips: reduce droop on softer uniforms and help the ID maintain an upright orientation.
- Retractable reels: useful when you need frequent scans without removing the badge; they can support quick access when the badge is worn at the waist or chest.
- Badge buddies: add role clarity (for example, department or credential) behind the ID to help others understand who to approach in fast-moving settings.
“When badges are stable and readable, you reduce small daily frictions—less re-scanning at doors and fewer interruptions just to confirm who someone is.” – Facilities Coordinator
Choosing the right BadgeZoo products for your placement strategy
Once you’ve decided where to wear ID badge, choosing the right format and accessories becomes much simpler. Start by identifying your primary goal: quick recognition, reliable scans, or fast event flow. Then match the badge type and attachment method to that goal.
If your priority is everyday workplace identification, a durable plastic ID card in a clear holder is a common baseline for consistent badge placement. If you’re supporting access control, consider whether your system requires special card features so scanning works smoothly. (For organizations that need it, BadgeZoo supports RFID, NFC, and magnetic stripe encoding.)
- Offices and schools (daily recognition + occasional scanning): ID card + clear vertical holder, worn on the upper torso for readable names/photos.
- Healthcare and high-traffic public-facing roles (fast role clarity): ID card + stable chest clip; add a badge buddy when role identification needs to be instant.
- Warehouses and operations (frequent access points): ID card + stable waist attachment; consider a retractable reel when scans are frequent and hands-free access matters.
- Events (check-in, staff roaming): event badge in a clear holder on a lanyard that stays centered and front-facing to reduce confusion in crowds.
- Back-of-house roles (lower public contact): pocket-edge clip can work if the badge remains visible and reachable when scanning is needed.
If you’re setting up or refreshing your identification system, custom ID badges are a practical foundation you can pair with the placement approach that best fits your environment.
Use ID cards for ongoing workplace identification and access needs, name tags for simple face-to-name recognition without scanning, and event badges for short-term, high-visibility identification during conferences or check-ins.
That’s common. Keep the organization’s policy consistent on visible identification, then allow role-appropriate options (for example, chest placement for public-facing staff and waist placement with reels for frequent access scanning), as long as safety and uniform requirements are met.
A strong placement strategy is simple: pick the location that stays visible and scan-ready during real work, then use accessories that keep the ID upright, stable, and consistent day to day.