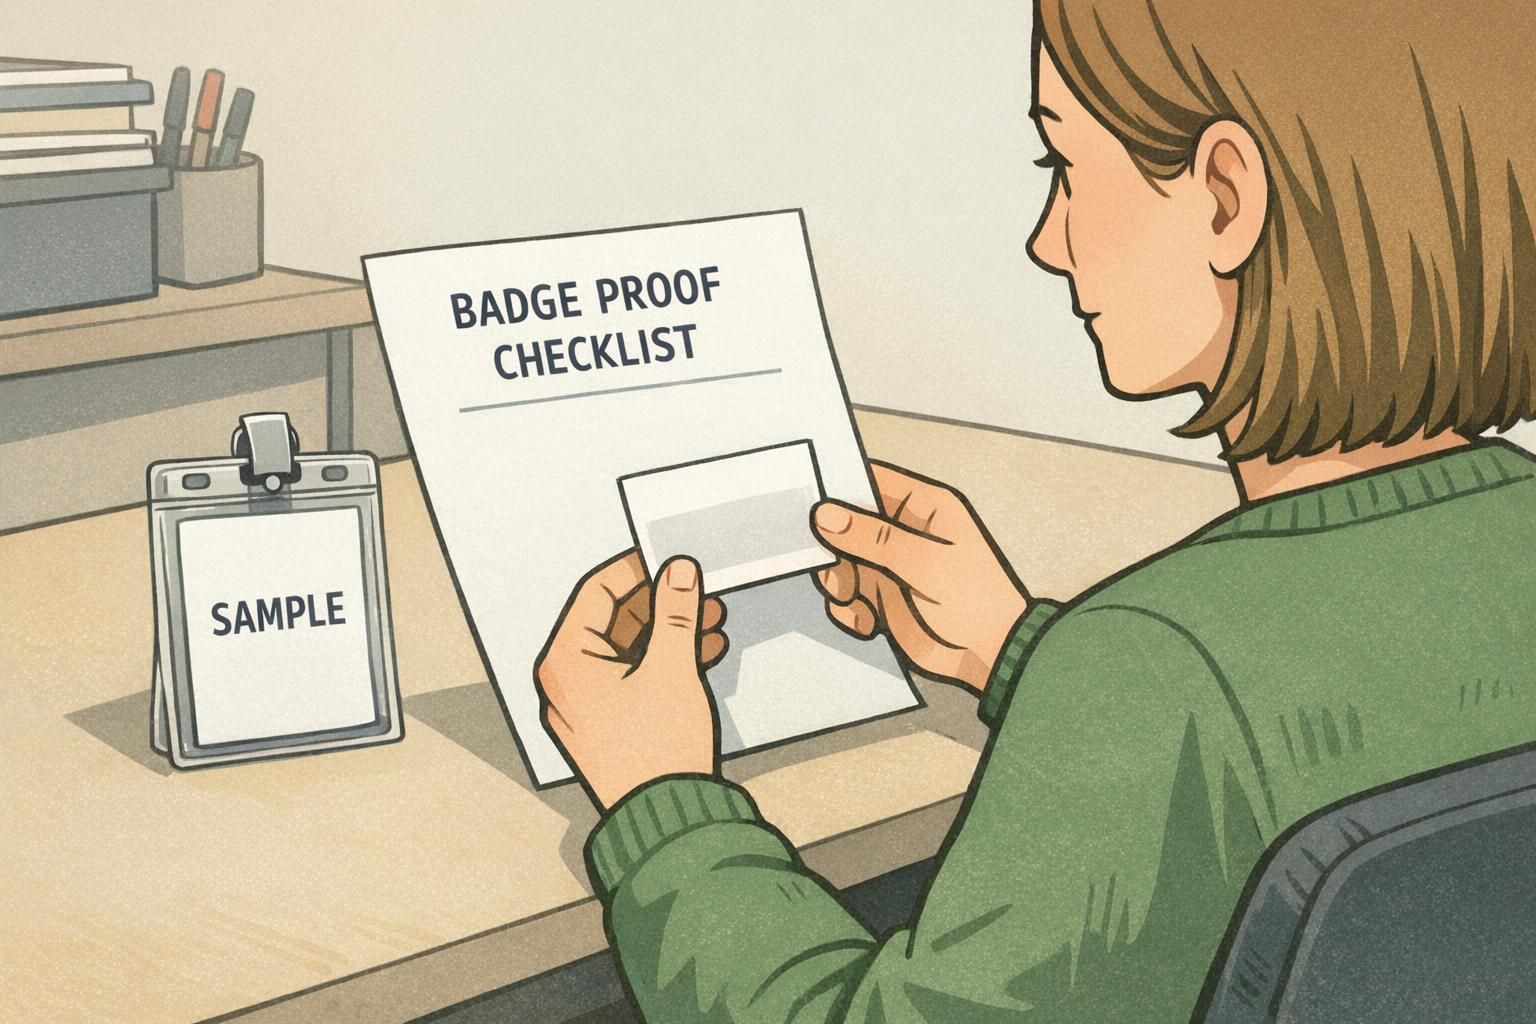
Badge Proof Checklist: Proof Before You Print for Bulk Orders
Why a badge proof checklist matters before bulk production
A badge proof checklist sounds simple, but it’s one of the easiest ways to protect your budget, timeline, and sanity—especially when you’re approving more than a handful of items. When you’re ordering name tags, ID cards, event badges, or badge buddies in volume, one missed typo or one misaligned template doesn’t stay small. It turns into hundreds of pieces that can’t be used, awkward on-site corrections, and a reprint you didn’t plan for.
The biggest advantage of using a checklist is that it makes approvals repeatable. Instead of relying on memory (“Did we check the roster?” “Did anyone confirm the holder type?”), you build a consistent pre-flight workflow that anyone on your team can follow. That consistency is what helps you avoid printing mistakes when projects move fast or multiple people are involved.
In bulk production, errors multiply. A checklist turns “looks good” into a clear, documented approval that’s far less likely to fail at print time.
- Catch typos and data issues before they’re locked into production
- Prevent “approved” artwork that doesn’t match the final size, holder, or orientation
- Reduce re-dos, delays, and last-minute event or onboarding stress
- Make handoffs easier when multiple reviewers need to sign off
Step 1: Confirm your order specs (before you look at the design)
Before anyone zooms in on fonts or logo placement, start with a simple question: what exactly are you printing? Specs are the foundation. If specs change after design approval, you can end up with a layout that technically looks right—but doesn’t fit the actual product.
For a bulk badge order, confirm the product type (ID card, name tag, event badge, badge buddy), the final size, and the orientation (portrait vs. landscape). Then verify the physical details that affect usable space—like the holder style, slot holes, or whether a clip or lanyard will cover part of the design.
- Product type and size (and whether different groups need different products)
- Orientation (portrait/landscape) and whether the template matches
- Single- or double-sided printing requirements
- Slot holes or other cut/attachment constraints that affect safe areas
- Quantity and the number of extras for last-minute adds or replacements
- Deadline, shipping address, and who is receiving the boxes
Lock specs first. It’s the fastest way to prevent approving artwork that can’t be produced as intended.
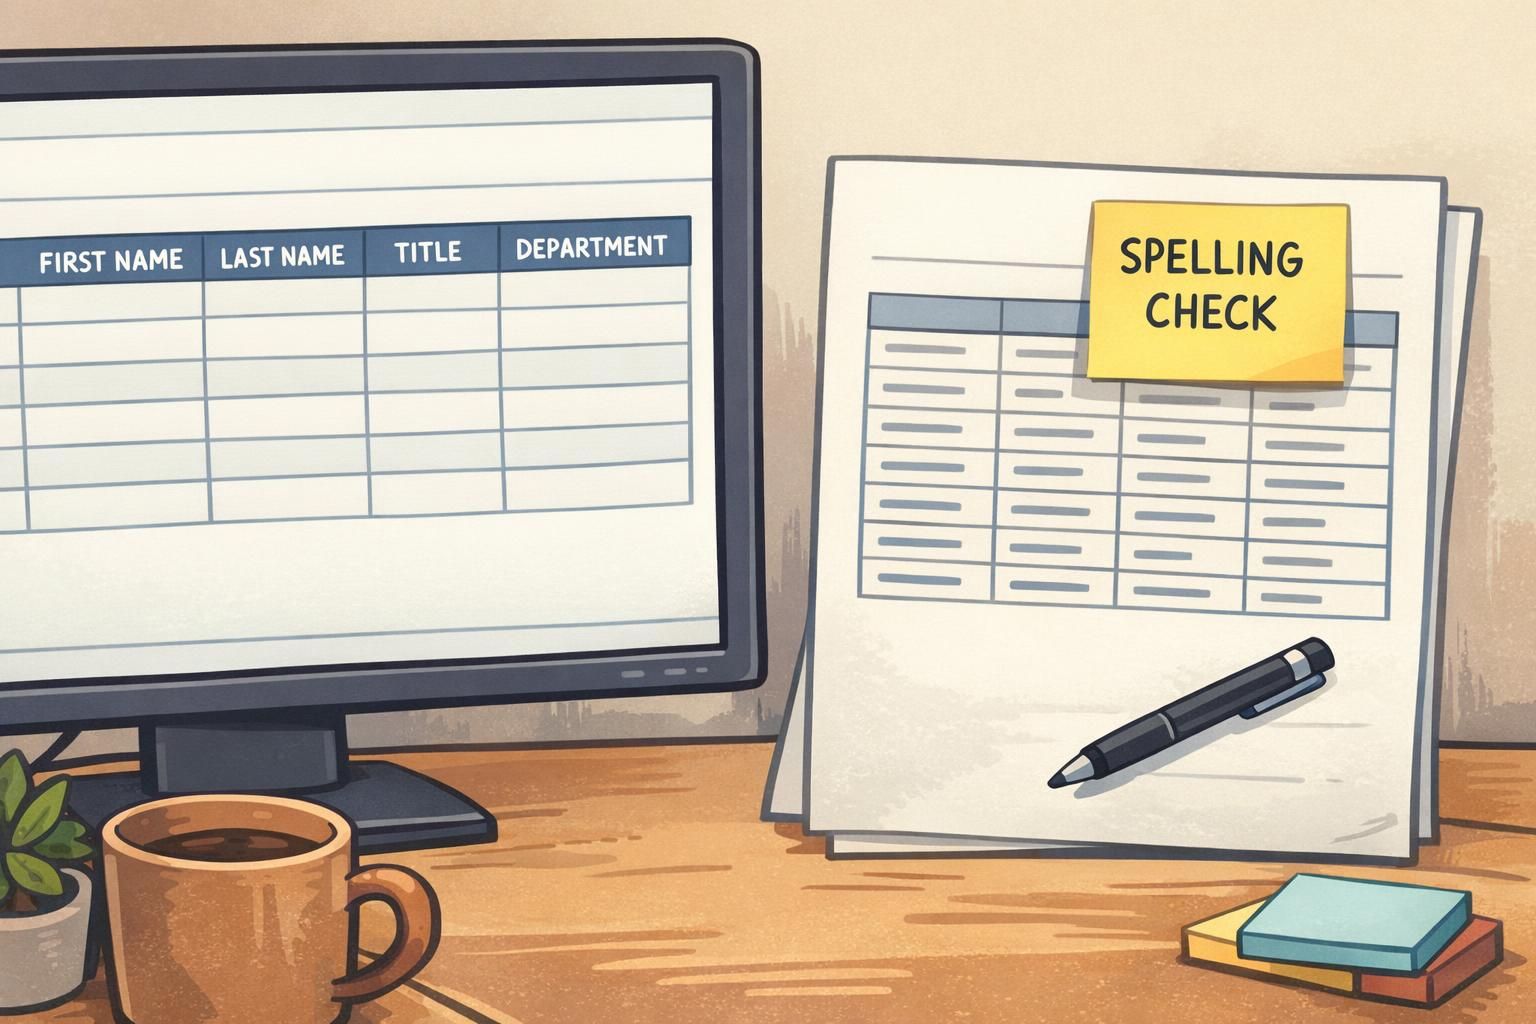
Step 2: Data and spelling verification for a bulk badge order
In most real-world projects, the roster is the risk. Design mistakes happen, but data mistakes are more common—and they’re harder to fix once everything is printed. Treat your spreadsheet or list as its own proof step, separate from design review.
Start by identifying the “source of truth.” That might be HR records, event registration, credentialing, or a department lead’s final attendee list. Then verify every field you plan to print: first and last names, preferred names, titles, credentials, departments, pronouns, and any ID numbers. This is where small inconsistencies can create big problems—especially when you have duplicates (two people named “Alex Kim”) or roles that look similar at a glance.
Standardization matters. Decide your rules before you proof: capitalization (“McDonald” vs. “Mcdonald”), punctuation, hyphenated names, and how credentials should appear. Pay special attention to accent marks and special characters; they can be lost or changed when data is copied between systems.
- Confirm the source of truth (who owns the final list)
- Run a two-person review for names and titles (especially VIPs, clinicians, speakers)
- Check duplicates and near-duplicates (common names, similar departments)
- Confirm credentials formatting and any required abbreviations
- Verify special characters, accent marks, and hyphenation survive export/import
- Lock a change process: where late updates go, and who approves them
“We treat the roster like it’s a separate deliverable. If the list isn’t approved, the design isn’t approved—because the badges can’t be right without both.” – Operations Coordinator
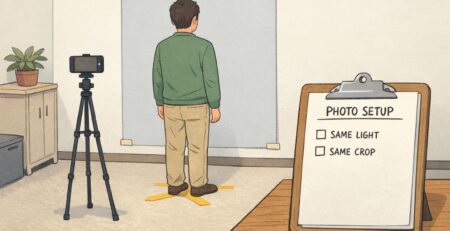
Step 3: Layout proofing—what to check on every badge and name tag
Once your specs and data are under control, layout proofing becomes straightforward: you’re checking that the right information is easy to read, consistently placed, and safe from trim/slot/holder interference.
Prioritize what people need to see at a typical viewing distance. In many workplaces and events, the first name should be prominent, with role or department clear enough to reduce confusion. Organization names and logos matter too—but they shouldn’t crowd out readability.
If you’re using photos, check centering and cropping. A photo that looks fine on-screen can feel awkward on a small format if the crop cuts off hair, chin, or shifts the face off-center. Also confirm that nothing important is too close to trim edges or slot areas, where cutting and holders can hide details.
- Readability: key info legible at a glance (first name, role, department)
- Hierarchy: the most important information is visually dominant
- Alignment and spacing: consistent margins and element placement
- Logo placement: consistent location and size across the whole set
- Photo checks: centered, flattering crop, consistent scale across people
- Safe zones: nothing critical near trim, slot holes, or holder edges
If you use color-coding (roles, access levels, attendee types, days of a multi-day event), proof it like a system—not like a single badge. Colors should be consistent, easy to distinguish from each other, and applied the same way across all templates and days.
Layout proofing isn’t about making it “pretty.” It’s about making it reliably readable and consistently produced across the full set.
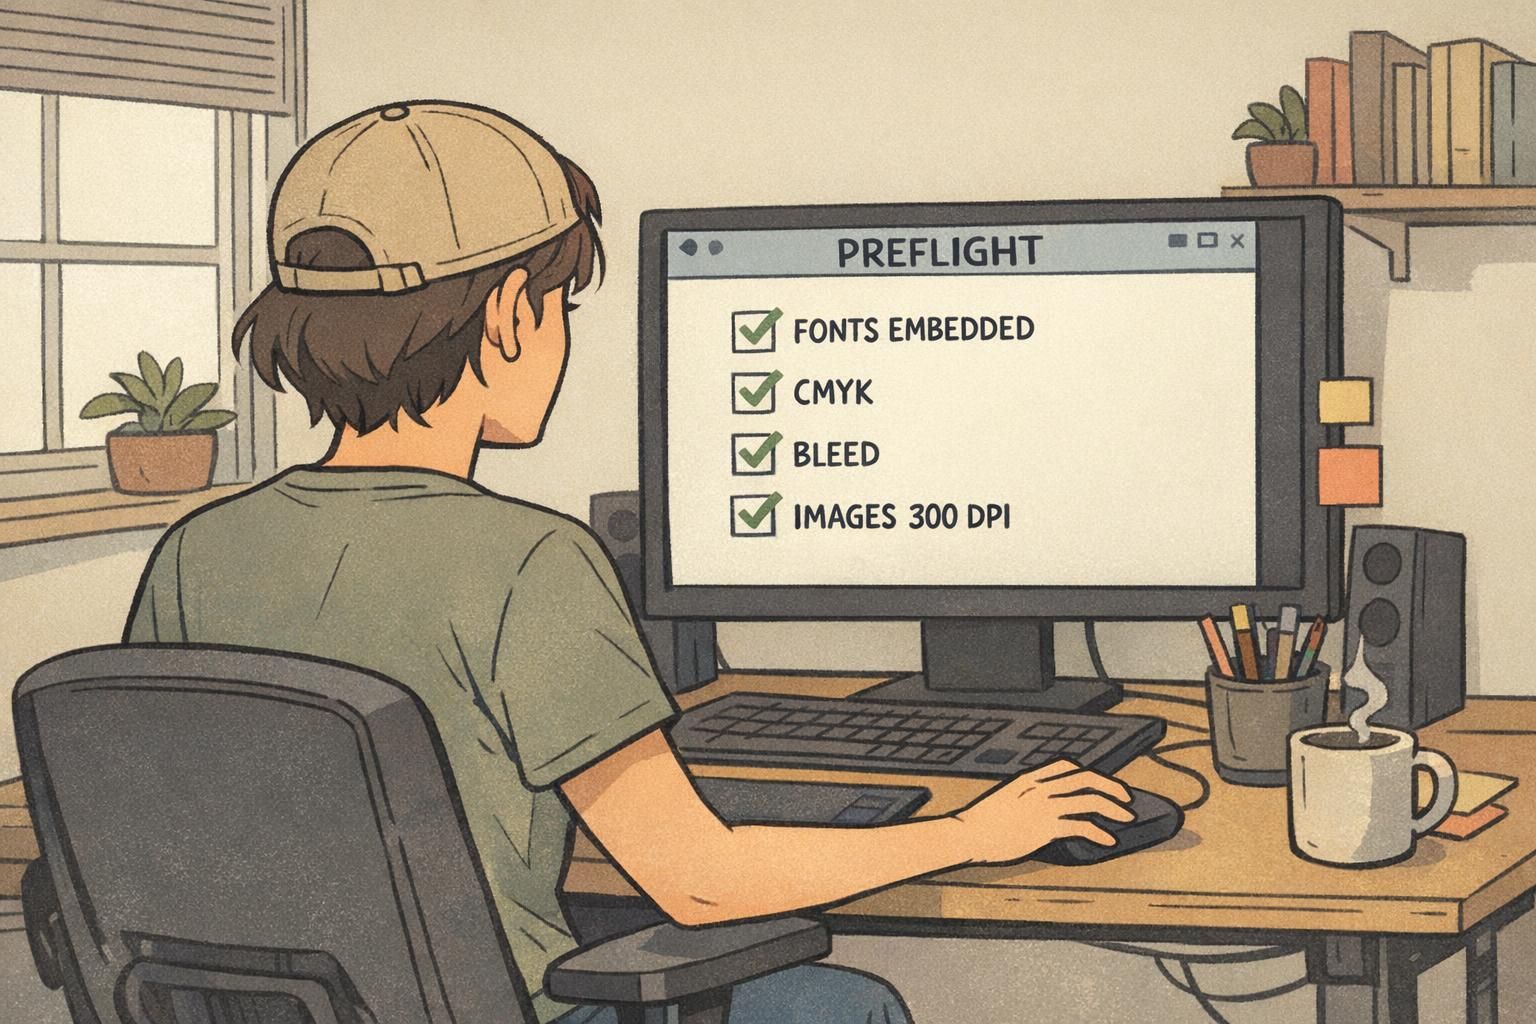
Step 4: Preflight the print file (format, fonts, images, color, bleed)
Preflighting is the “quiet” step that prevents the loudest problems later. Even a perfectly reviewed design can fail if the print file is missing fonts, images are too low-resolution, color settings are off, or bleed/trim isn’t correctly set. In high-volume printing, systematic pre-production checks are widely recognized as a practical way to reduce costly errors and rework (source).
Think of preflight as checking the file’s ability to print correctly—not whether you like the design. The goal is compatibility and predictability: the printer should see exactly what you intended, with no substitutions or surprises.
- Export format: confirm a compatible print PDF (often PDF/X-1a or PDF/X-4)
- Fonts: embedded and not substituted; avoid missing font warnings
- Images: sufficient resolution (commonly 300 DPI for print), no pixelation
- Color: appropriate print workflow settings (typically CMYK rather than RGB)
- Bleed/trim: confirm bleed and safe zones (often 3–5 mm bleed)
- Crop marks: present if needed, and not intruding into safe areas
- Spot colors/overprint: verify they behave as expected on proof
If your team is splitting responsibilities, make one person the owner of preflight. This step is where “it looked fine on my screen” gets resolved before production.
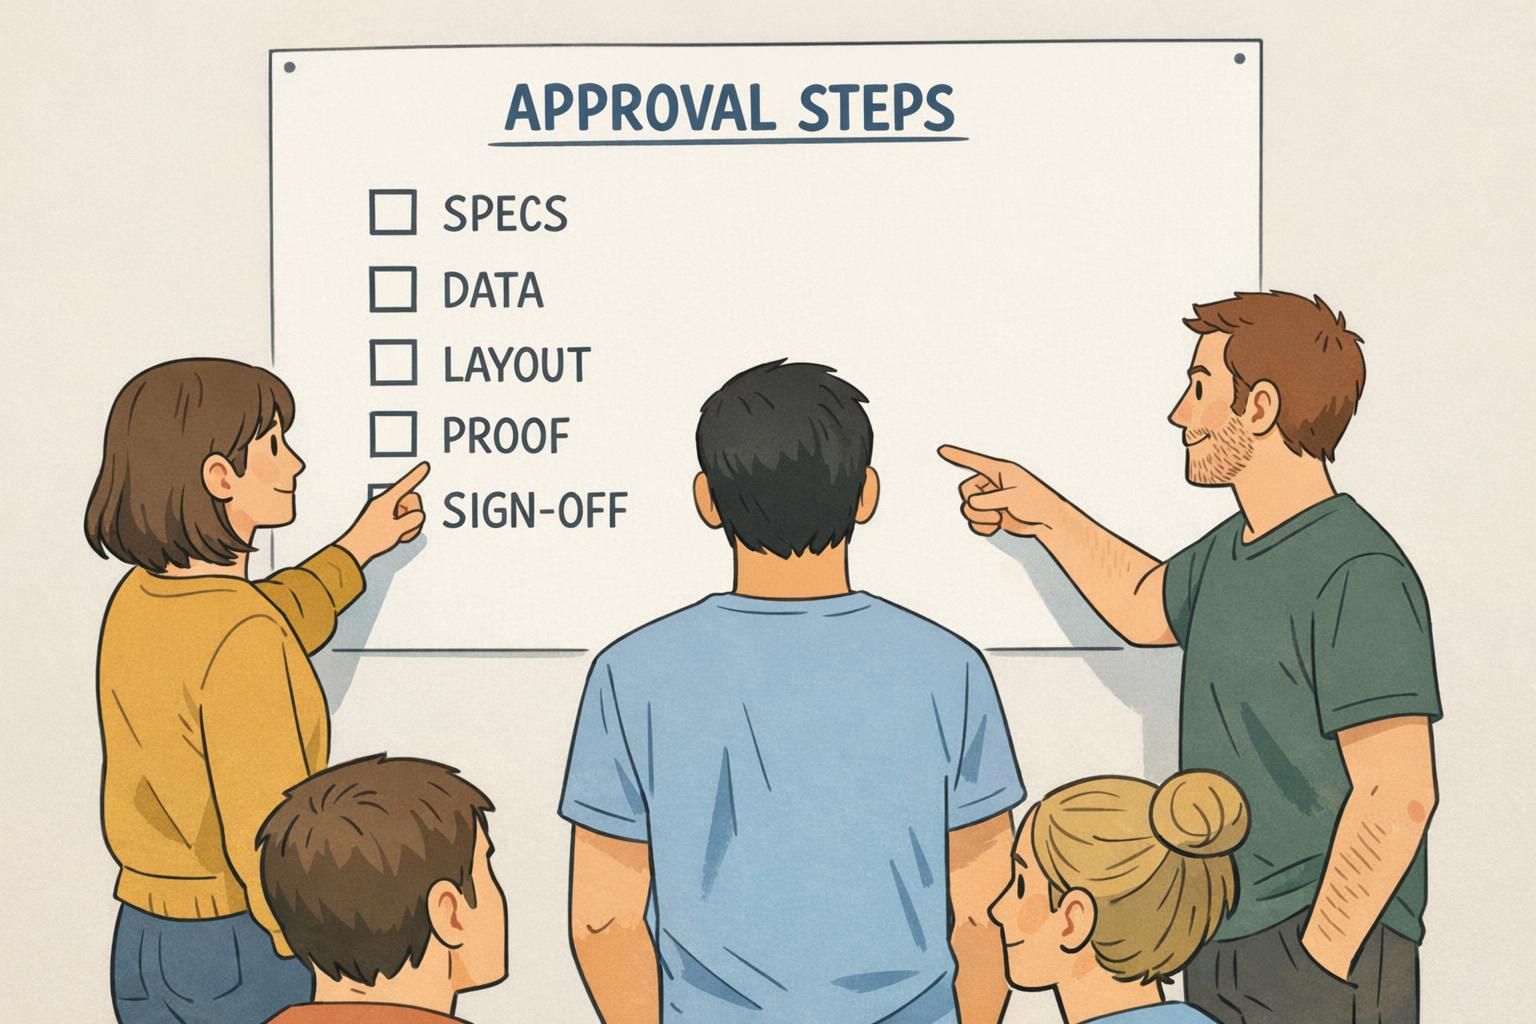
Step 5: Proof types, approvals, and sign-off—make it unmissable
Most bulk issues aren’t caused by a lack of proofs—they’re caused by unclear approvals. If “approved” can mean three different things to three different people, you’re likely to print the wrong version or miss a critical correction.
Define what approval means for your project. Who signs off on specs? Who owns the roster? Who owns layout? And who gives the final go-ahead to print? Then make the final version unmissable by tying approval to a file name and version.
- Set approvers by area: specs, data, layout, final print file
- Use an approval log: date, approver name, exact file name/version
- Require re-approval if roster changes after sign-off
- Review a final proof (PDF proof or physical sample) as the last checkpoint
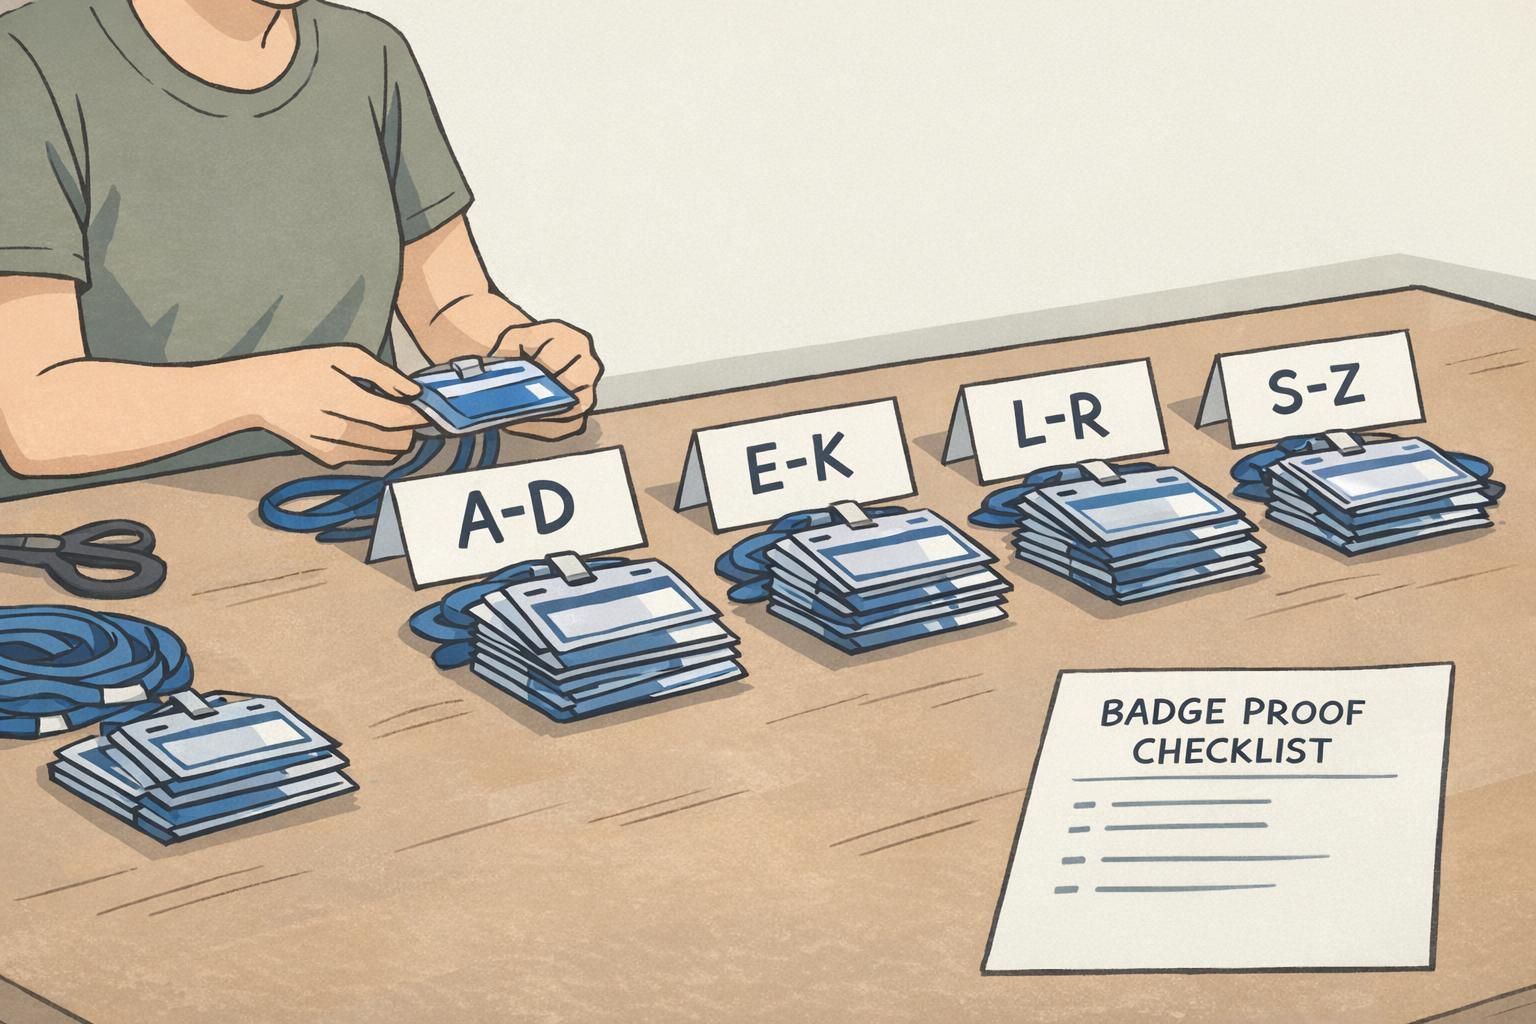
- Confirm packaging needs for distribution (sorted by department, alphabetized, or check-in batches)
Any change to names/titles/IDs, badge size or orientation, holder/slot constraints, color-coding rules, or the final print-ready PDF version should trigger re-approval, because each can affect usability or production accuracy.
Keep one shared “FINAL-APPROVED” folder, use versioned file names, and record sign-off against the exact file name. Avoid emailing multiple competing attachments as the project nears production.
“If it isn’t tied to a version number, it isn’t really approved. The log saves us from printing yesterday’s file.” – Event Lead
Step 6: Test prints and a quick “wear test” for real-world readability
Screens hide problems. A short test print—sometimes even a single sheet—can expose issues that only show up in physical form: low contrast, muddy colors, photos that print darker than expected, or text that’s smaller than it felt on a monitor.
After the test print, do a quick wear test. Put the badge in the actual holder. Attach it using the intended clip or lanyard. Then check whether the holder edge, slot, or clip covers key details like first name, role, or a QR code. Look at it under typical indoor lighting and from normal conversation distance.
- Print a small subset (or one of each role/type) to confirm real output
- Check contrast: dark text on light background is usually easier to read
- Confirm photo brightness and cropping in physical size
- Insert into the real holder and verify nothing is covered
- Check glare under indoor lighting and typical angles
- Scan barcodes/QR codes if included
Common high-cost mistakes (and the quick checks that prevent them)
Most expensive failures are repeat offenders: last-minute roster swaps, inconsistent templates, and files that were approved for one format but printed on another. The good news is that these mistakes are predictable—which means they’re preventable.
When you’re trying to avoid printing mistakes, focus on the points where teams most often lose control: data handoffs, version changes, and template mismatches. Then add quick checks that take minutes, not hours.
- Mistake: Roster replaced at the last minute without review → Quick check: require a “final roster” timestamp and a two-person spot-check of changes
- Mistake: Multiple templates floating around → Quick check: one master template and one final-export folder
- Mistake: Approved design doesn’t match product size/holder → Quick check: re-confirm specs before final export
- Mistake: Tiny type or low contrast → Quick check: print a test and read it at arm’s length
- Mistake: Color-coding inconsistently applied → Quick check: compare a full set of roles/types side-by-side
- Mistake: Wrong counts, missing extras, or duplicates → Quick check: sort and count from the roster, and flag identical names
If your process feels “too simple,” that’s usually a sign it will actually get used. A short checklist that happens every time beats a perfect checklist that never happens.
Putting it all together: a reusable pre-flight workflow for your next run
The goal isn’t to create more bureaucracy—it’s to create a workflow you can repeat confidently. When your checklist covers specs, data, layout, file preflight, proof/sign-off, and test prints, you reduce the chance of surprises at delivery and make bulk runs far more predictable.
For your next project, turn this into a one-page document and assign a clear owner to each step. Even if one person does multiple steps, ownership prevents assumptions. Keep the final approved files in a single shared location, with versioned names, so the print-ready file is always easy to identify.
- Specs owner: confirms product, size, orientation, holder/slot constraints, quantity, deadline
- Data owner: verifies roster fields, formatting rules, duplicates, and late-change process
- Layout owner: checks readability, hierarchy, alignment, logos/photos, safe zones, color-coding consistency
- Preflight owner: confirms export settings, fonts, images, color mode, bleed/trim
- Approver: signs off on the exact final version and records it in the approval log
- Test-print checker: validates physical readability, holder coverage, glare, and scan-ability
When you’re ready to produce, choose materials and formats that fit your environment—daily workplace wear, multi-day events, or short-term visitors. If you’re ordering for a mixed group or anticipating last-minute additions, it can also help to work with a provider that has no minimum order quantity so small add-on runs don’t force you into unnecessary extras.
If you’re building a repeatable program for teams and events, you can review options like custom ID badges for bulk teams and events and align your templates, holders, and approval steps around a consistent standard.
Save your checklist as a template. Each time you reuse it, approvals get faster—and your risk of reprints gets smaller.