Lost ID Badge Protocol: A Step-by-Step Response Checklist
Why a Lost ID Badge Matters (and Why Speed Beats Blame)
A lost ID badge is rarely about carelessness—and it’s almost never solved by finger-pointing. It’s an operational issue with two immediate impacts: security (who can access spaces and systems) and continuity (how quickly someone can do their job again).
The best workplaces treat missing credentials the same way they treat a misplaced key or forgotten password: respond quickly, document cleanly, and restore access through a consistent process. When everyone knows what happens next, employees report issues sooner, security teams move faster, and access rules stay clear and fair.
Goal of this protocol: protect people, spaces, and information while getting the employee back to work quickly—without turning the situation into a personal judgment.
- Respond fast to reduce the chance of unauthorized use
- Use one standard reporting path so nothing gets missed
- Deactivate credentials promptly once verified
- Issue temporary identification with clear boundaries
- Complete badge replacement using a predictable workflow
- Handle “found badges” consistently to avoid accidental reactivation
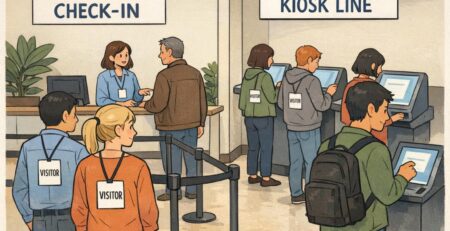
Step 1: Report Missing Badge Immediately Using One Clear Channel
The most important first move is simple: report missing badge as soon as it’s noticed. The longer the delay, the harder it is to separate “misplaced” from “potentially in someone else’s hands,” and the more likely the employee experiences avoidable downtime.
Organizations handle this best when there is one clear channel—one place employees are trained to go every time. That might be a security desk, a manager, HR, reception, or a dedicated ticket form. The key is consistency: a single “who to contact” path prevents hesitation, mixed messages, and time lost asking around.
- What to include in the report:
- Employee name and department (or role)
- When you noticed the badge was missing
- Last known location (parking lot, break room, offsite client visit, etc.)
- Whether the badge was likely lost onsite or offsite
- Whether the badge holder/lanyard is also missing
- Any immediate concerns (e.g., you saw it fall, you left it at a venue, etc.)
A quick report isn’t about getting someone in trouble. It’s about making sure the right people can take the right actions—fast—so access stays controlled and work can continue.

Step 2: Verify Identity and Document the Incident (Quick, Respectful Checks)
Once the report is received, the next step is a quick identity verification so the organization can safely take action. This should feel routine and respectful—more like confirming a reservation than conducting an interrogation.
Verification methods vary by workplace, but the best options are the ones that are consistent and easy to repeat. Common examples include verifying against a photo on file, confirming through HR records, or manager verification when appropriate.
- Document the essentials for auditing and clarity:
- Employee name (and employee ID if your organization uses one)
- Date/time reported missing
- Who received the report (security, HR, manager, etc.)
- Badge identifier (badge number) if known
- Where/when last seen (as reported)
- Immediate actions taken (temporary ID issued, credentials deactivated, notifications sent)
Documentation prevents confusion later—especially if the badge is found, turned in by someone else, or referenced during a security review. It also helps teams apply the same policy across departments.
“A calm, consistent check protects everyone. When the process is predictable, employees report sooner and we resolve access faster.” – Facilities Coordinator
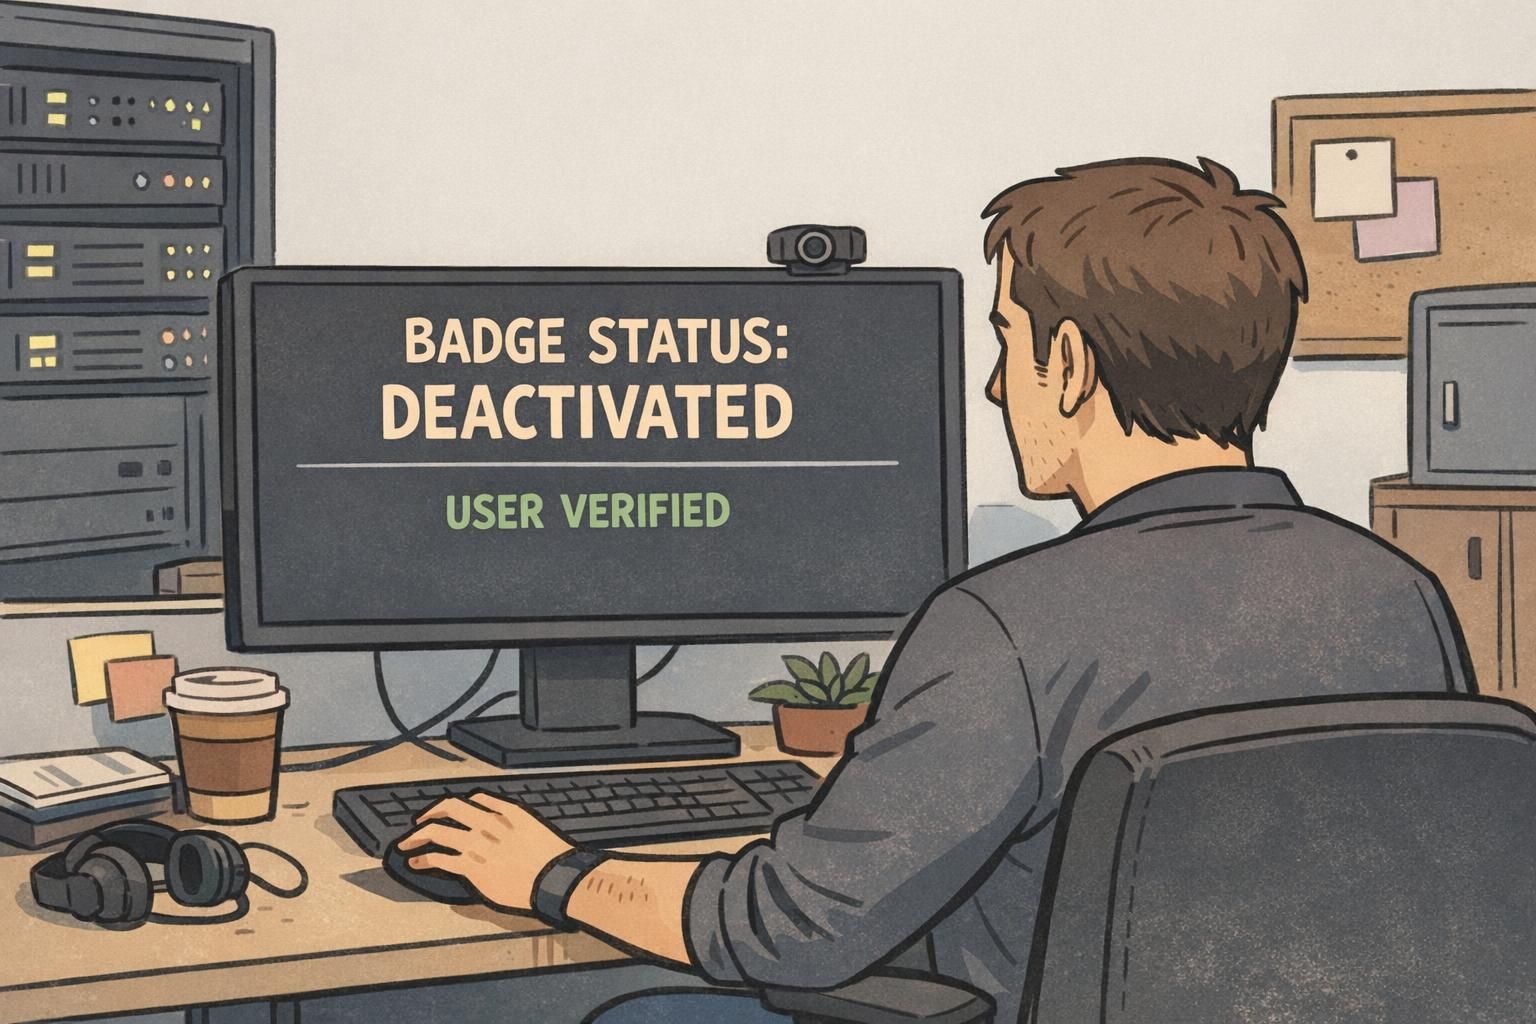
Step 3: Deactivate Access Credentials and Notify the Right Teams
After the report is confirmed, deactivate the badge in your access control system as soon as your process allows. This is the practical step that reduces risk: a missing credential can’t be used to enter doors, access restricted areas, or trigger badge-based workflows if it’s no longer active.
Access control systems are a standard part of workplace security and credential management, and promptly managing credentials is a widely recognized best practice (source). The goal isn’t alarm—it’s simply good housekeeping for controlled access.
Also consider connected tools. In some workplaces, the badge does more than open doors. If the badge is tied to timekeeping, printing, device logins, or other systems, disable those credentials too so there isn’t a “back door” through a non-physical workflow.
- Notify the right teams (as appropriate to your environment):
- Building security (for awareness and any watchlist needs)
- Reception/front desk (to validate temporary credentials and support entry)
- IT (if badges integrate with systems, printing, or workstation access)
- Facilities (if special areas or schedules are impacted)
Consistency matters: deactivation and notifications should happen the same way every time, so no one has to guess what’s been done or who has been informed.
Internal notification template (copy/paste): Subject: Missing Badge Reported – Action Taken Employee: [Name, Department] Badge ID (if known): [Number] Reported: [Date/Time] Last known location: [Onsite/Offsite + details] Actions: Badge deactivated / Temporary ID [issued/not issued] Point of contact: [Security/HR name + extension] Notes: [Any relevant operational details]
Step 4: Issue a Temporary ID and Define Clear Access Boundaries
With the missing badge reported and credentials controlled, the employee still needs a way to work. A temporary ID bridges that gap—without blurring identification standards.
Temporary credentials should be obvious at a glance, have a clear expiration, and be worn consistently (lanyard, clip, or holder—whatever your workplace uses). When temporary IDs are visually distinct, staff can quickly recognize them and respond appropriately, whether that means allowing entry to standard areas or confirming an escort requirement.
- Temporary ID best practices:
- Label it clearly as temporary (distinct design or color-coding)
- Set an expiration (end of day, 72 hours, or until replacement is issued)
- Define permitted areas (and any restricted areas)
- Clarify whether the employee needs an escort for specific zones
- Require visible wear in the same location as regular badges
A temporary ID keeps operations moving while protecting the workplace identification system from “exceptions” that become confusing over time.

Step 5: Badge Replacement Workflow (Request, Approval, and Production)
Once the immediate situation is stable, move into a clear badge replacement workflow. Employees should know exactly how badge replacement is requested, who approves it (if approvals are required), and how long it typically takes.
A straightforward workflow reduces back-and-forth and prevents design drift. Replacement badges should match your organization’s standards so supervisors, security staff, and coworkers can recognize valid identification quickly.
- A simple badge replacement workflow:
- Submit request (ticket, HR form, or security desk intake)
- Confirm identity and employment status (using your standard method)
- Approval step (only if your policy requires it)
- Photo verification (confirm current photo on file or retake if needed)
- Produce and issue replacement (new badge number if your system requires it)
- Collect temporary ID (or set it to expire automatically)
Depending on your policy, the replacement may involve changes such as a new badge number, an updated photo, or an updated department/role label. Some organizations also apply a replacement fee; if yours does, it should be communicated neutrally and consistently so it’s understood as policy—not punishment.
If you’re trying to make replacement faster and more consistent, having durable, standardized card designs and print-ready templates helps reduce errors. Many teams keep a repeatable badge layout and reissue from the same approved template each time. For organizations that need quick turnaround, BadgeZoo’s

Step 6: If the Missing Badge Is Found: Reissue or Destroy, Don’t “Reactivate by Habit”
Found badges are common—someone turns it in, it shows up in a coat pocket, or it’s discovered under a car seat. But once a badge has been reported missing and deactivated, it shouldn’t automatically return to circulation.
Instead, use a simple decision tree. The focus is controlled re-enablement, not convenience. In higher-security environments, issuing a new badge rather than reactivating the old one can help keep credential history clean and reduce ambiguity later.
- Found badge checklist (turn-in process):
- Return the badge to security/HR (not directly back to the employee’s desk)
- Record who found it and where it was found (basic chain of custody)
- Inspect for damage, tampering, or altered photos/labels
- Confirm the badge was deactivated in the system
- Decide: reissue (rare/controlled) or destroy and keep the replacement path
If a new badge has already been issued, the simplest consistent rule is: keep the new credential active and remove the found badge from circulation.
Some workplaces allow controlled reissue, but “reactivate by habit” creates exceptions that are hard to track. A consistent review step (chain of custody + inspection + documentation) helps prevent confusion and keeps policies fair.
They should still follow the found-badge return process. Once the report is made, it’s best handled through security/HR so the outcome is documented and consistent.
Prevent Repeat Incidents with Simple, Practical Habits (No Finger-Pointing)
After a missing badge incident, the best prevention is low-friction habits—small routines that make it harder for a badge to wander off. These habits work because they remove decision-making (“Where did I put it?”) and replace it with a default behavior.
- Practical habits that reduce lost badges:
- Use a reliable badge holder that protects the card and keeps it visible
- Choose a breakaway lanyard or a secure clip appropriate to the role
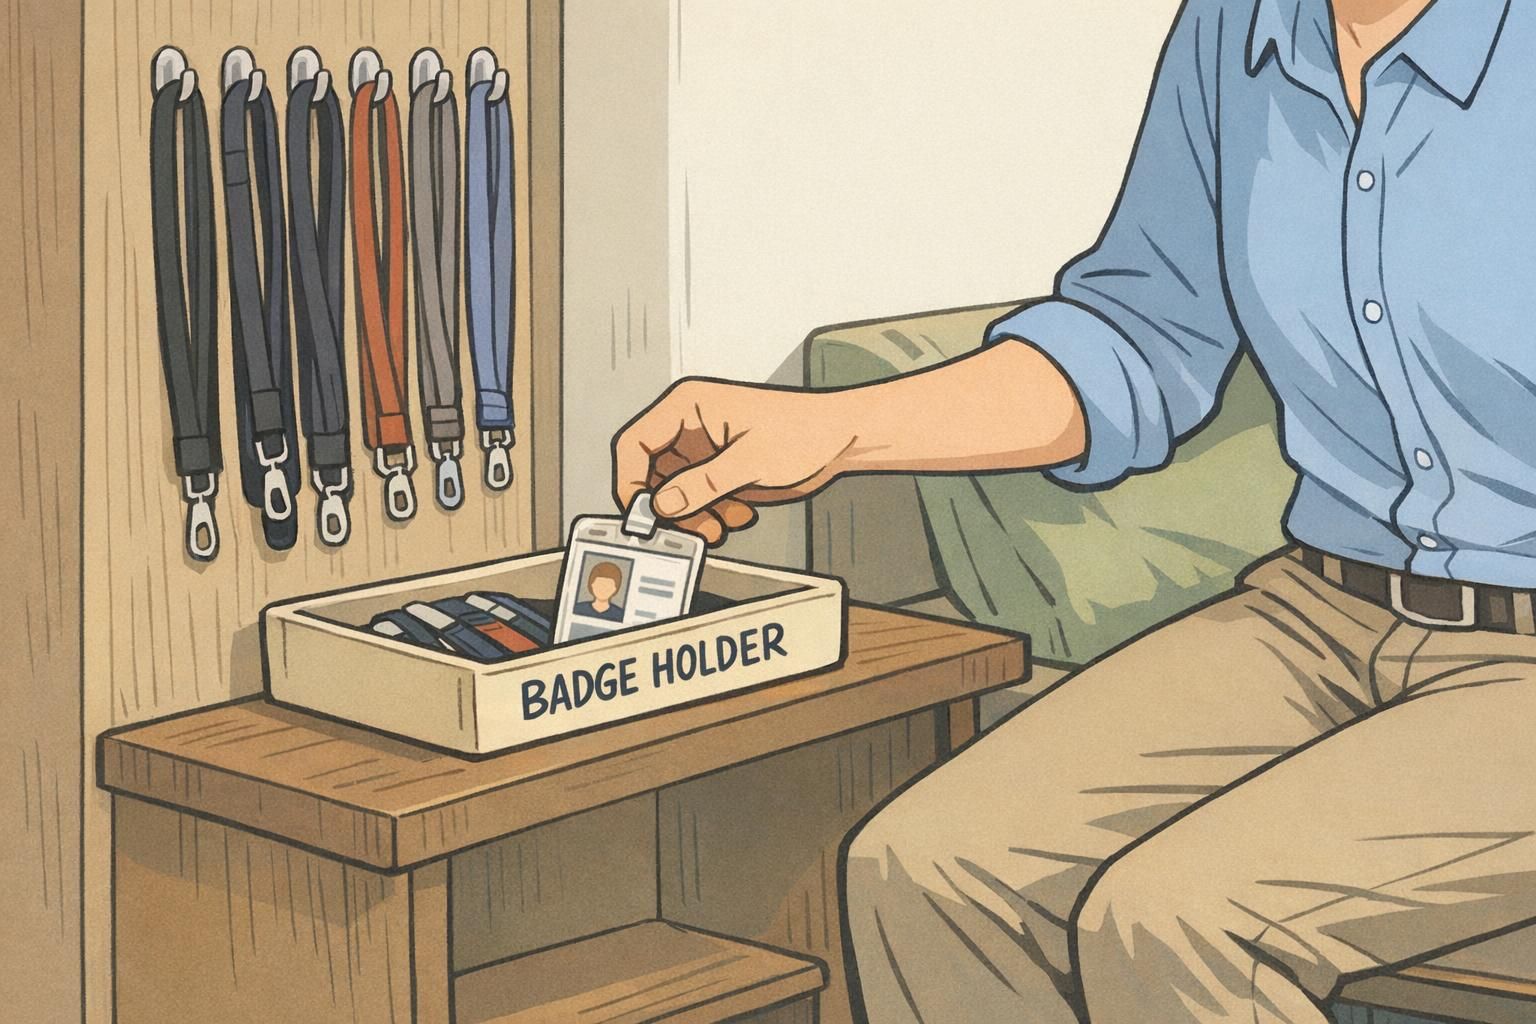
- Keep a consistent storage spot (entryway hook, desk drawer, or designated tray)
- Avoid setting badges down loosely in shared spaces (conference rooms, break rooms)
- Do a quick “badge check” before leaving a site or event
Prevention can also be about clarity. A badge that’s easy to identify at a glance—clear photo, readable name, and role labels or color bars when appropriate—reduces friction for everyone. Coworkers can coordinate more easily, visitors can ask the right person for help, and security can respond smoothly without awkward guesswork.
“The best badge policy is the one people can follow on a normal day. Good habits plus clear visuals prevent most issues before they start.” – Office Administrator
Tools and Supplies That Make the Process Easier (Replacement Badges and Event-Friendly Options)
A smooth response depends on having a few essentials ready before something goes missing. Even a small on-hand supply can turn a stressful moment into a routine process—especially when teams need to issue temporary IDs quickly and keep identification practices orderly.
- Helpful supplies to keep on hand:
- Blank cards (for temporary IDs or quick reissues, depending on your setup)
- Clear holders (vertical and horizontal, based on your standard)
- Clips and breakaway lanyards (so employees can wear IDs consistently)
- Badge buddy-style backers (useful when roles or access levels need quick visual cues)
- Standard templates for ID cards and name badges (to reduce errors during reprints)
Standard templates matter more than most teams expect. When replacements match the same layout every time, staff can more easily spot what’s valid, and issuing teams can move faster with fewer mistakes. This is also helpful for events where temporary credentials and event badges need to be recognized quickly by staff who may not know everyone personally.
If you want the protocol to feel effortless, stock the basics and standardize the layout. The simpler the materials and the decision-making, the faster the recovery when a badge goes missing.