Slot Punch ID Card Basics: Center vs End Punch and Why It Matters
Why Slot Punch Placement Matters for Everyday ID Use
A slot punch ID card hole looks like a tiny detail, but it changes the whole “feel” of an ID in real life: whether it hangs straight, whether it flips around, whether it’s comfortable on a lanyard, and whether someone can read it quickly at a glance. If you’ve ever seen a badge that constantly spins sideways or rides up awkwardly, placement is often the culprit. This matters in workplaces, schools, and events because IDs aren’t only decorative. They’re used for quick visual checks (name, photo, role color), and they’re often presented to readers at doors or turnstiles. When the slot is placed in the wrong spot, staff end up fiddling with the badge to straighten it, turning it around to scan, or re-clipping it throughout the day. Slot placement also affects your card design. A poorly positioned slot can clip into a name line, crowd a logo, or force you to shrink important elements to “make room.” And while punching is usually safe when planned well, it’s worth considering that some cards include internal components or features that you don’t want to compromise—another reason to decide placement early and leave a clean margin at the top. The goal of this guide is simple: help you choose center versus end slot punching so your IDs face forward, stay readable, scan more smoothly, and look consistent across your organization.
If you want badges to look professional and behave predictably, choose the slot location based on how the badge will actually be worn (lanyard, reel, or clip), not just where the slot “fits” on the layout.
What Is a Badge Slot Punch (and What “Center” and “End” Mean)?
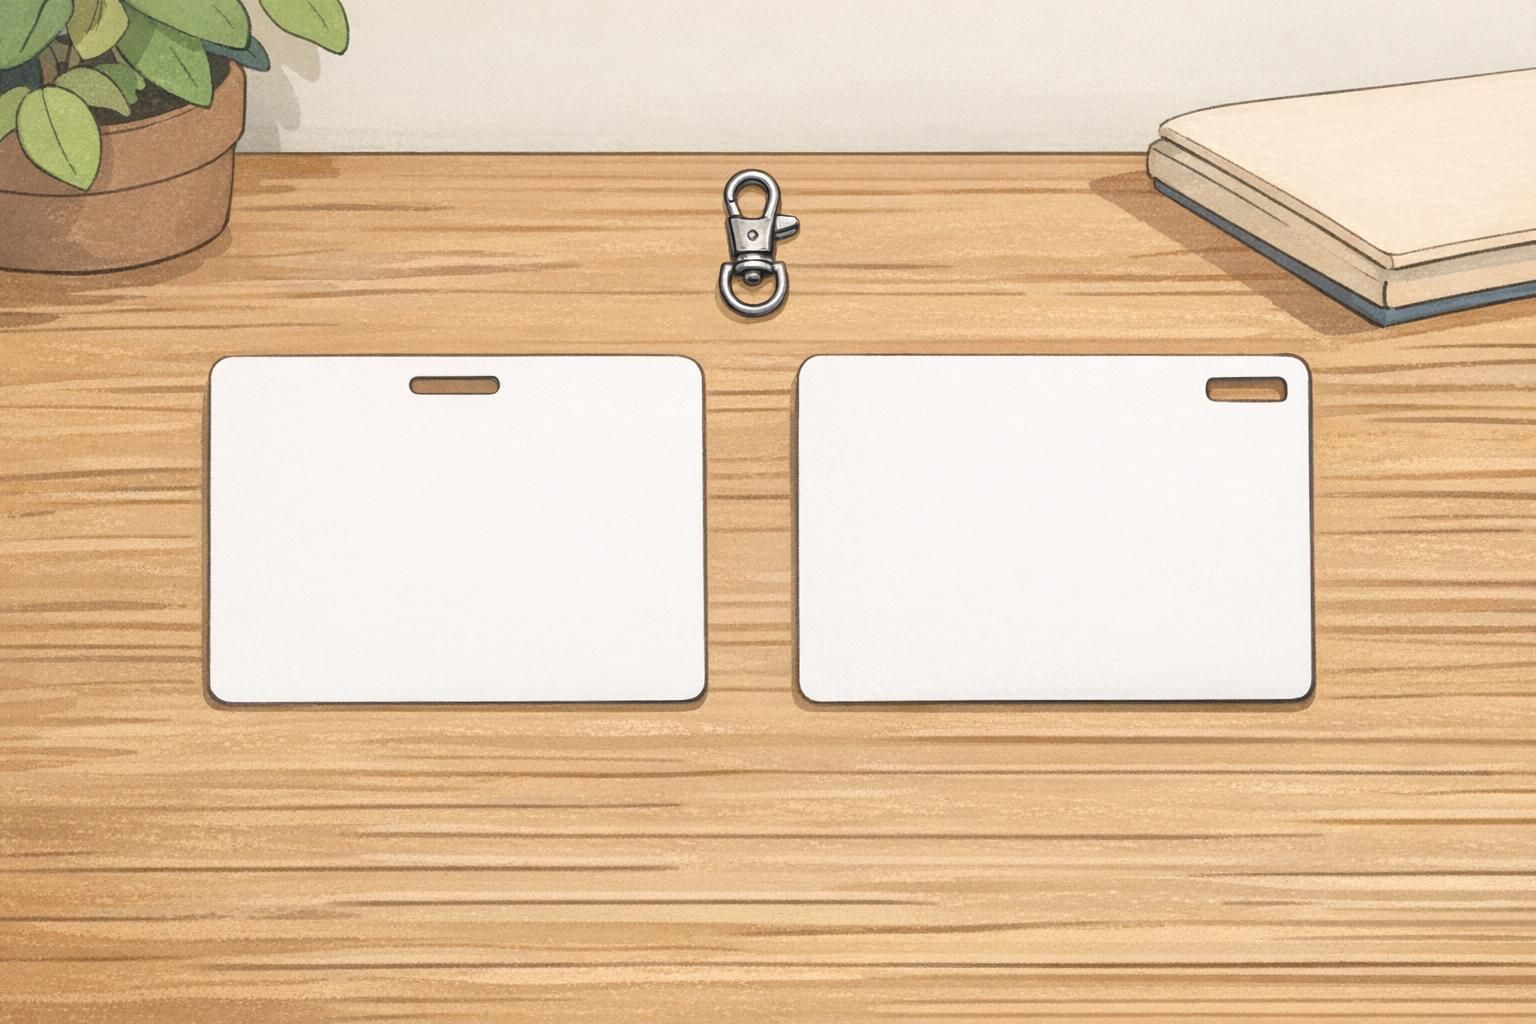
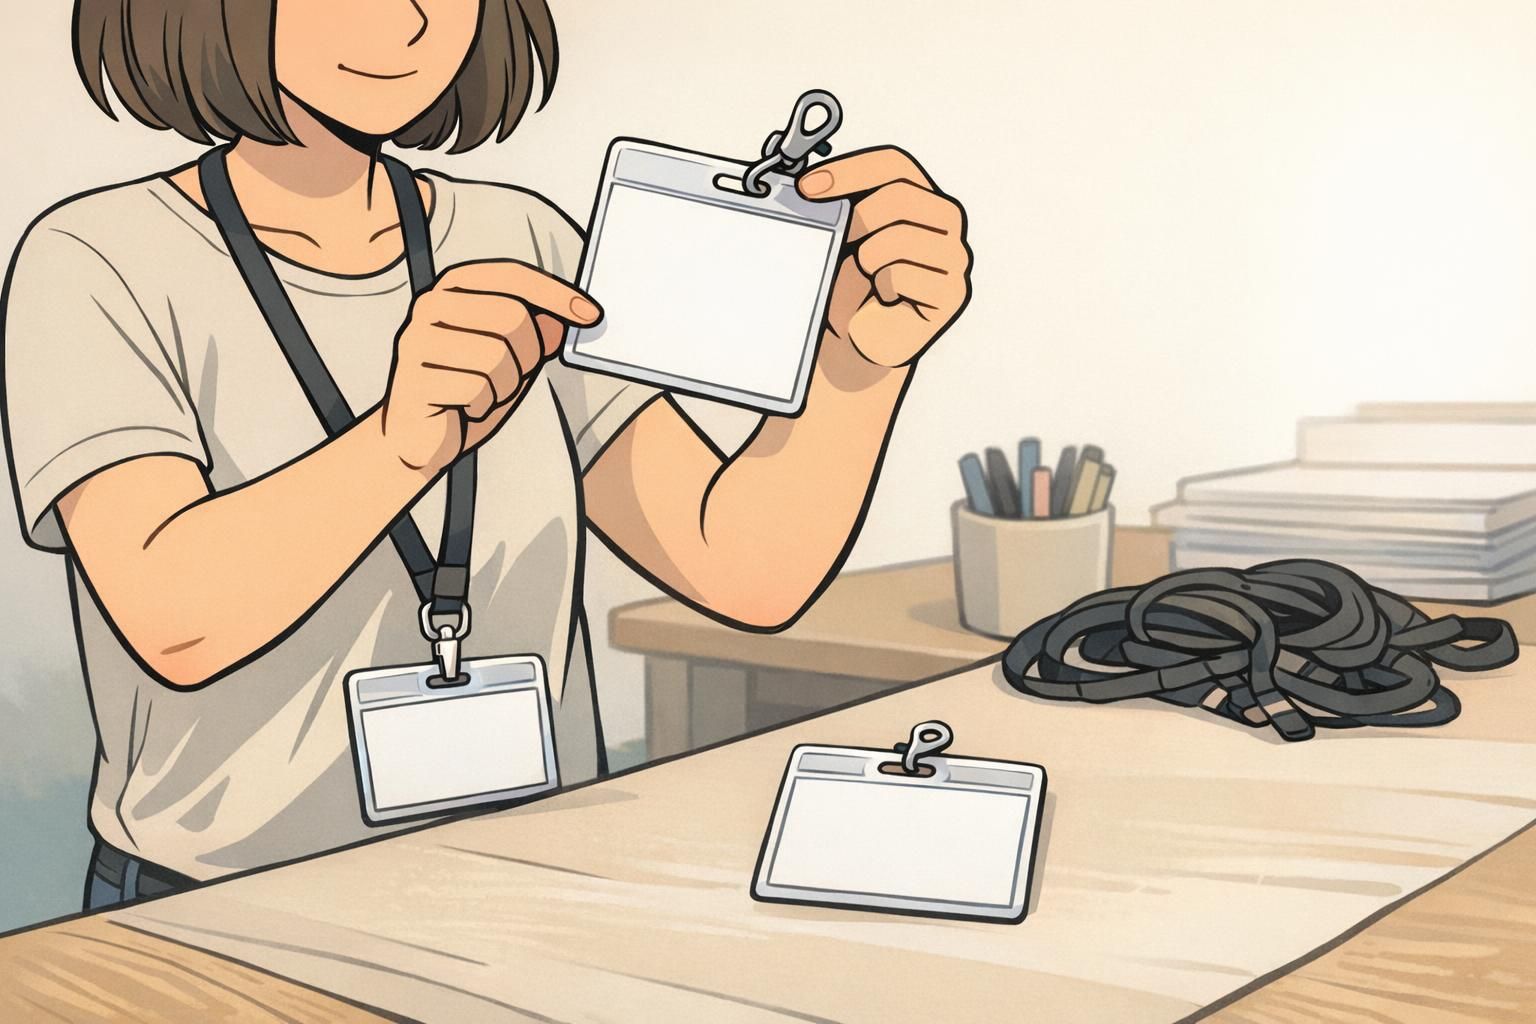
A badge slot punch is a tool that cuts a horizontal slot near the top edge of an ID card (or a badge insert), creating an opening for common attachments like a lanyard hook, strap clip, or badge reel strap. It’s a standardized, physical modification: you’re removing a small piece of material so the card can be carried and displayed. If you’ve heard of punched media in other contexts, the concept is similar in a broad, general way—material is physically “punched” to create functional holes or openings. That general idea of punching as a practical, repeatable way to modify a card-like material has been used in various formats over time (source). When people say “center punch” versus “end punch,” they’re usually talking about where that slot sits left-to-right along the top edge: Center slot punch: The slot is centered horizontally on the card. End slot punch: The slot is shifted toward one side (often the right side, but it can be either side depending on your tools and preference). This small change affects balance. A card hanging from a centered attachment point tends to settle in a more symmetrical way. A card hanging from a side-shifted attachment point can tilt, rotate, or pull differently—sometimes helpful, sometimes annoying—depending on the clip, the holder, and the wearer’s movement.
- Center slot punch: Symmetrical attachment point; often helps the badge present straight-on.
- End slot punch: Off-center attachment point; can protect design elements or match certain clip styles, but may increase tilt or rotation.
- The “best” choice depends on how the badge will be worn (lanyard, reel, or clip) and what must stay clear in the card design (photo, name, barcode/QR).
Center Slot Punch: When It Helps Badges Hang Straight and Read Clearly
A center slot punch is the “default” choice for a reason: it often produces the most stable, front-facing presentation across a wide range of people and accessories. When the slot is centered, the weight of the card is balanced around the attachment point. That makes it less likely to lean sharply left or right as someone walks, turns, or leans. In environments where quick recognition matters—like offices, hospitals, schools, warehouses, and conferences—this stability helps. A badge that hangs straight is easier to read without someone needing to touch it, straighten it, or pull it closer. Center placement also makes card design easier to standardize. If every department uses the same attachment point, designers can reserve a consistent “safe zone” at the top edge for the slot and keep names, titles, photos, and codes in predictable places. That said, “center” doesn’t automatically solve everything. If your badge is inside a holder, the holder’s own top edge and the location of its slot can matter more than the card’s slot. And if you’re using a retractable reel, the card may still rotate depending on whether the reel has a swivel clip or a fixed strap.
- Best for: Straight-hanging, front-facing display and consistent visual checks.
- Common use cases: Daily workplace IDs, school IDs, visitor badges, staff credentials.
- Design advantage: Easiest to create one layout template that works across many users.
- Potential drawback: If your top-center area is “busy” (logo/photo framing), you must plan a clear margin so the slot doesn’t cut into it.
“When badges hang straight, people stop fidgeting with them. That makes check-ins faster and the whole workplace looks more organized.” – Facilities Coordinator
End Slot Punch: When Off-Center Placement Solves Real Problems
An end slot punch can be a smart choice when the top center of your card is visually or functionally important. If your design places a logo, a bold header, a photo frame edge, or another key element near the top center, shifting the slot toward the side can protect the layout and avoid awkward “slot interference.” End placement can also be useful when an accessory naturally pulls from one side. For example, some clips, straps, and holder designs tug slightly off-center due to where the clip attaches to clothing. In those cases, moving the slot can reduce twisting caused by the accessory fighting the card’s center of gravity. The tradeoff is stability. Because the card’s weight hangs off the side of the attachment point, the badge may tilt or rotate more, especially on a lanyard where movement is constant. End slotting isn’t inherently bad—it’s just more sensitive to how it’s worn. If you choose an end slot, it’s worth wear-testing with the actual clip or lanyard your team uses. A small prototype run (even a few cards) can prevent a big batch of IDs from hanging at an odd angle that makes names harder to read.
End slot punching is usually best when it’s driven by a specific need—protecting a design element or matching a particular attachment—rather than as a default.
Not always. Tilt depends on the accessory (swivel hook vs fixed clip), whether the badge is in a holder, and the card’s weight distribution. End placement simply makes tilt more likely if the attachment doesn’t swivel or if the badge is heavier on one side.
Yes. “End” just means off-center. Choose the side that best protects your layout and matches how your clip or reel pulls when worn.
Lanyard Hole Placement: How Orientation Affects Tilt, Flip, and Scanning
Lanyard hole placement (including a slot) determines how the badge “rests” against the wearer’s body. A lanyard is flexible, so every step and turn creates small swings that can make a badge rotate. Whether it settles back into a readable position depends on where it’s attached and how balanced it is. Here’s the practical version: if the attachment point is centered and the card’s weight is evenly distributed, the badge is more likely to face forward. If the attachment point is off-center, the badge can angle sideways or gradually rotate, especially if the lanyard hook doesn’t swivel. This affects scanning, too. When people need to present a card to a reader (at a door, kiosk, or check-in device), a badge that’s already oriented correctly is faster to use. A badge that flips backward or sits sideways invites extra handling—turning, straightening, and holding it still—adding friction throughout the day. Card holders matter here. A rigid holder can add weight and change the center of gravity, sometimes improving stability (because it’s heavier) and sometimes making rotation more noticeable (because it swings with more momentum). That’s why planning lanyard hole placement around the real wearing method is so important. If you’re setting up IDs for a team, the best approach is to test: punch one sample, attach it to the actual lanyard or reel, and wear it during normal movement. If the card consistently faces forward and sits at a comfortable angle on the chest, you’re in a good place.
- To reduce flipping on a lanyard, prefer a centered slot and a swivel hook when possible.
- To improve at-a-glance readability, keep the badge sitting flat against the chest (not angled sideways).
- To make scanning easier, aim for a badge that naturally returns to an upright, front-facing position after movement.
- Always test using the same holder, clip, or reel style your staff will actually wear.
Avoiding Damage: Don’t Punch Through Embedded Tech or Critical Print Areas
Punching should be treated like part of the ID’s engineering, not an afterthought. Even when a card is “just plastic,” punching too close to the edge or into a weak area can cause cracking over time—especially for daily-worn IDs that get tugged, dropped, or flexed. A second consideration is internal card features. Some IDs may include embedded components or layers as part of their construction. The safest approach is to coordinate punching decisions with your card type and layout so the slot stays in a planned safe zone. Even if you’re not worried about internals, you don’t want the slot eating into what people need to see and use. The top area of a badge often holds important design elements—like a logo, a department header, or the top of a photo frame. And functional items like barcodes or QR codes need clear, unobstructed print areas to remain usable. The most reliable way to avoid problems is to build a deliberate “no-go band” along the top of the card during design. Then verify at 100% scale so you’re not surprised by how close something sits to the punch. When in doubt, prototype one card, punch it, and wear it for a day. You’ll quickly learn whether the slot interferes with the layout, whether the card feels sturdy, and whether the badge hangs the way you want.
- Leave a generous top margin: Plan a clear safe area so the slot doesn’t crowd key elements.
- Avoid high-value zones: Keep slots away from names, role labels, barcodes, and QR codes whenever possible.
- Mind the edge: Punching too close to the top edge can increase the chance of cracking with daily pulling.
- Check at full size: Review the final layout at 100% scale before punching a batch.
- Prototype first: Punch a sample card, attach it to the real accessory, and wear-test before committing.
Matching Punch Style to Accessories: Clips, Reels, Holders, and Event Setups
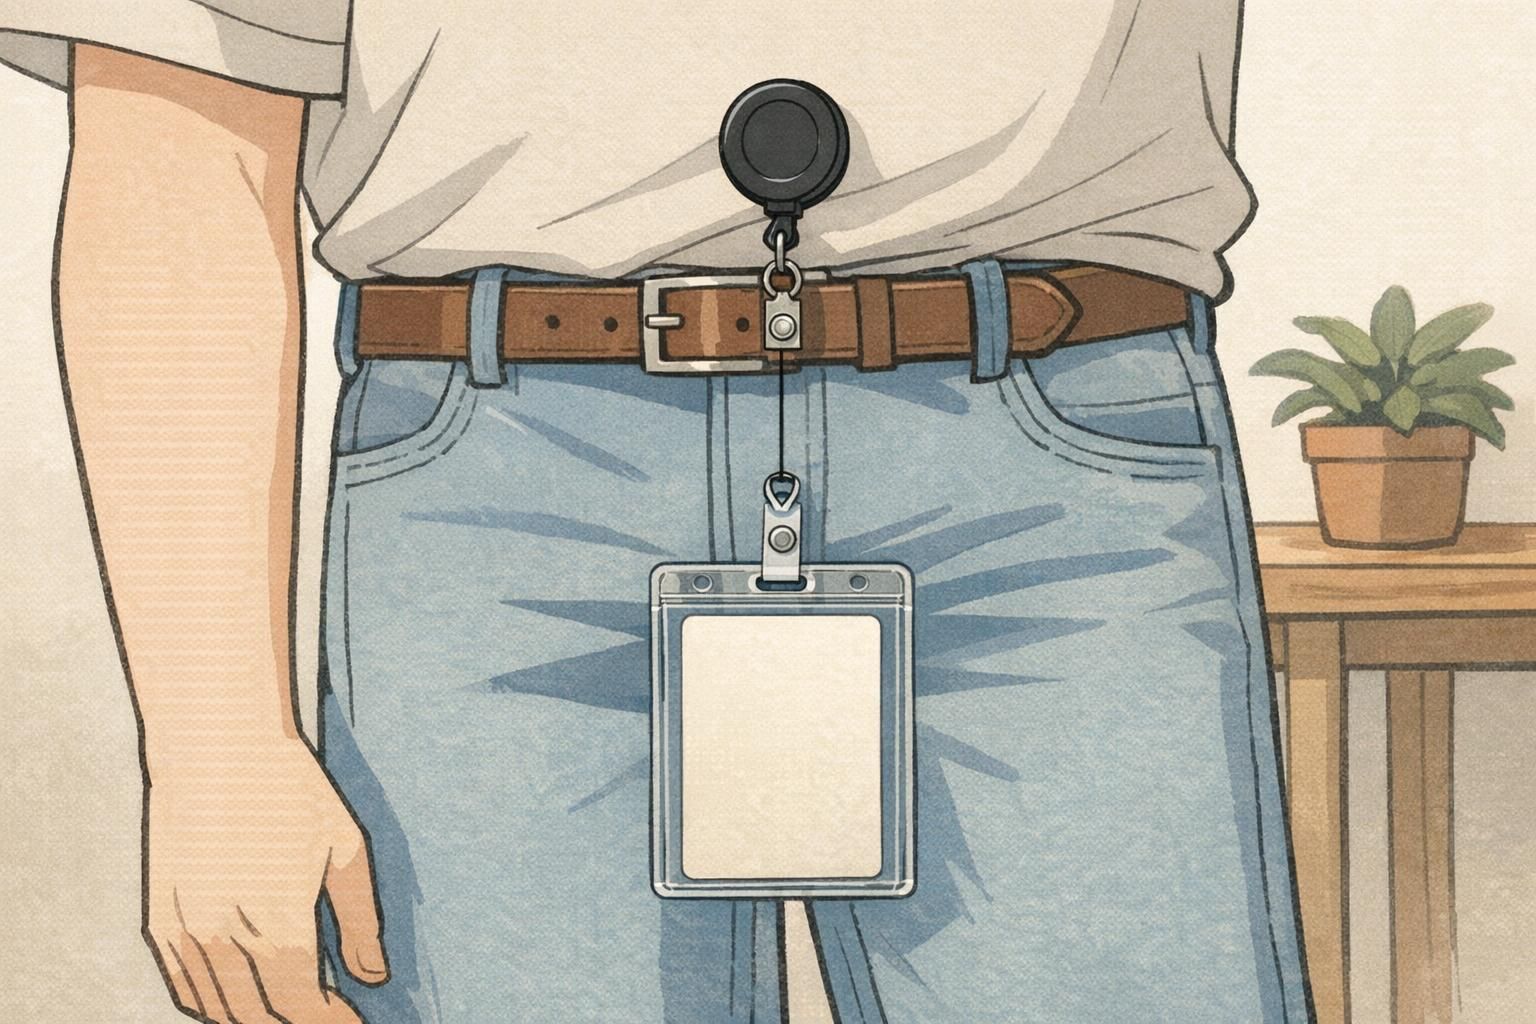
Your punch decision should follow your accessories, because accessories determine how force and movement transfer into the card. A badge slot punch that works perfectly for a lanyard can behave differently on a retractable reel, and a holder can change everything again. For lanyards, the key variables are whether the hook swivels and whether the lanyard attachment pulls straight down or slightly from one side. A centered slot is typically the most forgiving choice, especially across a large group of wearers. For retractable badge reels, consider how the reel is worn (belt, pocket, waistband) and whether the strap or clip allows the badge to rotate. Some reels swivel smoothly and keep the card oriented; others pull the badge into a slight angle depending on where the reel is clipped. For rigid clips and strap clips, check the direction they “want” to sit. If a clip naturally aligns to one side, an end slot might reduce twisting—but you should test because an off-center attachment can also create more noticeable tilt. For events, speed and consistency matter. Staff often assemble hundreds of lanyards quickly, so a standardized placement (often centered) can reduce fiddling and help badges face forward in crowded environments. If you’re using badge buddies, larger credential stacks, or thicker holders, weight increases—making stable placement even more important. If you’re choosing between center and end, the accessory can be the deciding factor. When you match the punch location to the way the badge is actually pulled and worn, you get fewer flips, fewer crooked badges, and better readability.
- Swivel-hook lanyard: Often pairs well with centered slots for steady, forward-facing display.
- Fixed hook or non-swivel clip: More sensitive to placement; test to see if end slot reduces twisting or increases tilt.
- Retractable reel: Consider whether the reel swivels and how the pull angle affects card orientation.
- Clear holders: Add weight and stiffness; can improve readability but may amplify swinging if placement is off.
- Event assembly: Standardized placement (often centered) reduces mistakes and improves consistency across large groups.
Product Options for Professional Results (Badges, Holders, and Event Credentials)
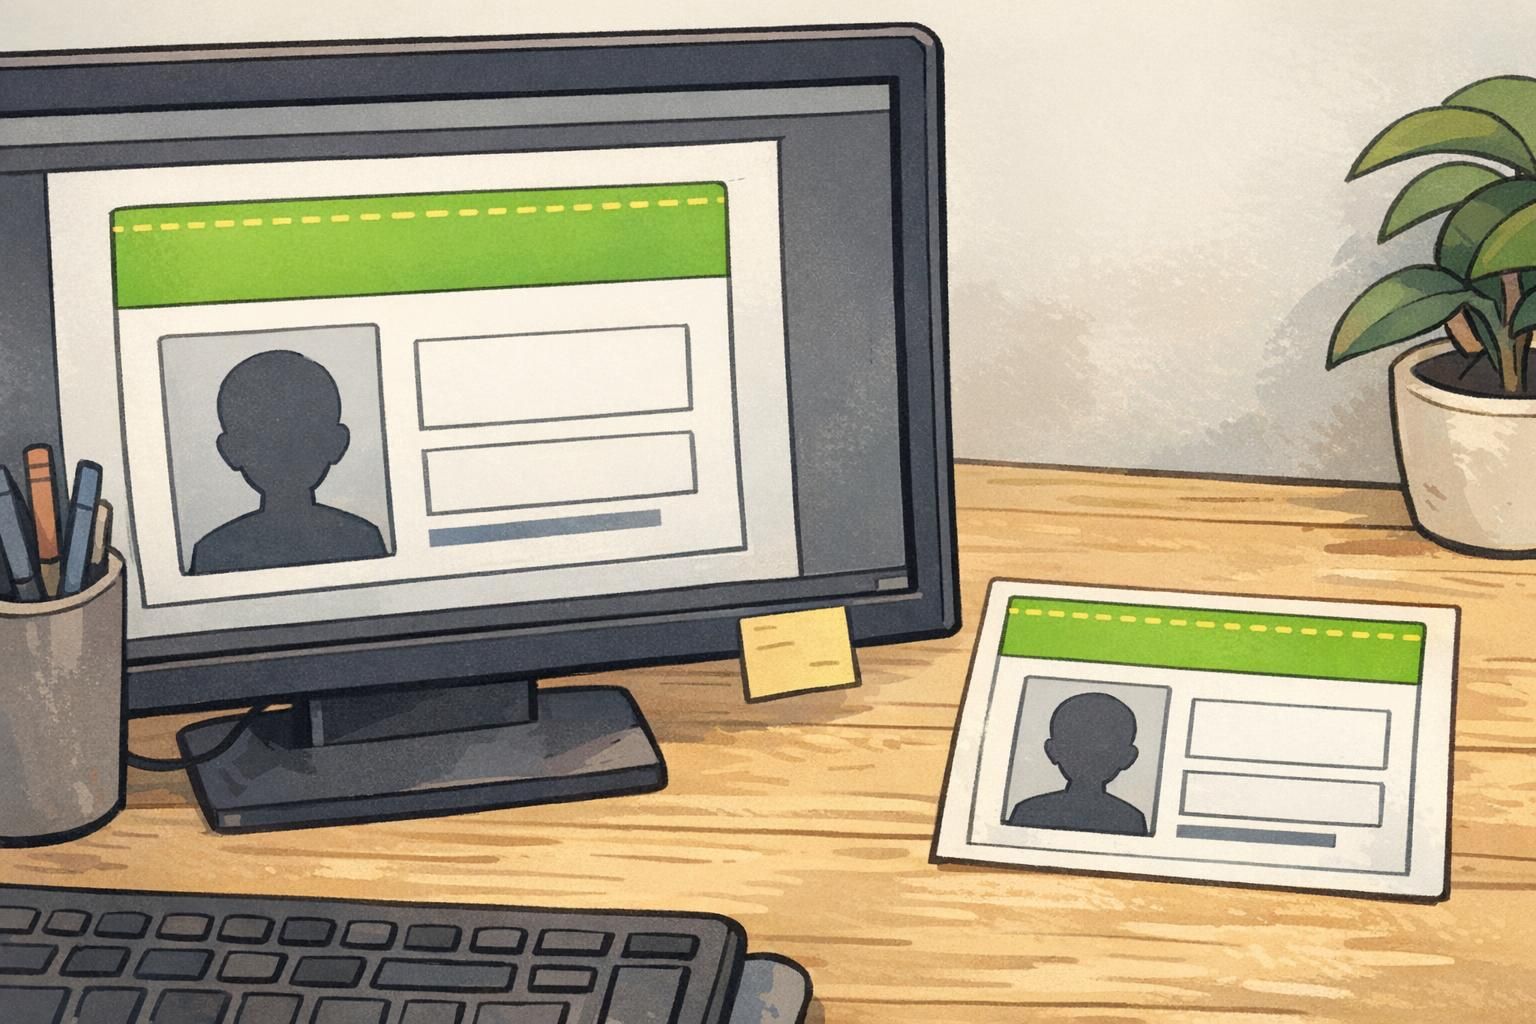
The cleanest results usually come from planning slot placement during the design stage, before anything is printed or punched. When the layout intentionally reserves a safe top margin and accounts for how the badge will hang, you avoid last-minute compromises like shrinking names, shifting photos, or placing a barcode too close to the punch. If you’re ordering new credentials, it can help to choose a format and layout that anticipates the slot from the beginning—especially if you’ll be using holders, reels, or lanyards across a whole team. BadgeZoo can produce custom ID cards with layouts designed to keep a clear punching area and support common attachment styles. If you’re unsure whether you need center or end placement, a simple approach is to decide based on the accessory you standardize on, then prototype one printed card and wear-test it with the actual lanyard or reel. That small step can save a lot of rework and help your IDs look consistent and professional from day one.
Planning the slot location early is less about perfection and more about preventing predictable problems: crooked hang, blocked names, and badges that constantly flip during normal movement.
Quick Checklist: Choosing Center vs End Punch Without Guesswork
If you’re deciding between center and end, use this checklist to make the choice practical and repeatable. The main idea is to prioritize how the badge behaves when worn: straight, readable, and easy to present for scanning or visual checks. Most organizations land on a centered slot because it’s consistent across different body types, clothing styles, and movement. End placement can be the right call when it solves a real layout or attachment constraint—but it’s worth confirming with a quick wear test.
- Choose center if: you want the most consistent, straight-hanging presentation across many users and accessories.
- Consider end if: the top center of your design must stay clear (logo/photo framing/header) or your attachment pulls from one side by design.
- Test with real gear: attach the badge to the exact lanyard, reel, clip, and holder your team will use.
- Protect key content: keep names, role labels, photos, and codes out of the punch zone.
- Leave a top margin: avoid punching too close to the edge to reduce wear and cracking over time.
- Standardize once decided: consistent slot location makes replacements, reprints, and event assembly simpler.
Usually yes, but you’ll be constrained by what’s printed near the top of the card. Before punching a full batch, print and punch one sample to confirm the slot won’t cut into names, logos, or codes and that the badge hangs the way you expect.
Start with a centered slot and test with a swivel-hook lanyard. Then verify the badge still faces forward when worn with the actual holder and during normal movement.